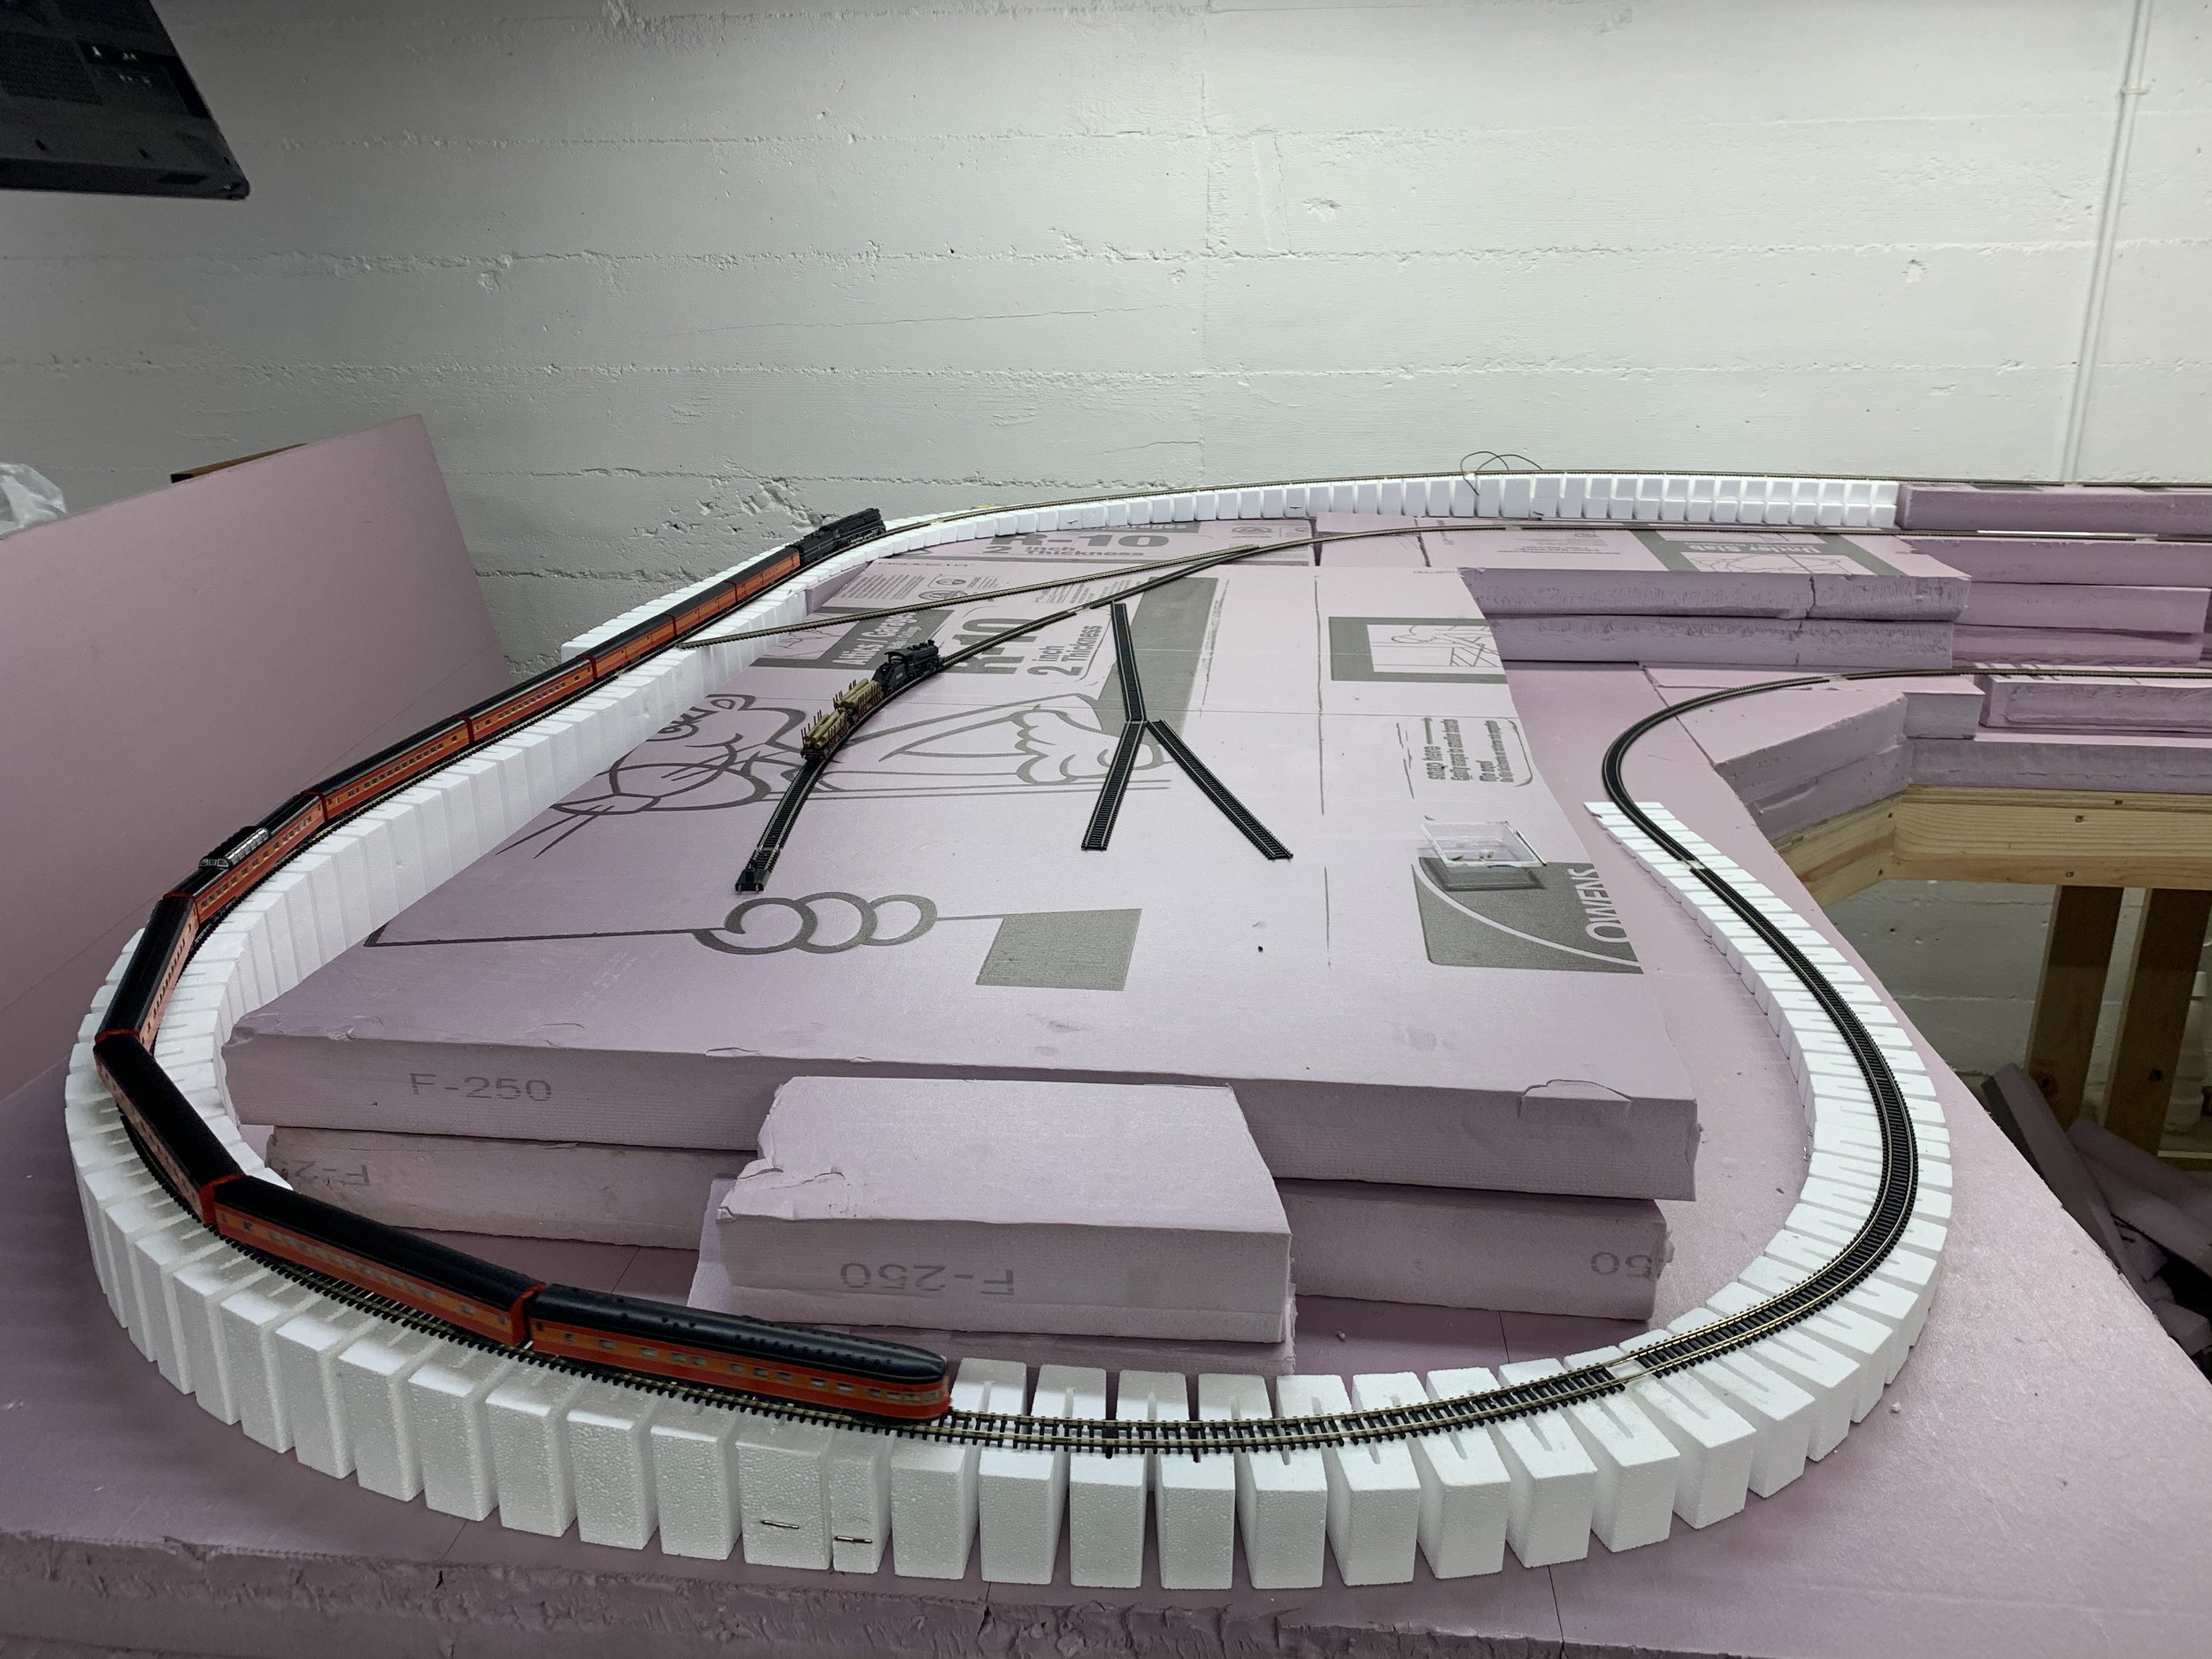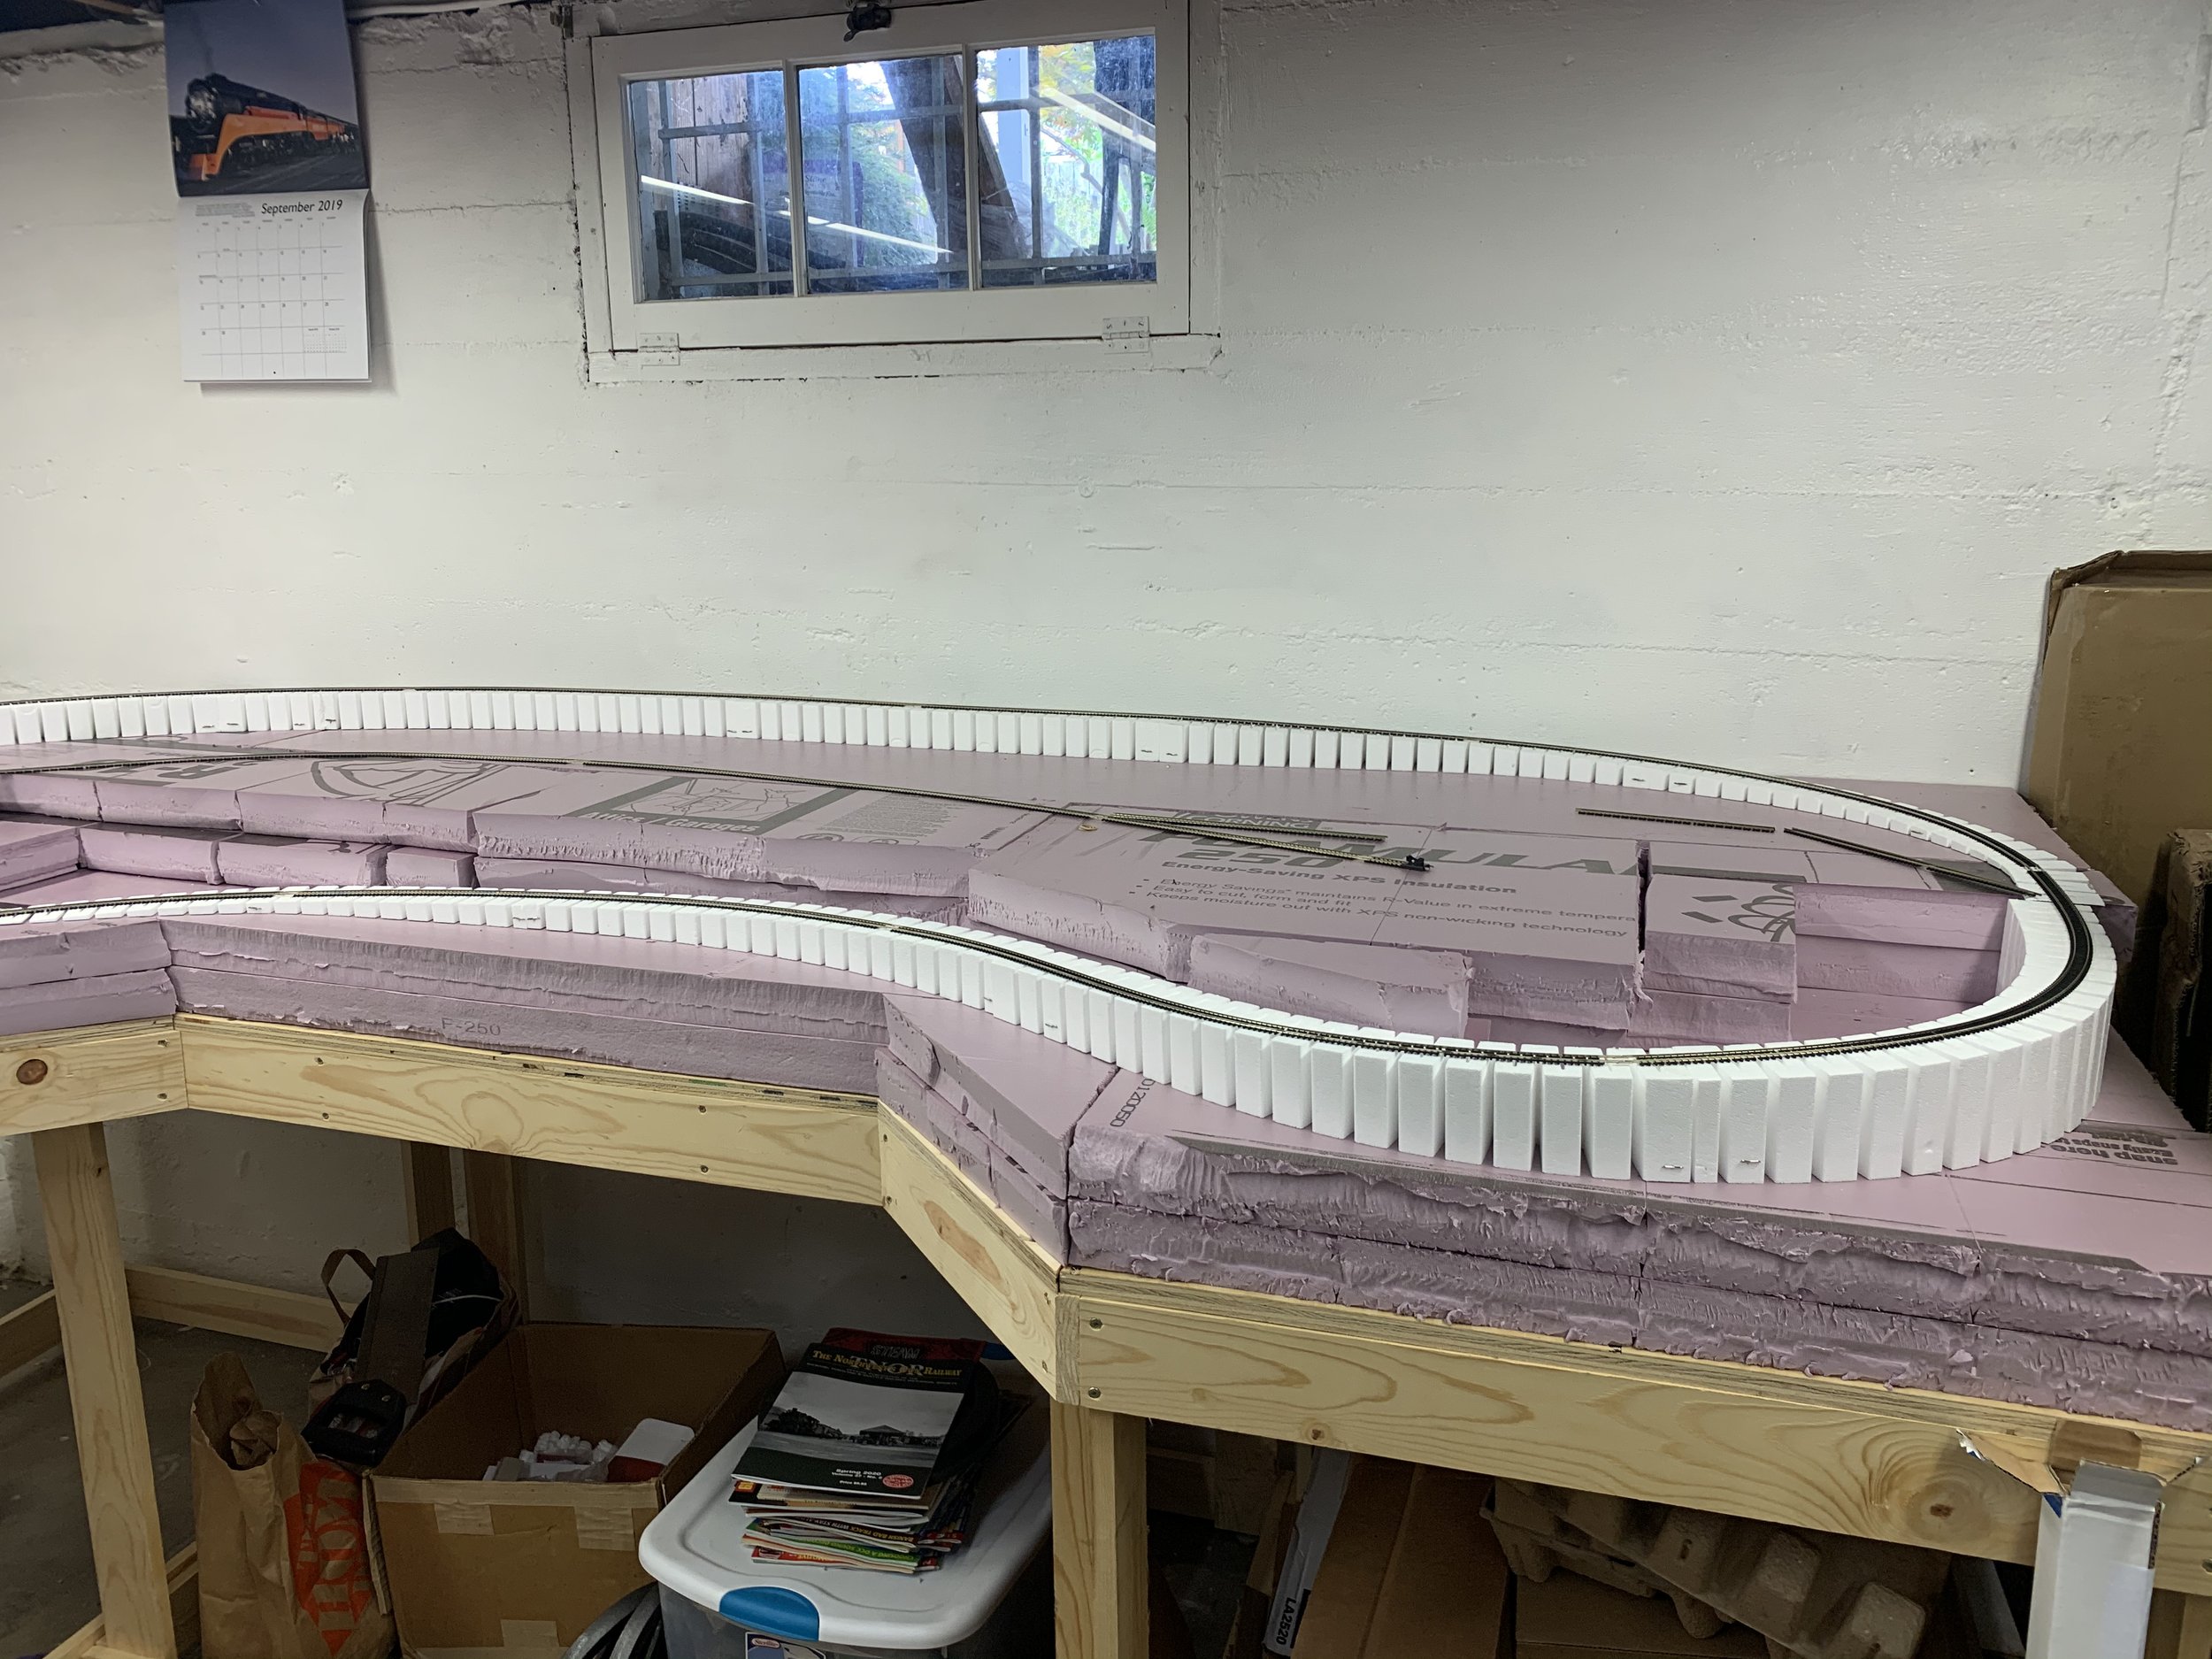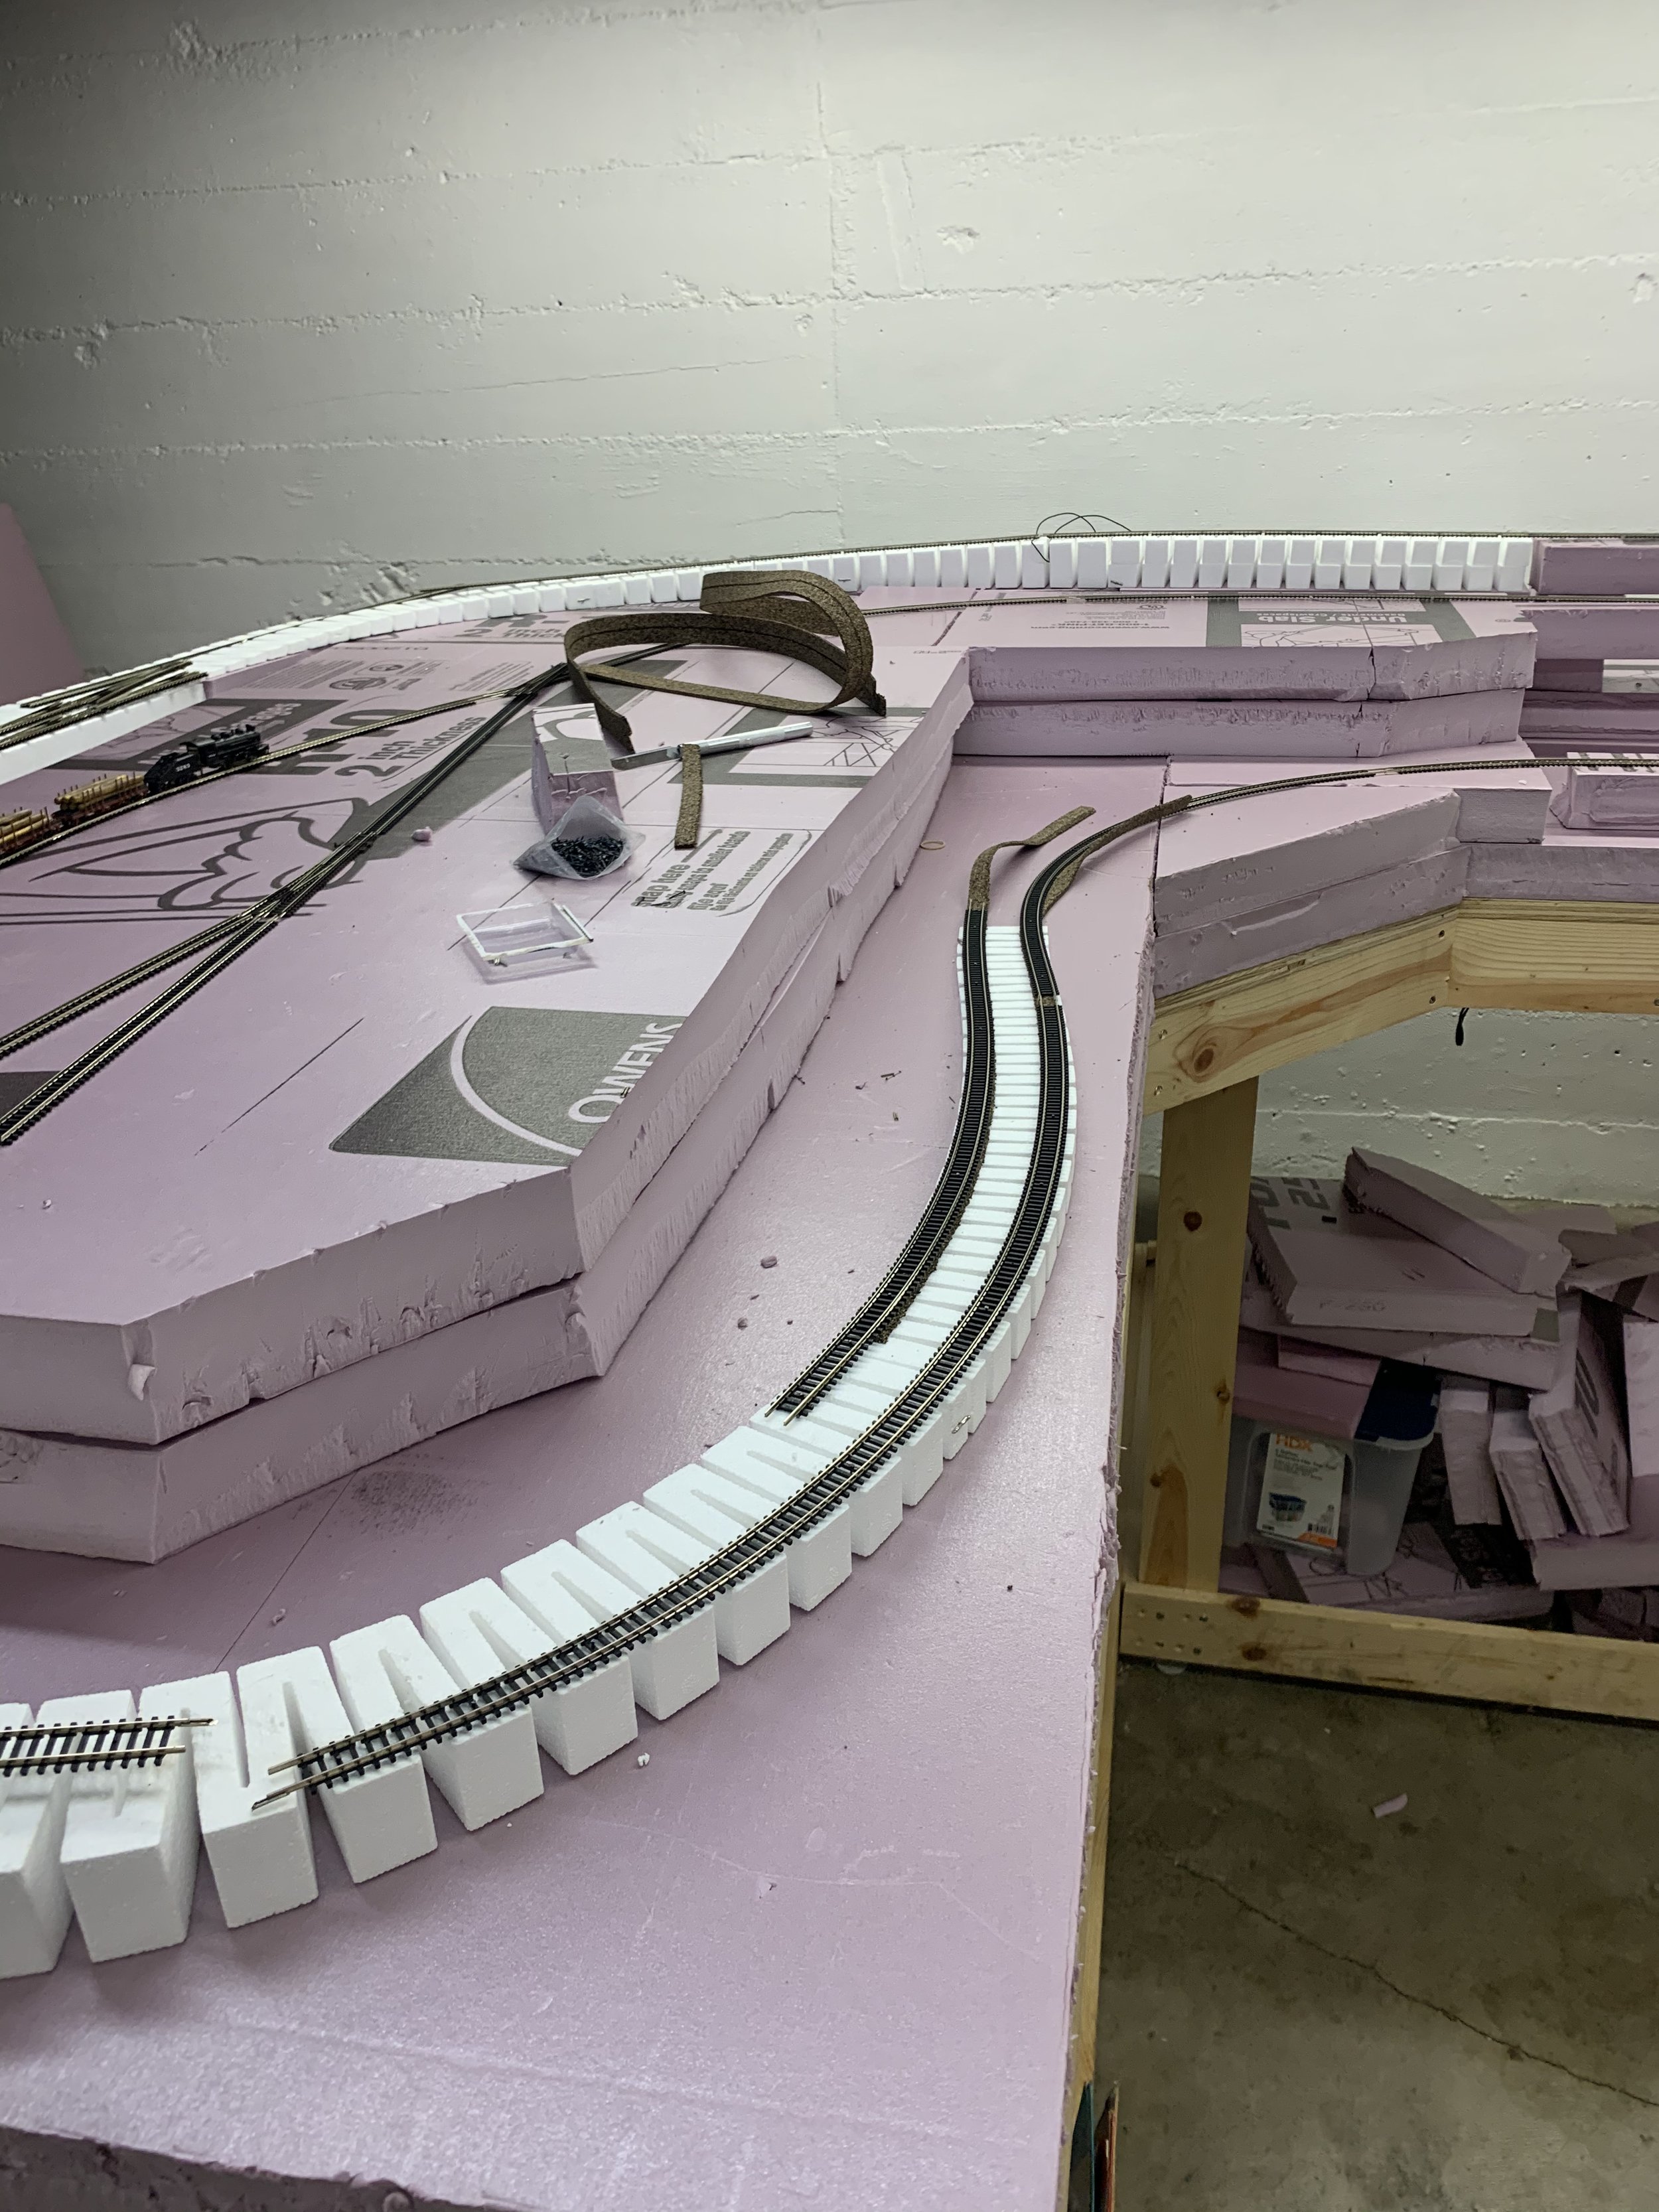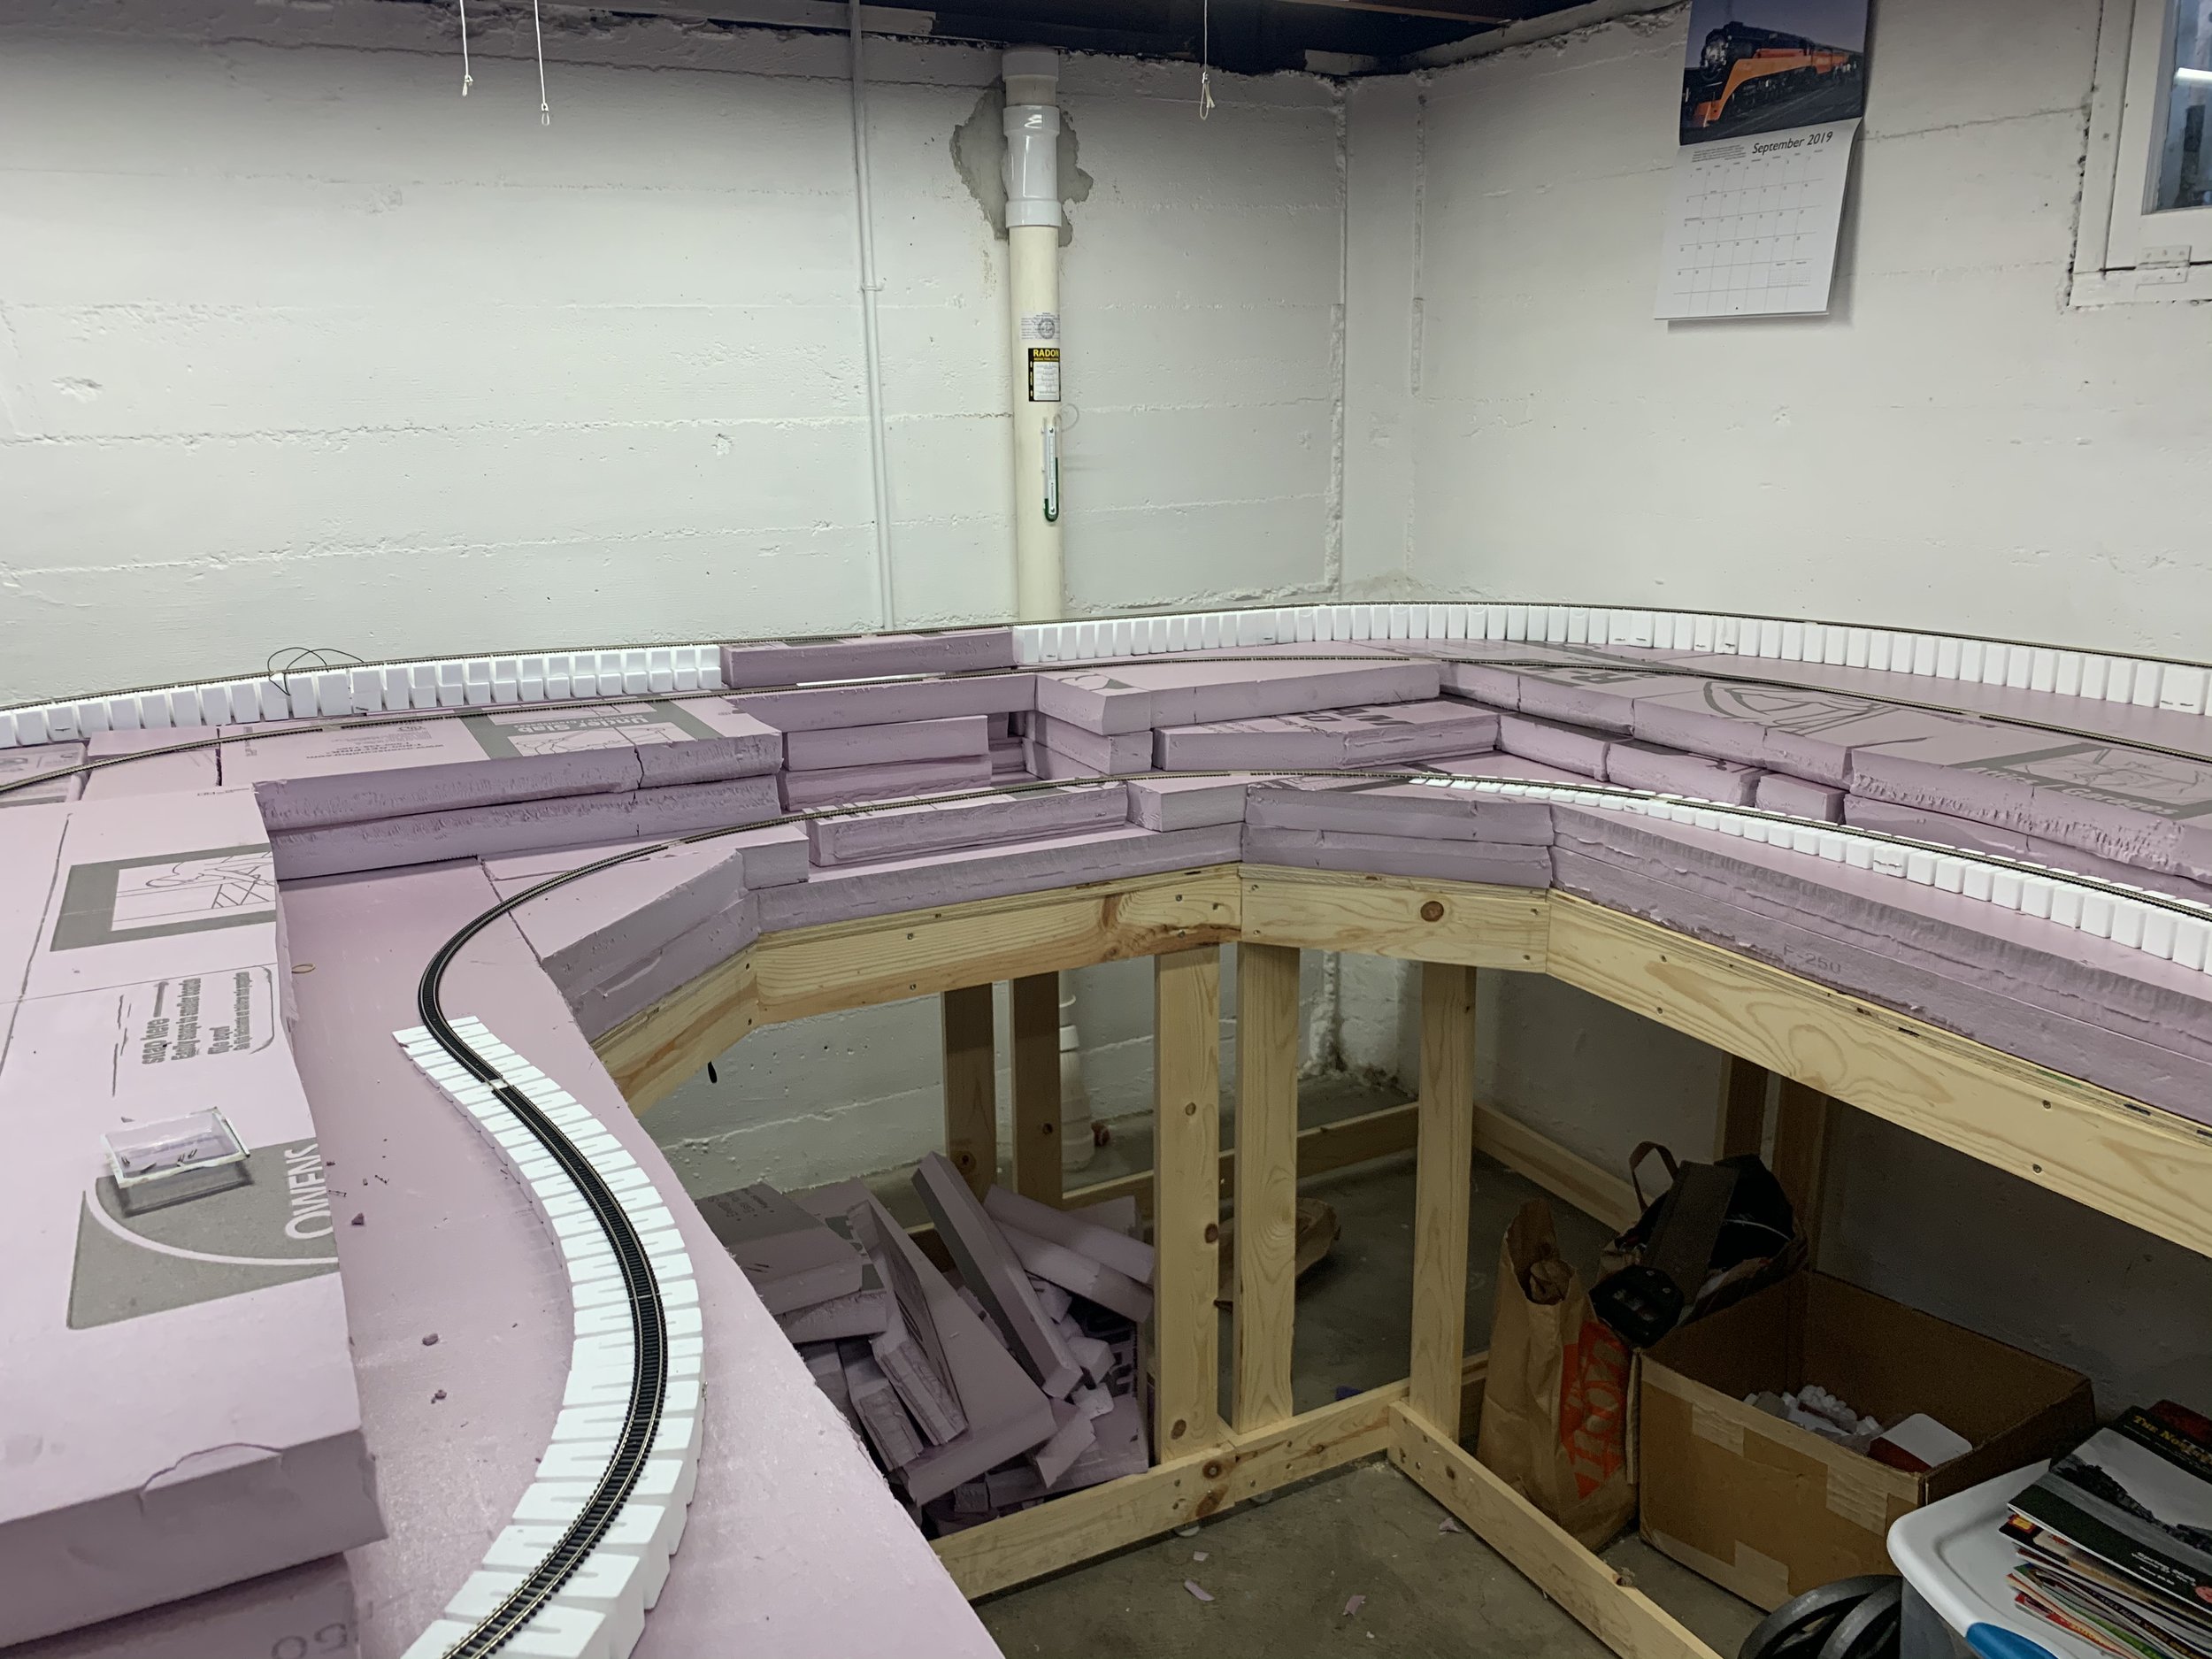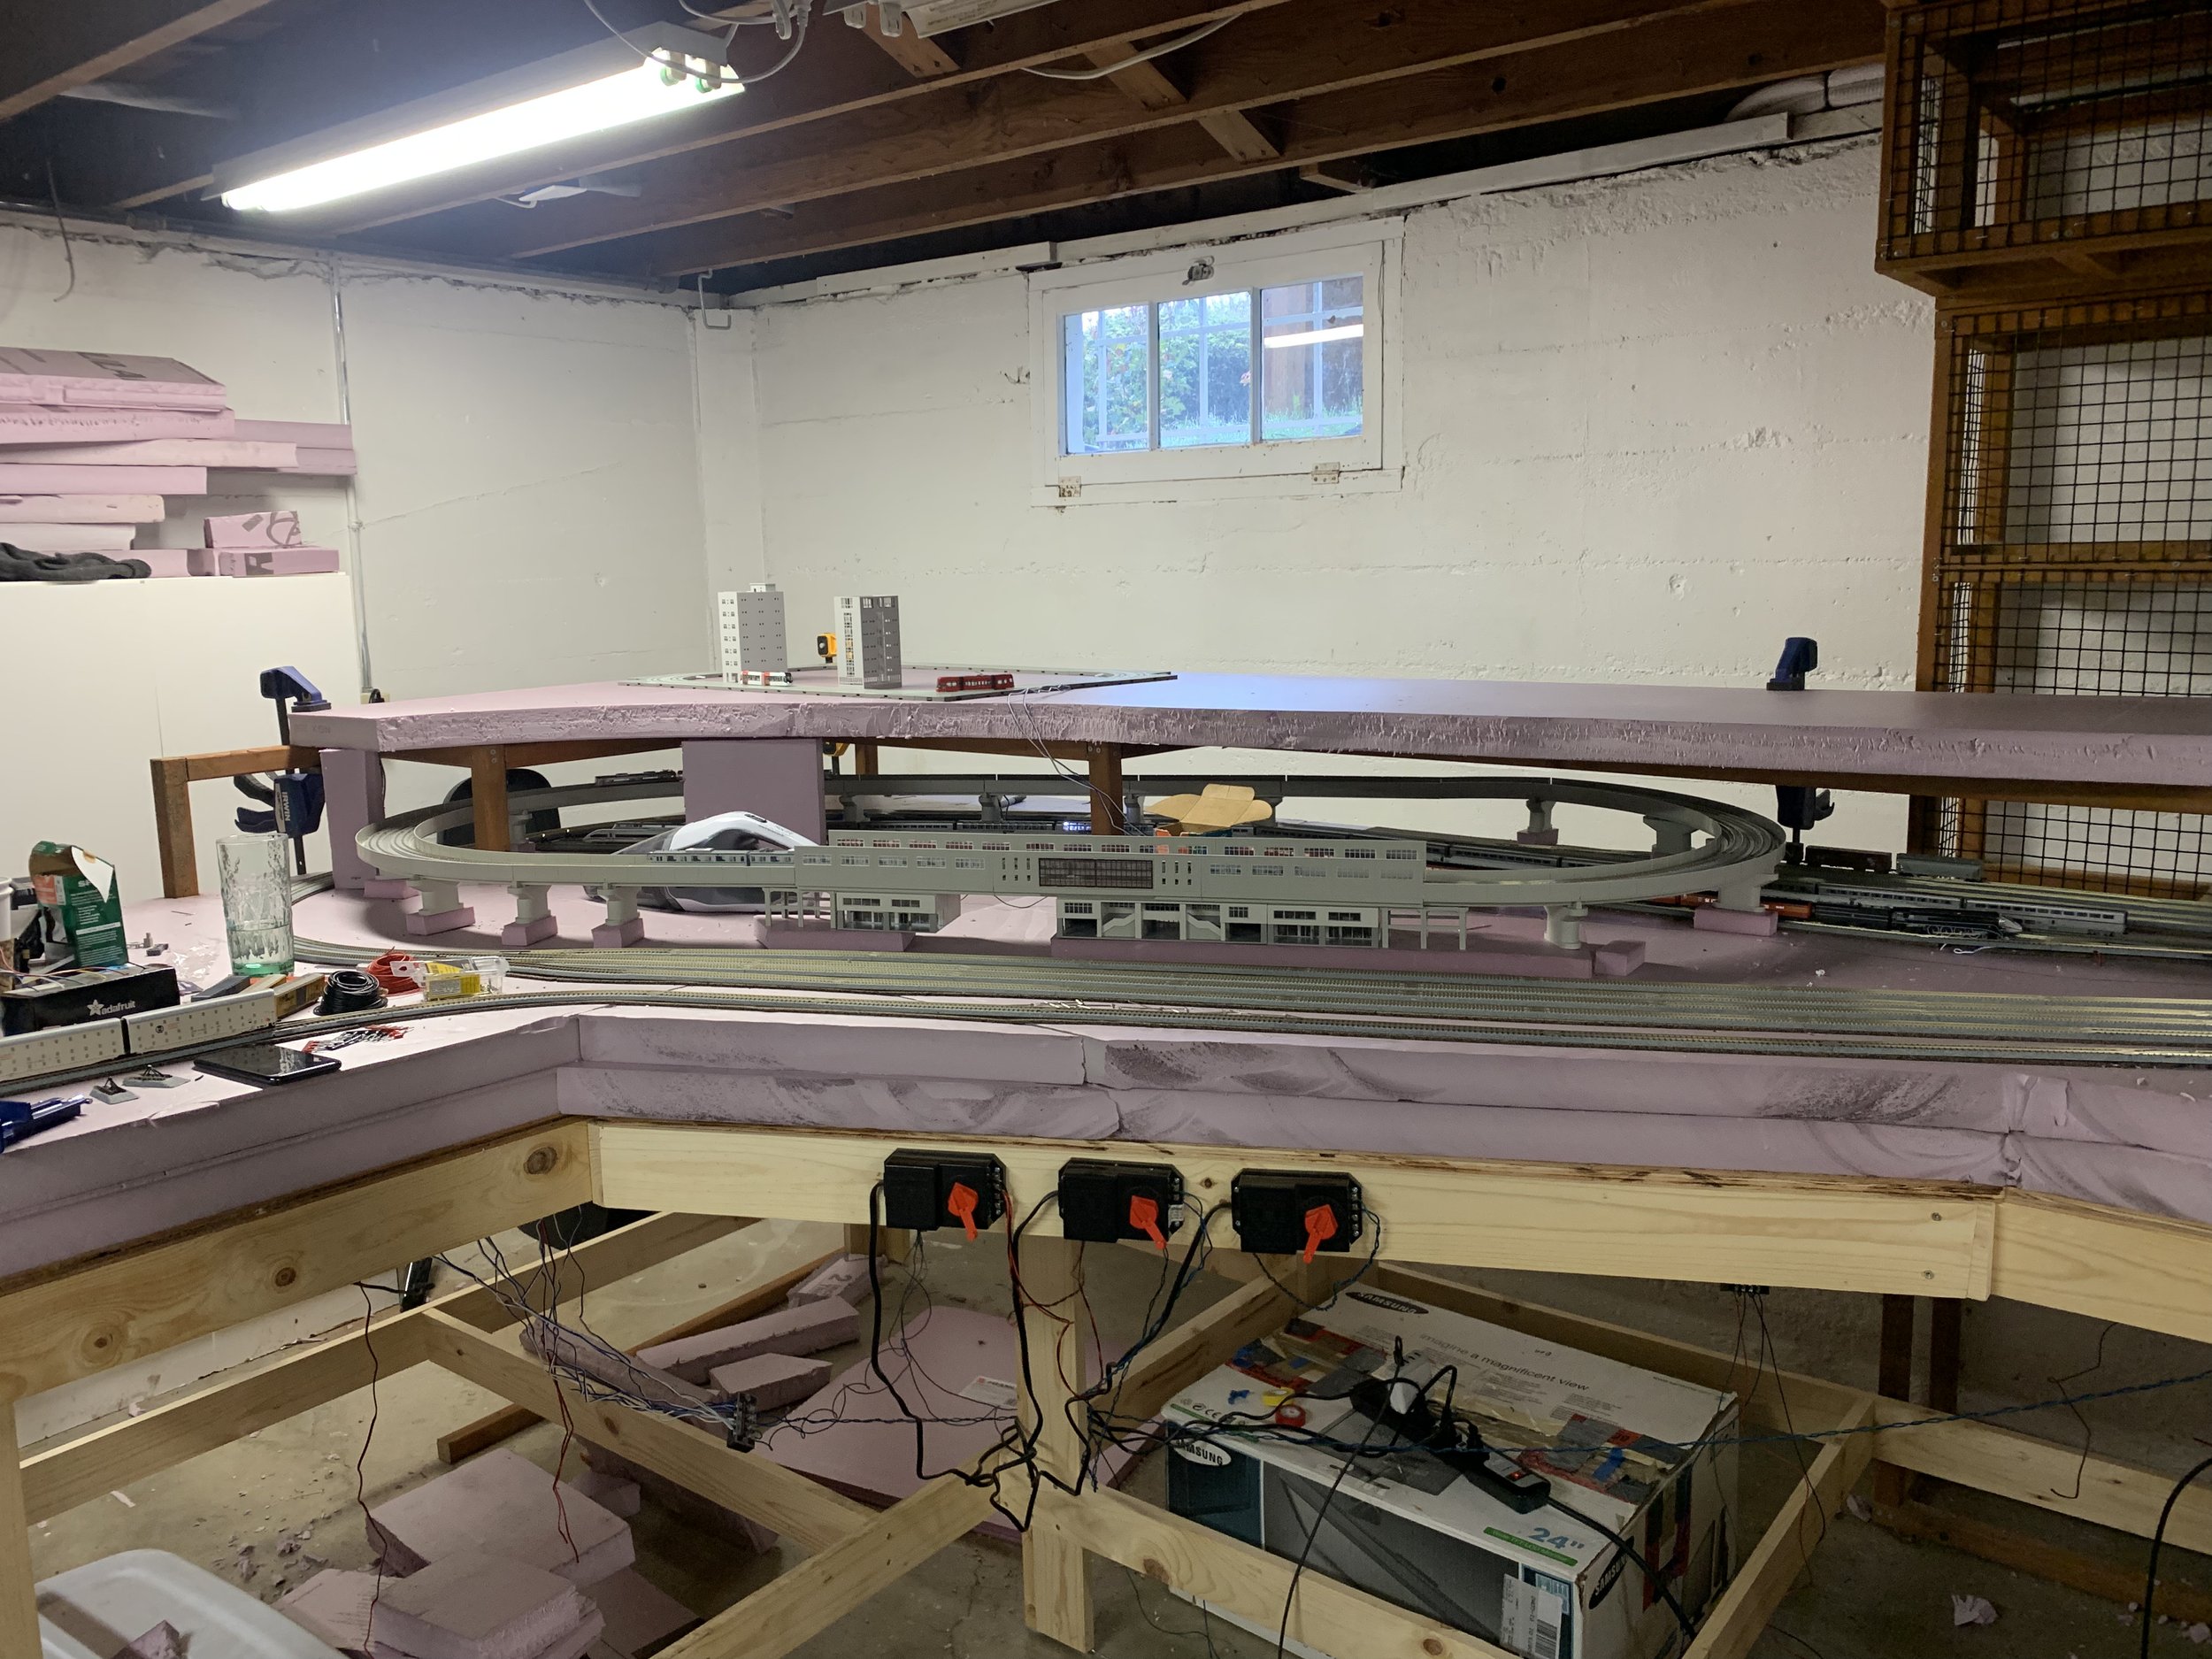
Basement Model Railroad
I’ve loved trains for as long as I can remember. Something about the beauty of the movement, the scale of the presence, and the relaxing sway while inside - it all speaks to me.
While I can’t spend my whole life in a train, as soon as I learned about model railroads I knew I had to have one. Growing up I didn’t have the focus or the resources to build the model railroad I wanted, but as an adult I at least have the resources.
So when I was looking for a house and found one with a huge basement I knew exactly what had to go down there.
The layout isn’t even close to done. At this point it has already doubled in size, and gone through 4 major iterations. But I finally have a base layout that I like, and thanks to my friend William it is all wired up.
The final goal was to have a large waterfall with the train passing below and in front of it, and the layout wrapping around it so that the waterfall becomes the focal point. In the end I opted for two focal points, as you’ll see later on.
The Initial Build
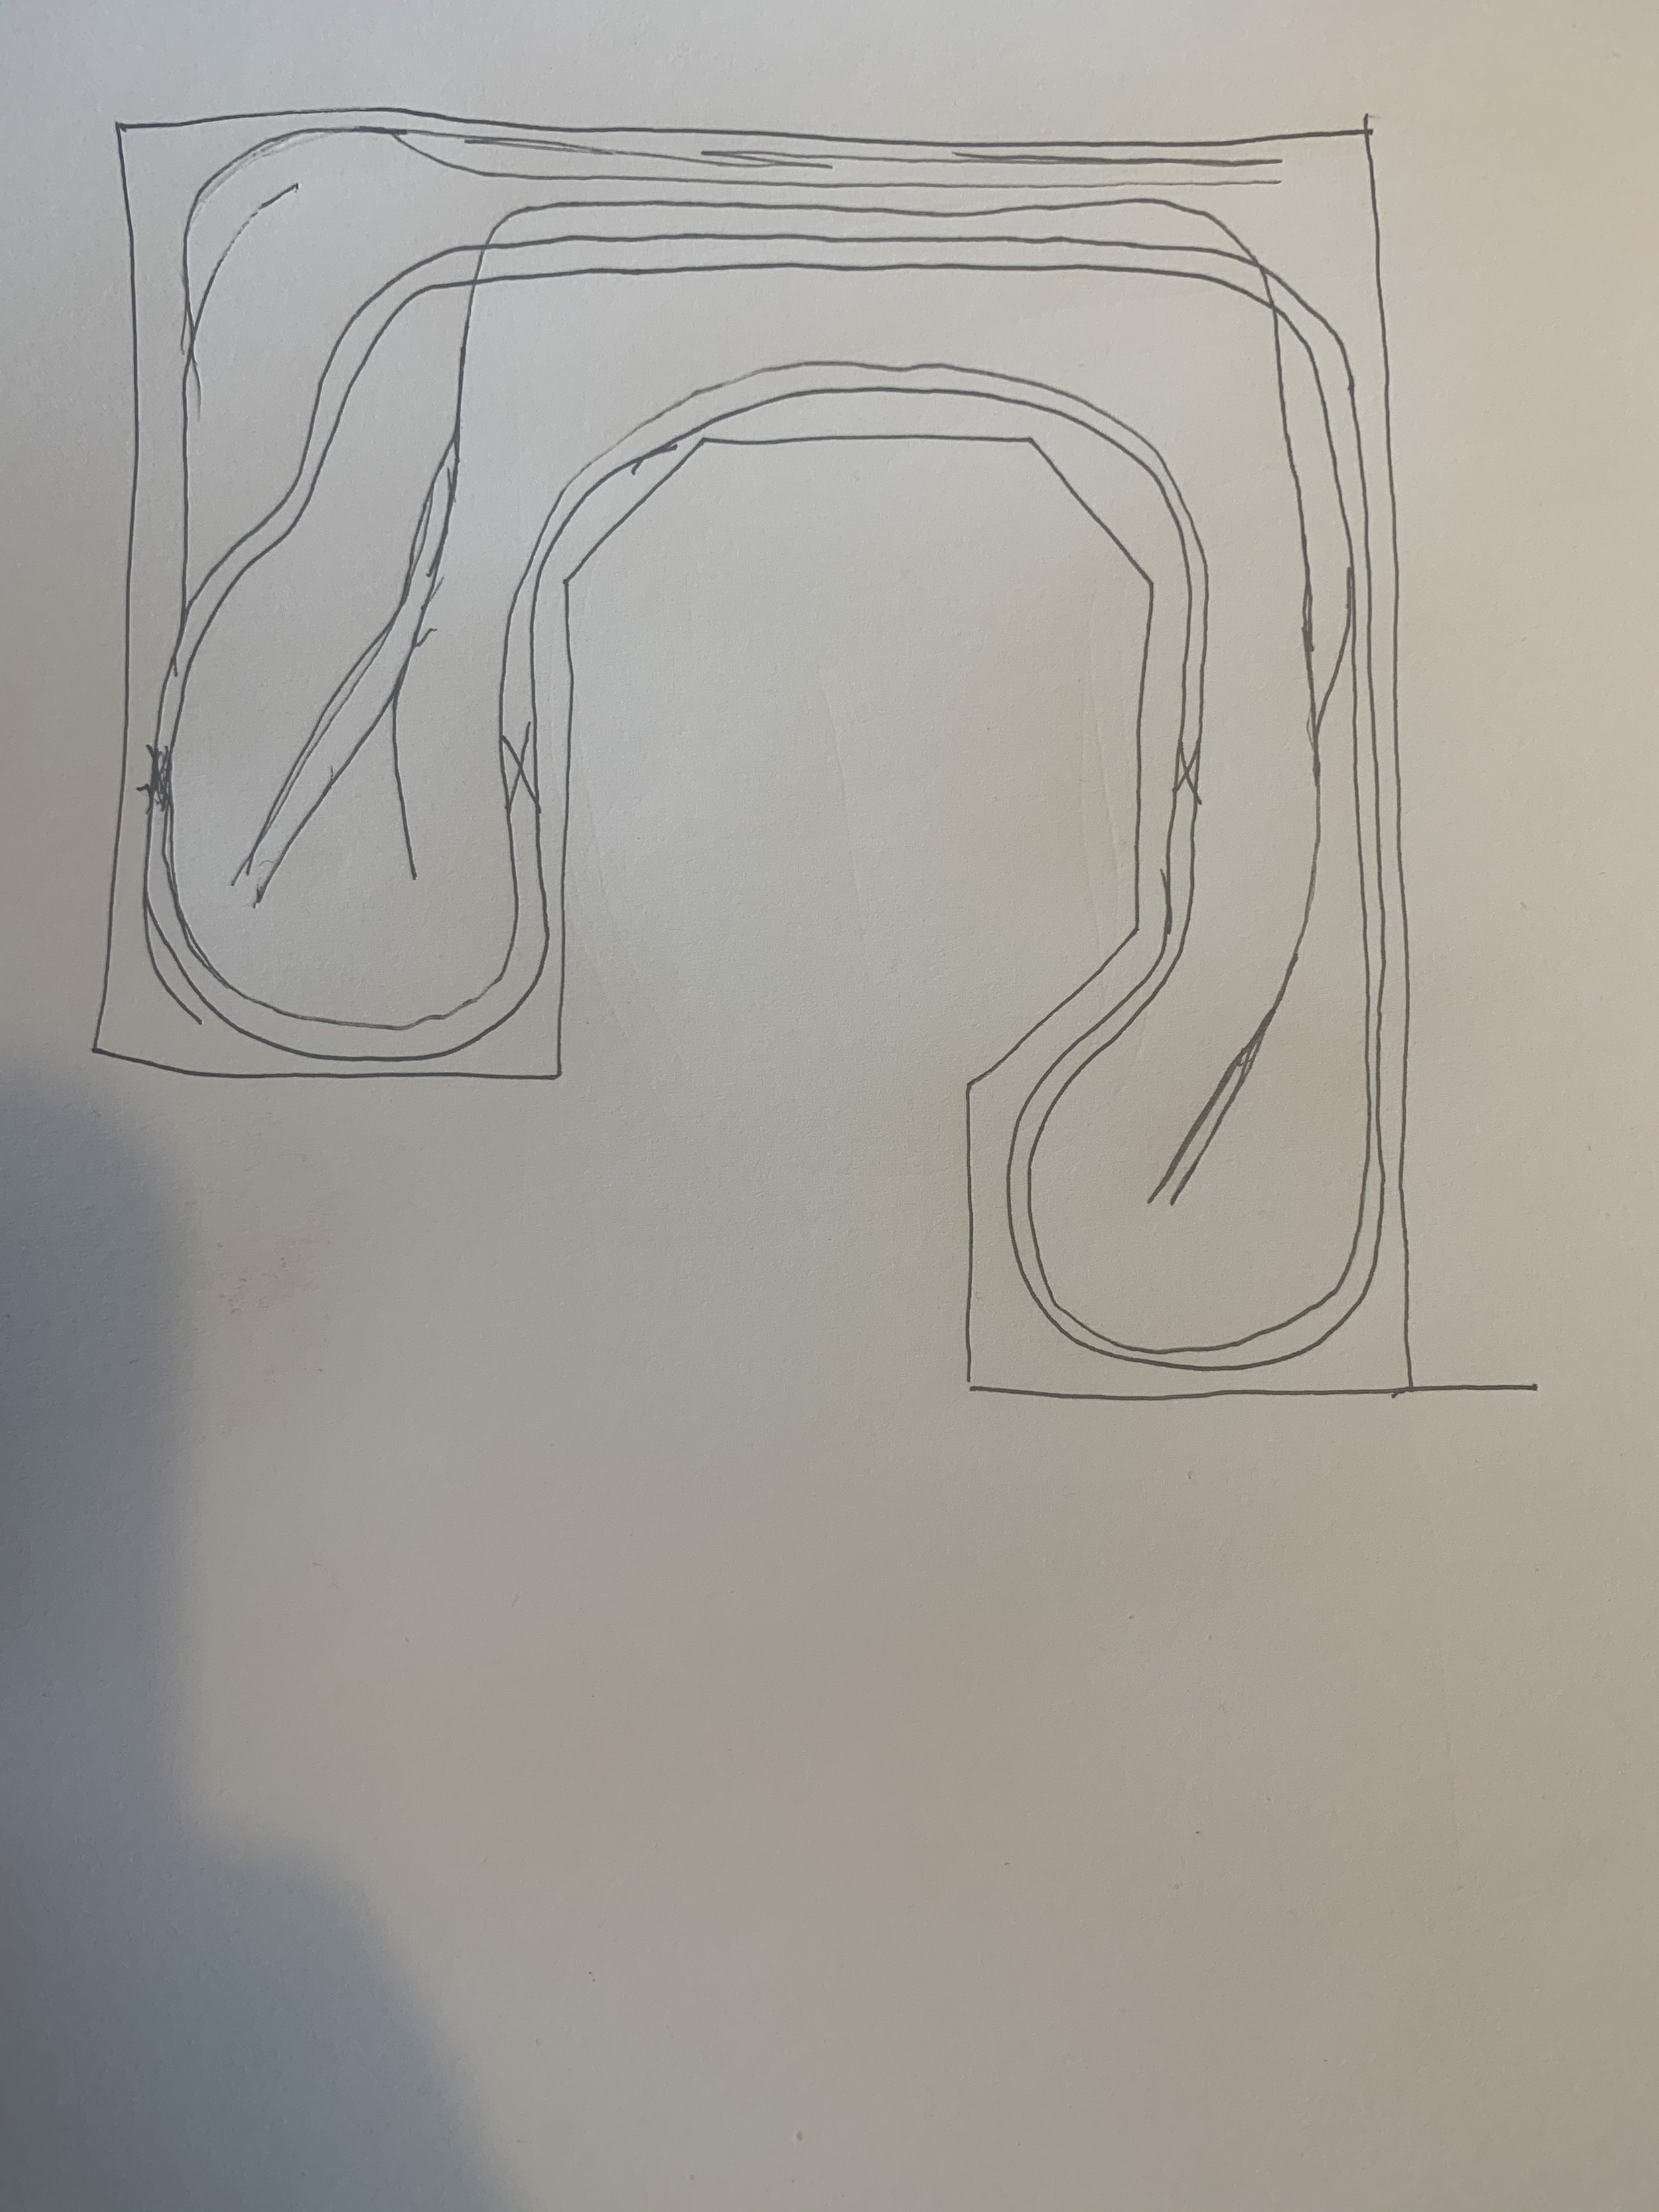
I started building the original table in the winter of 2019. I started with my dad, by putting tape on the concrete floor with the rough shape of the main line of track that I wanted. We then put out more tape around the layout to form the table plans, and then I rounded up to the nearest half-foot or so.
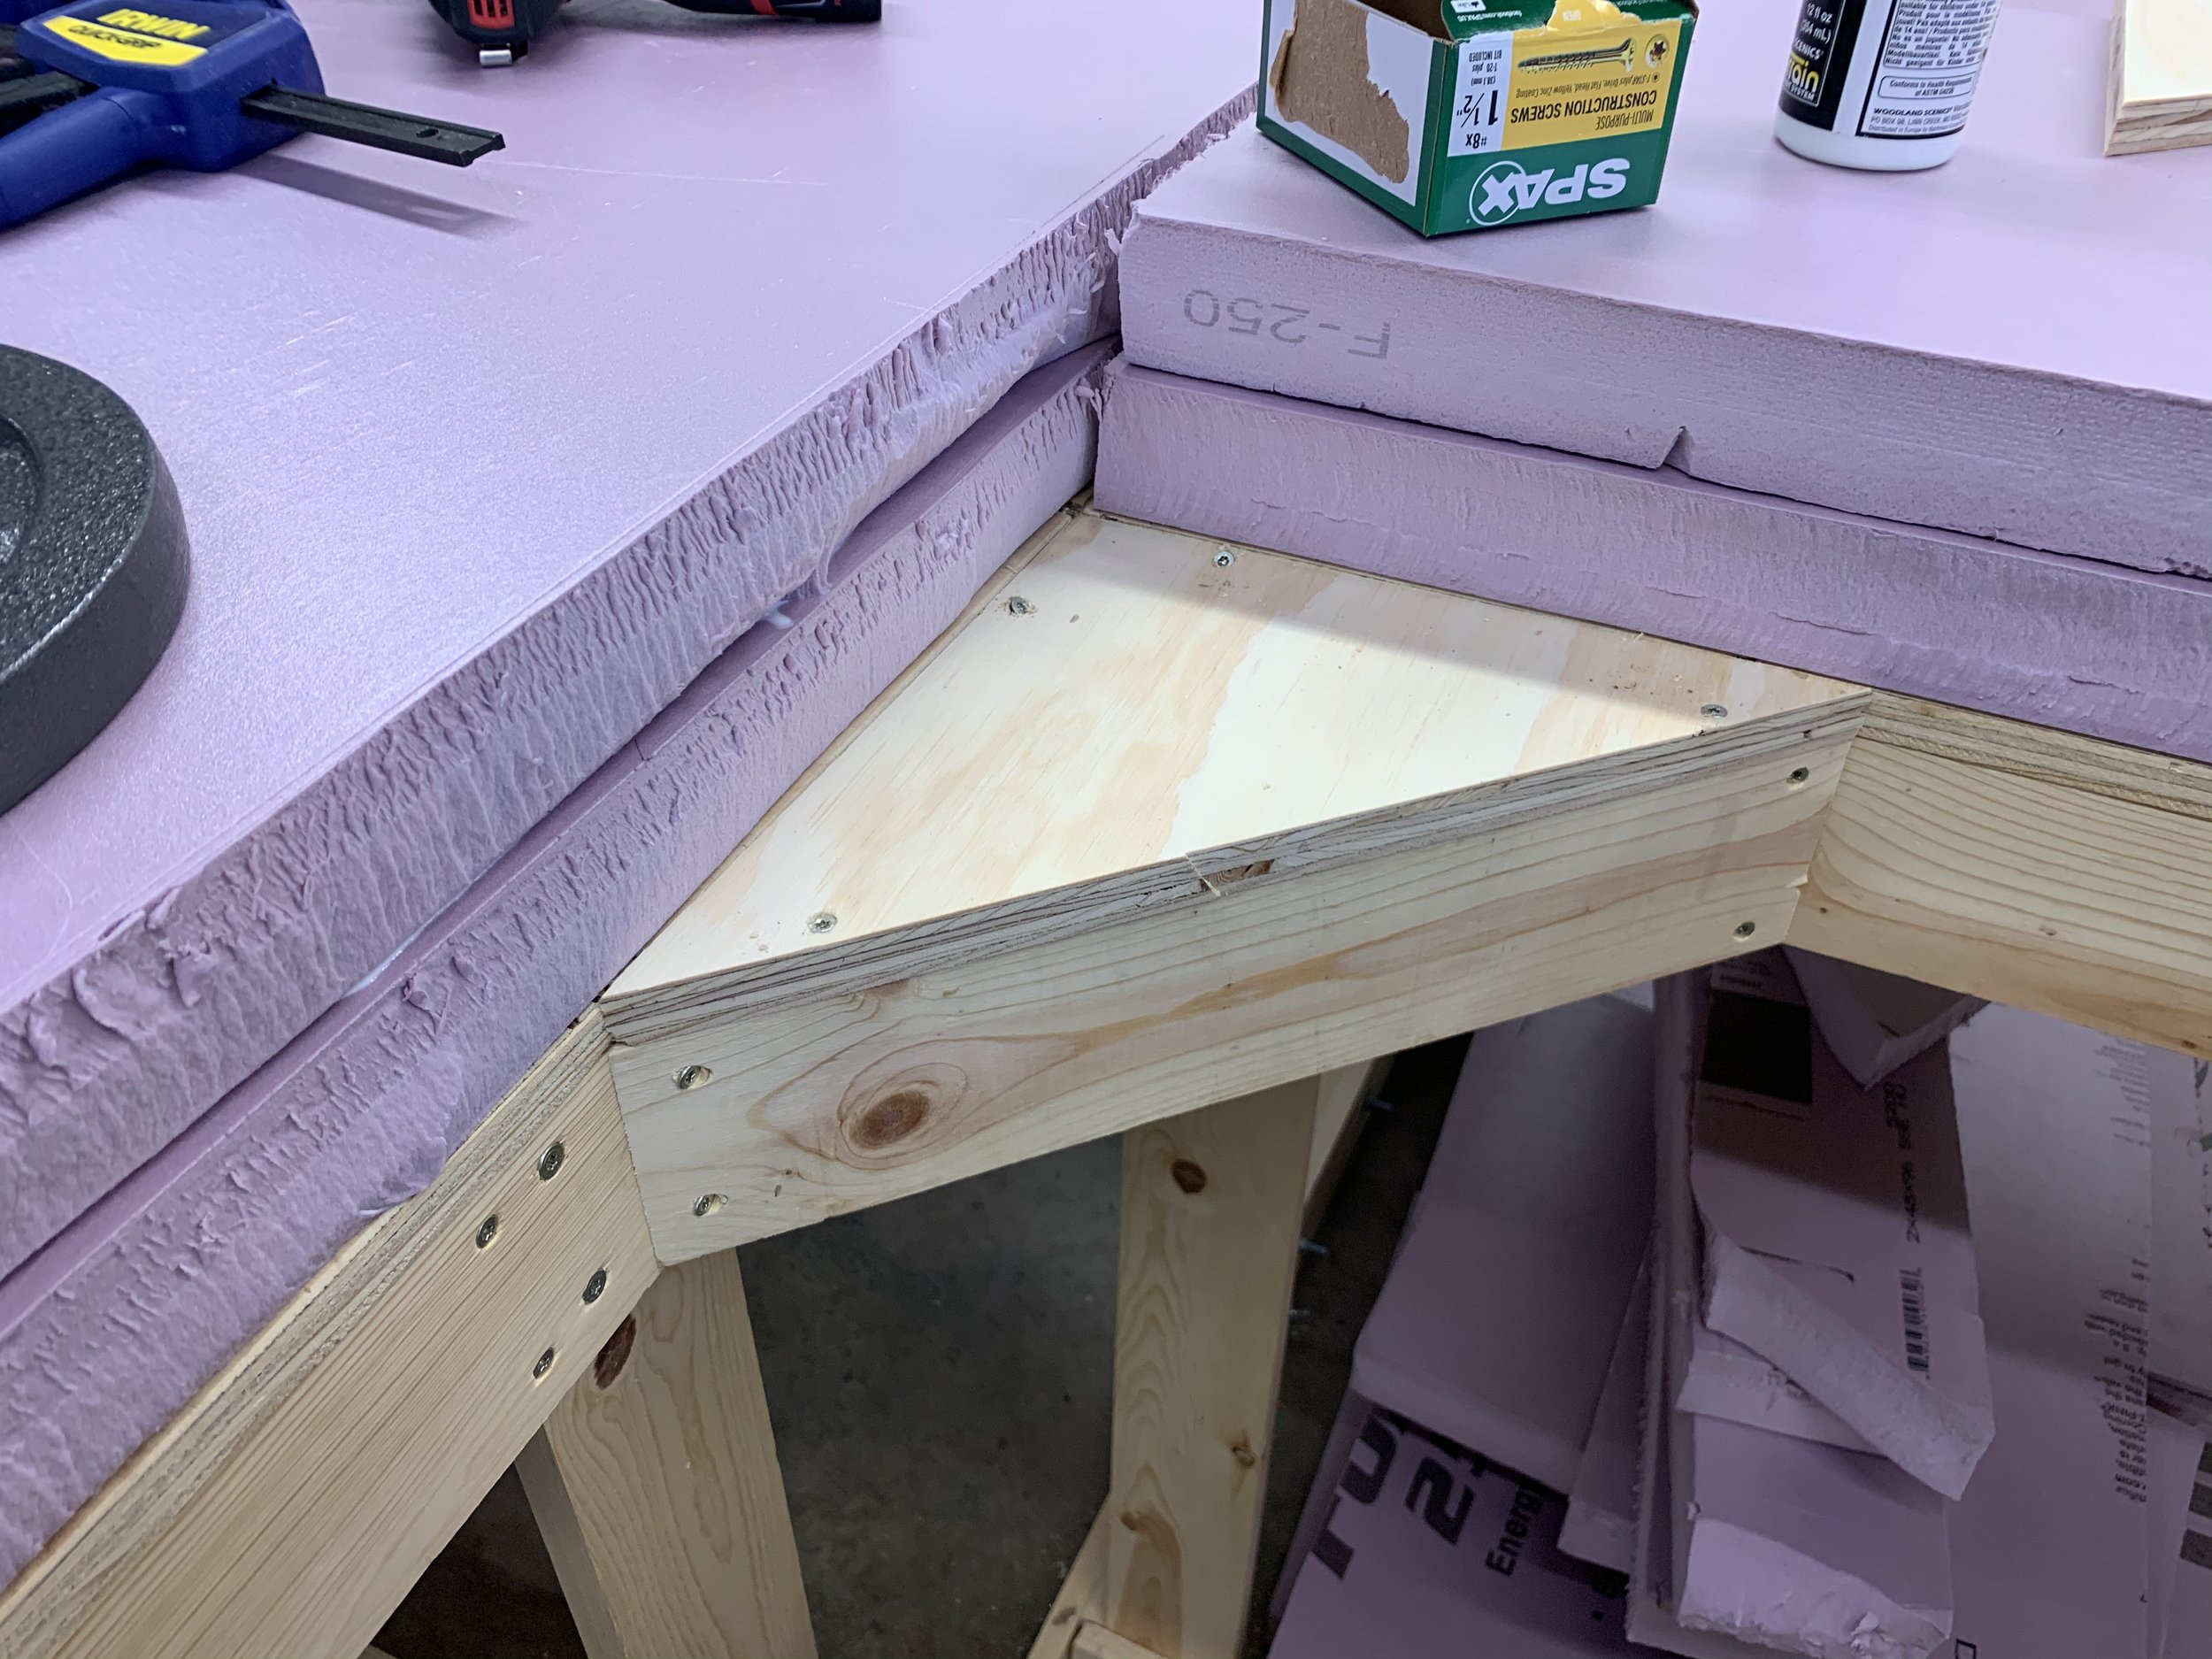
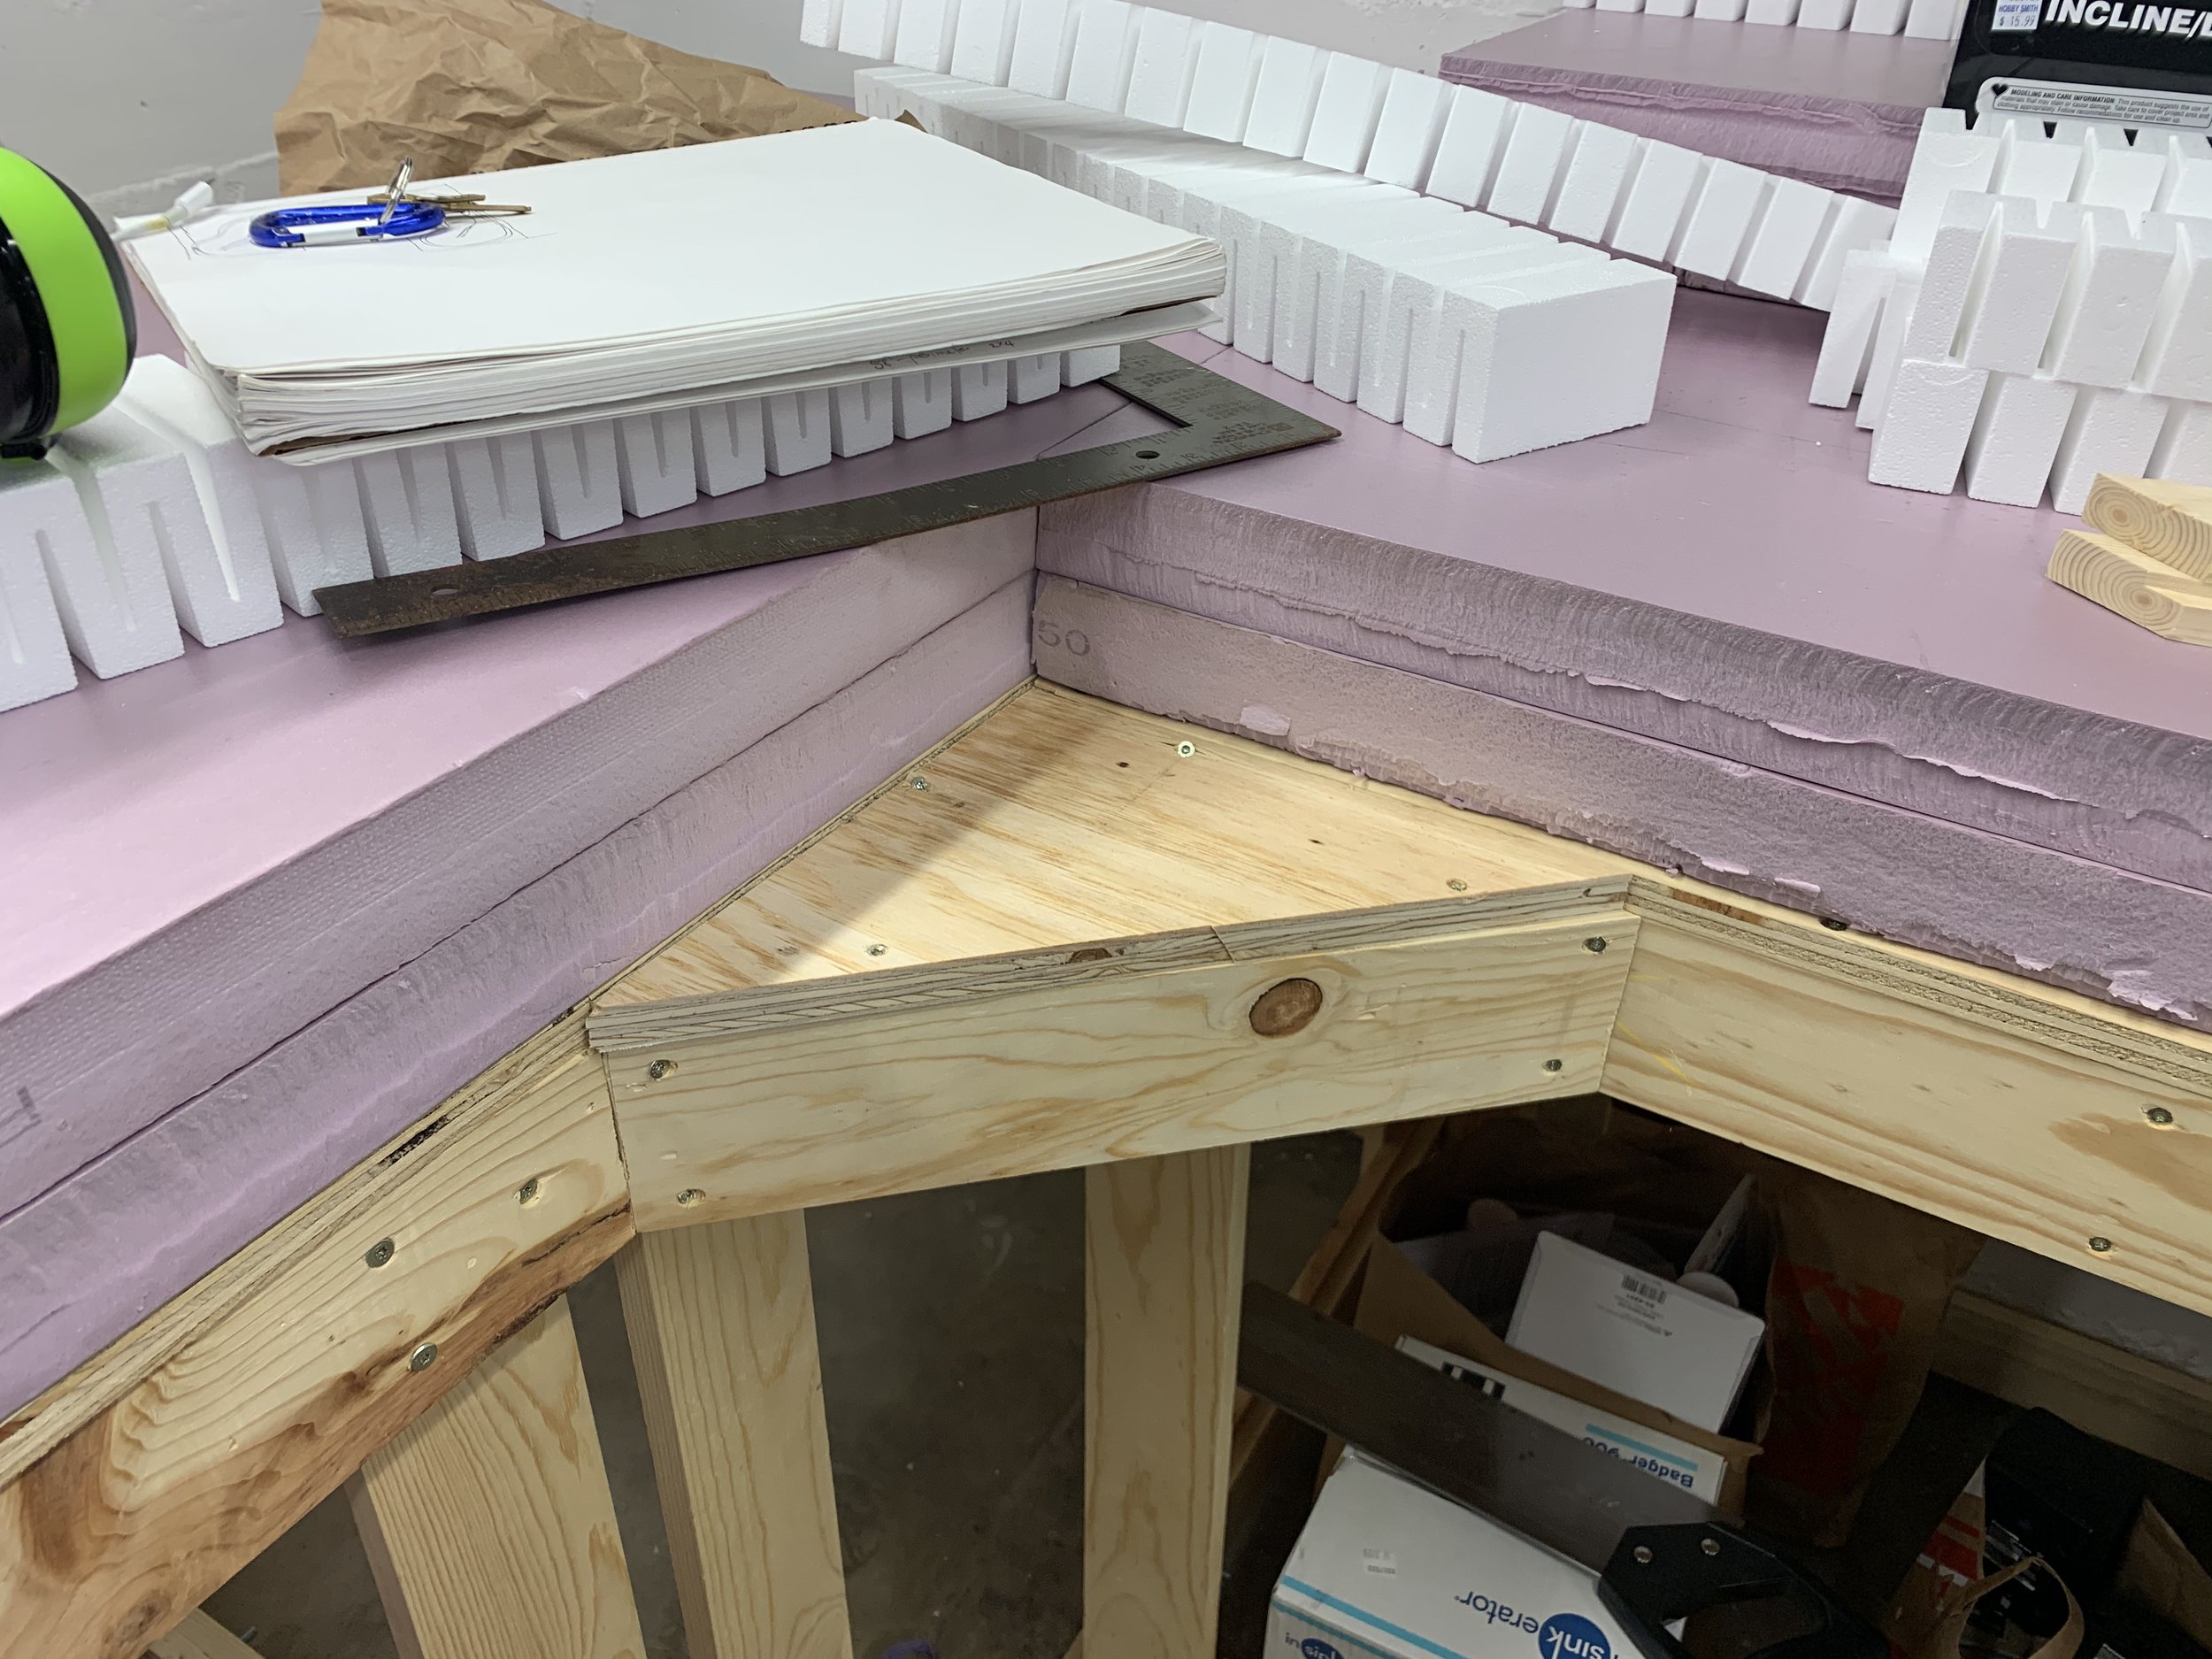
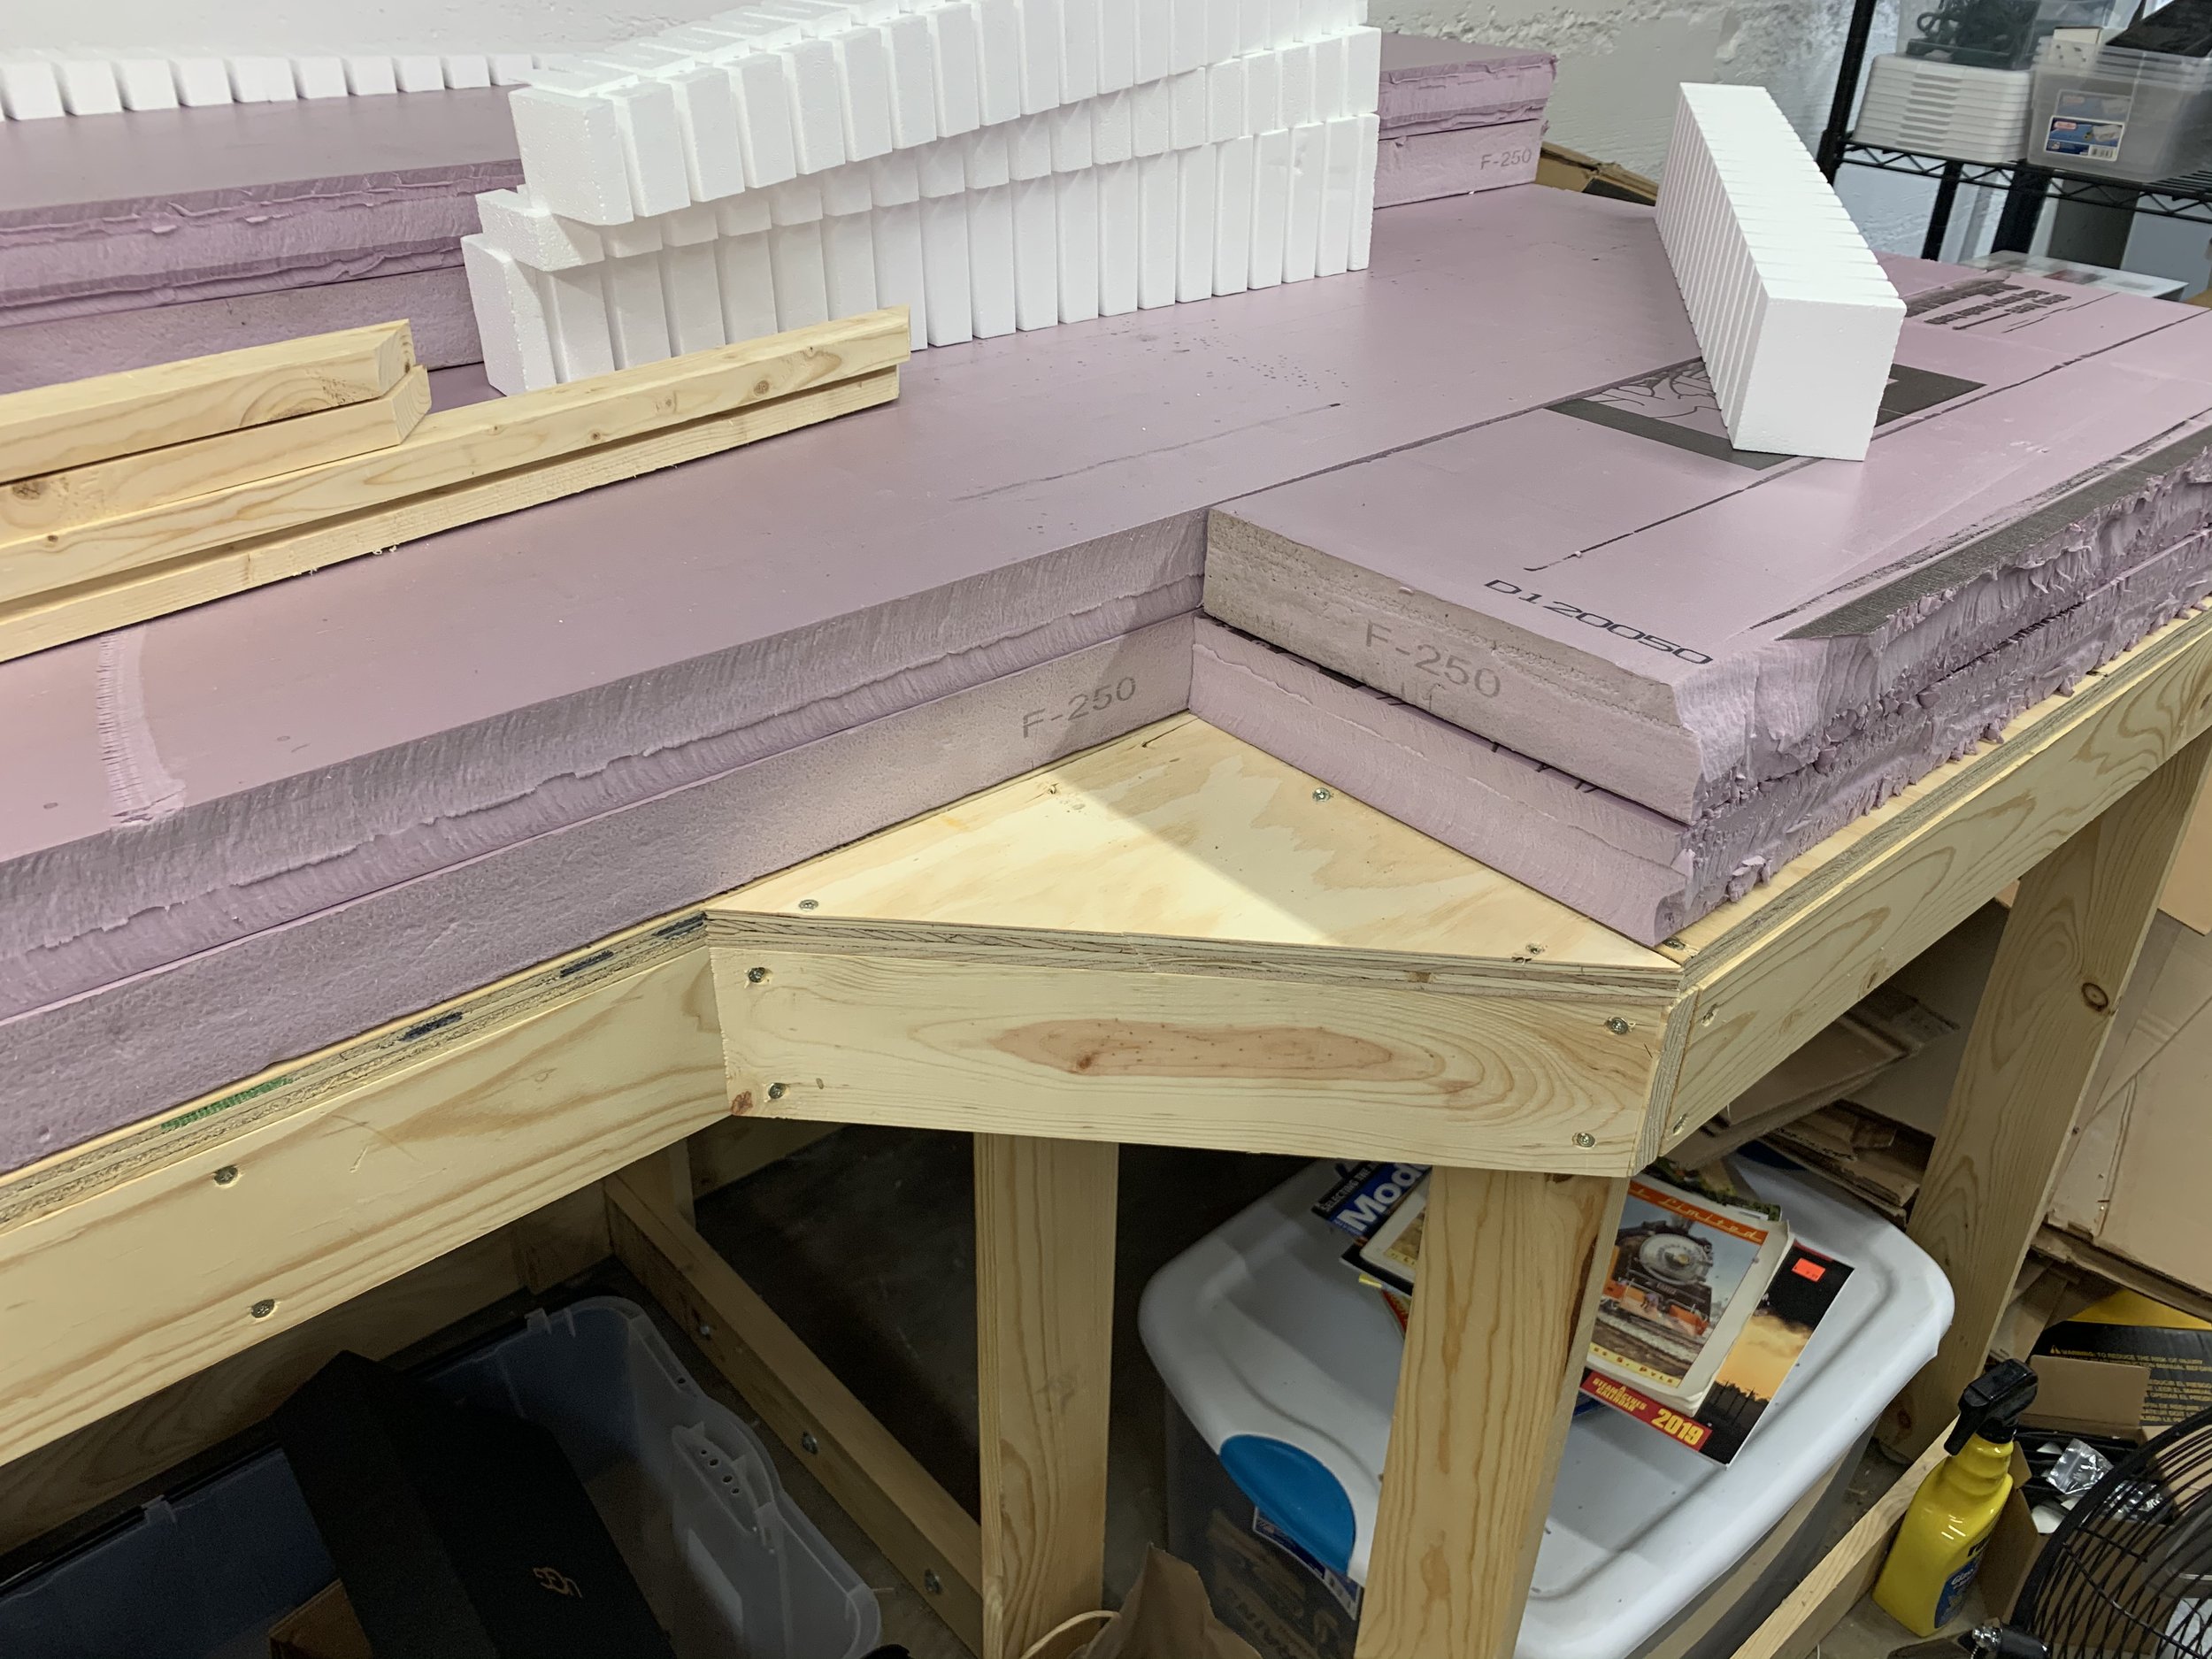
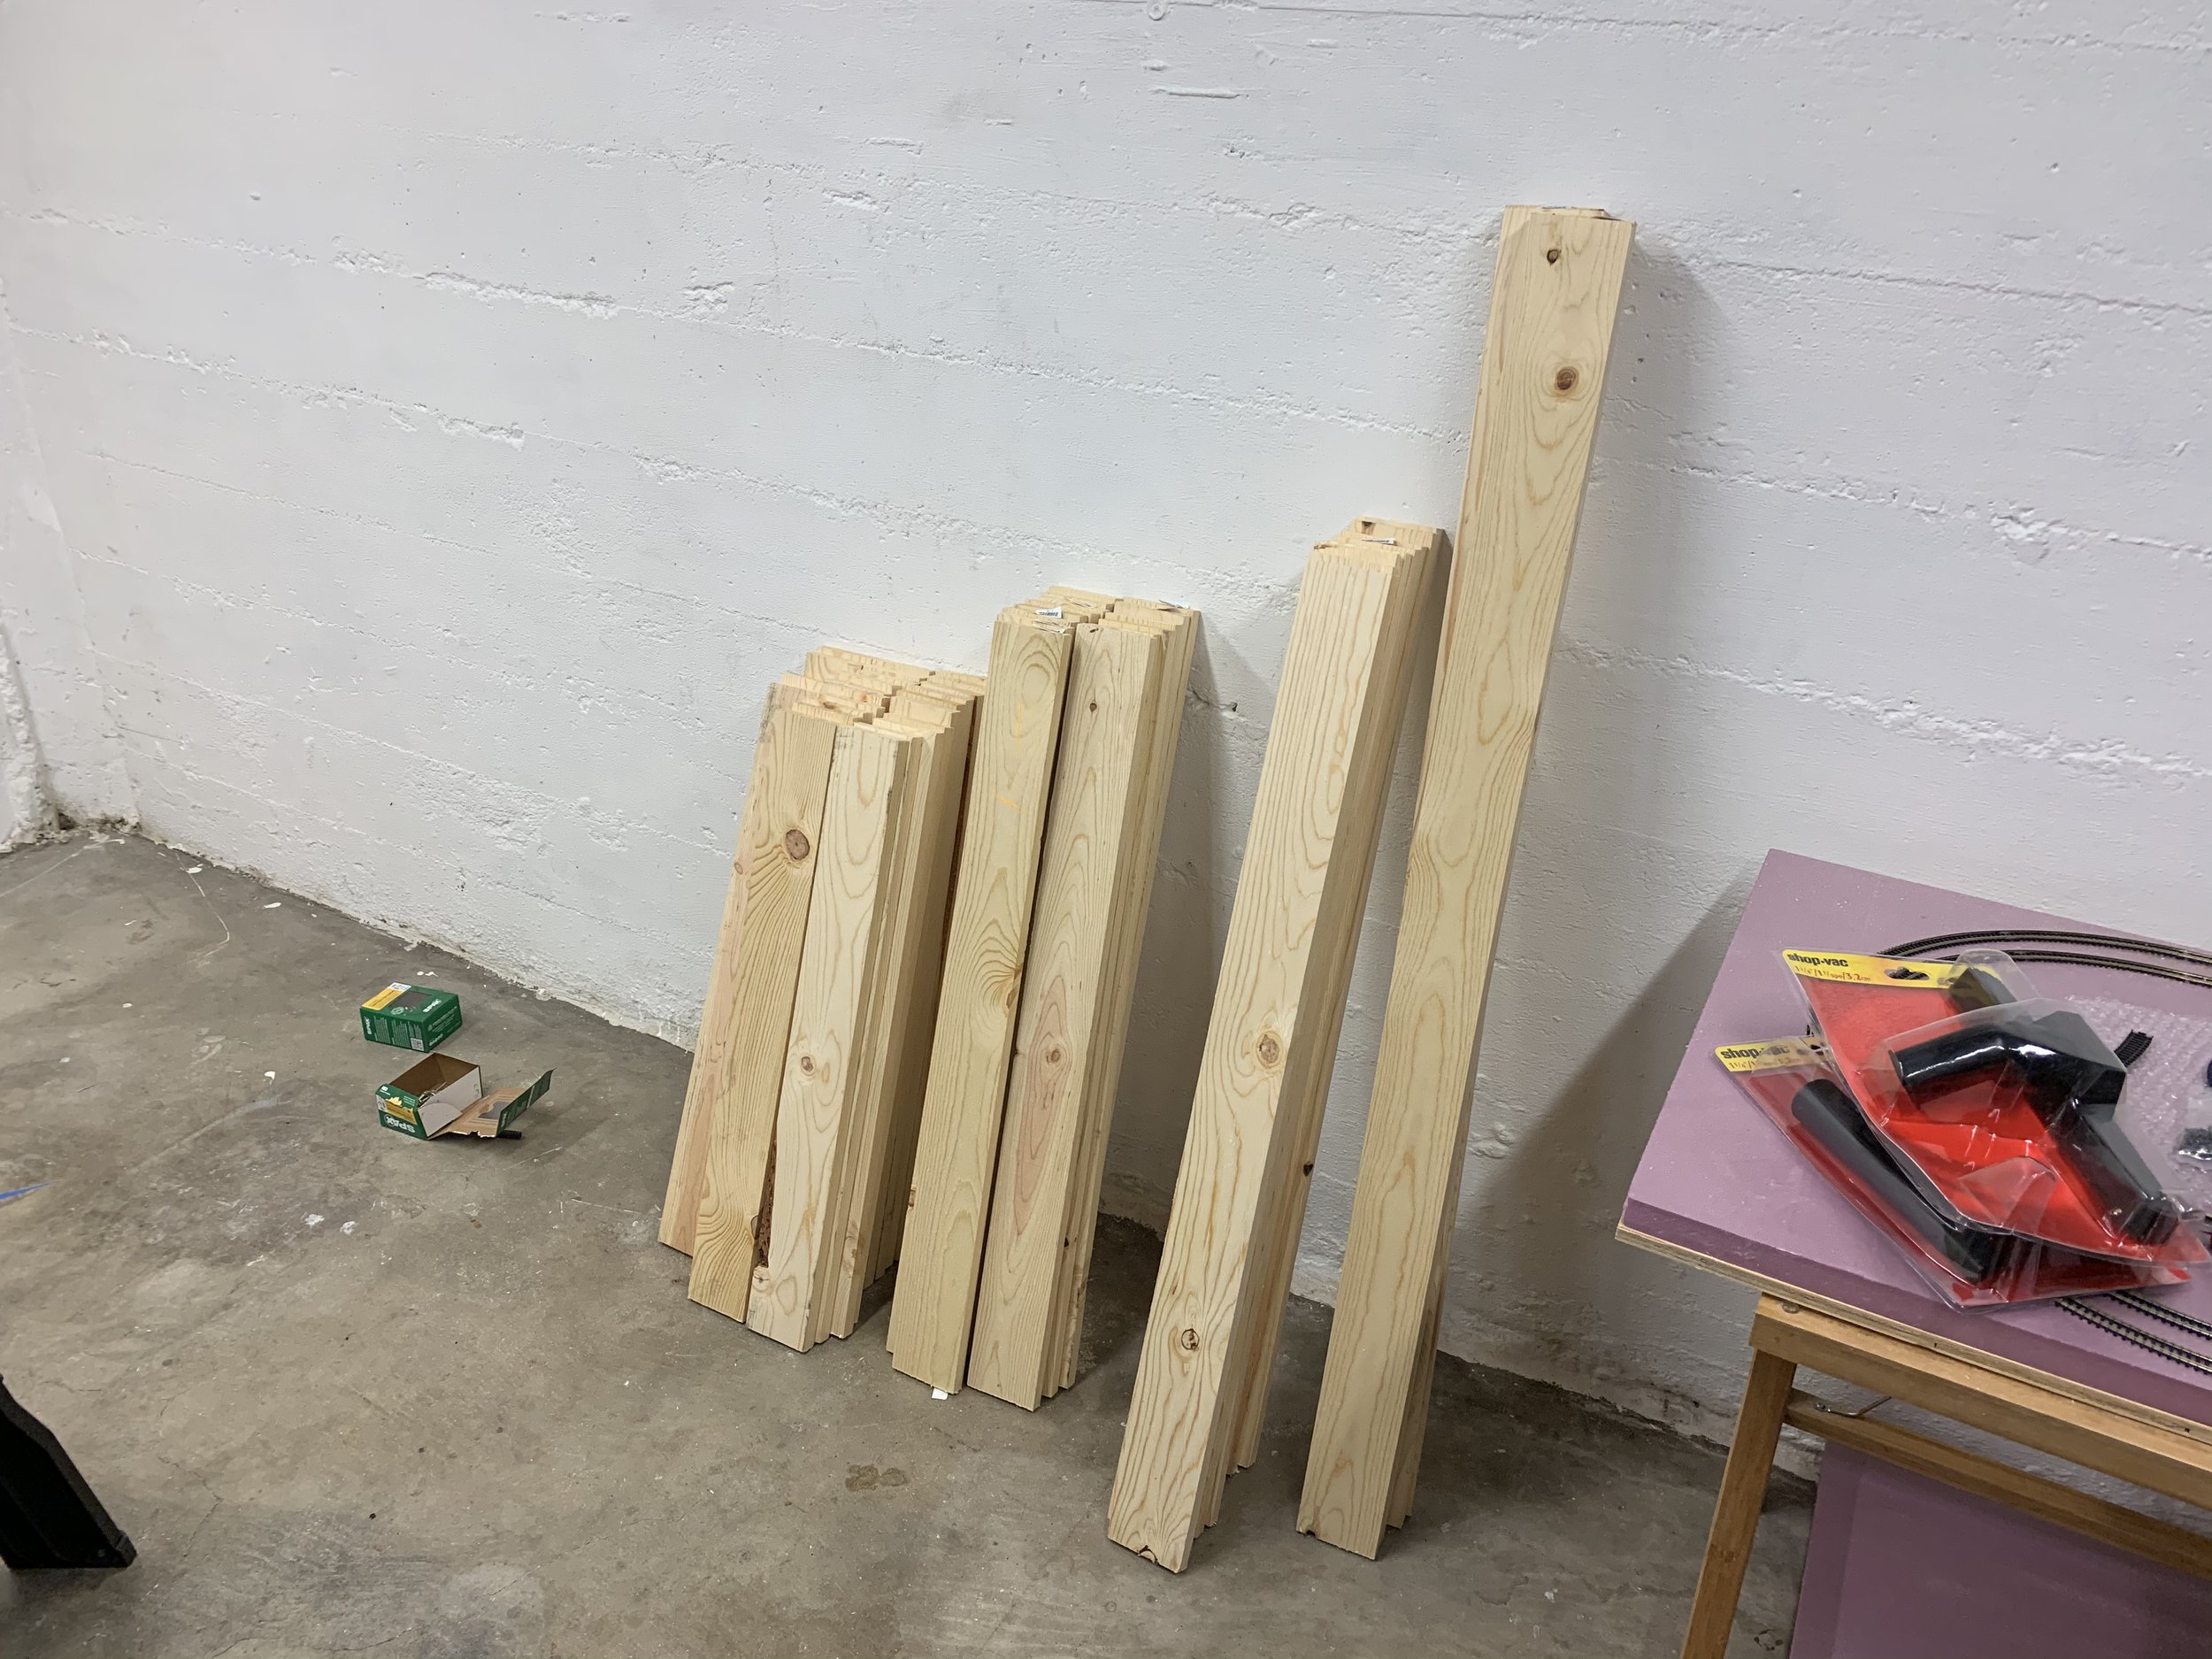
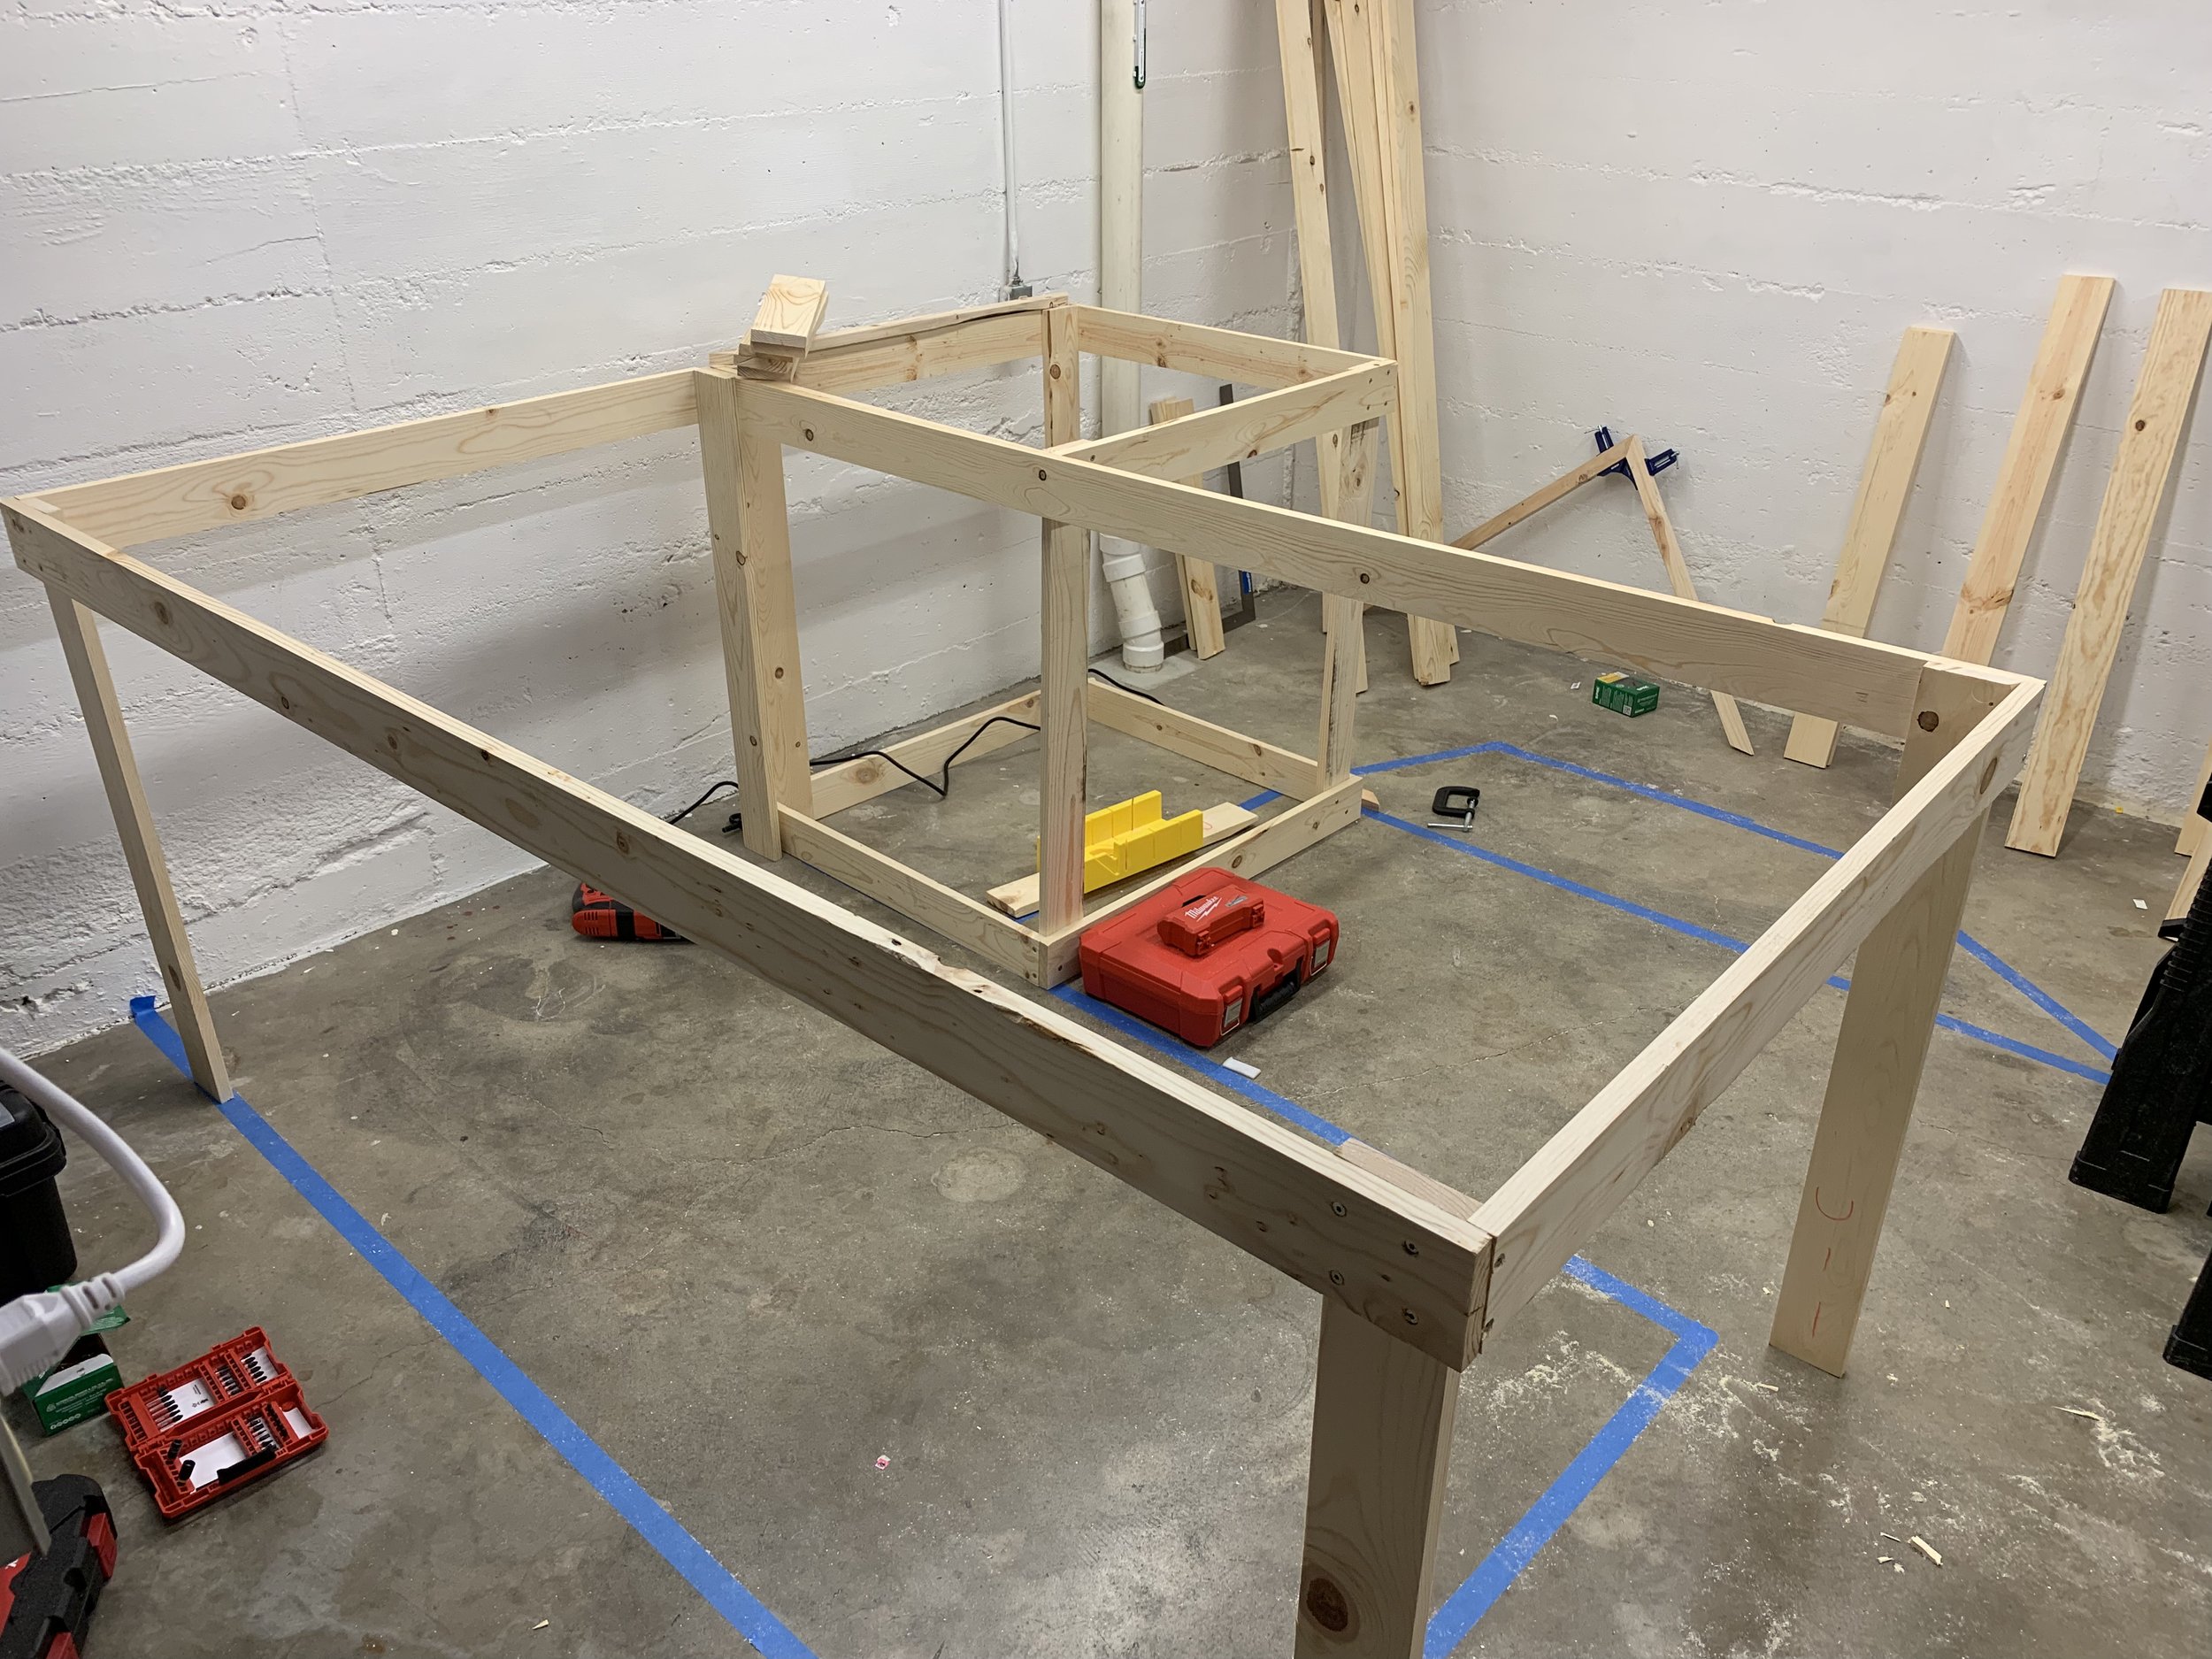
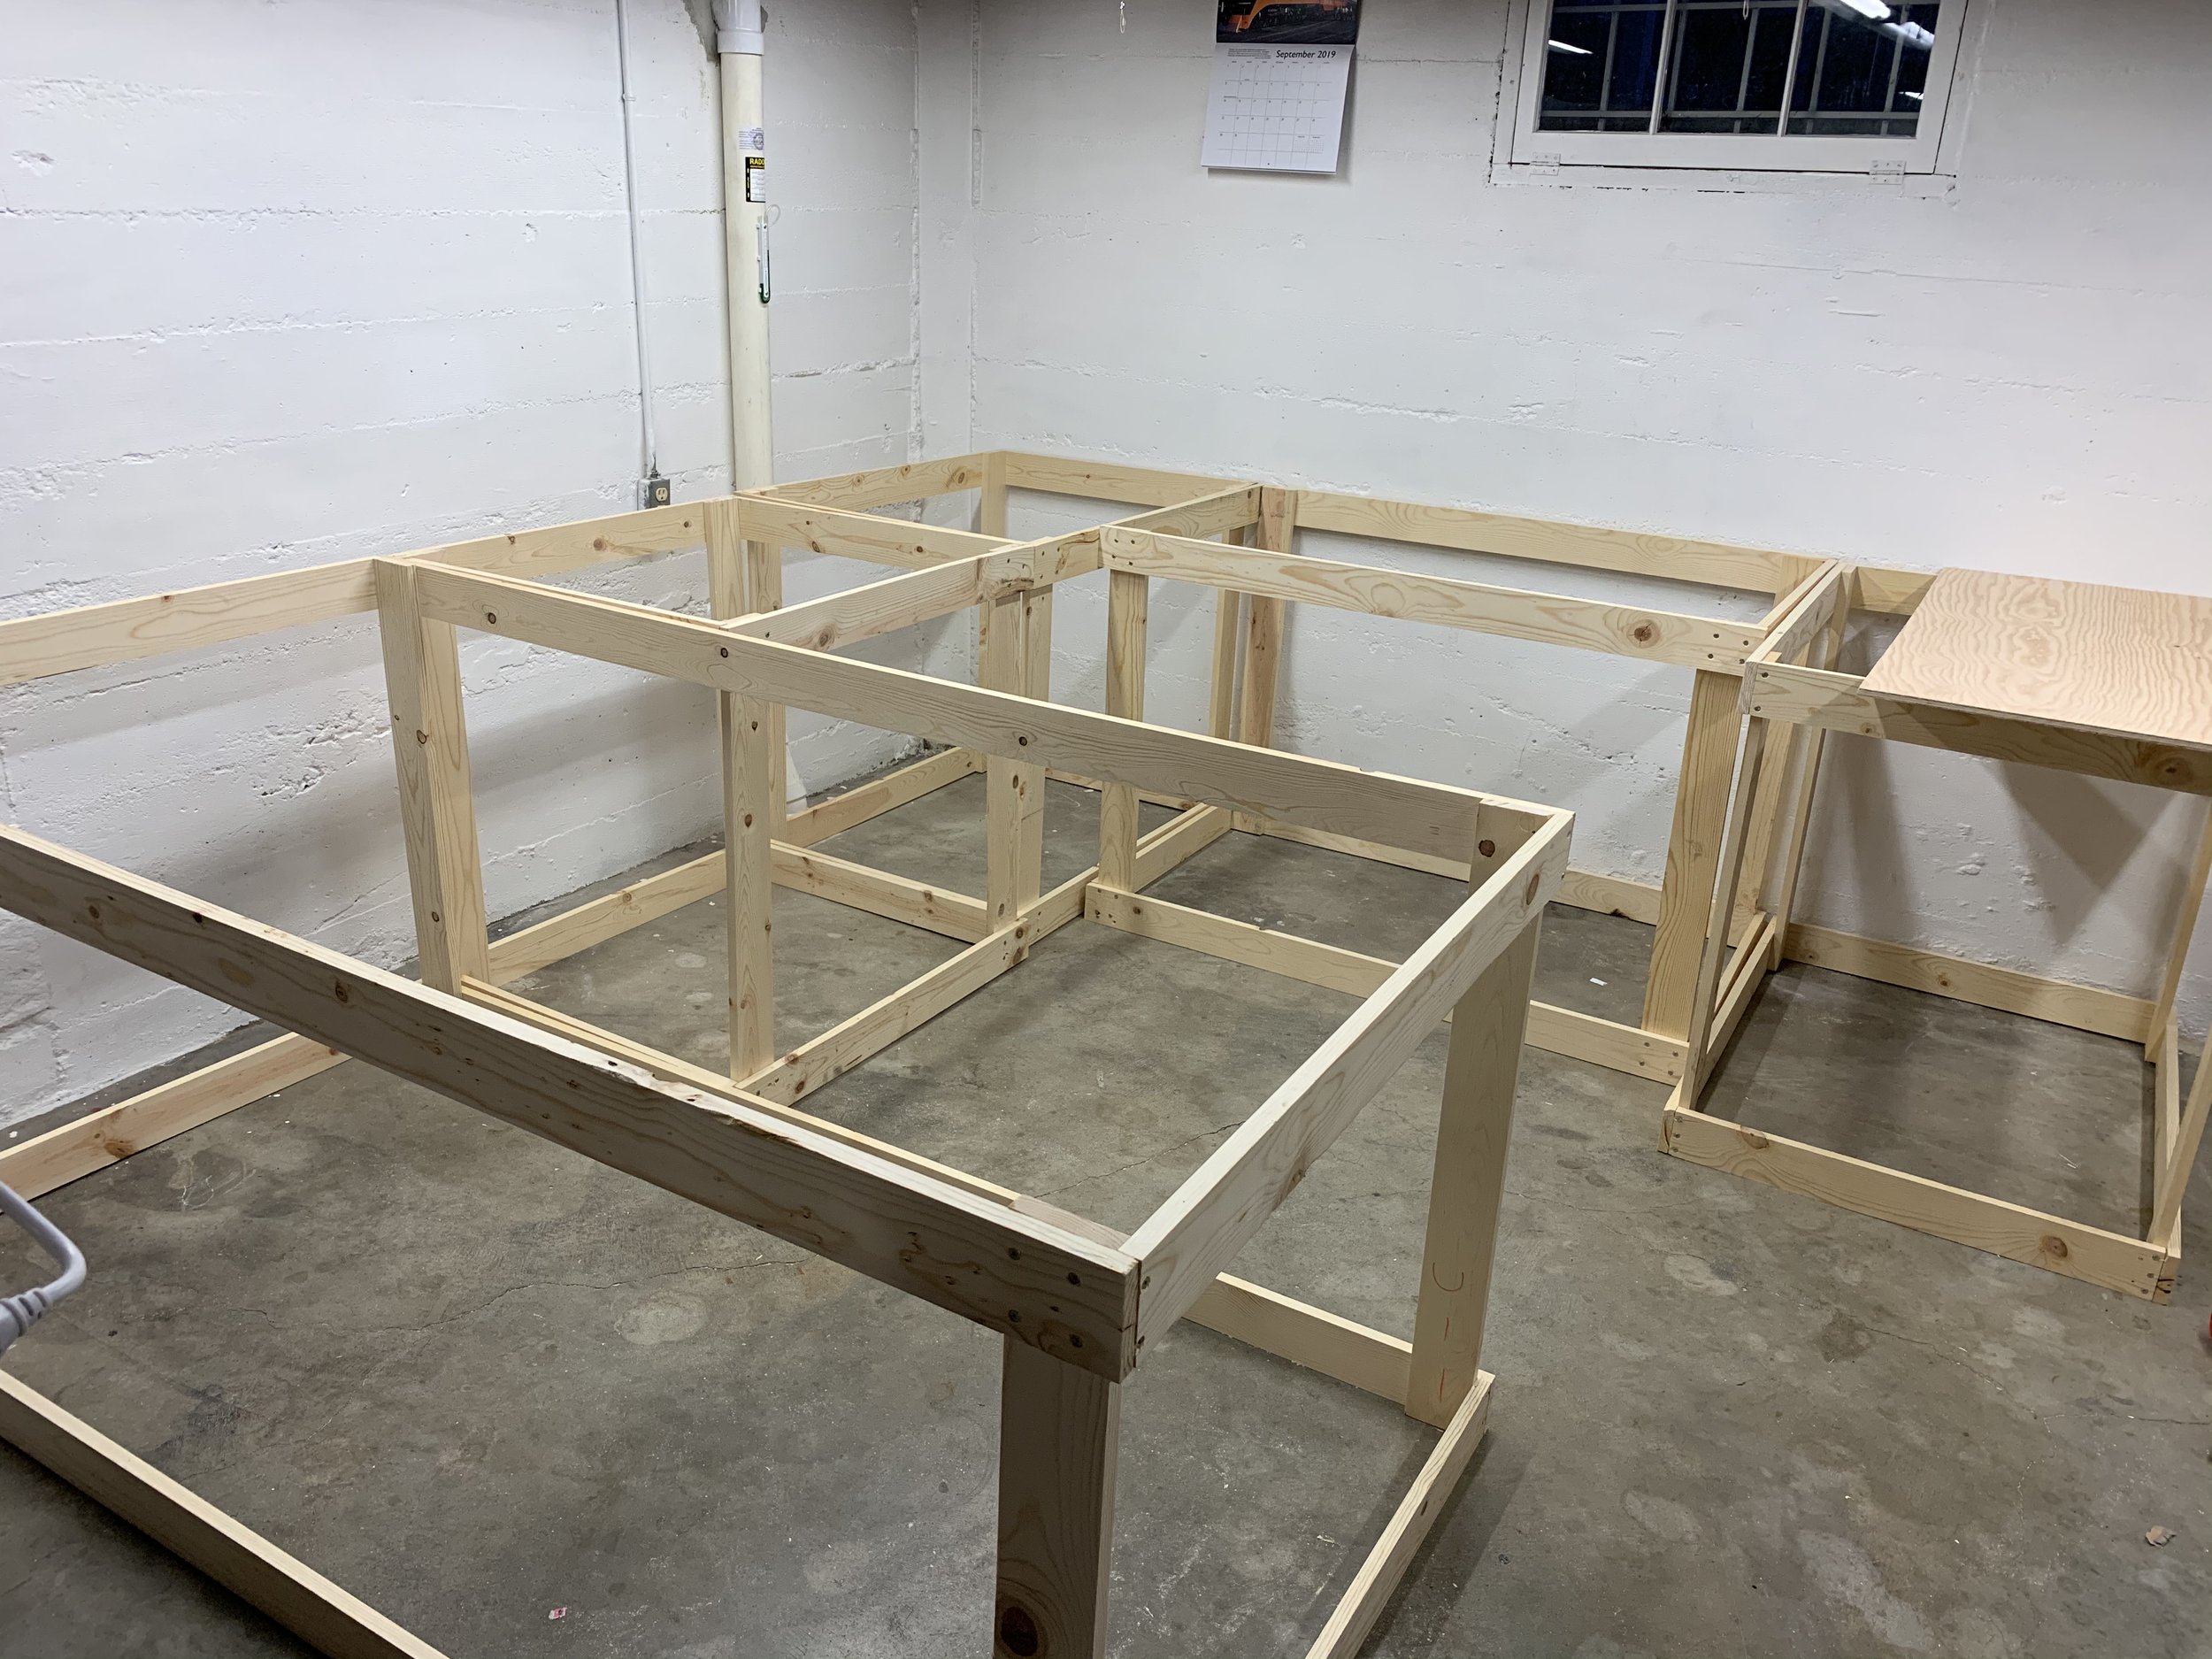
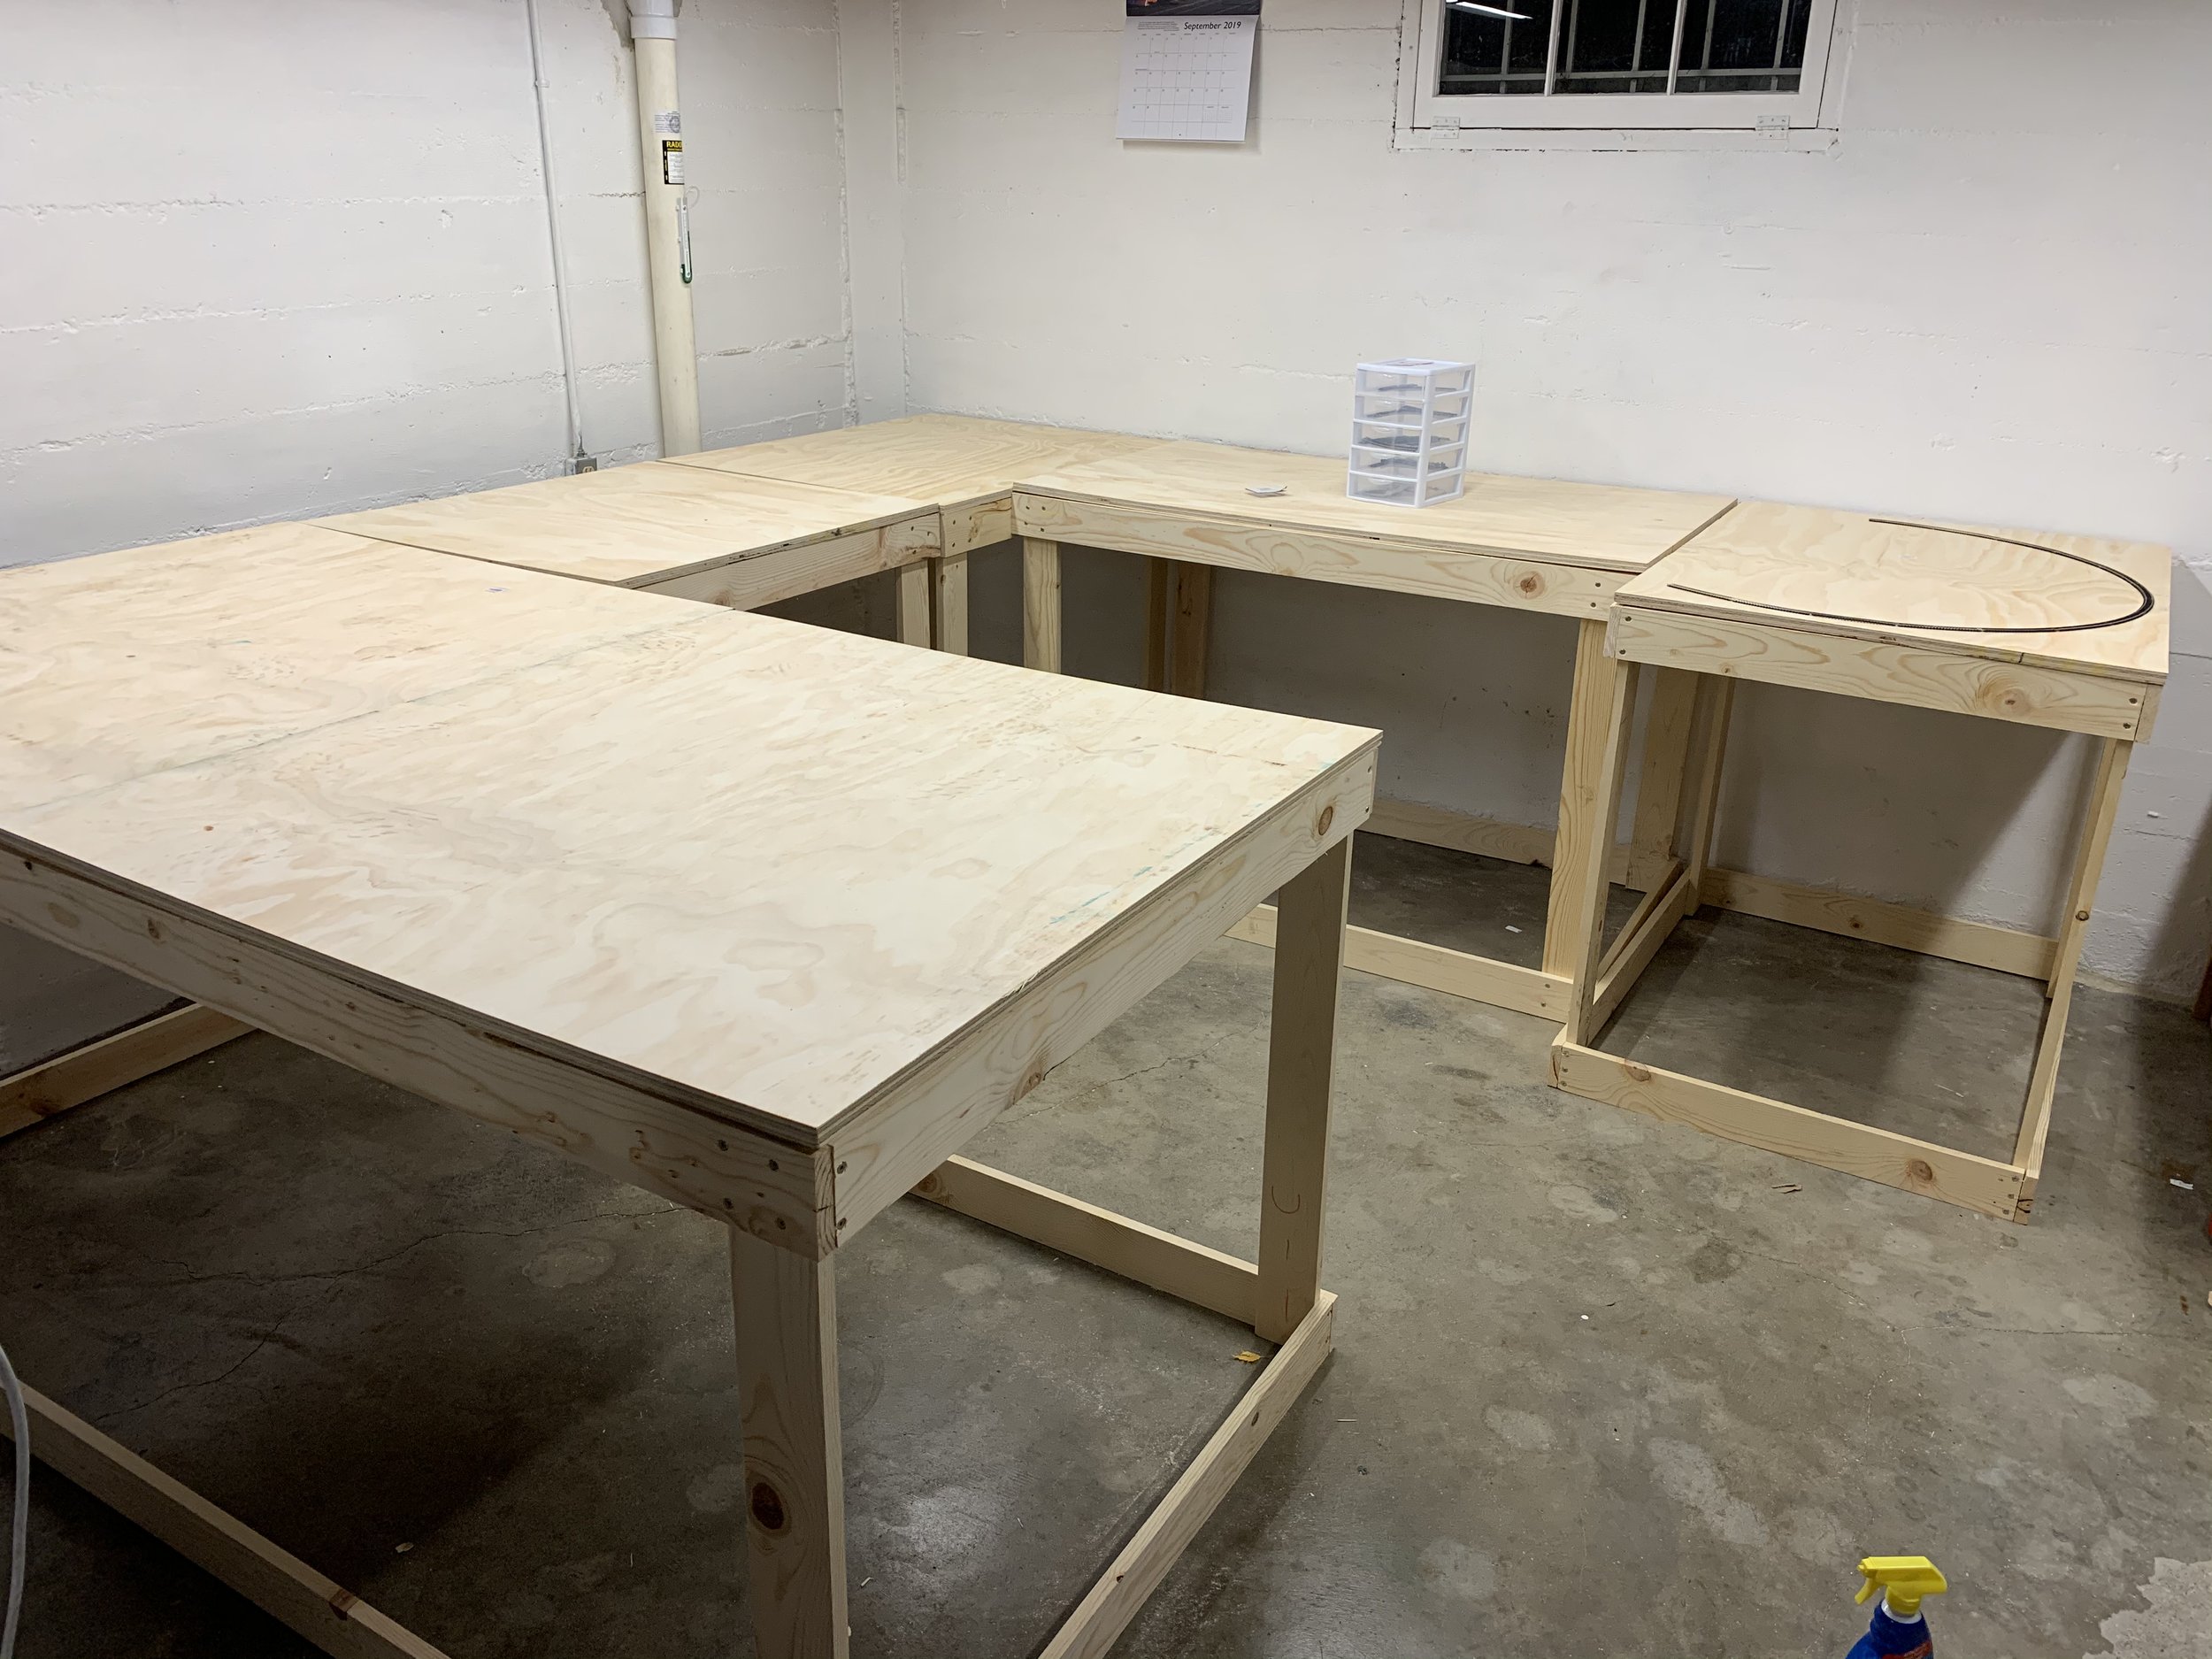
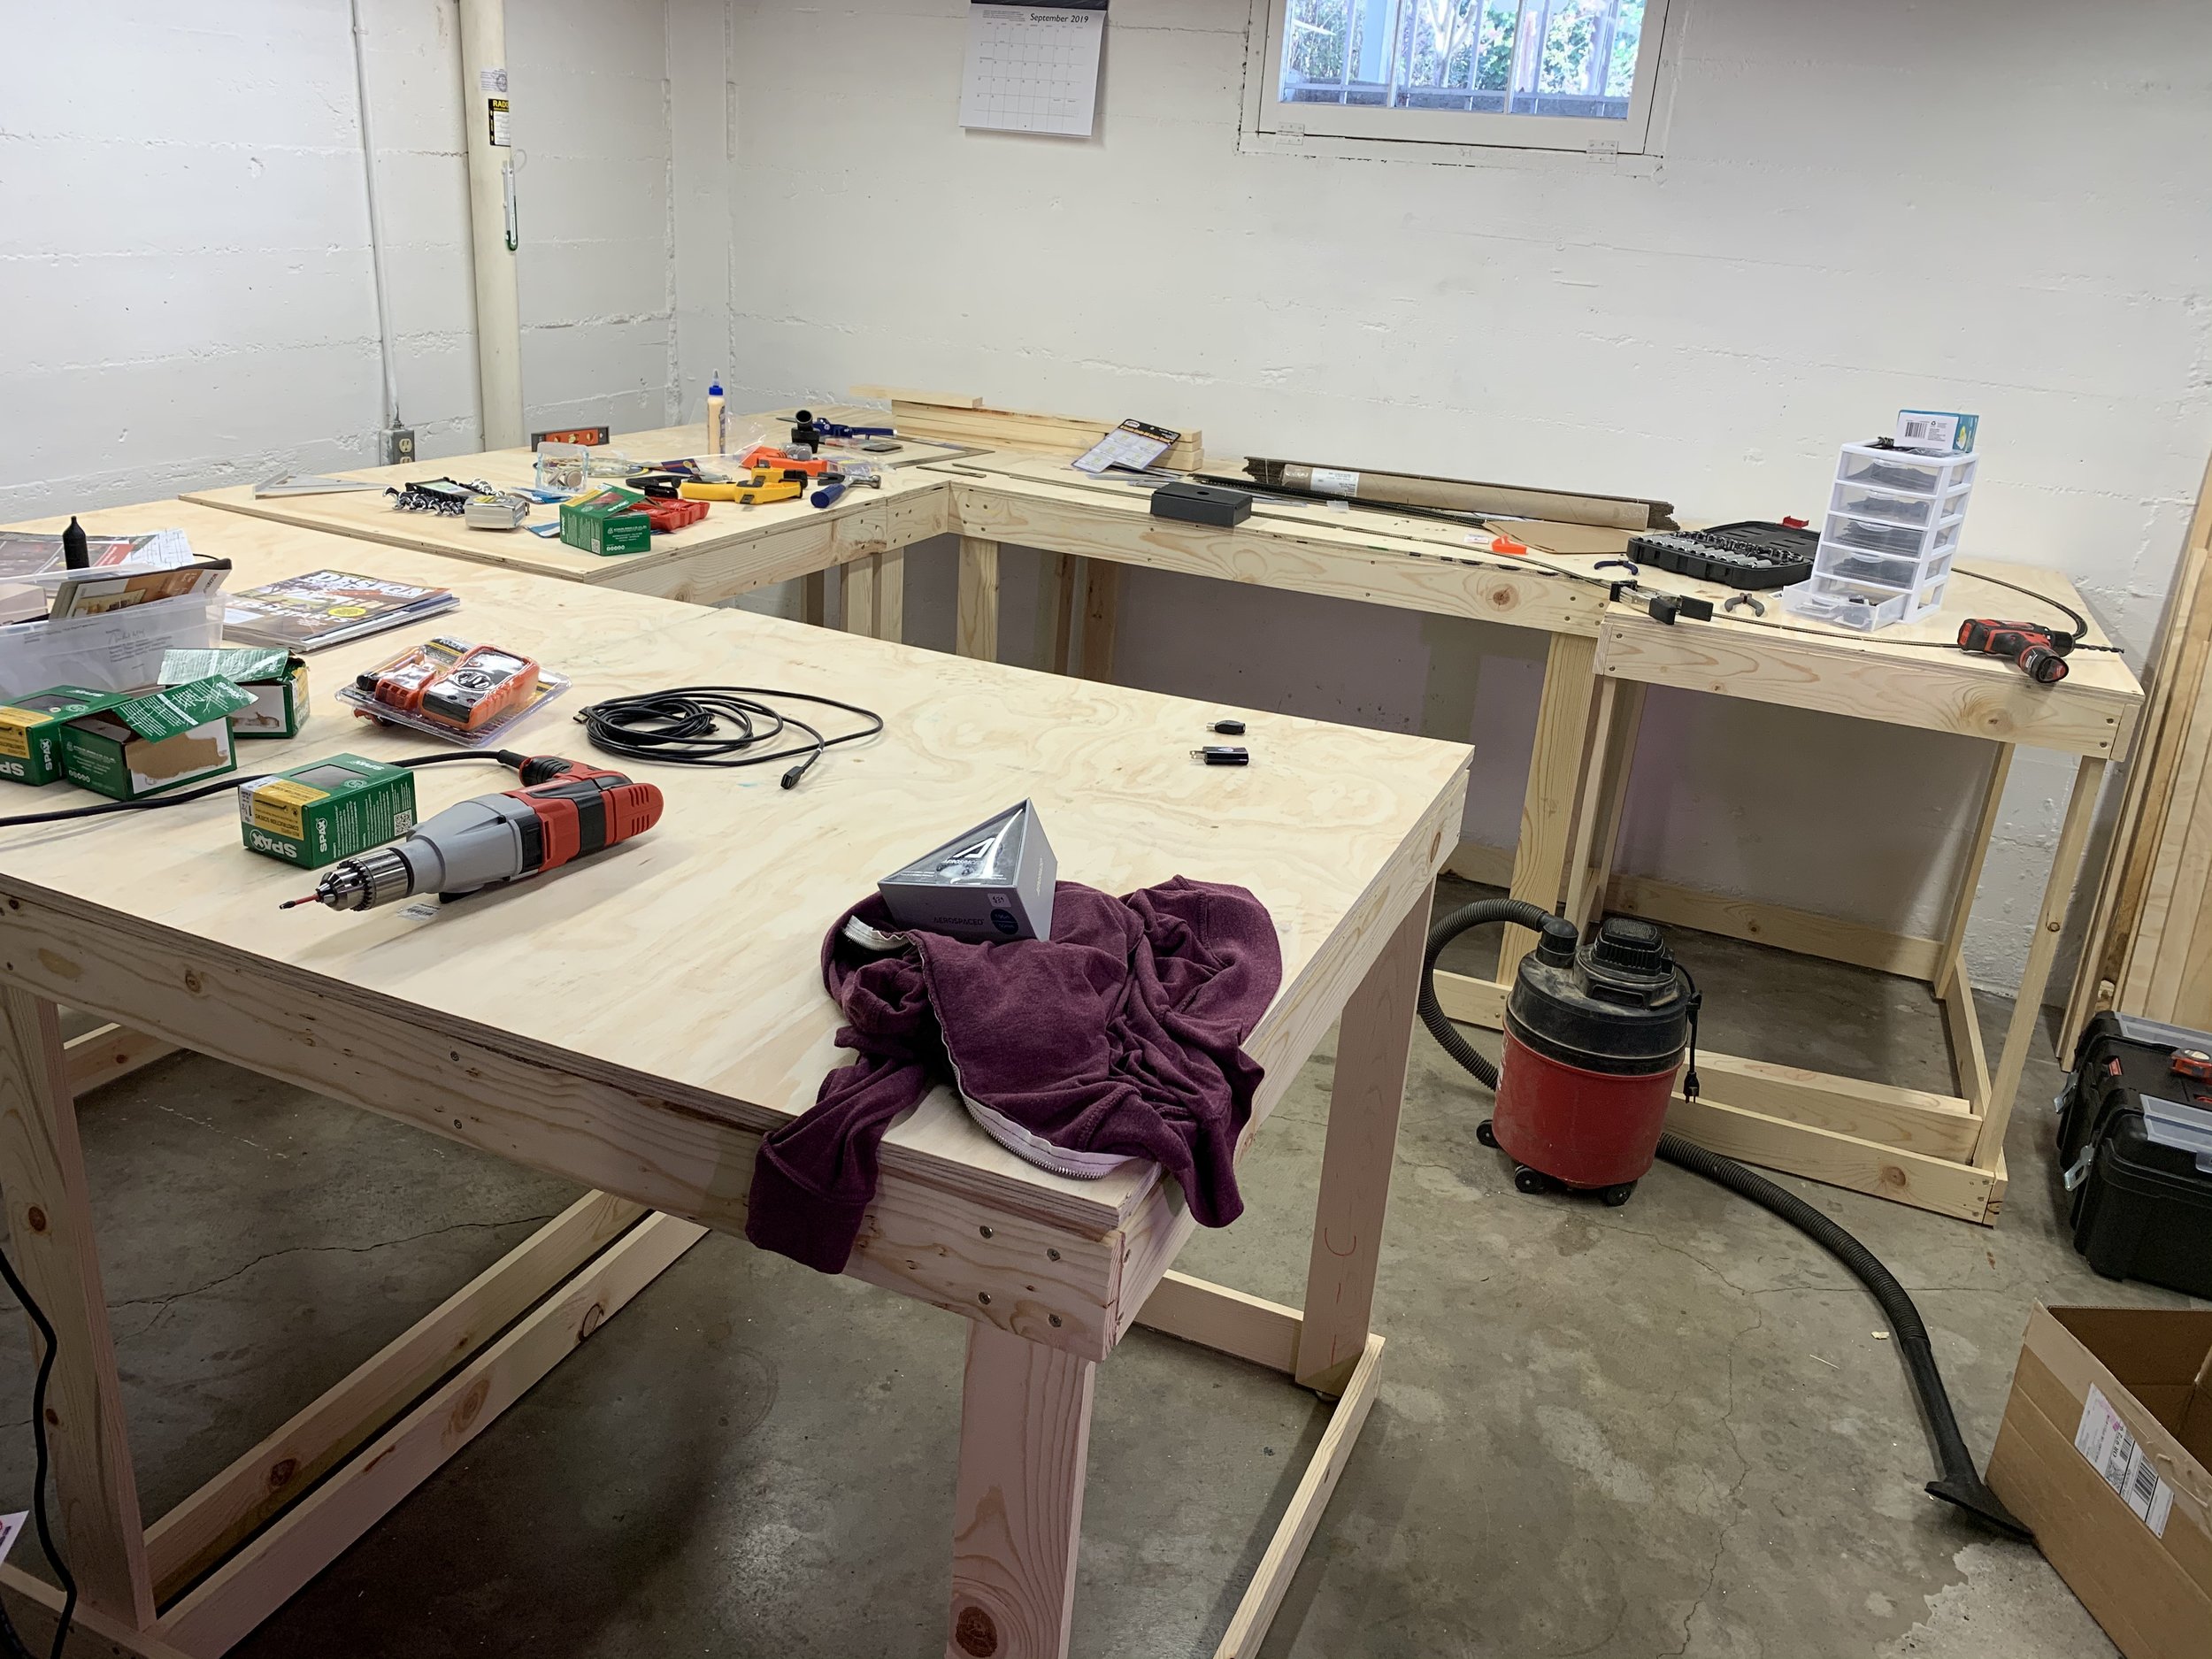
Then I built out the table in a series of rectangular modules that I then bolted together to build the single table. Each module was built out of pine 1x4’s. Building this first set of them taught me a lot about what not to do. While I still use these sections to this day, my newer ones are much more stable and functional, since I use two 1x4’s per leg and the lower supporting skirt is above the ground rather than at ground level.
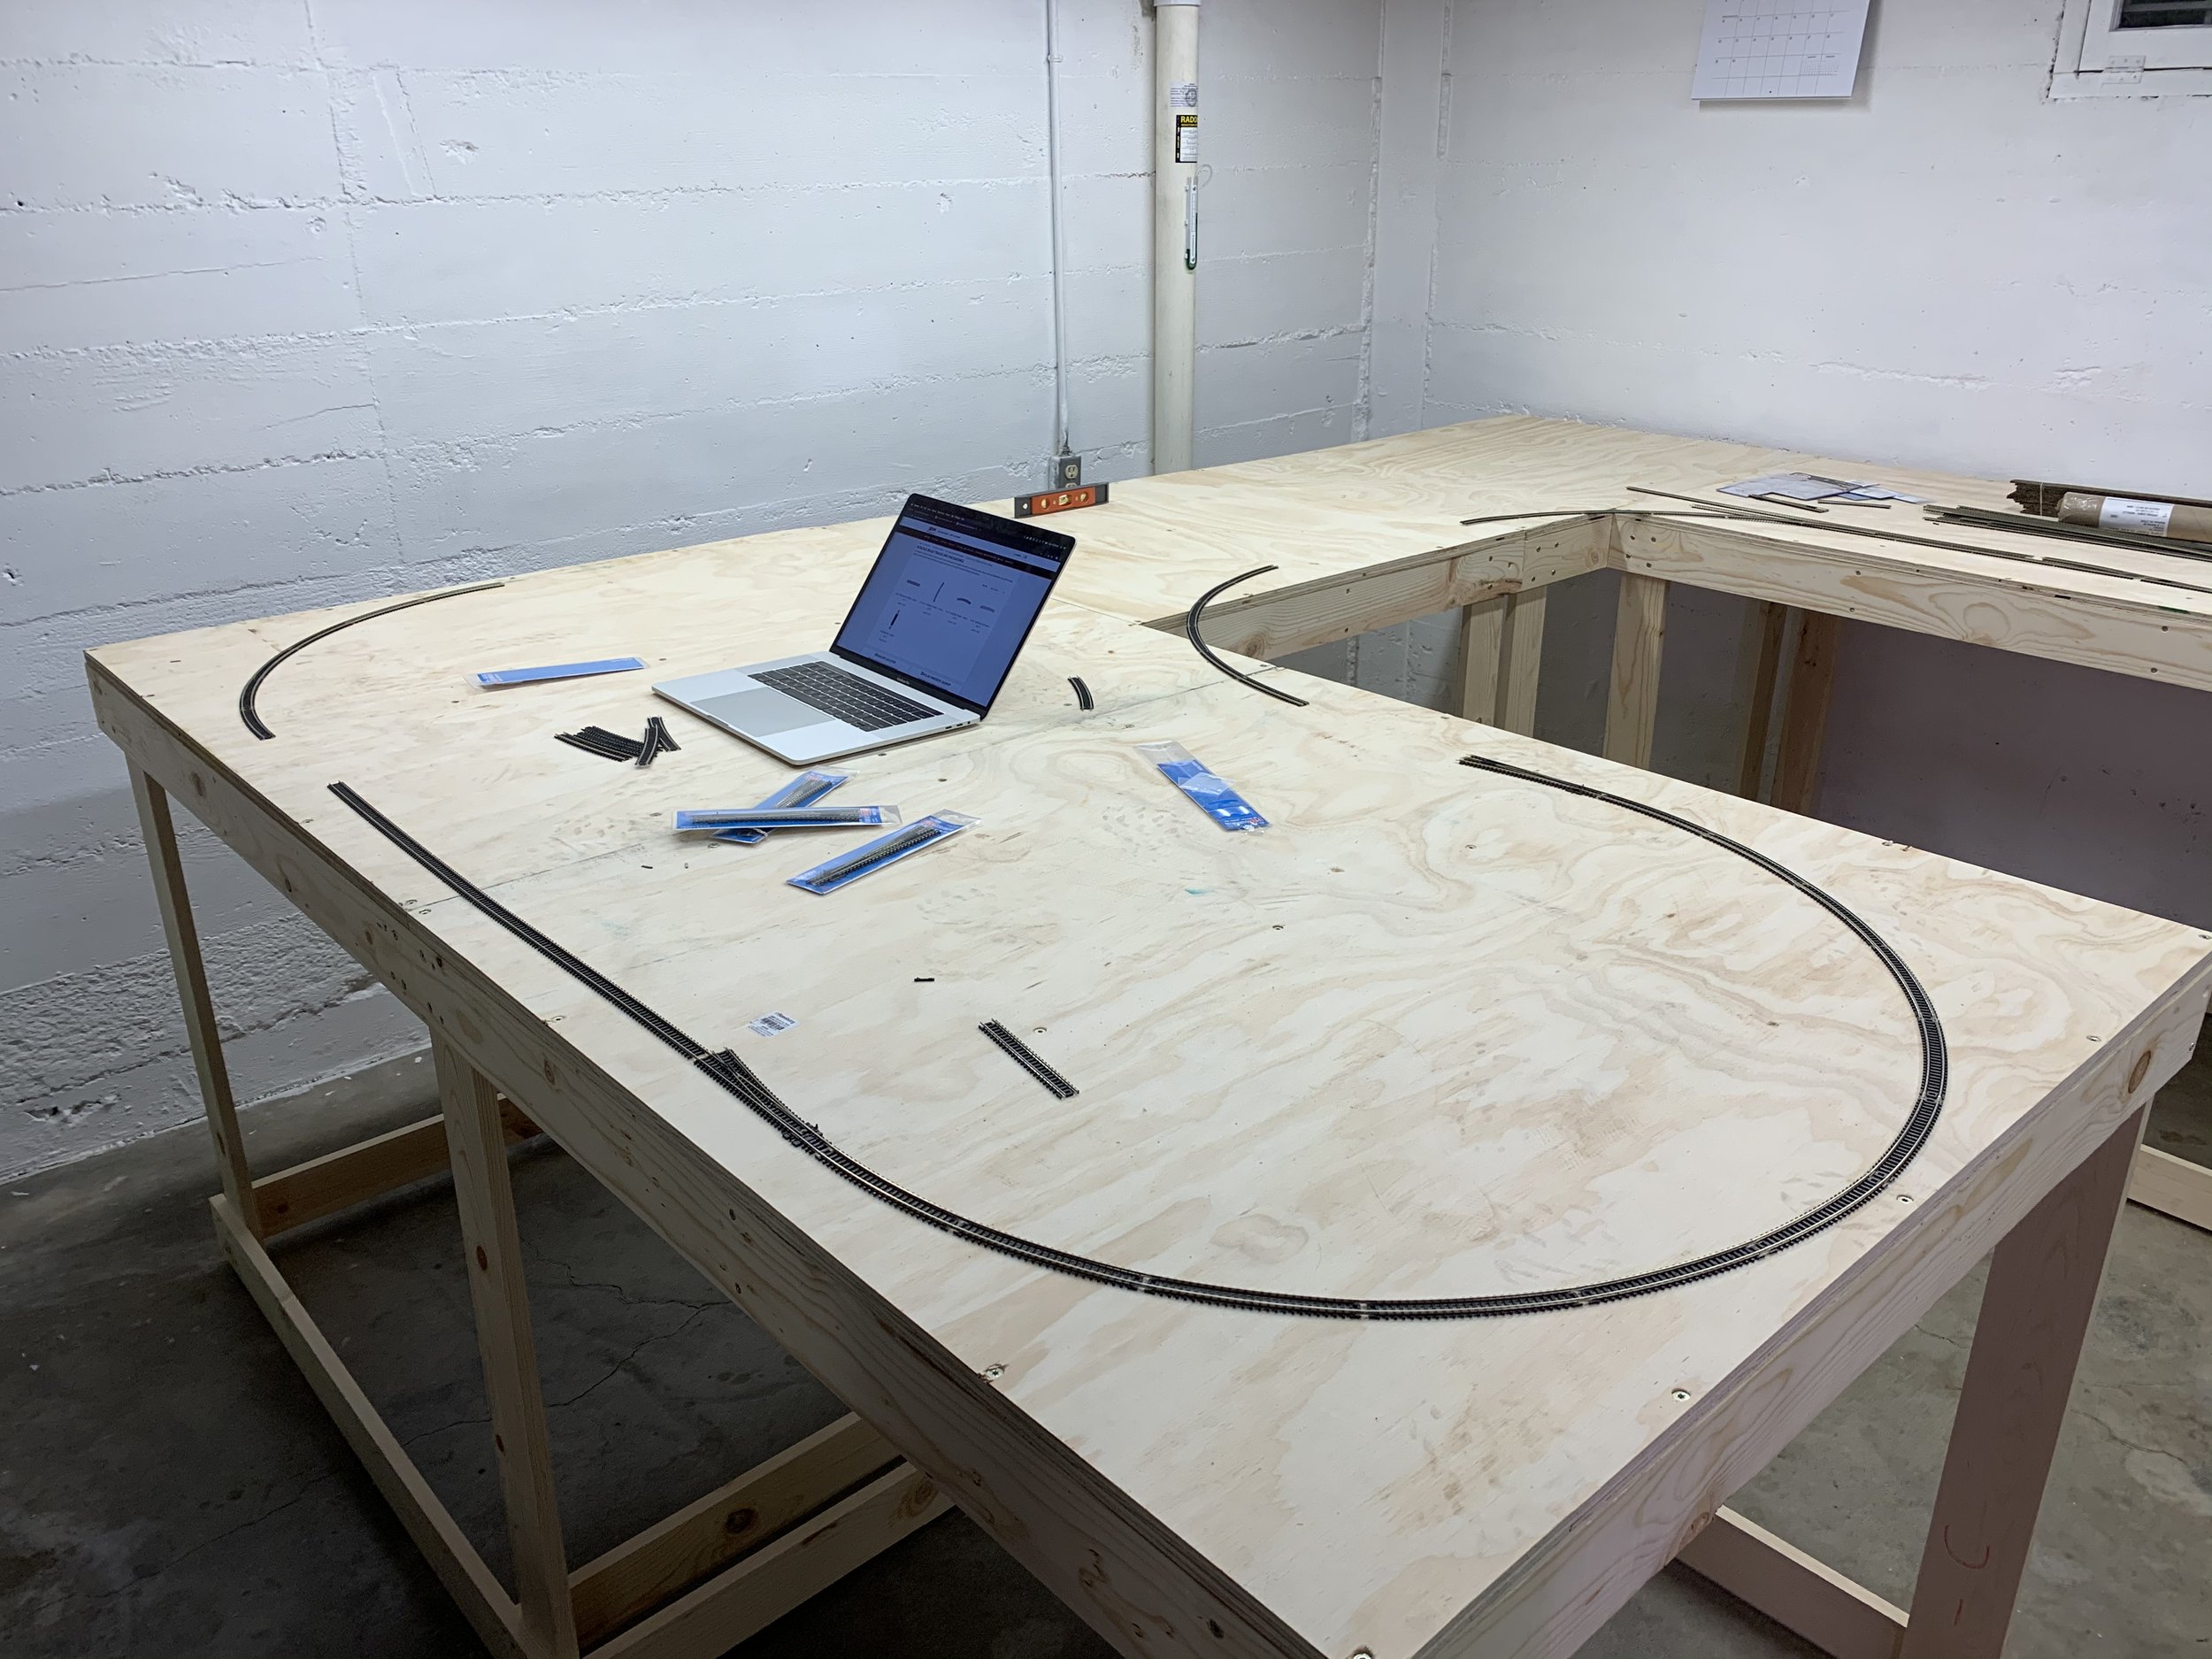
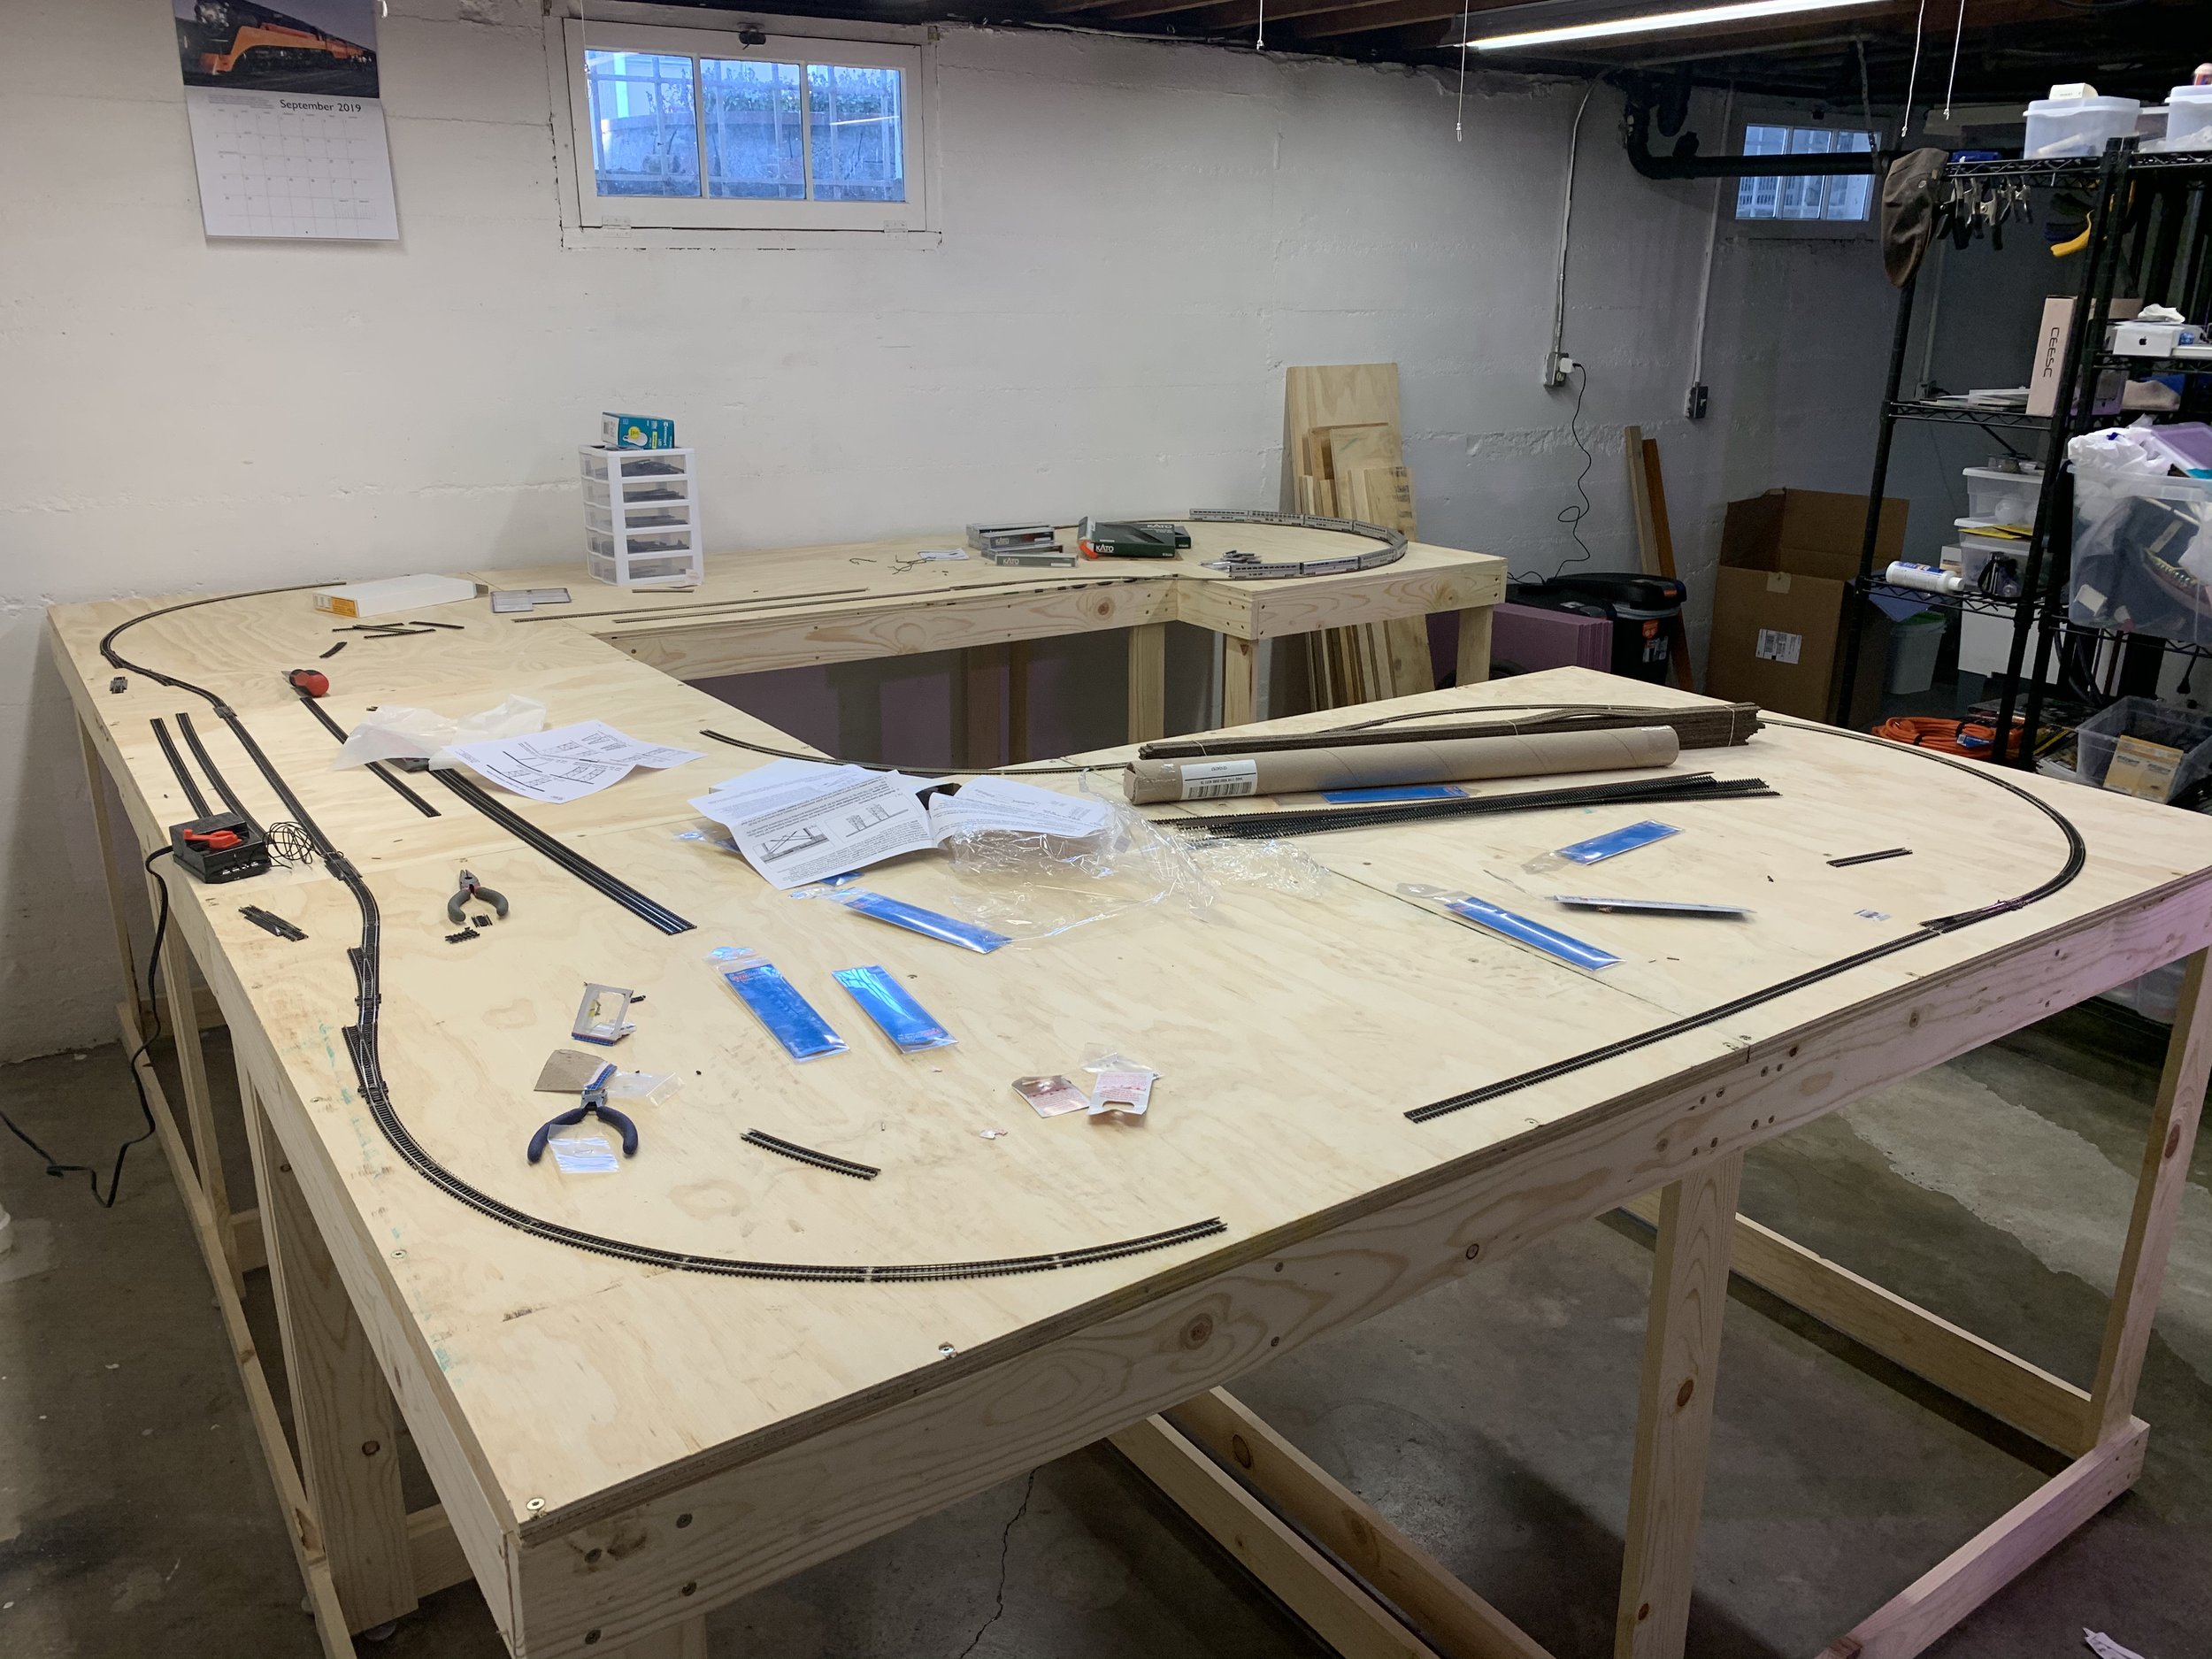
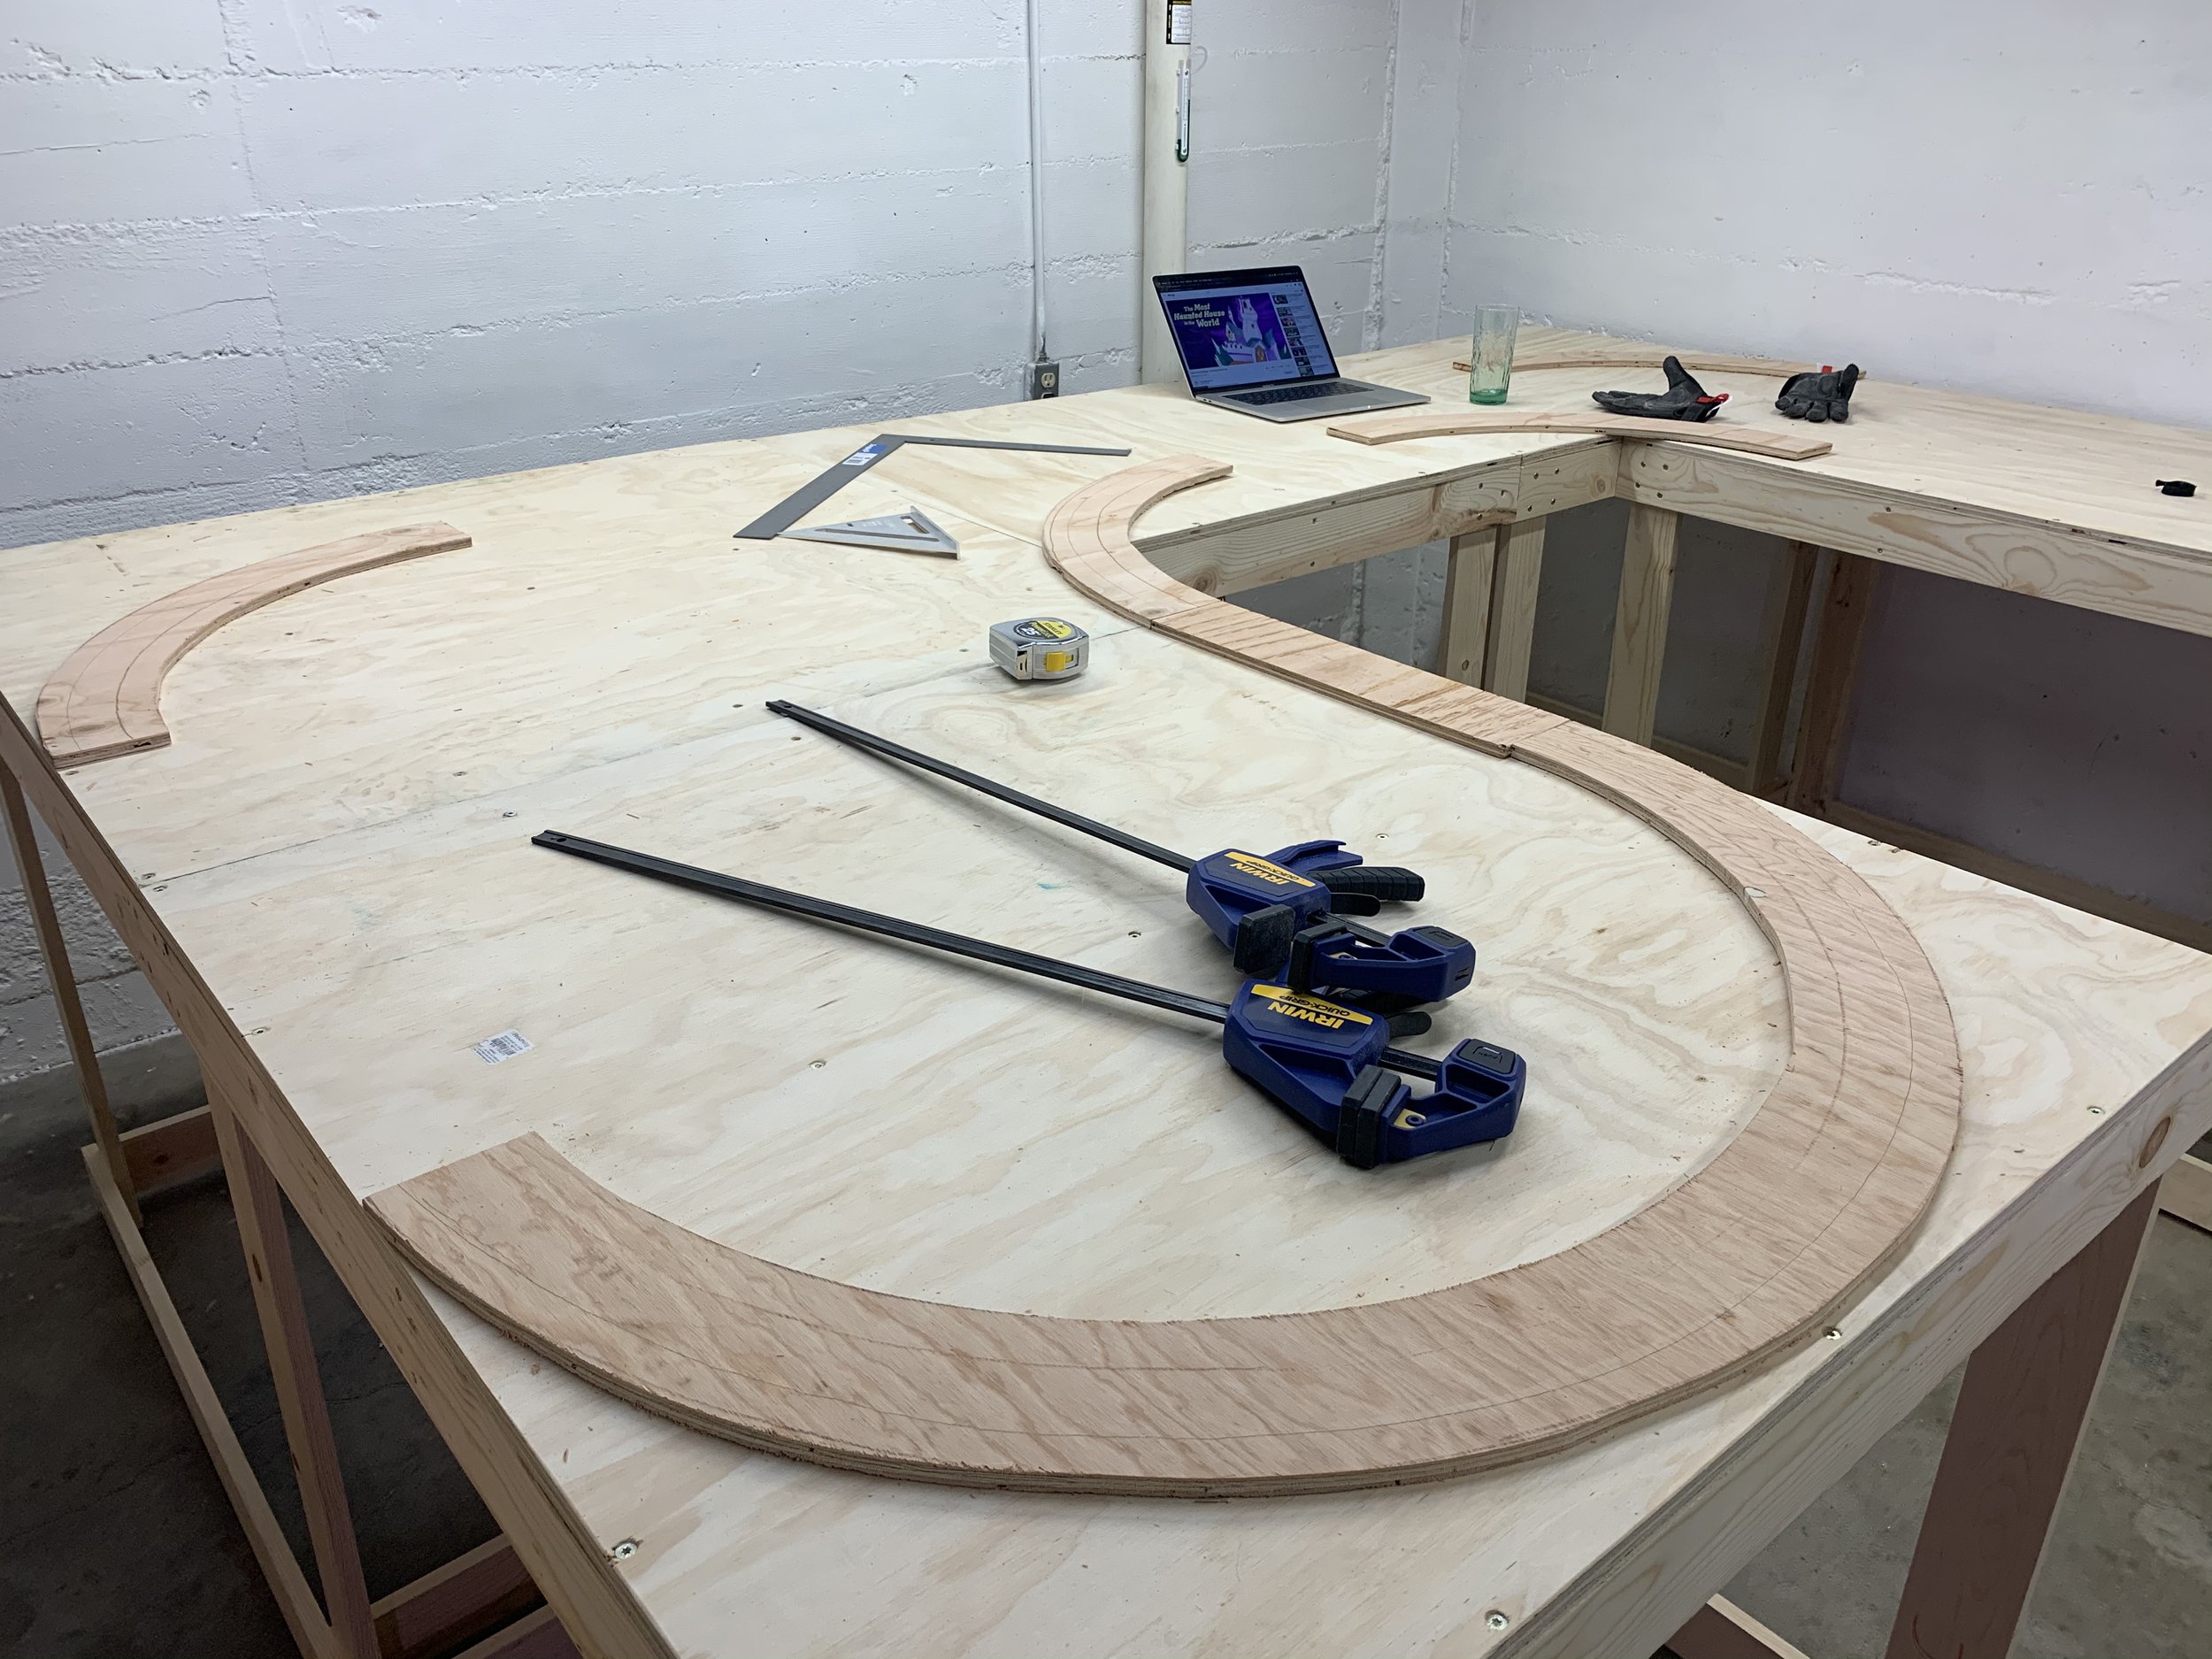
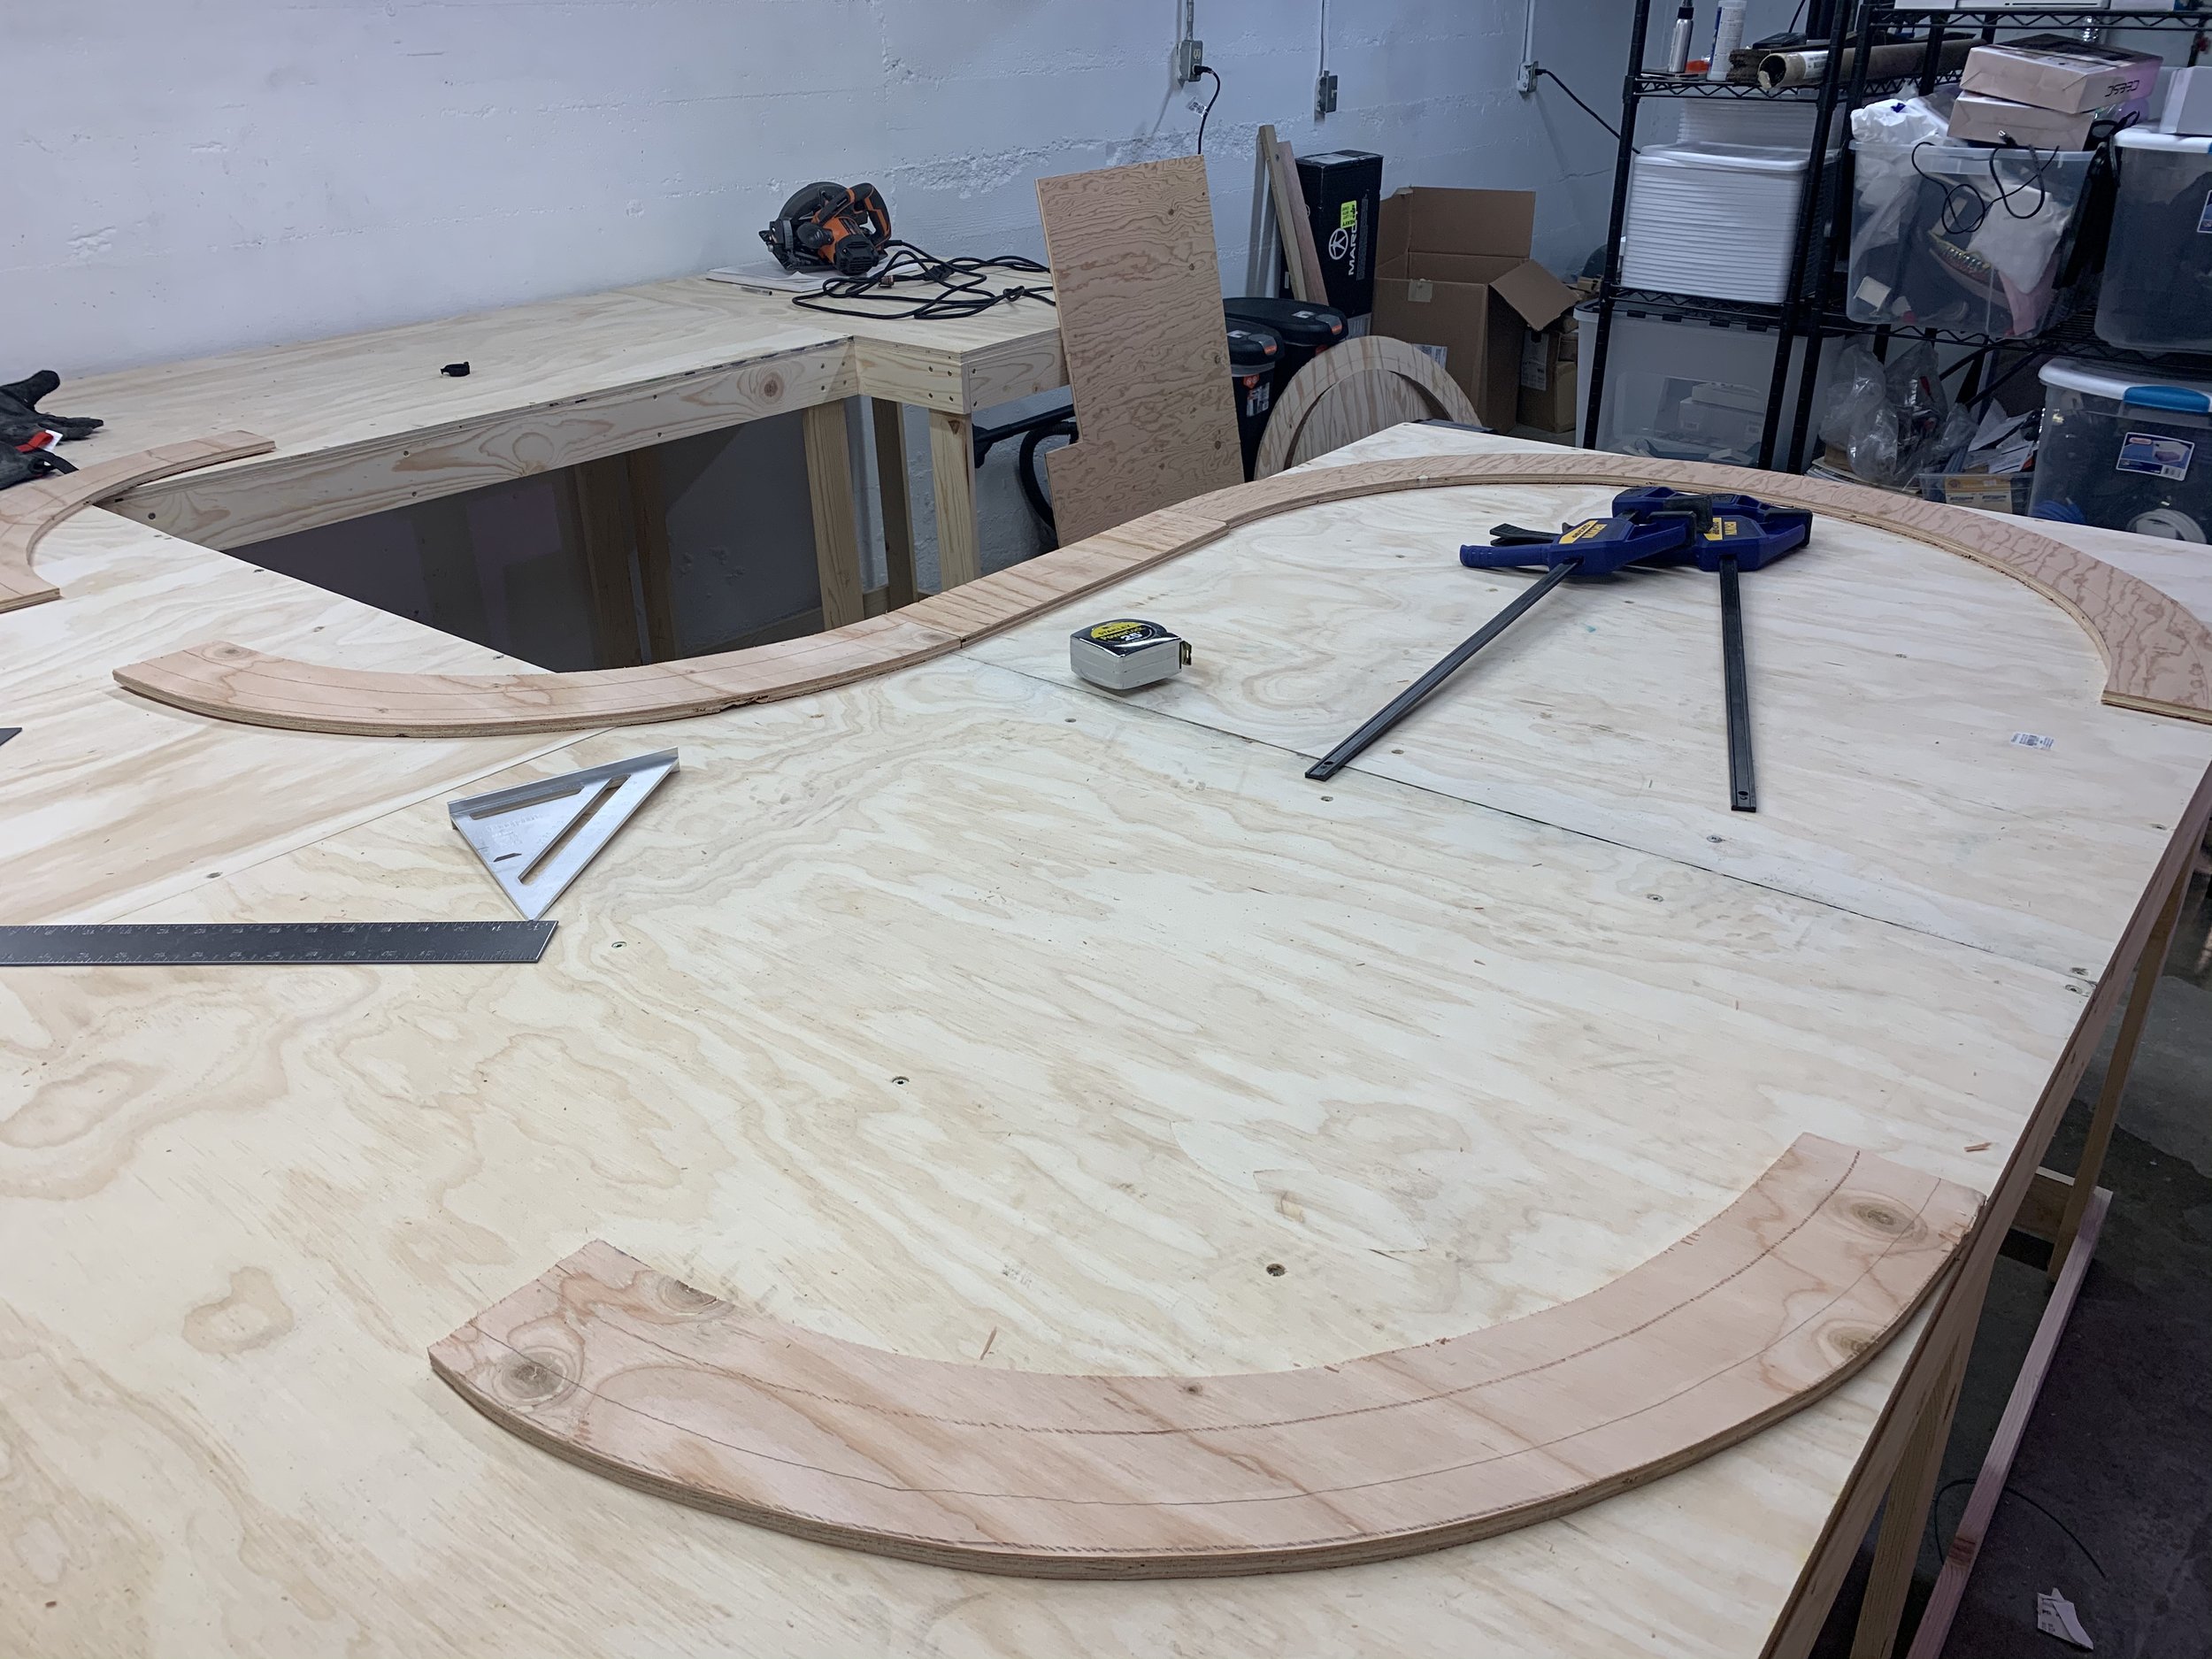
Finally I laid the track back on top of the table to see how everything fit together, and then cut pieces of plywood with my friend Jess to act as ramps for the track.
The First Pass
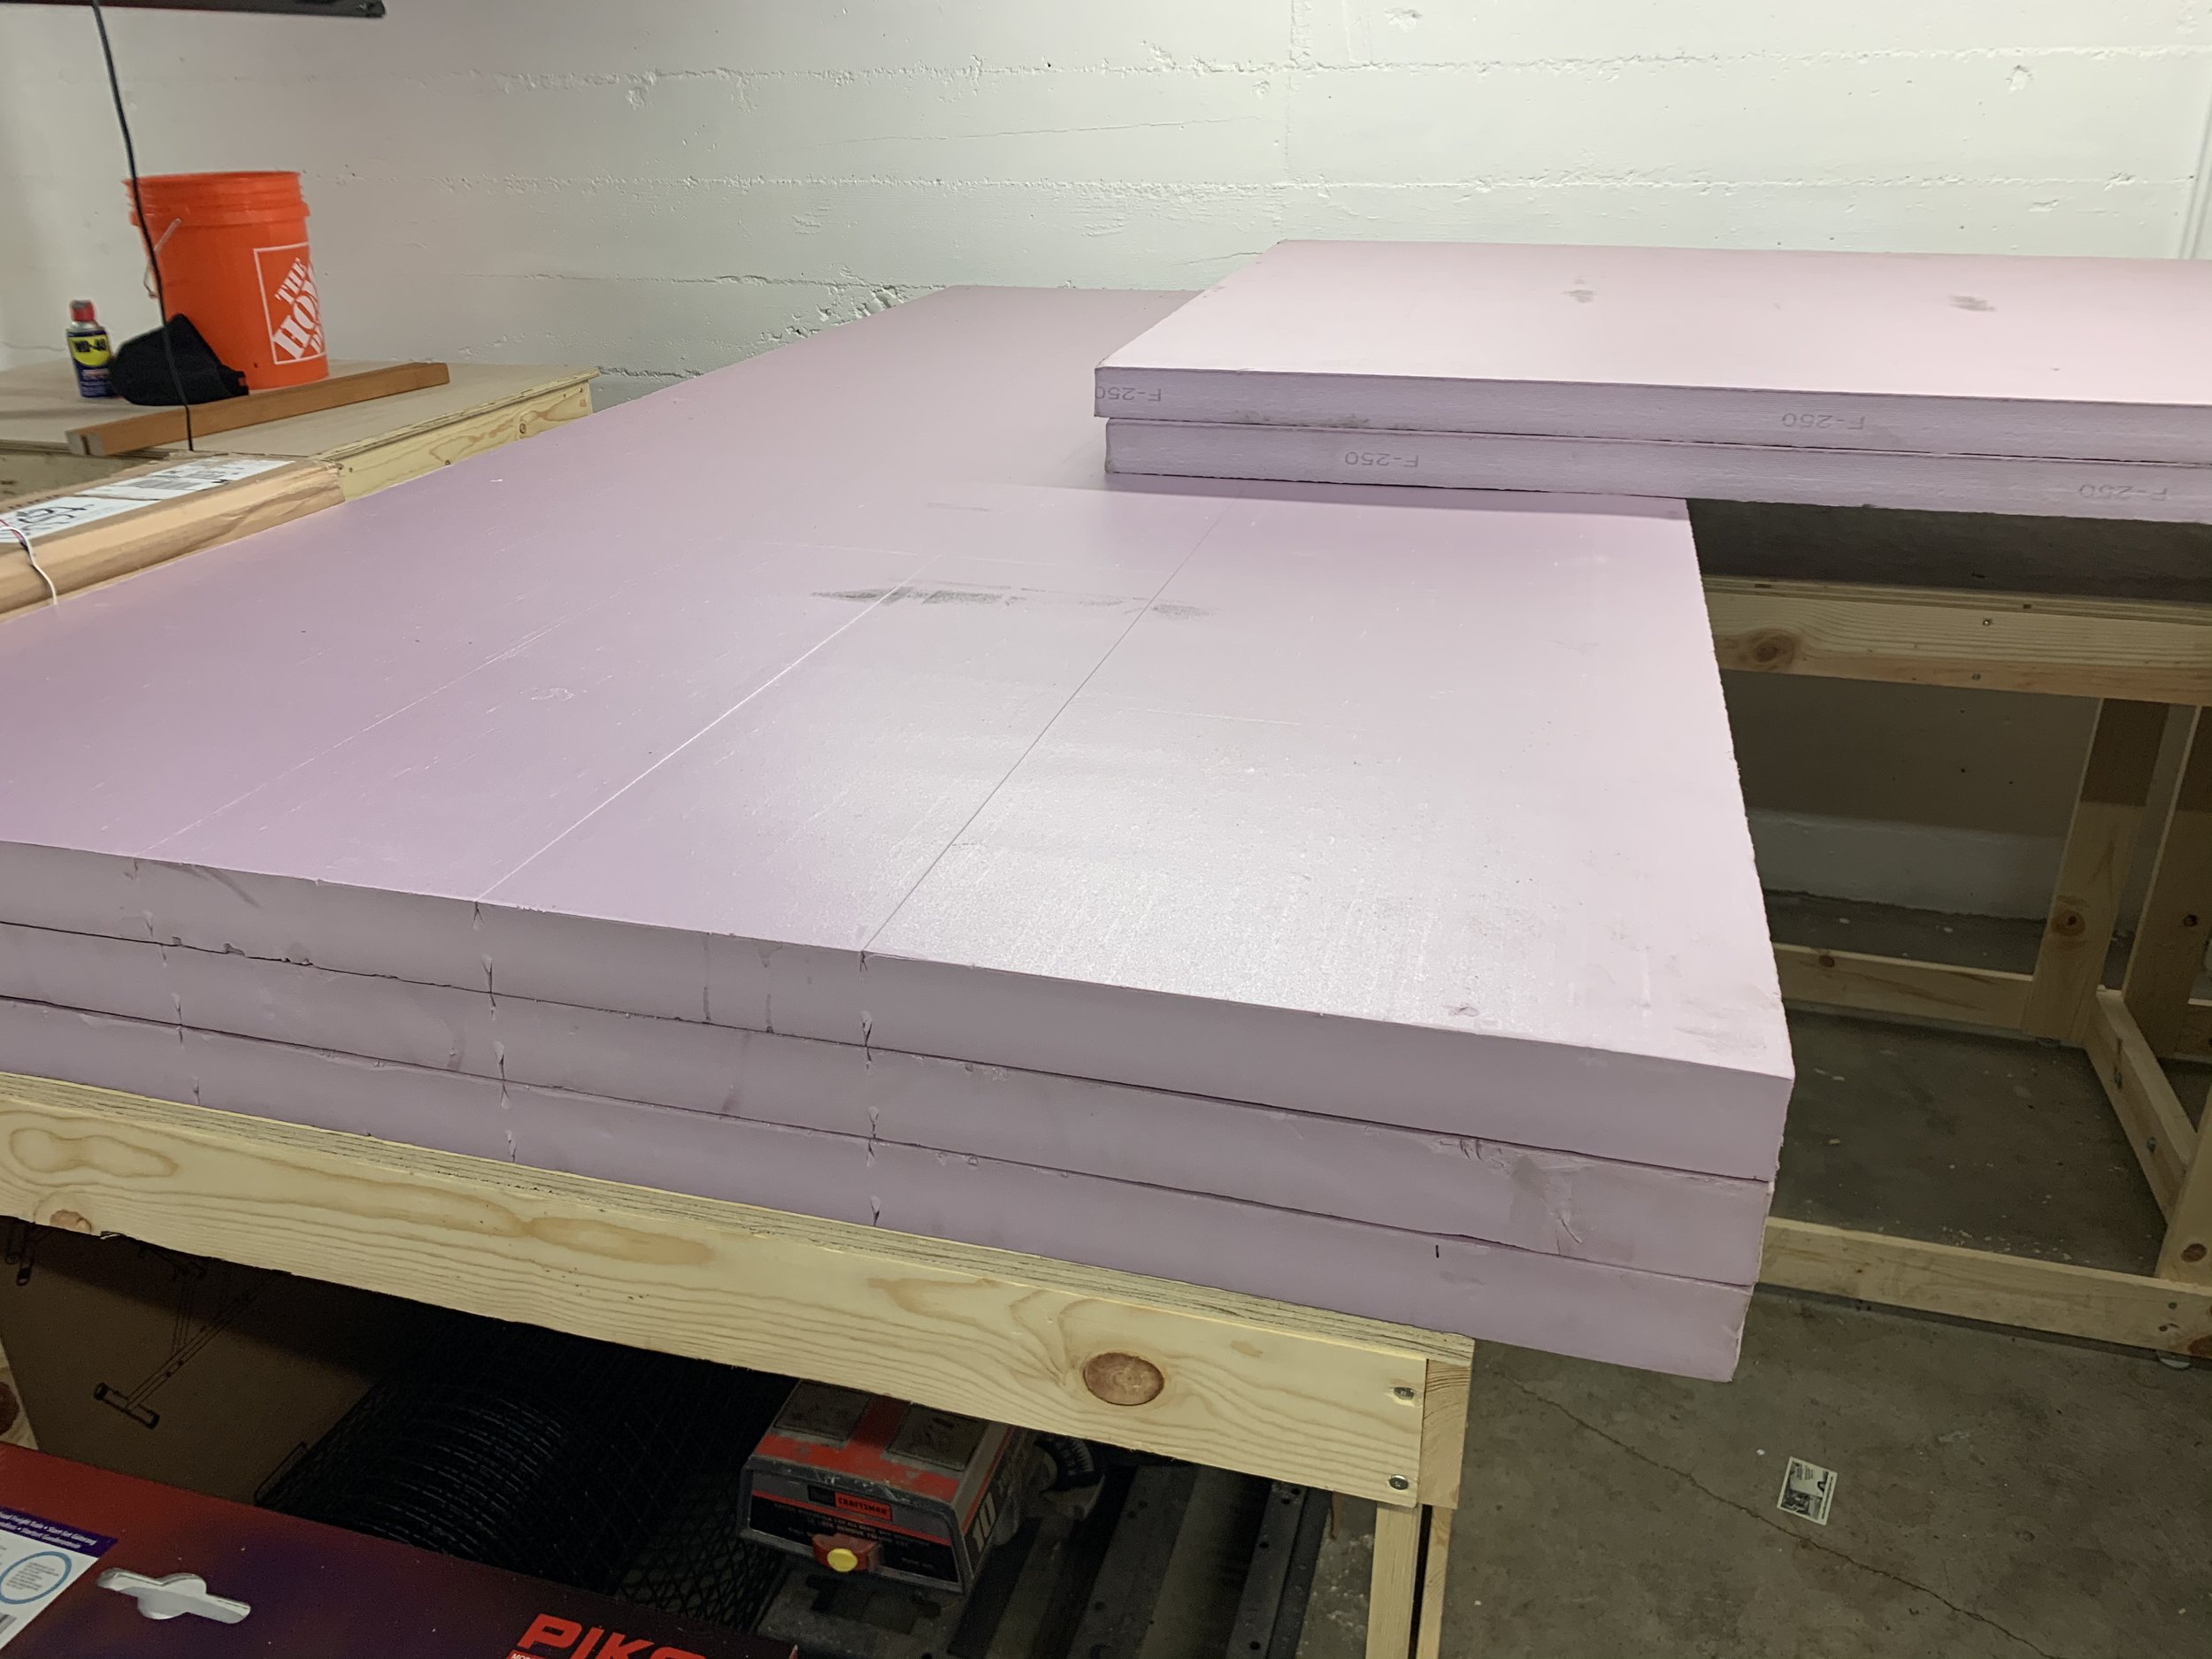
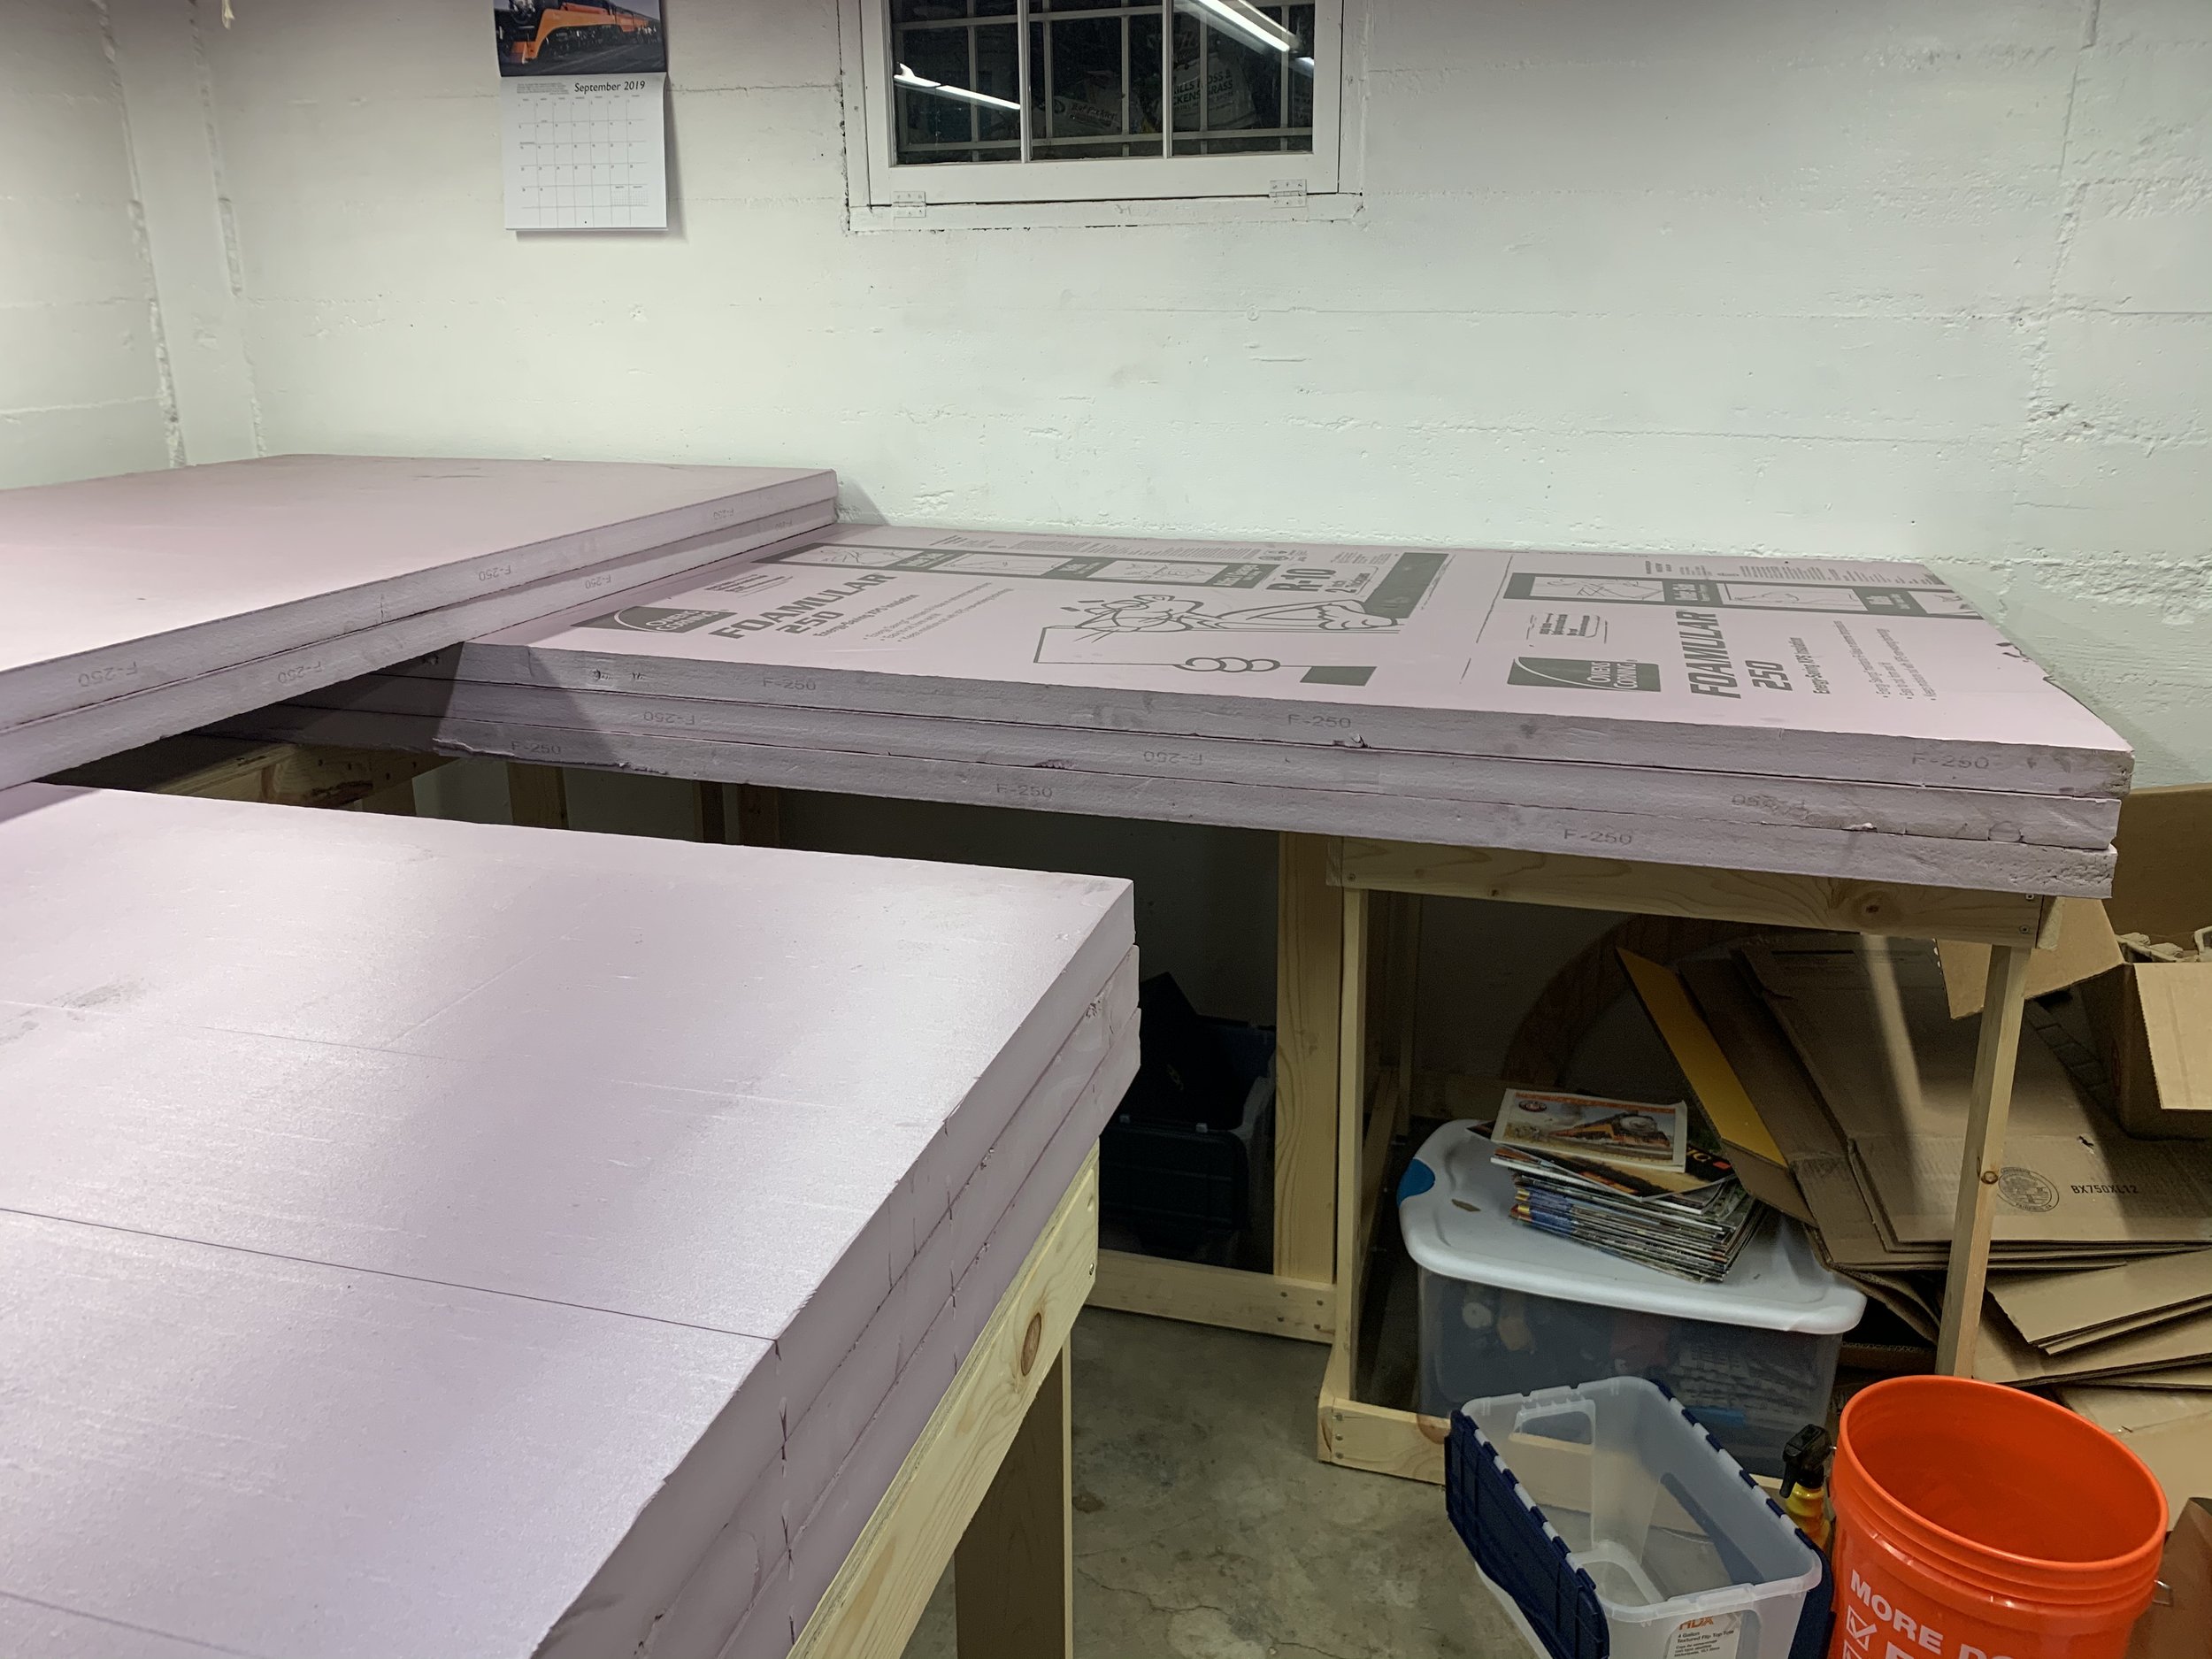
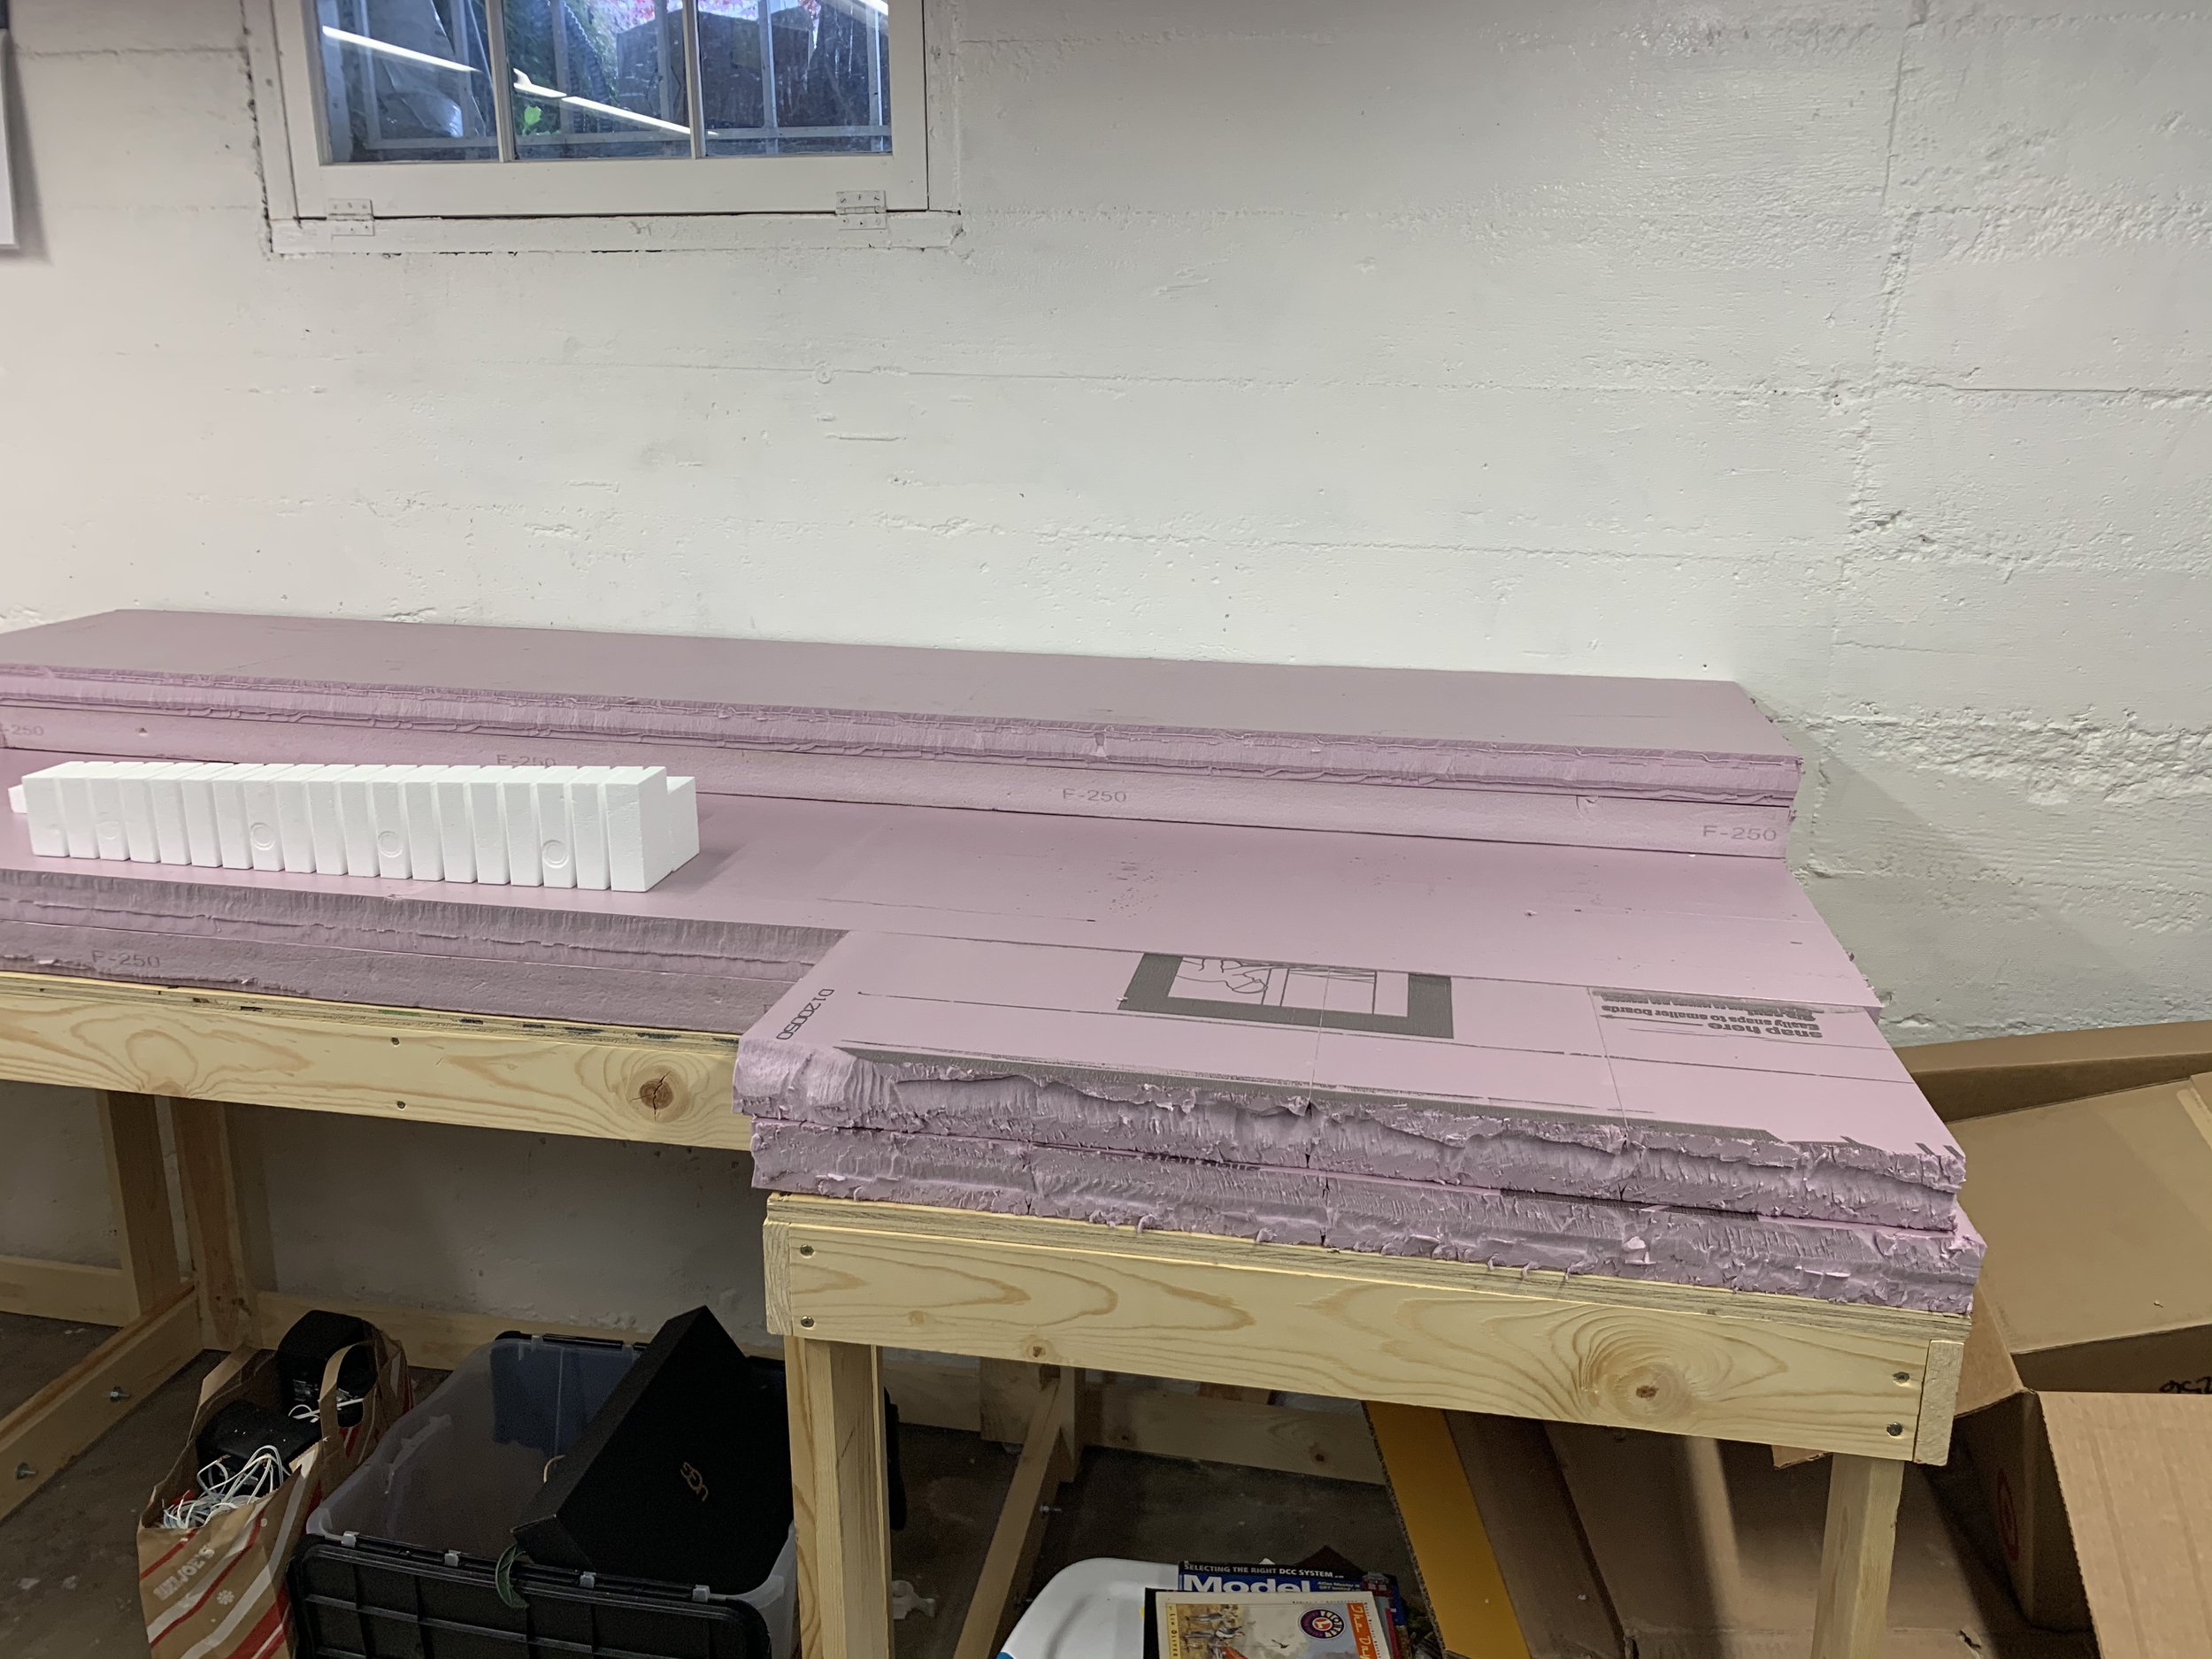
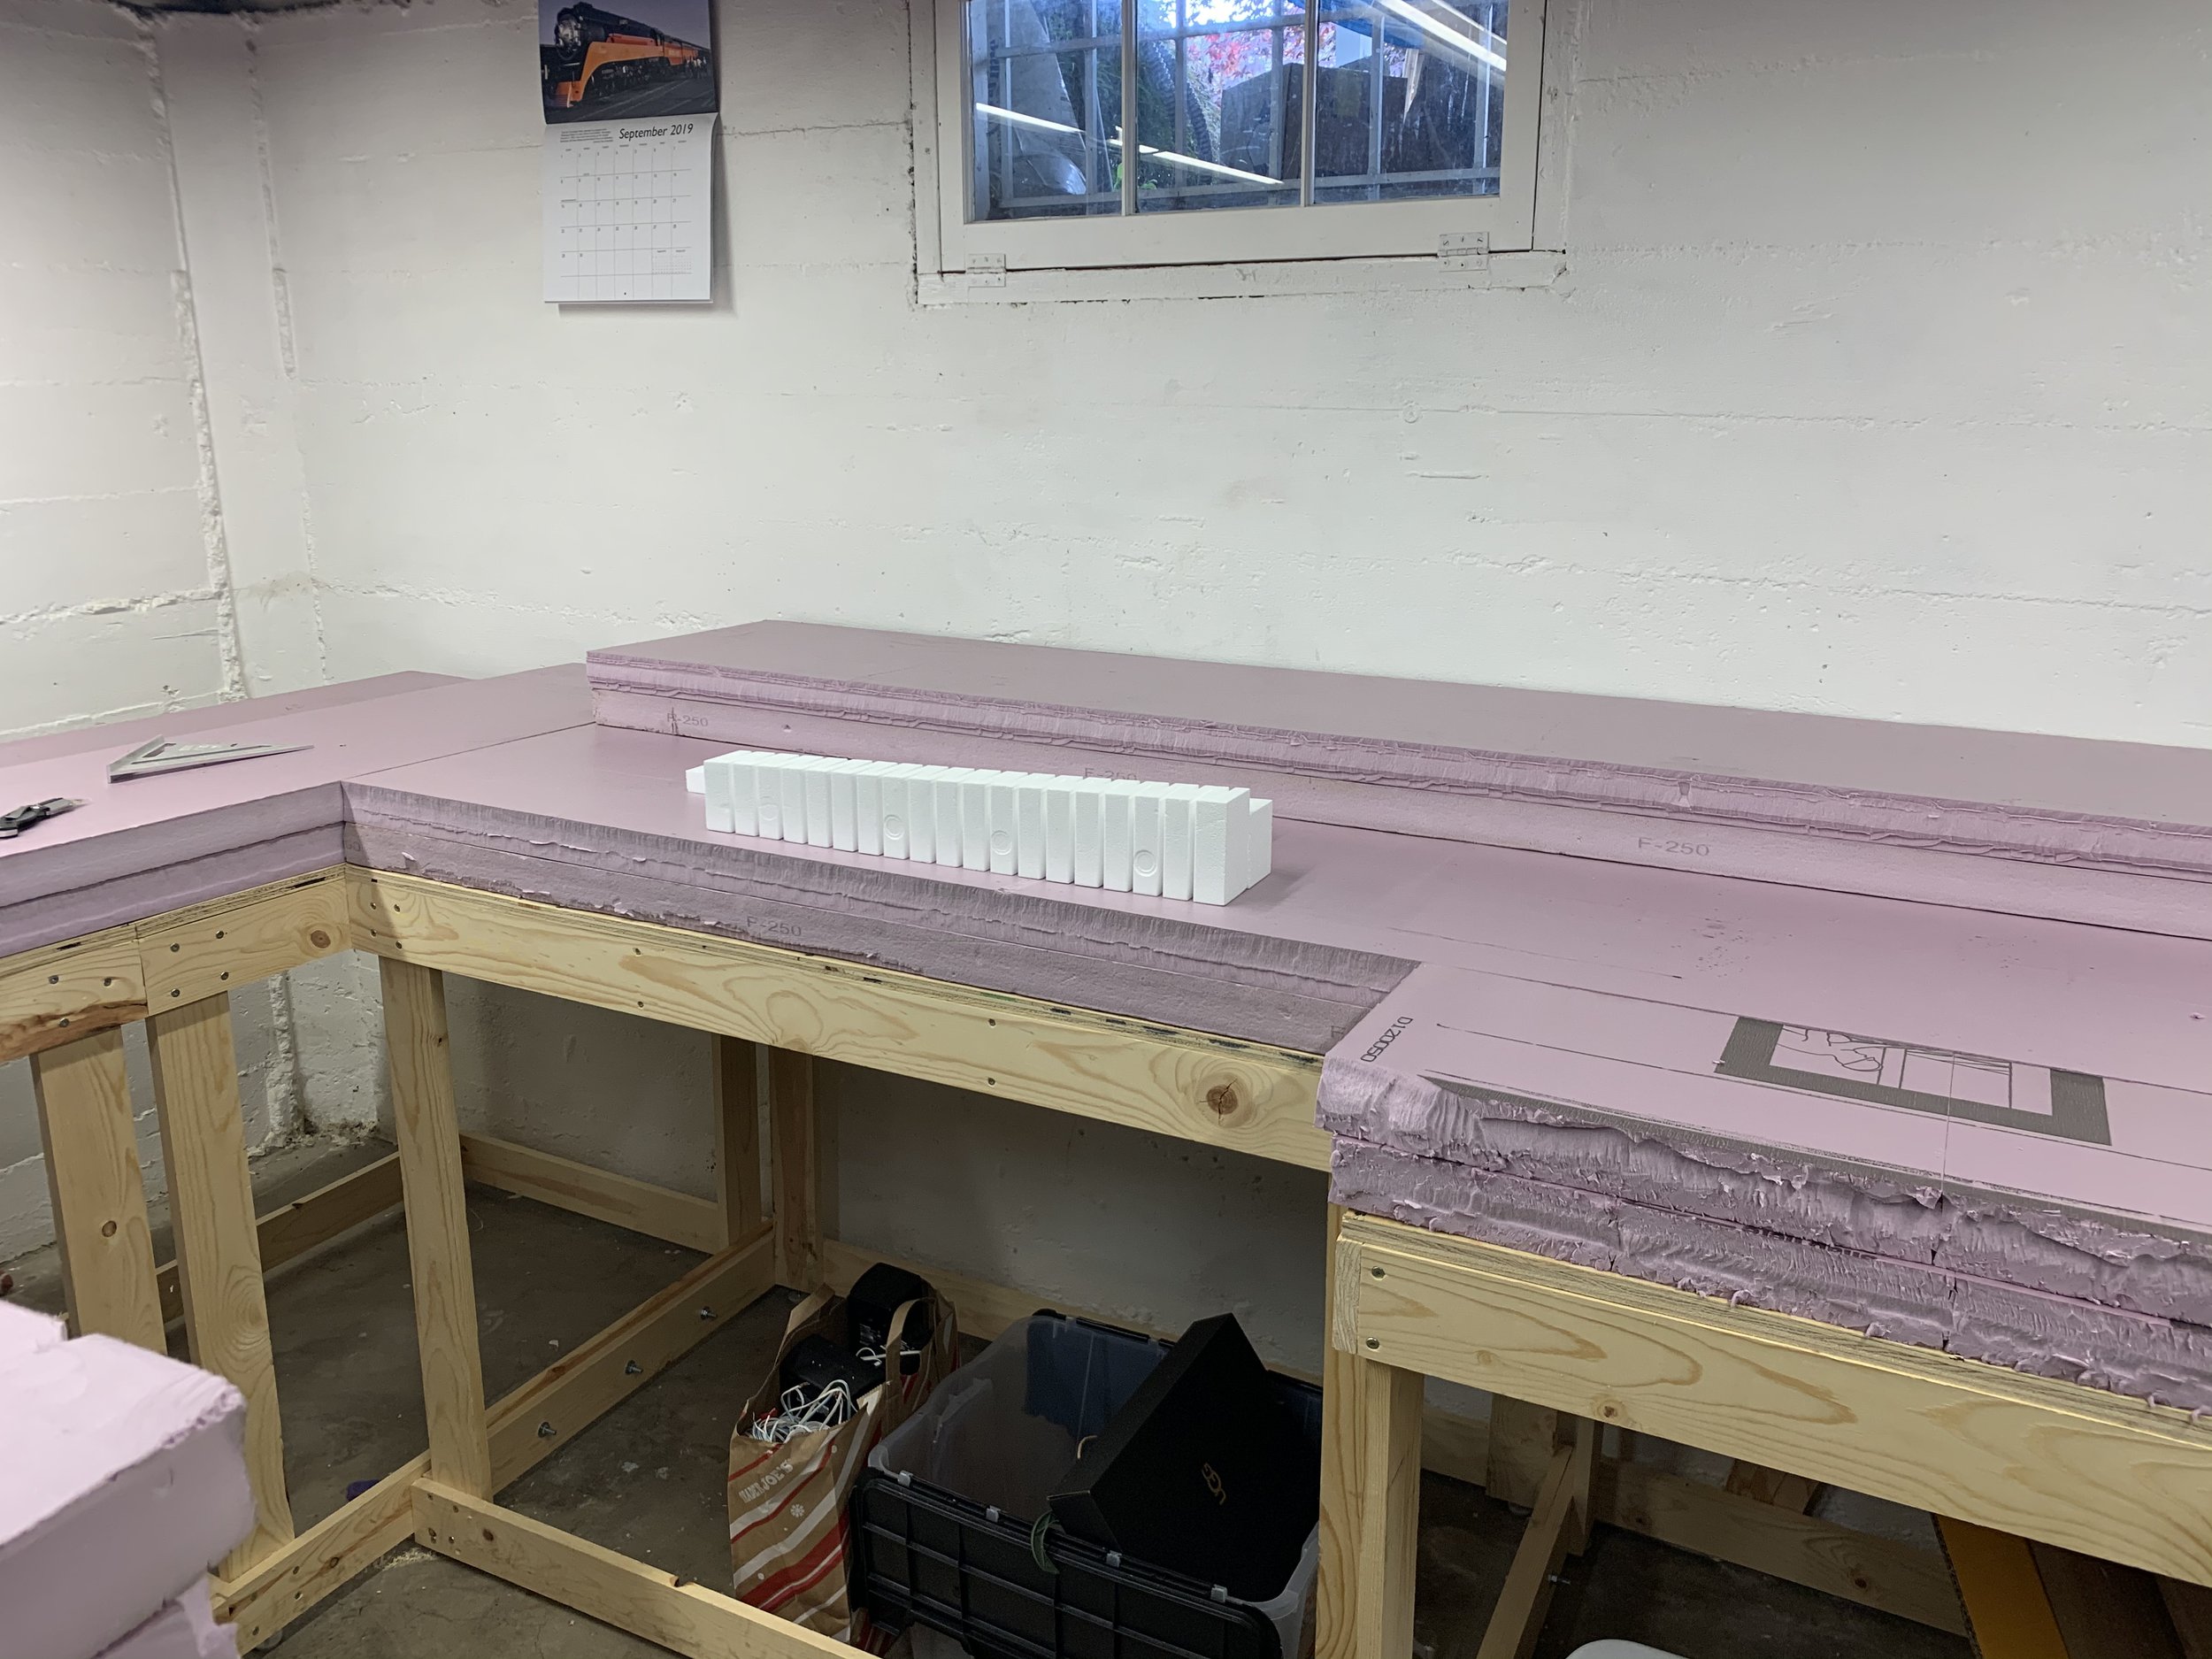
Once I had the full table built and a rough plan for how I wanted to lay the track I bought some pink insulation foam (a staple in the model railroading world) and got to work.
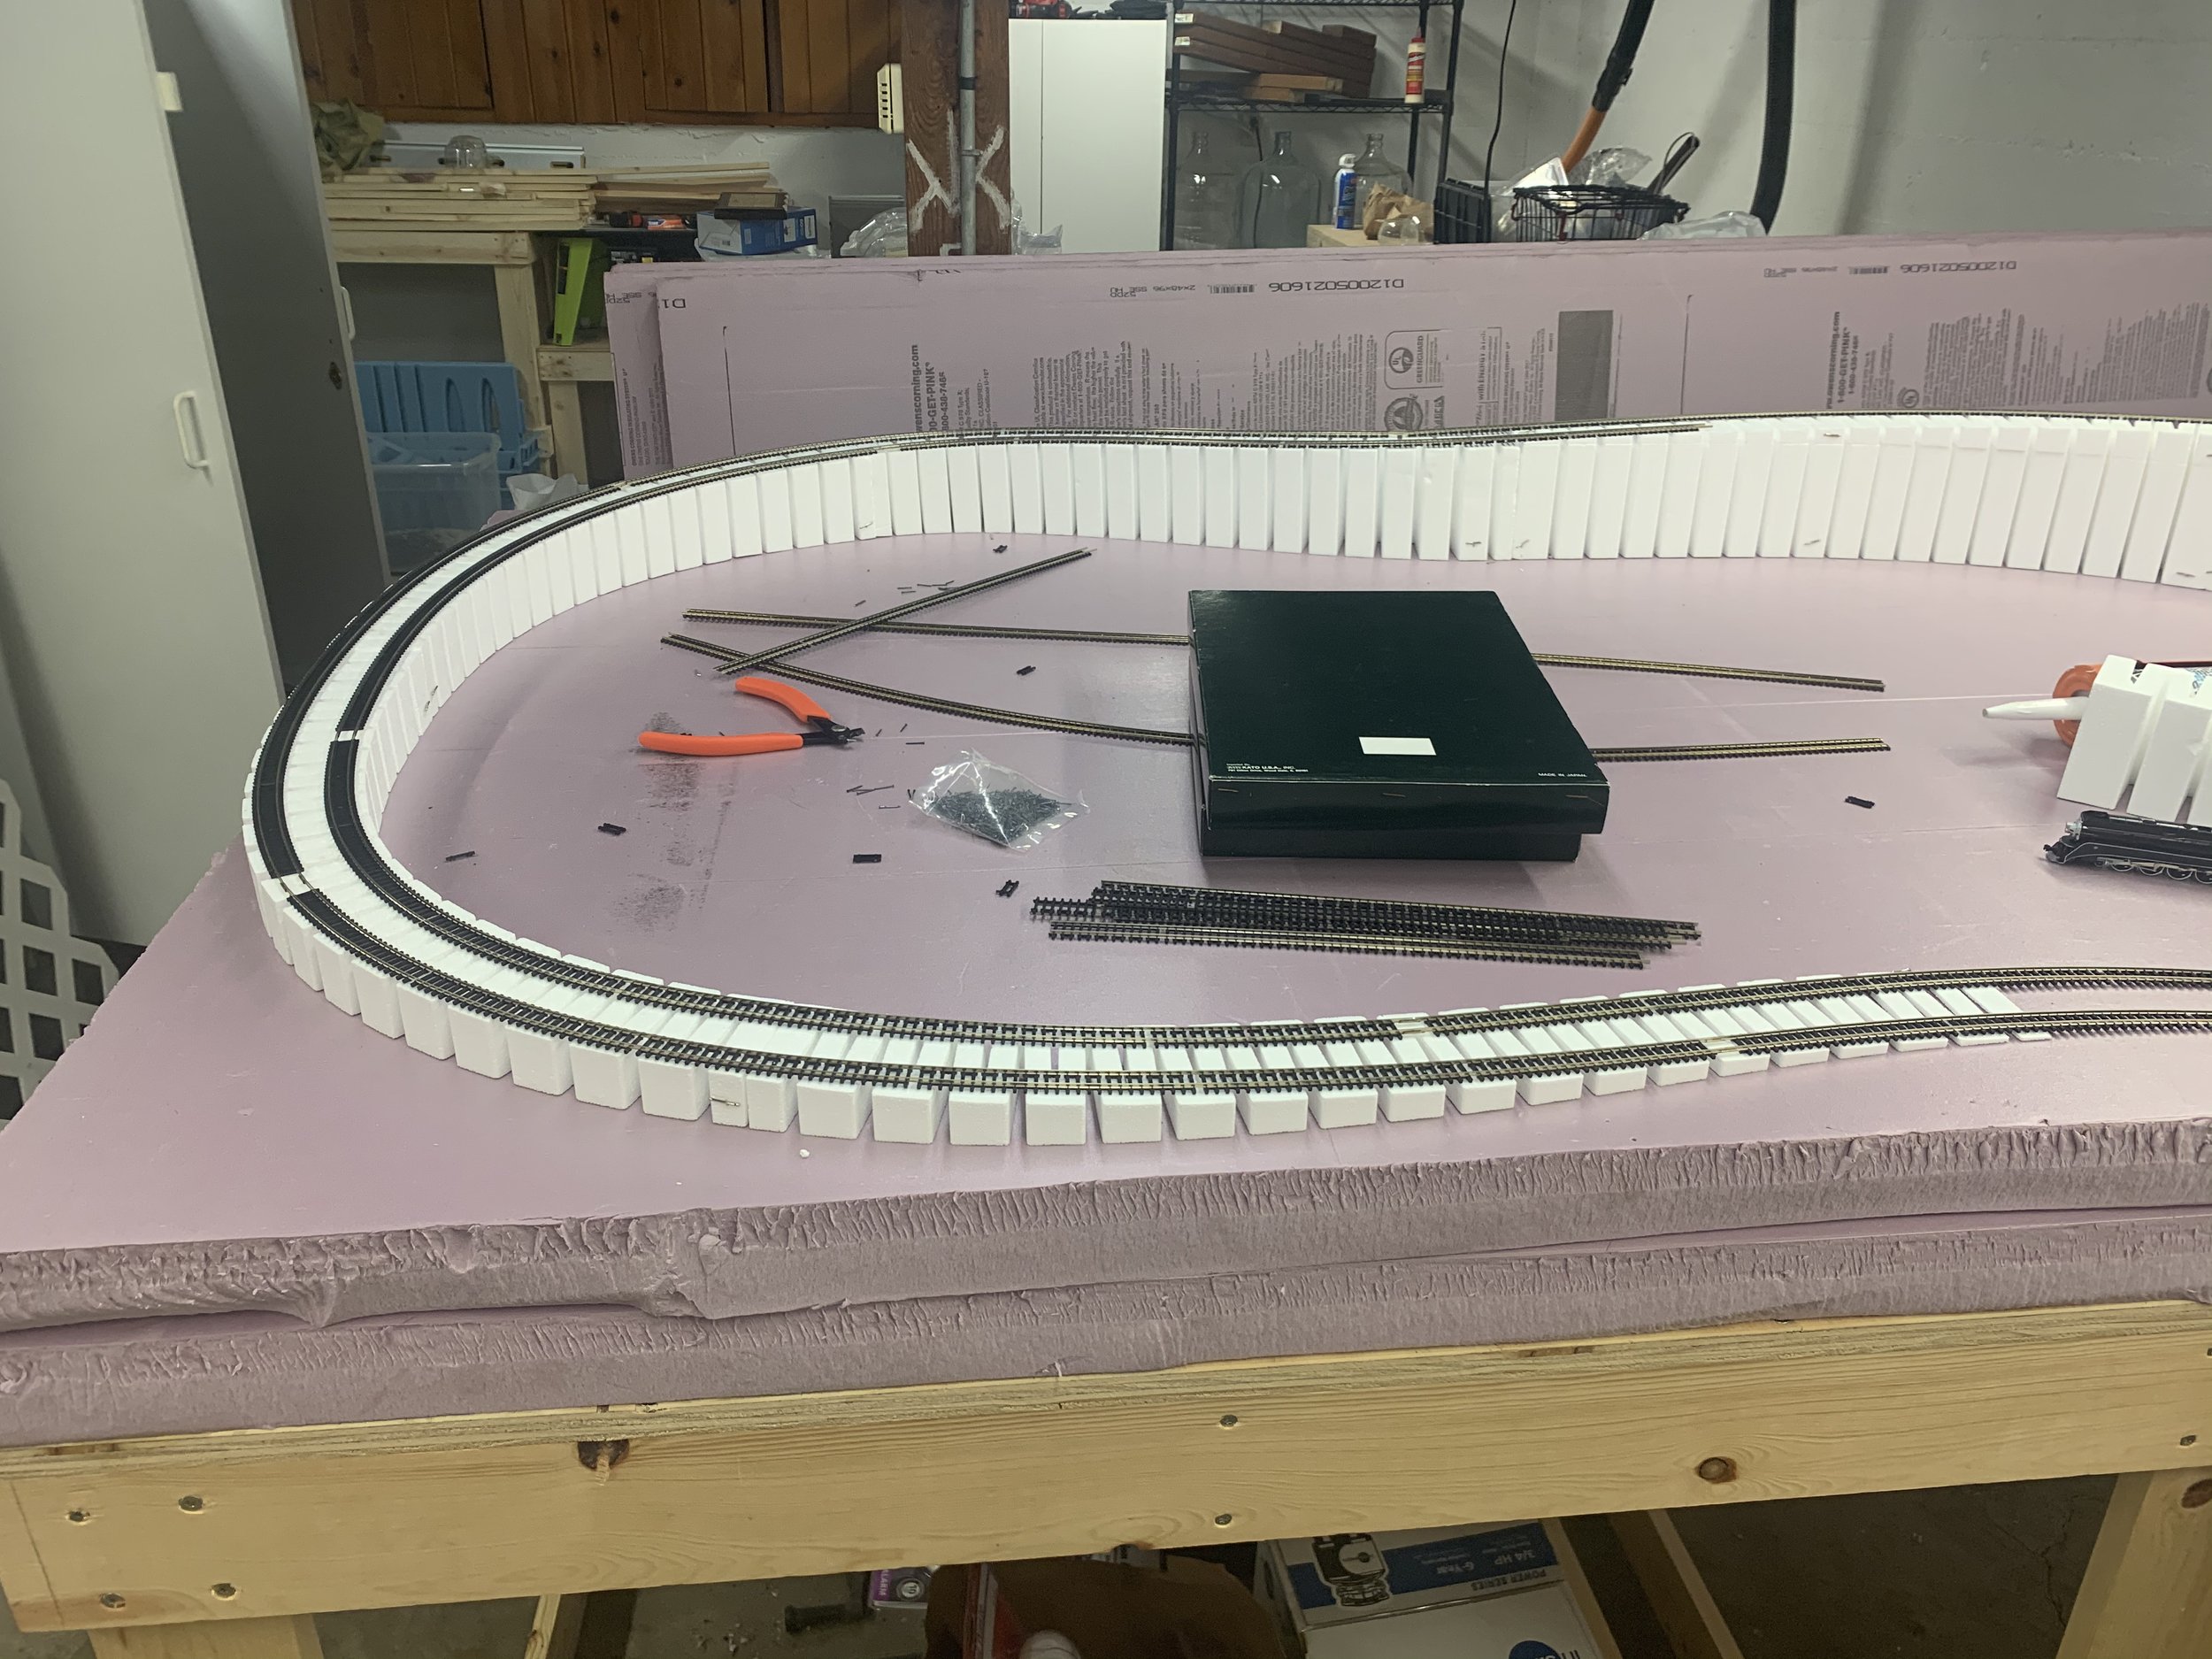
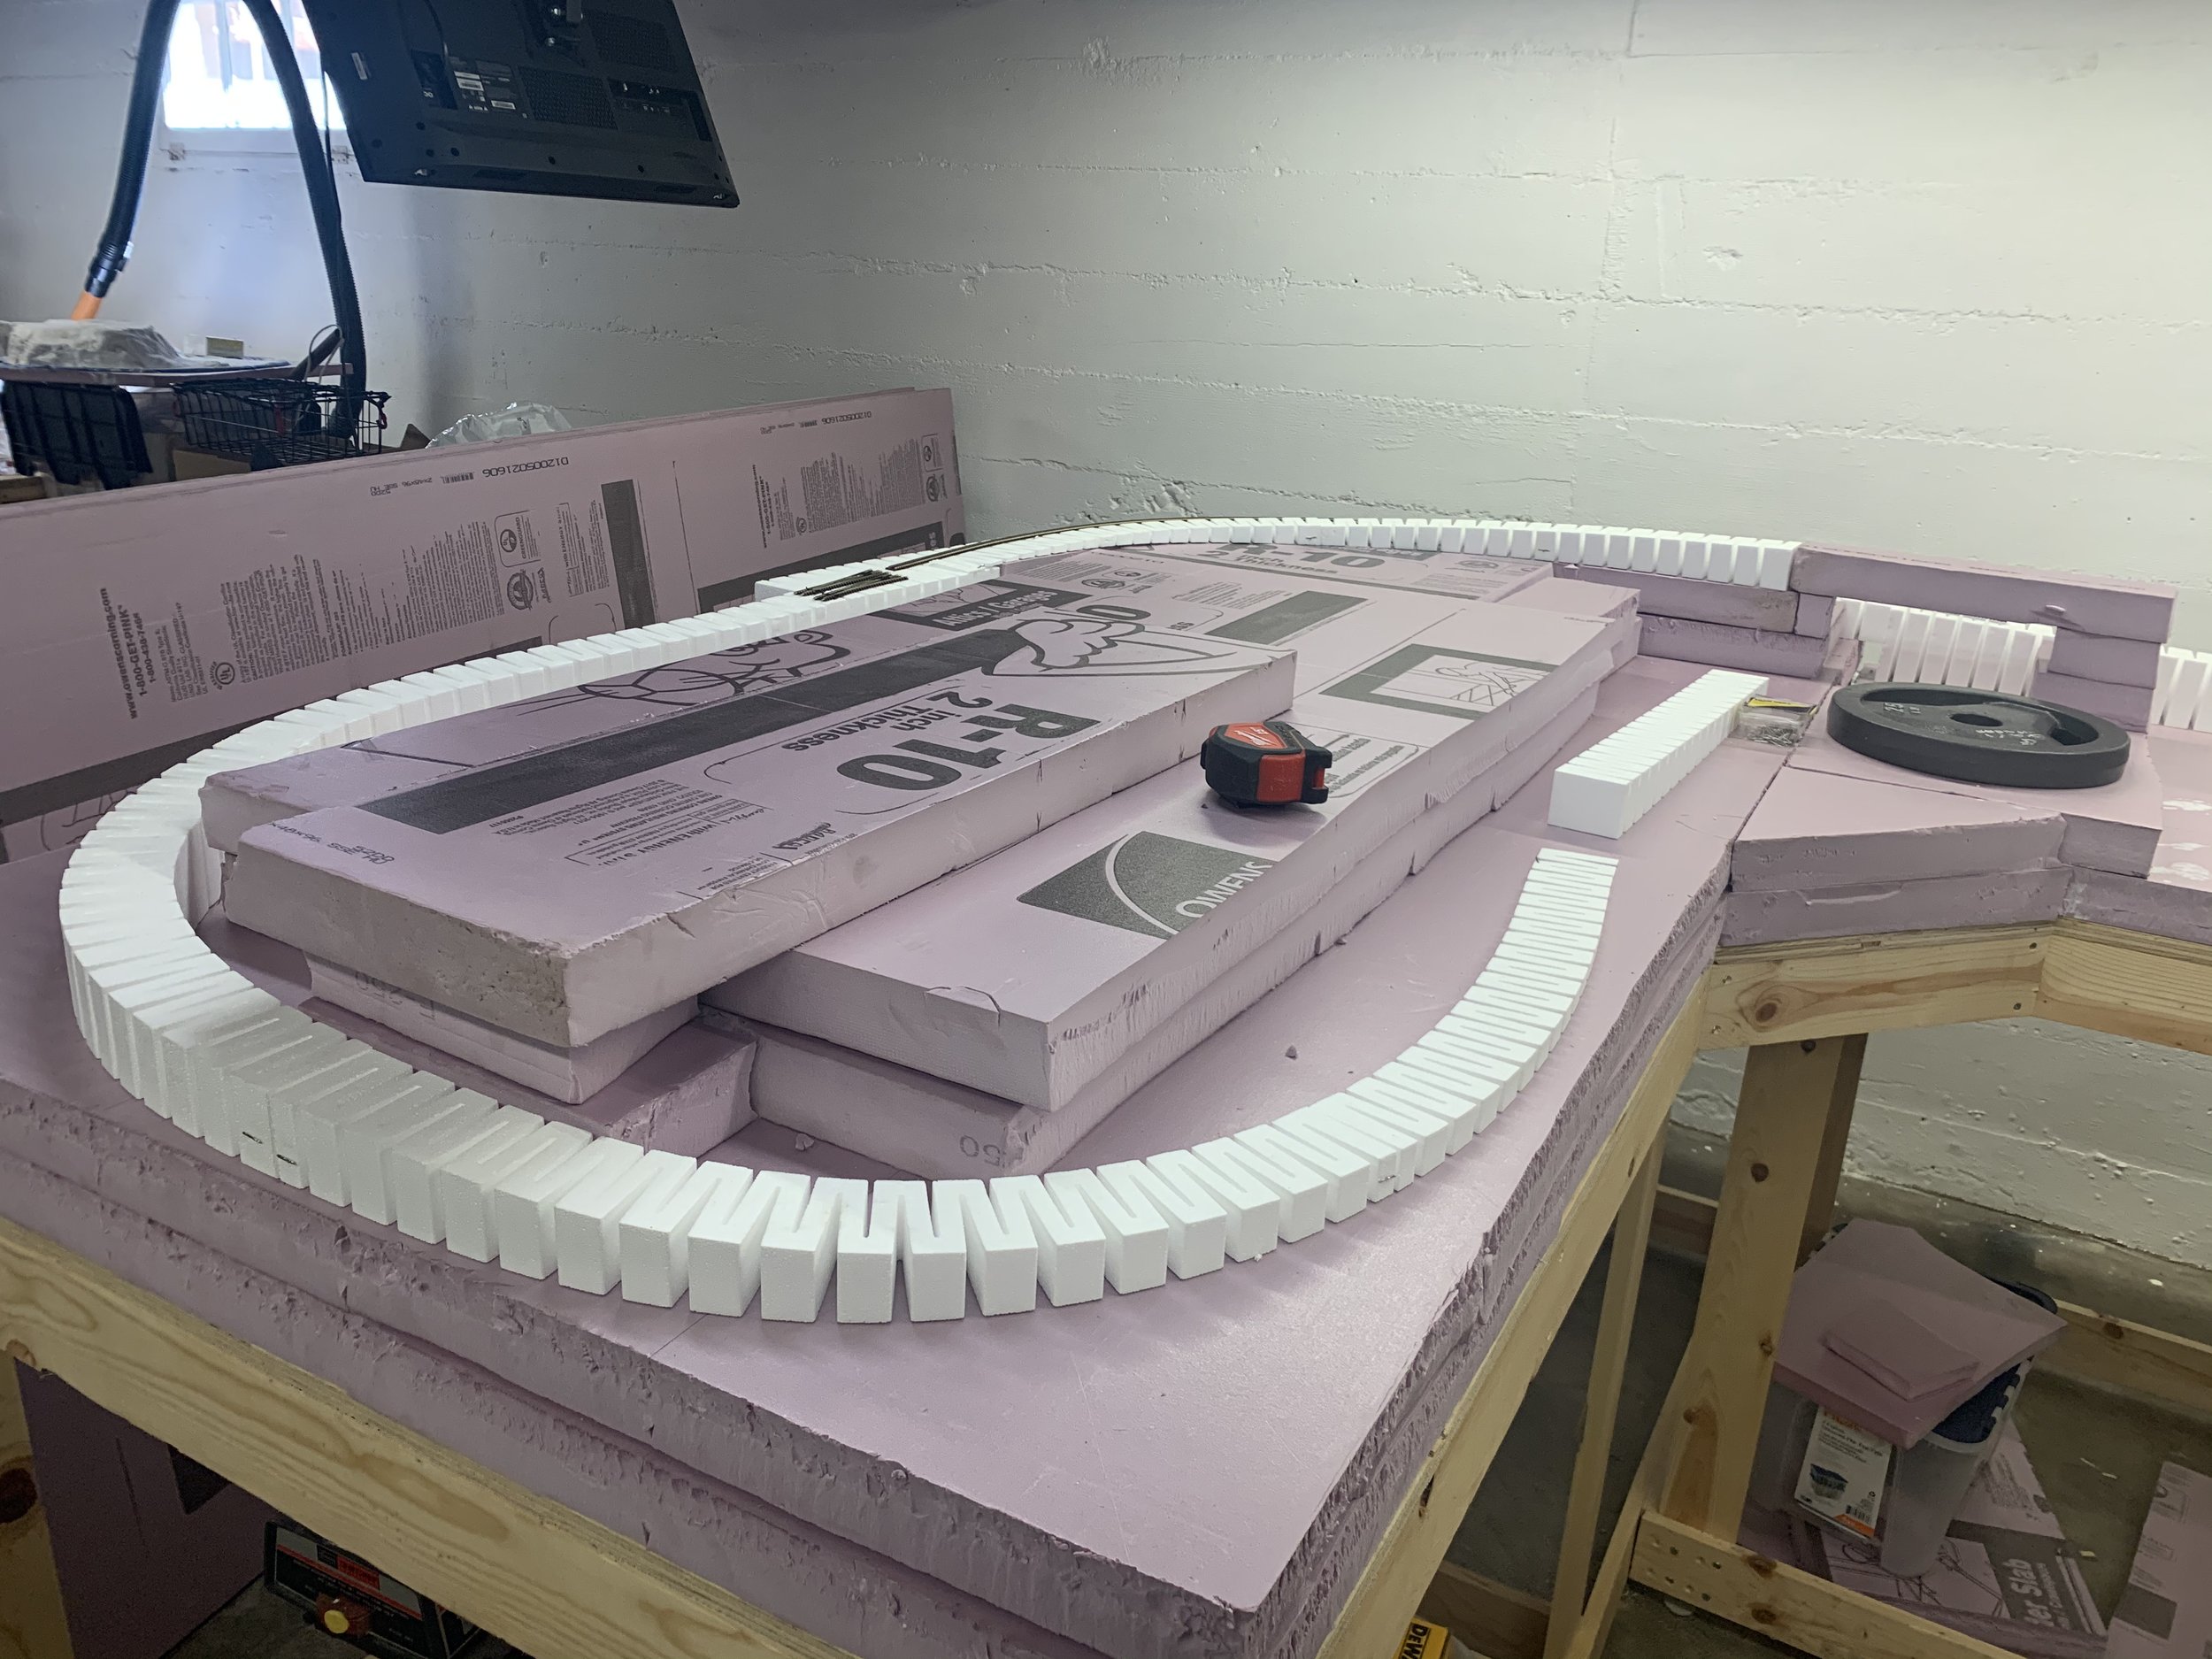
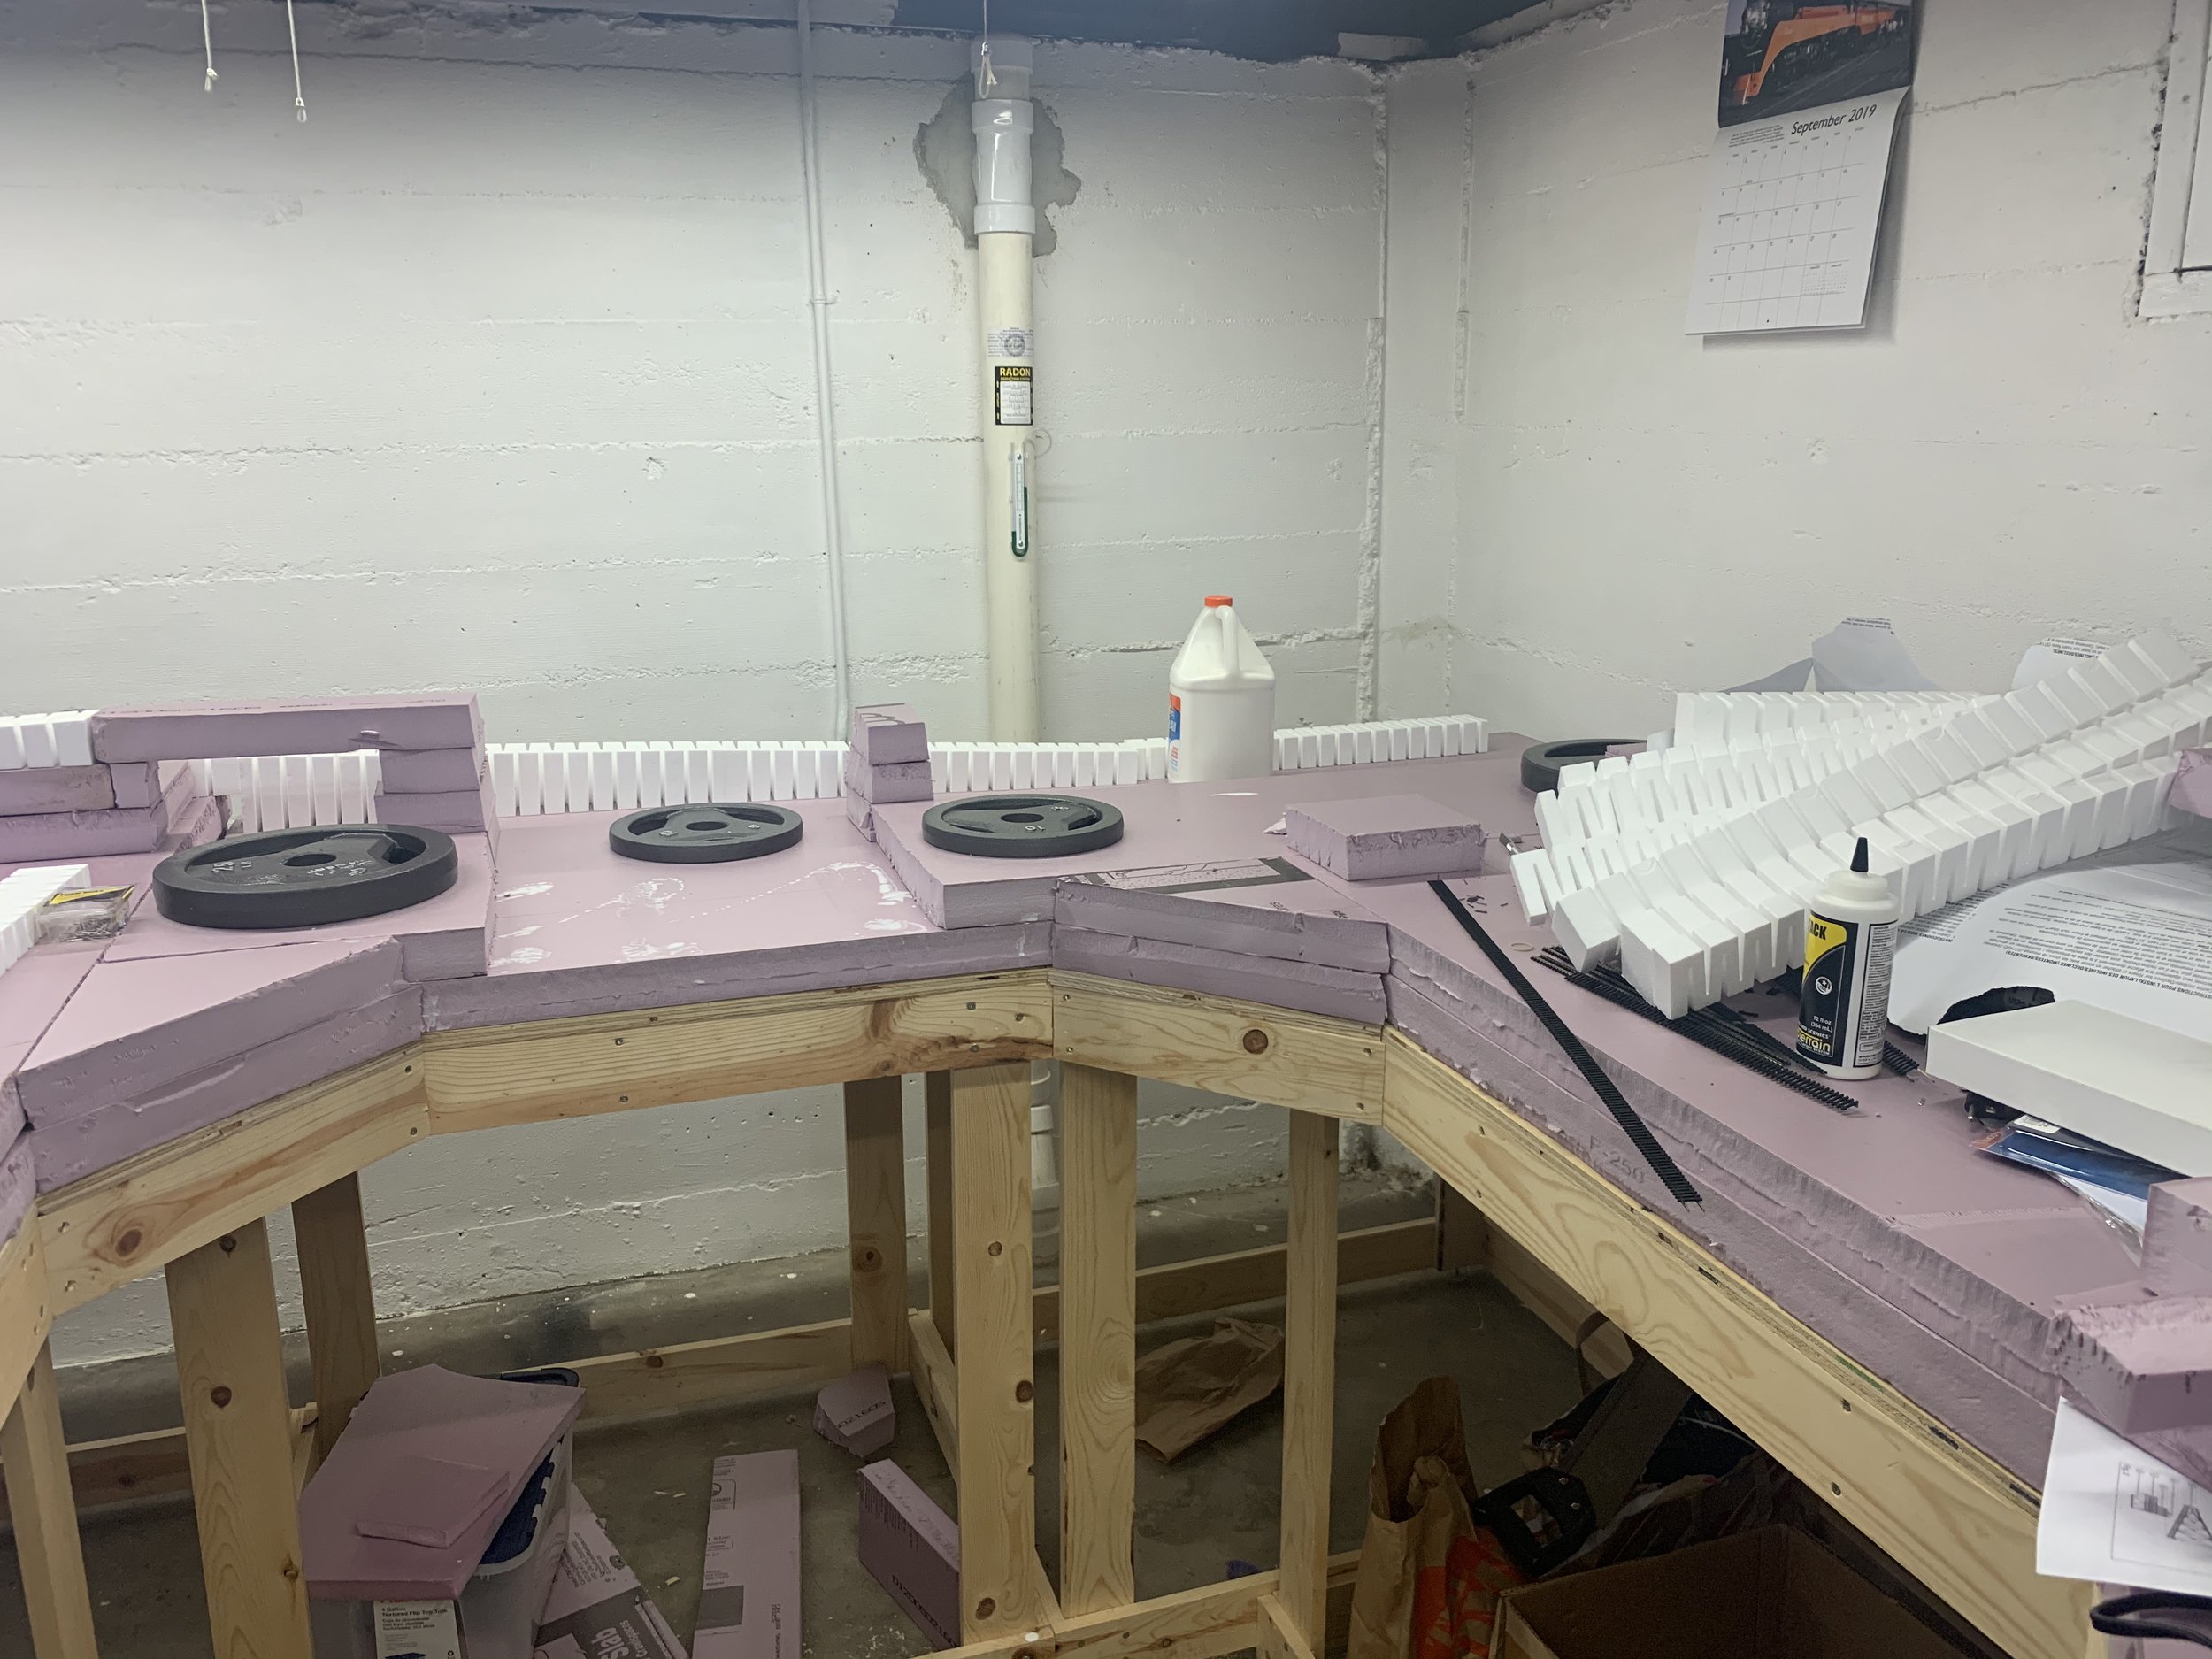
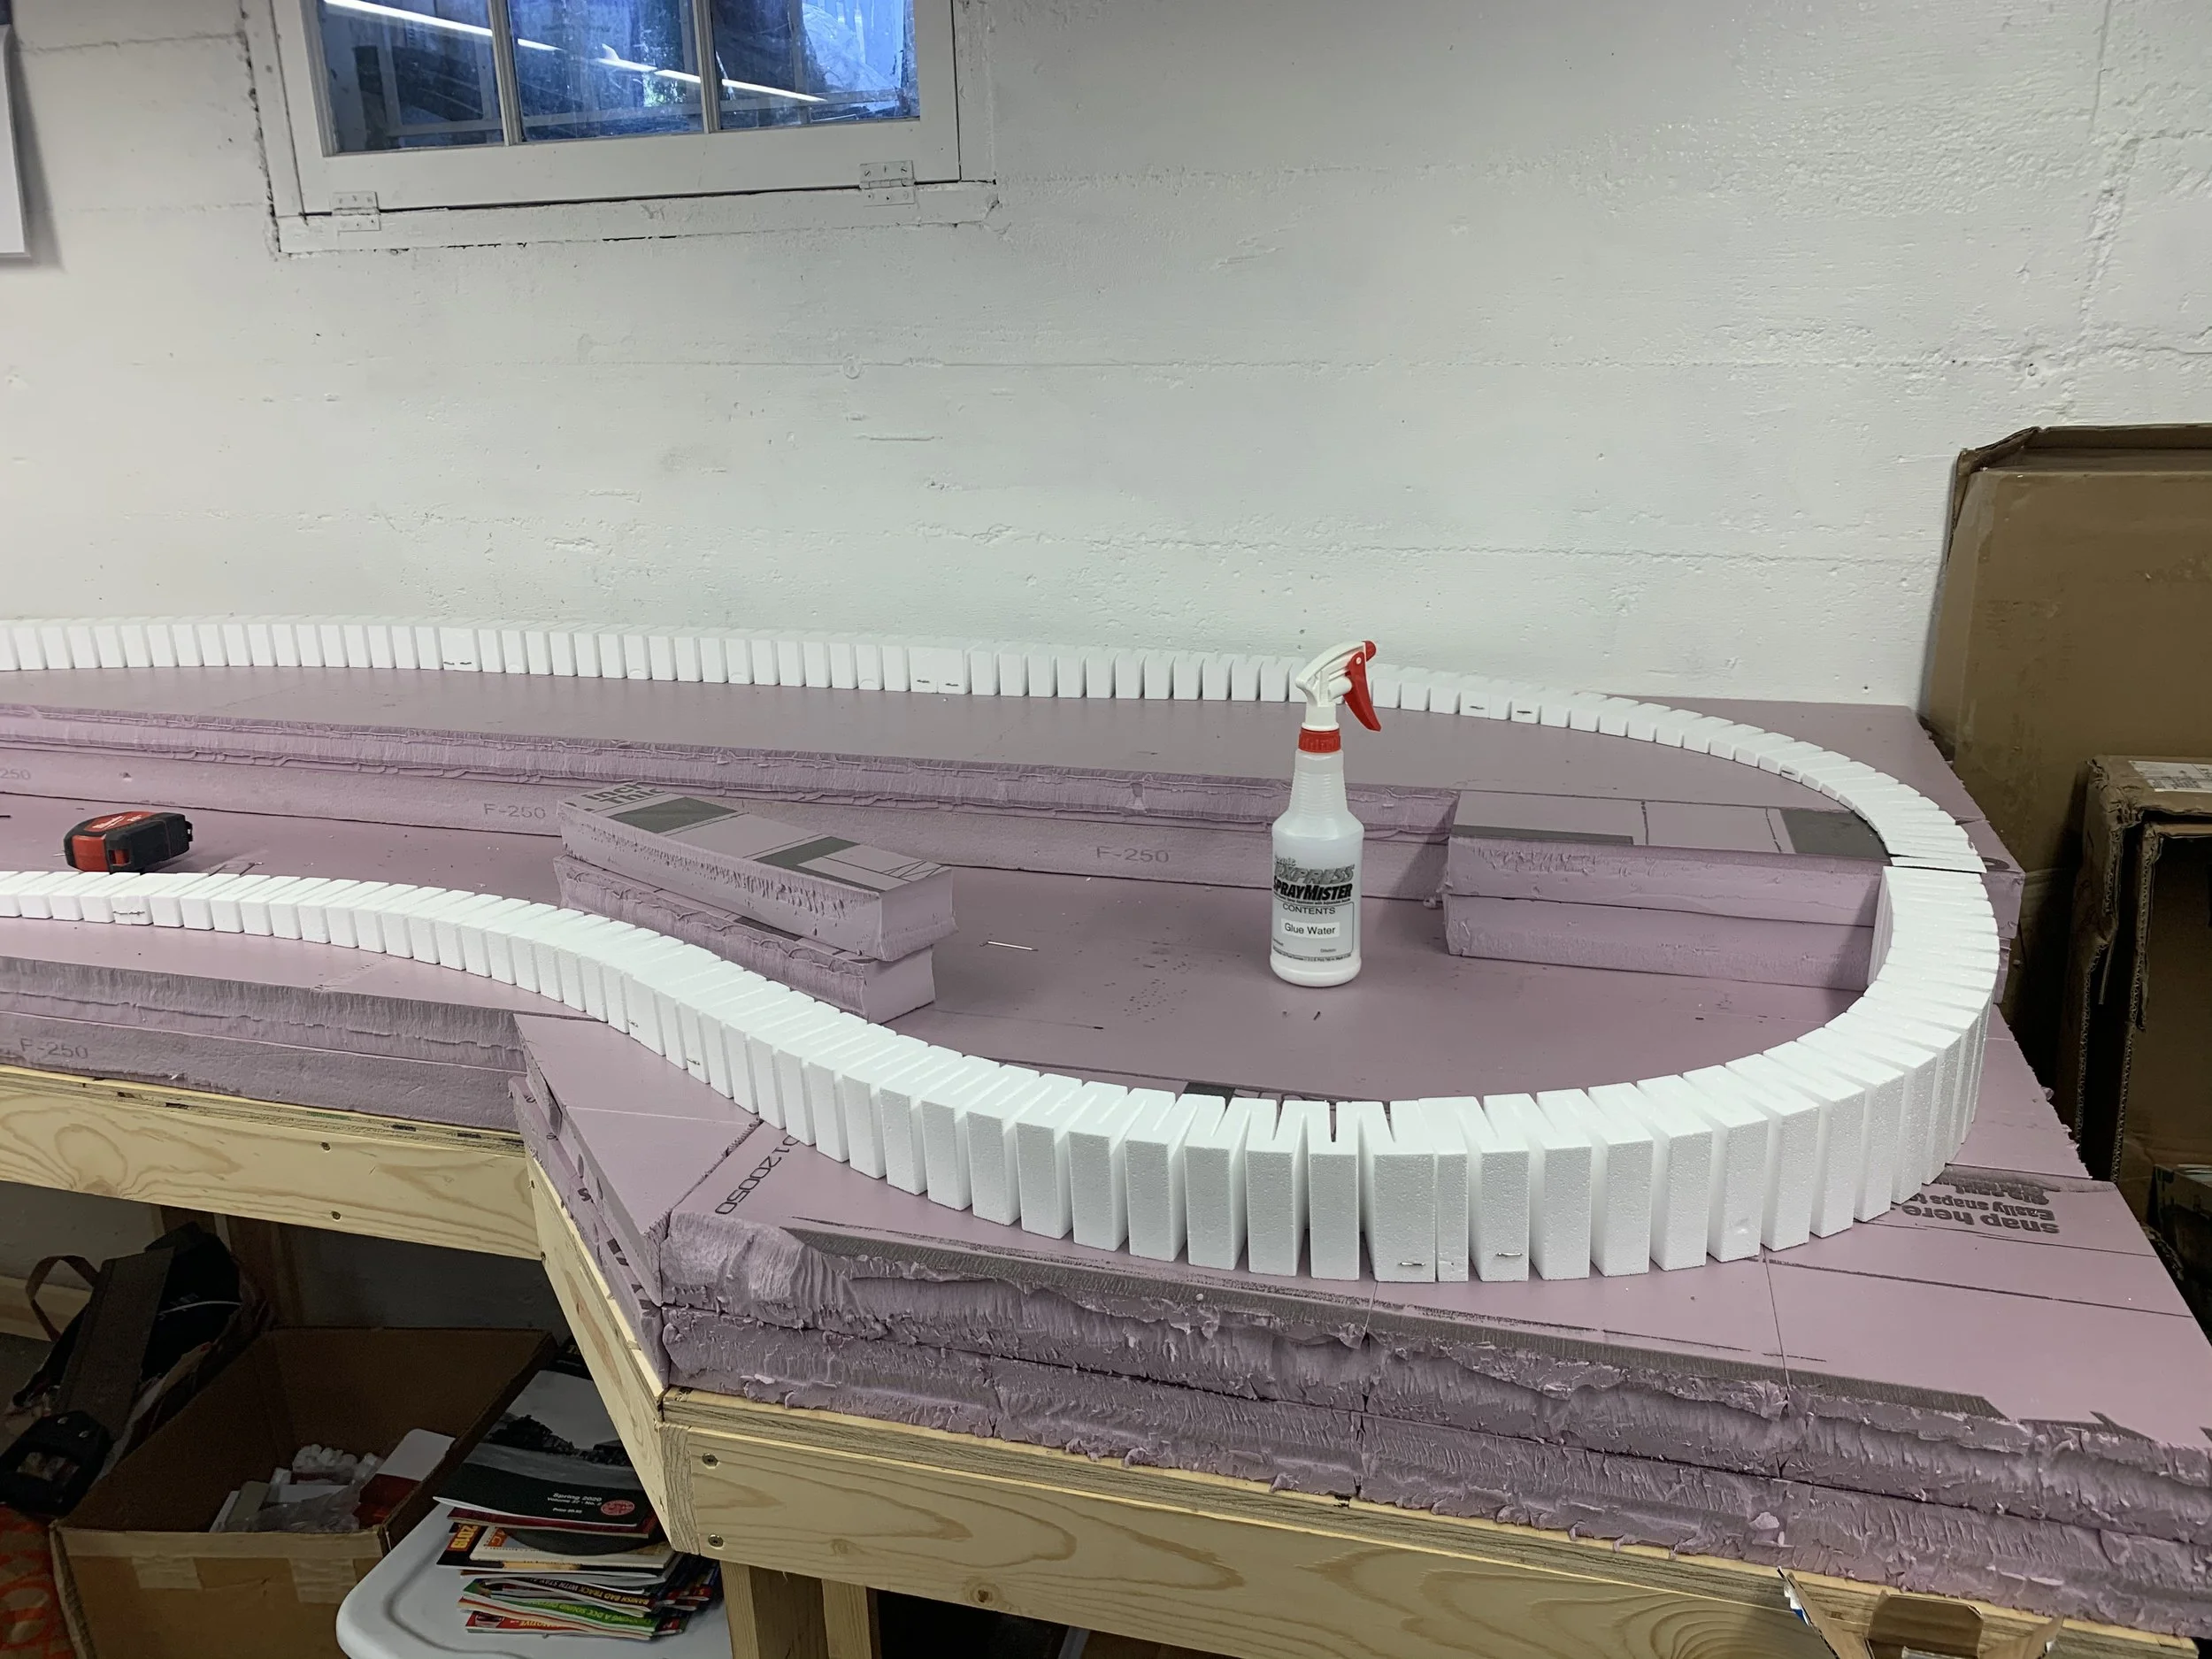
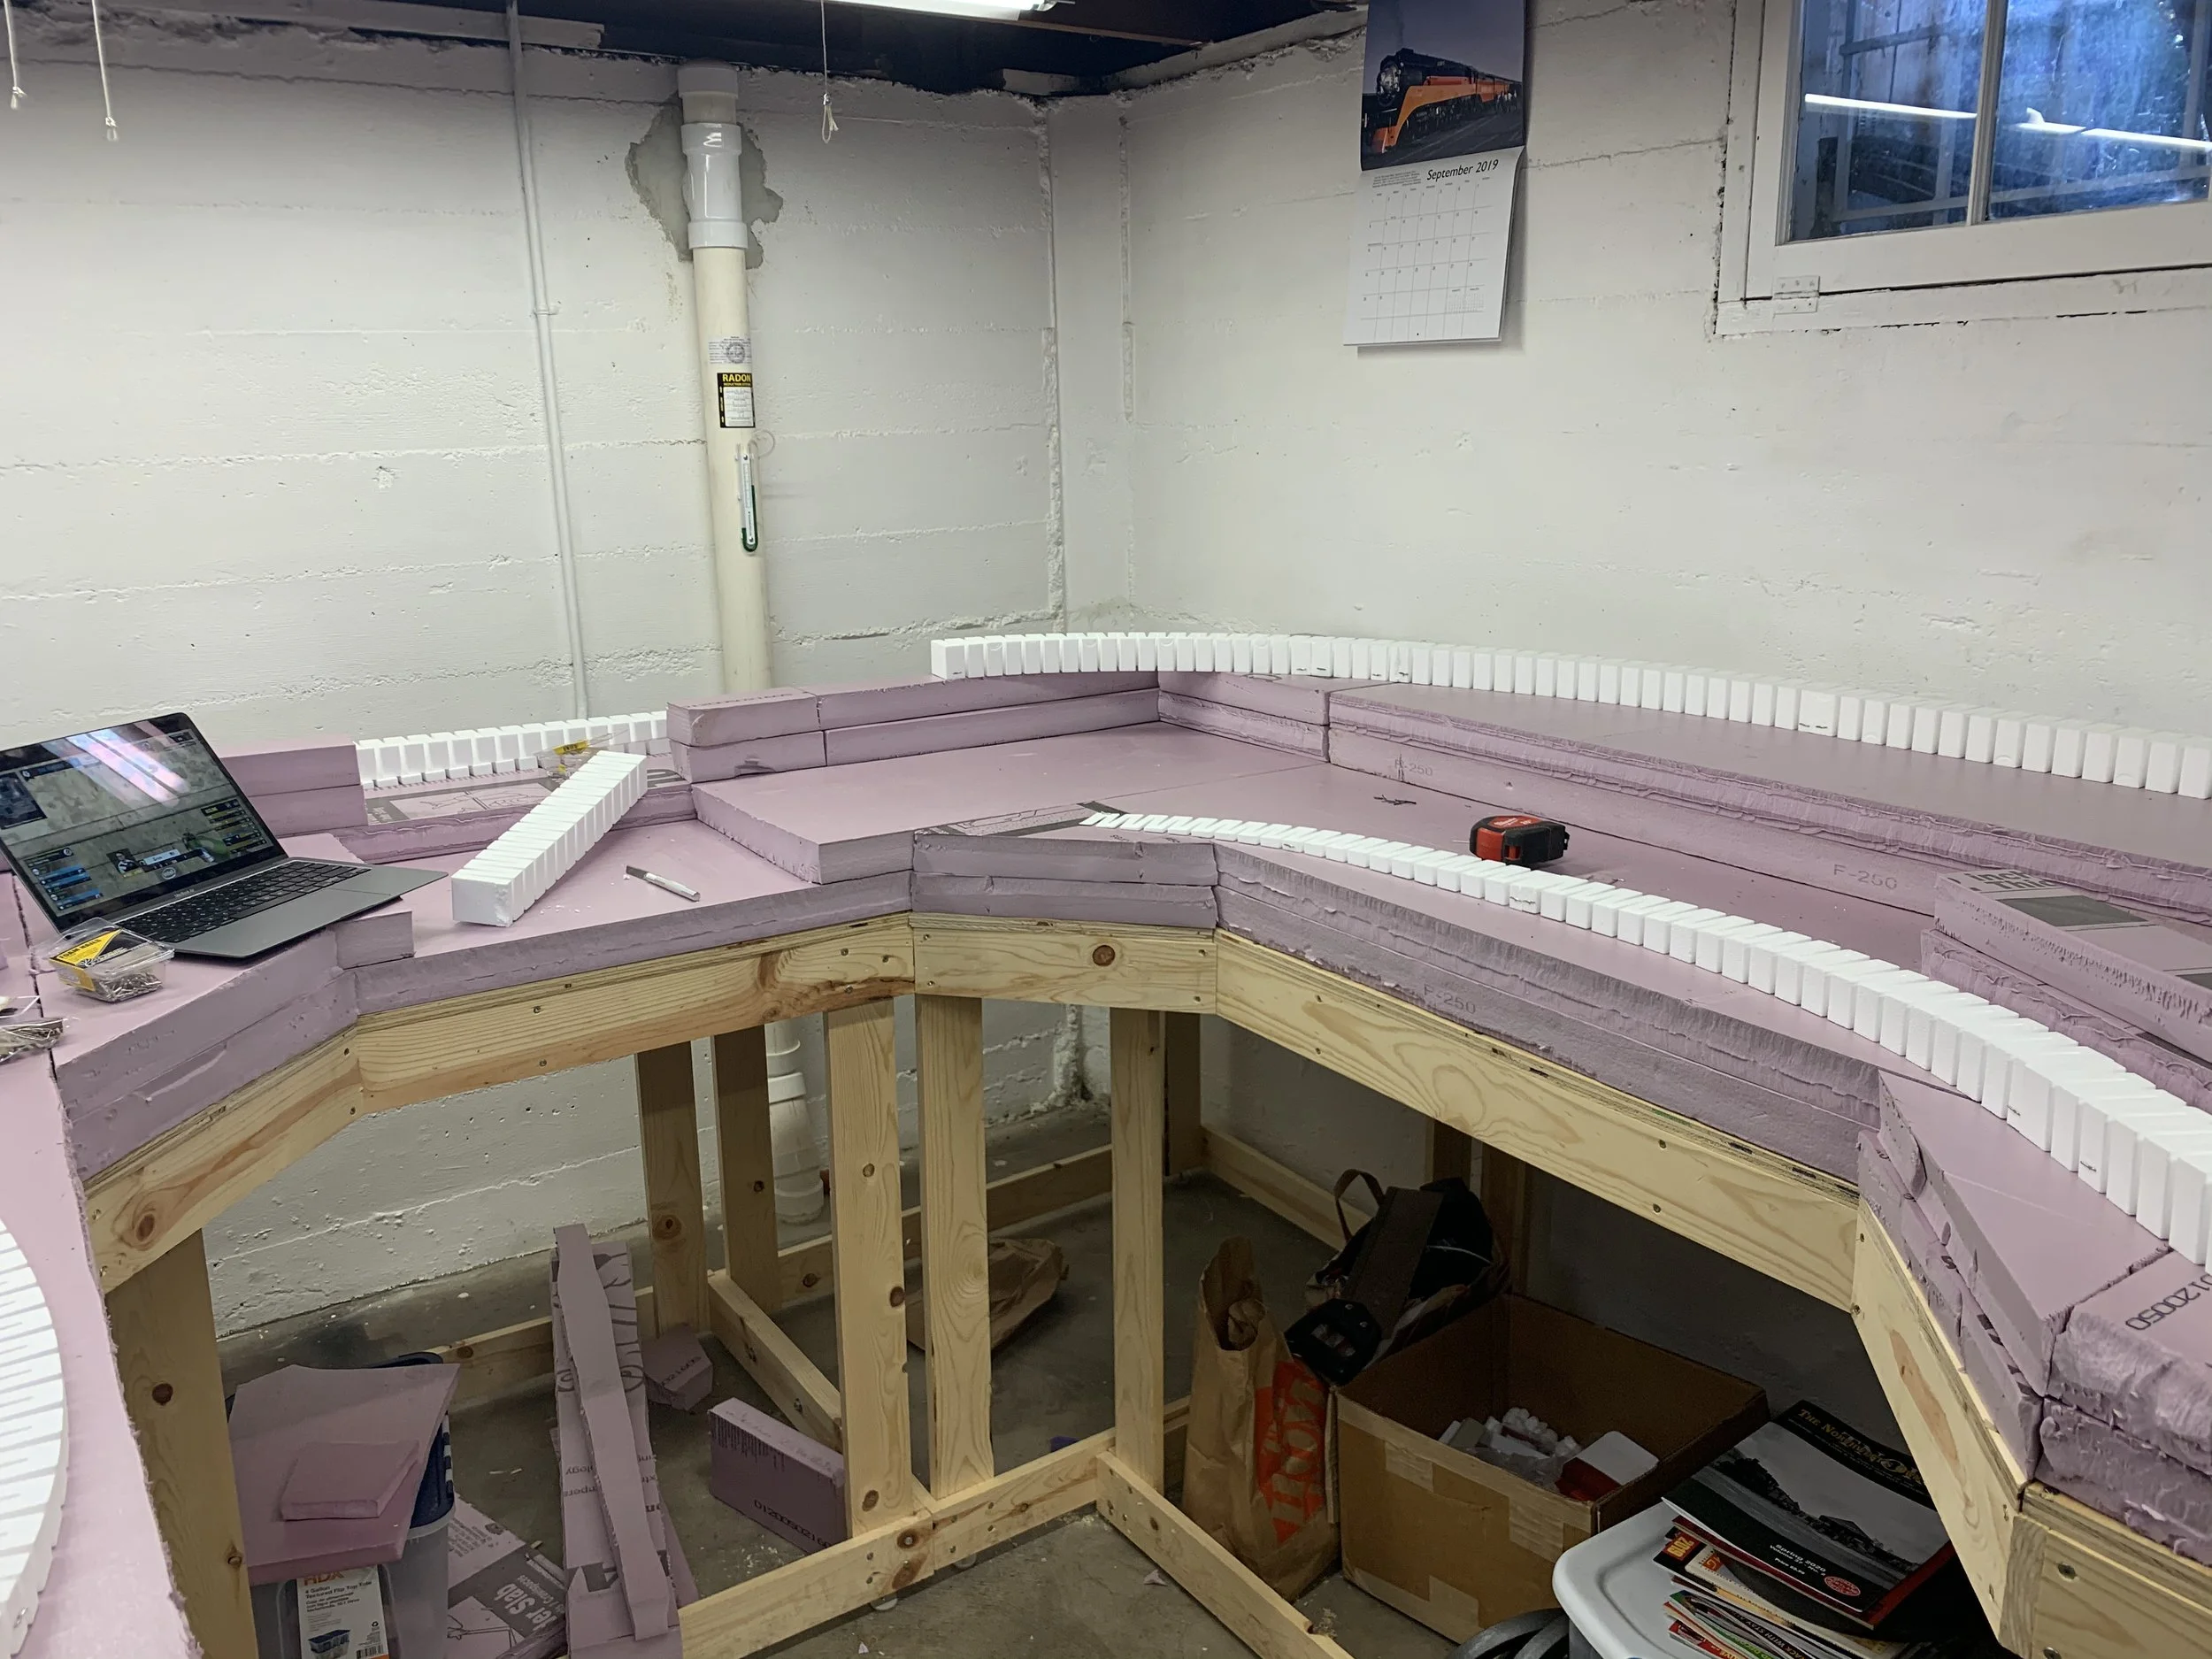
Each sheet of insulation foam is 2 inches thick, giving me a lot of rise by N scale standards. I had the base be 4 inches of foam so that I could also carve down to create more interesting topography.
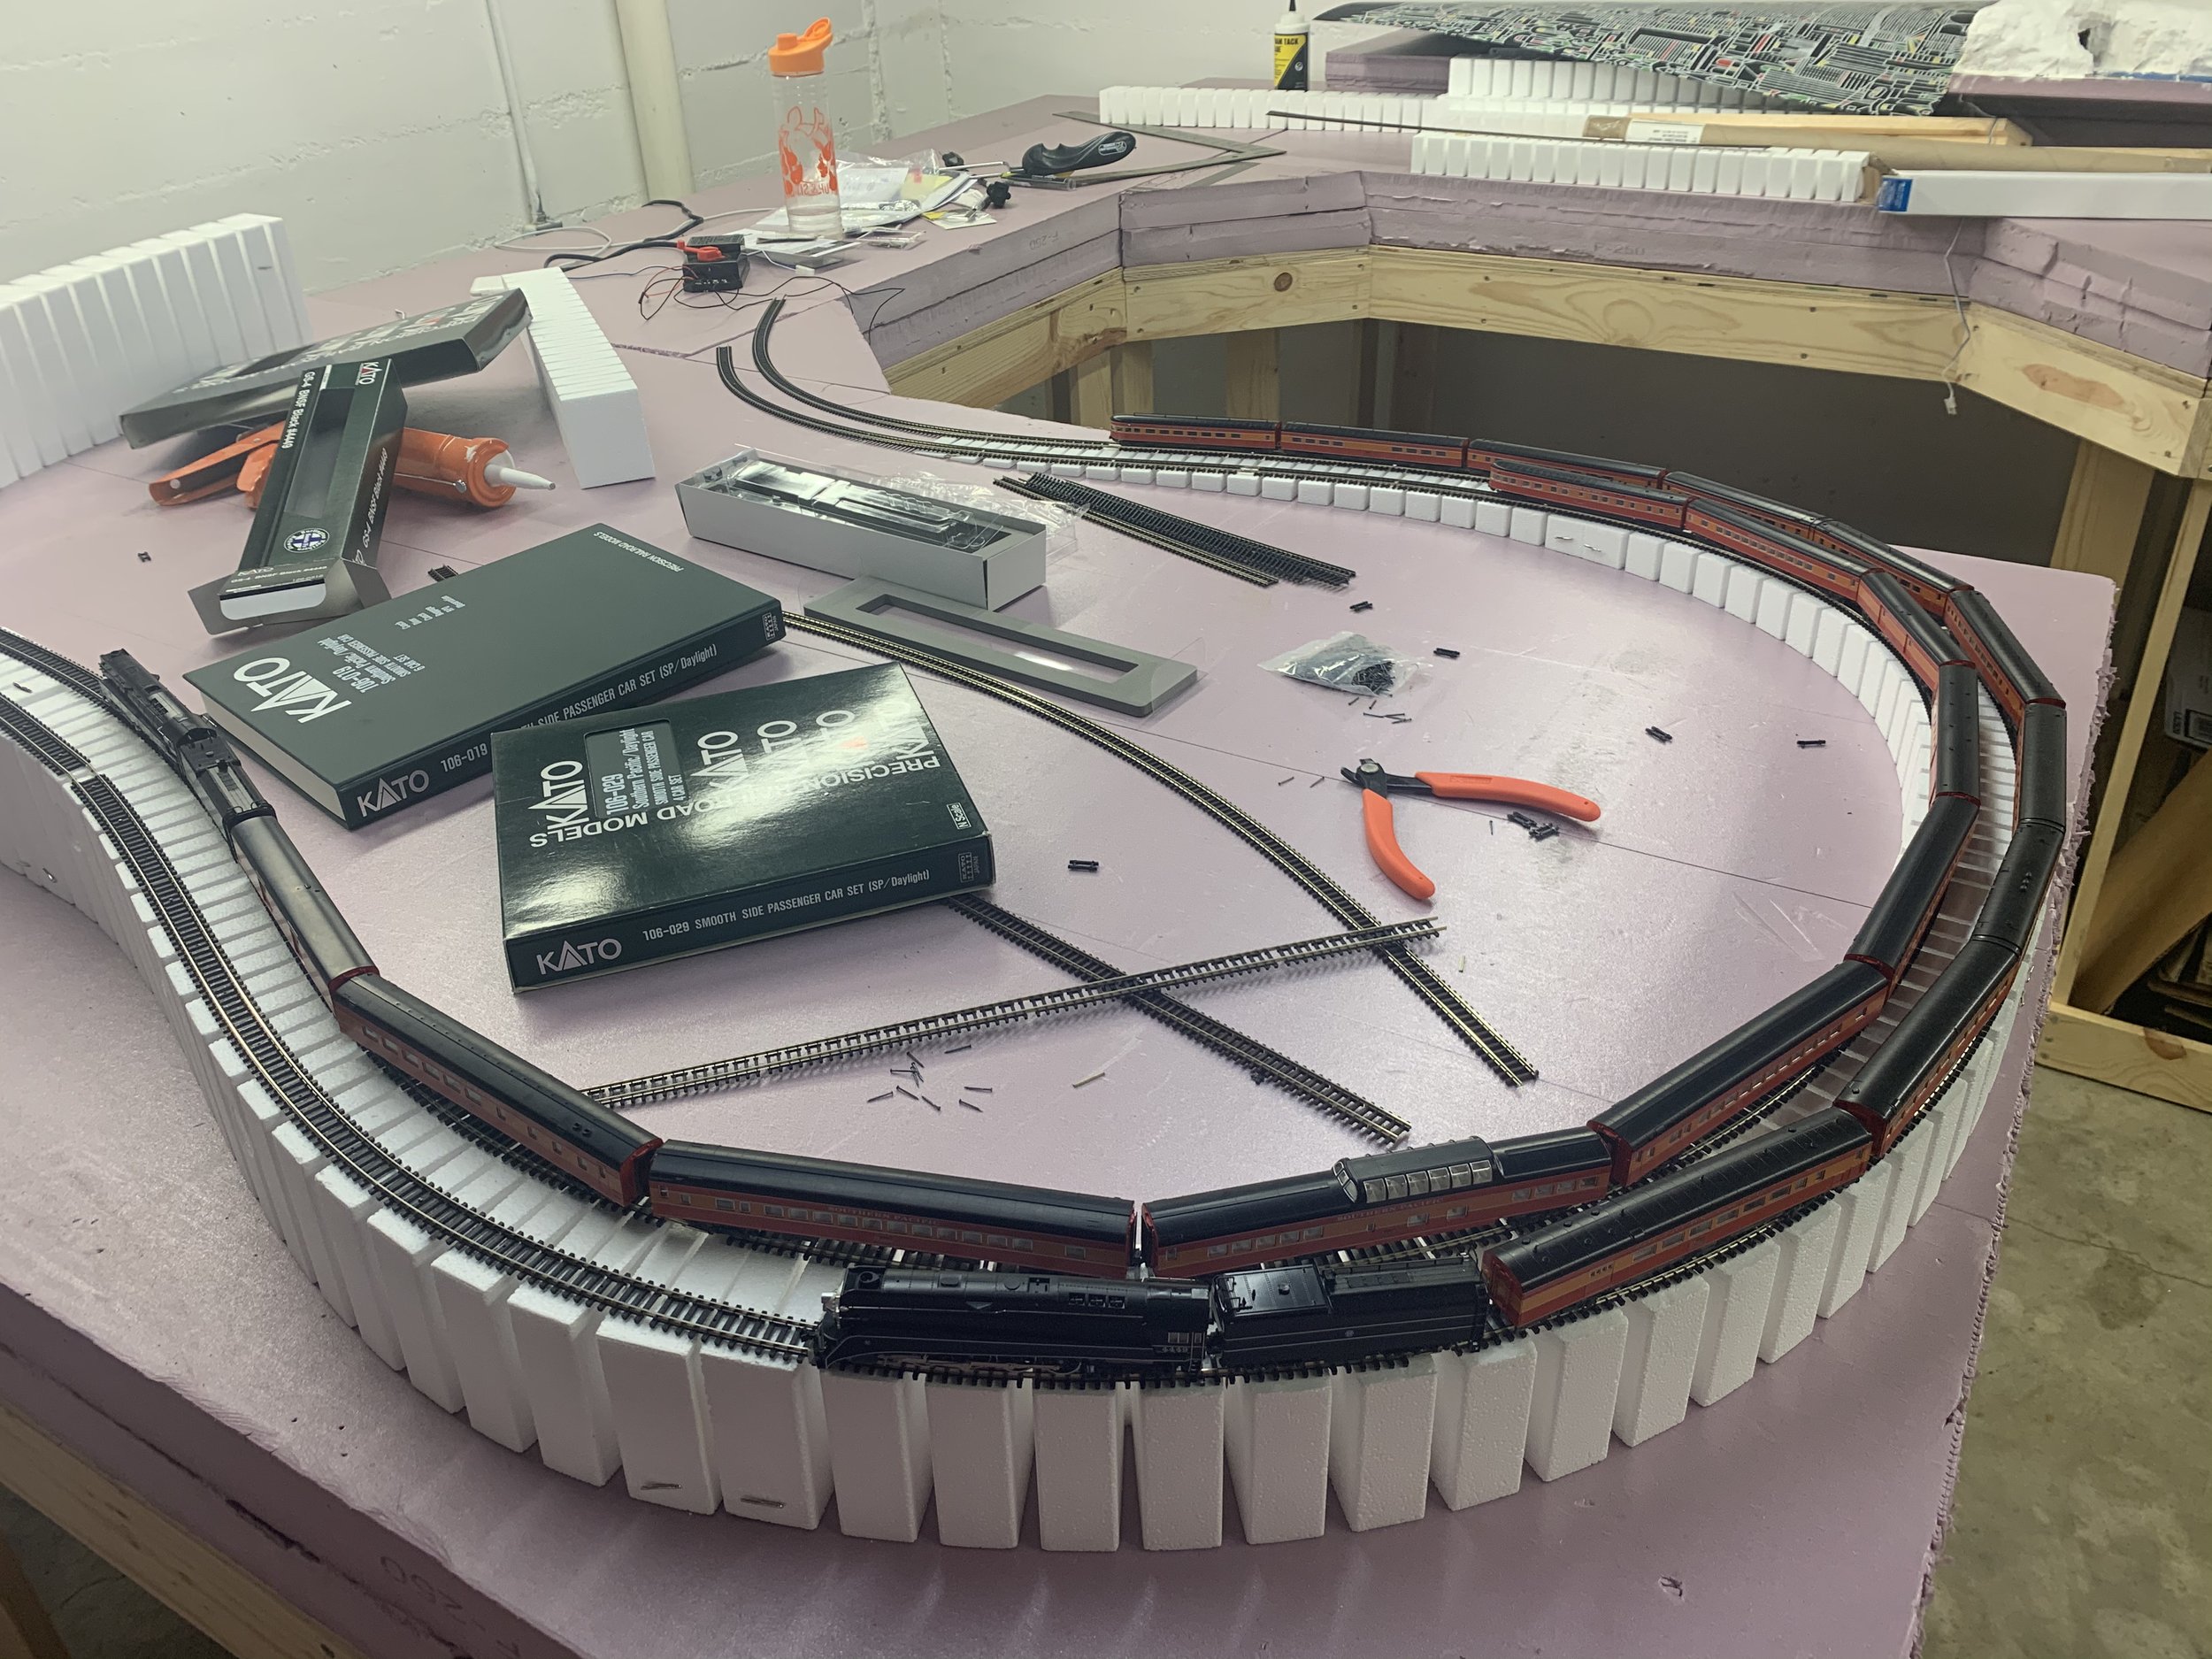
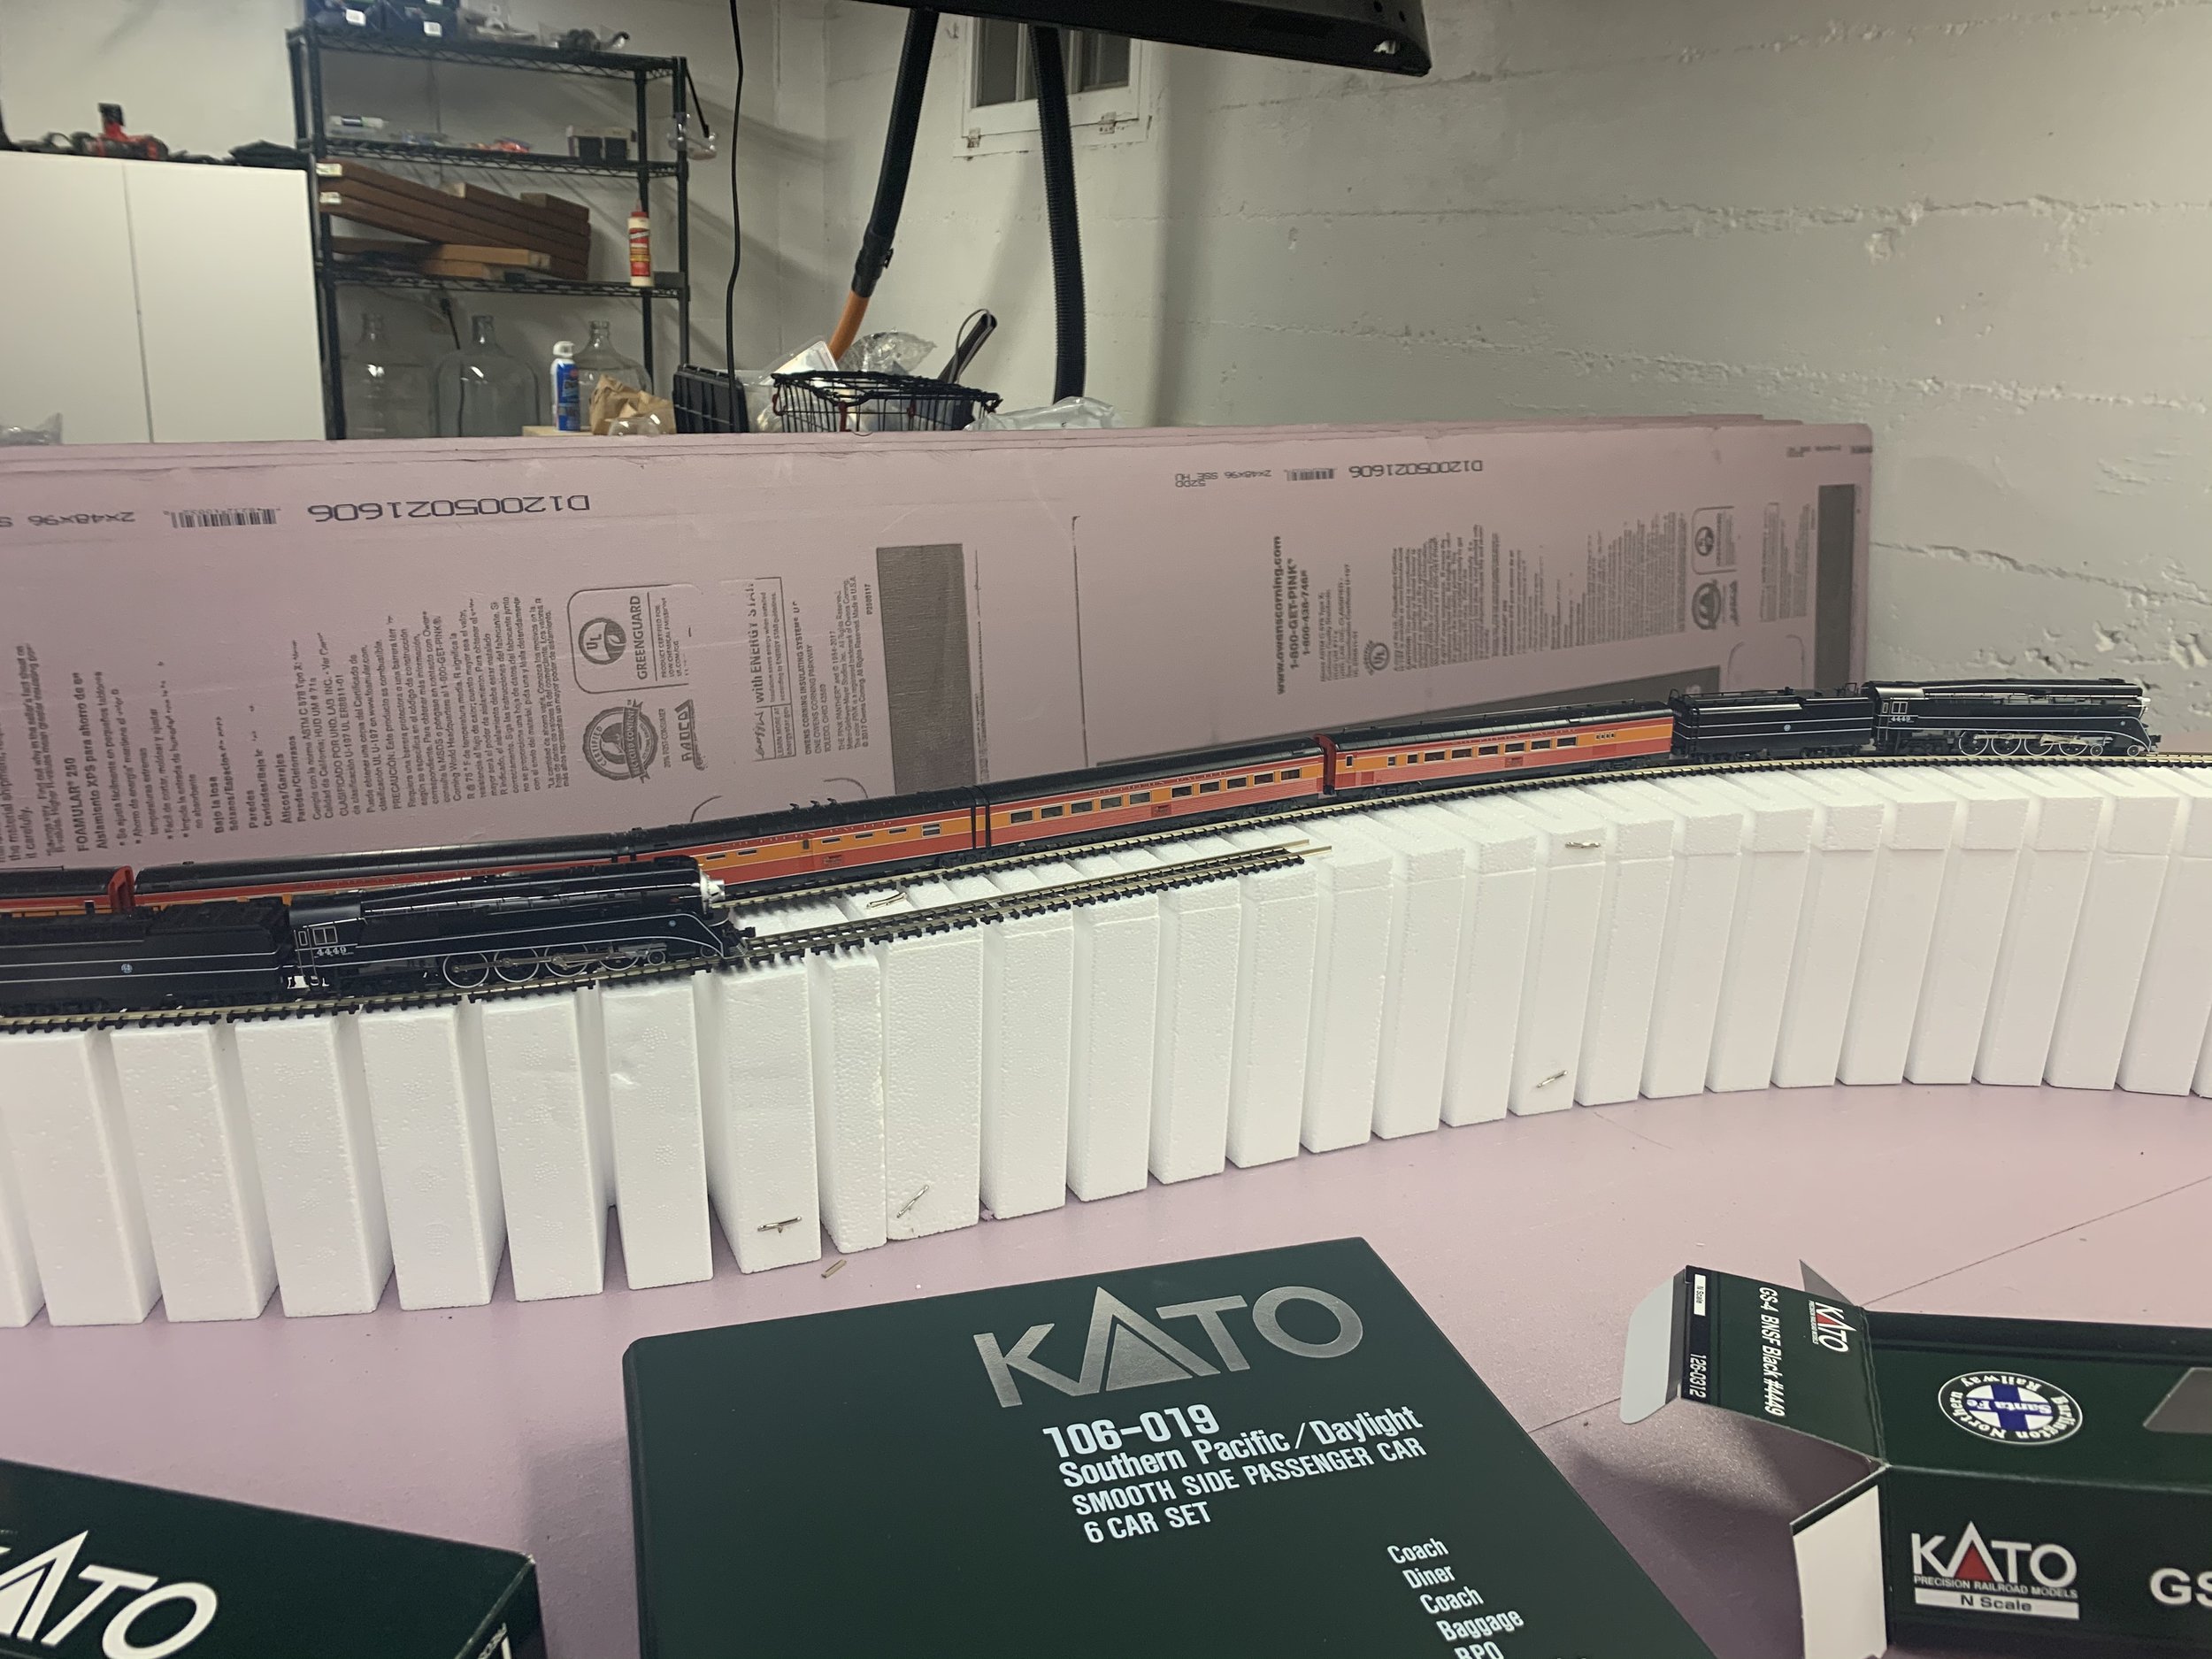
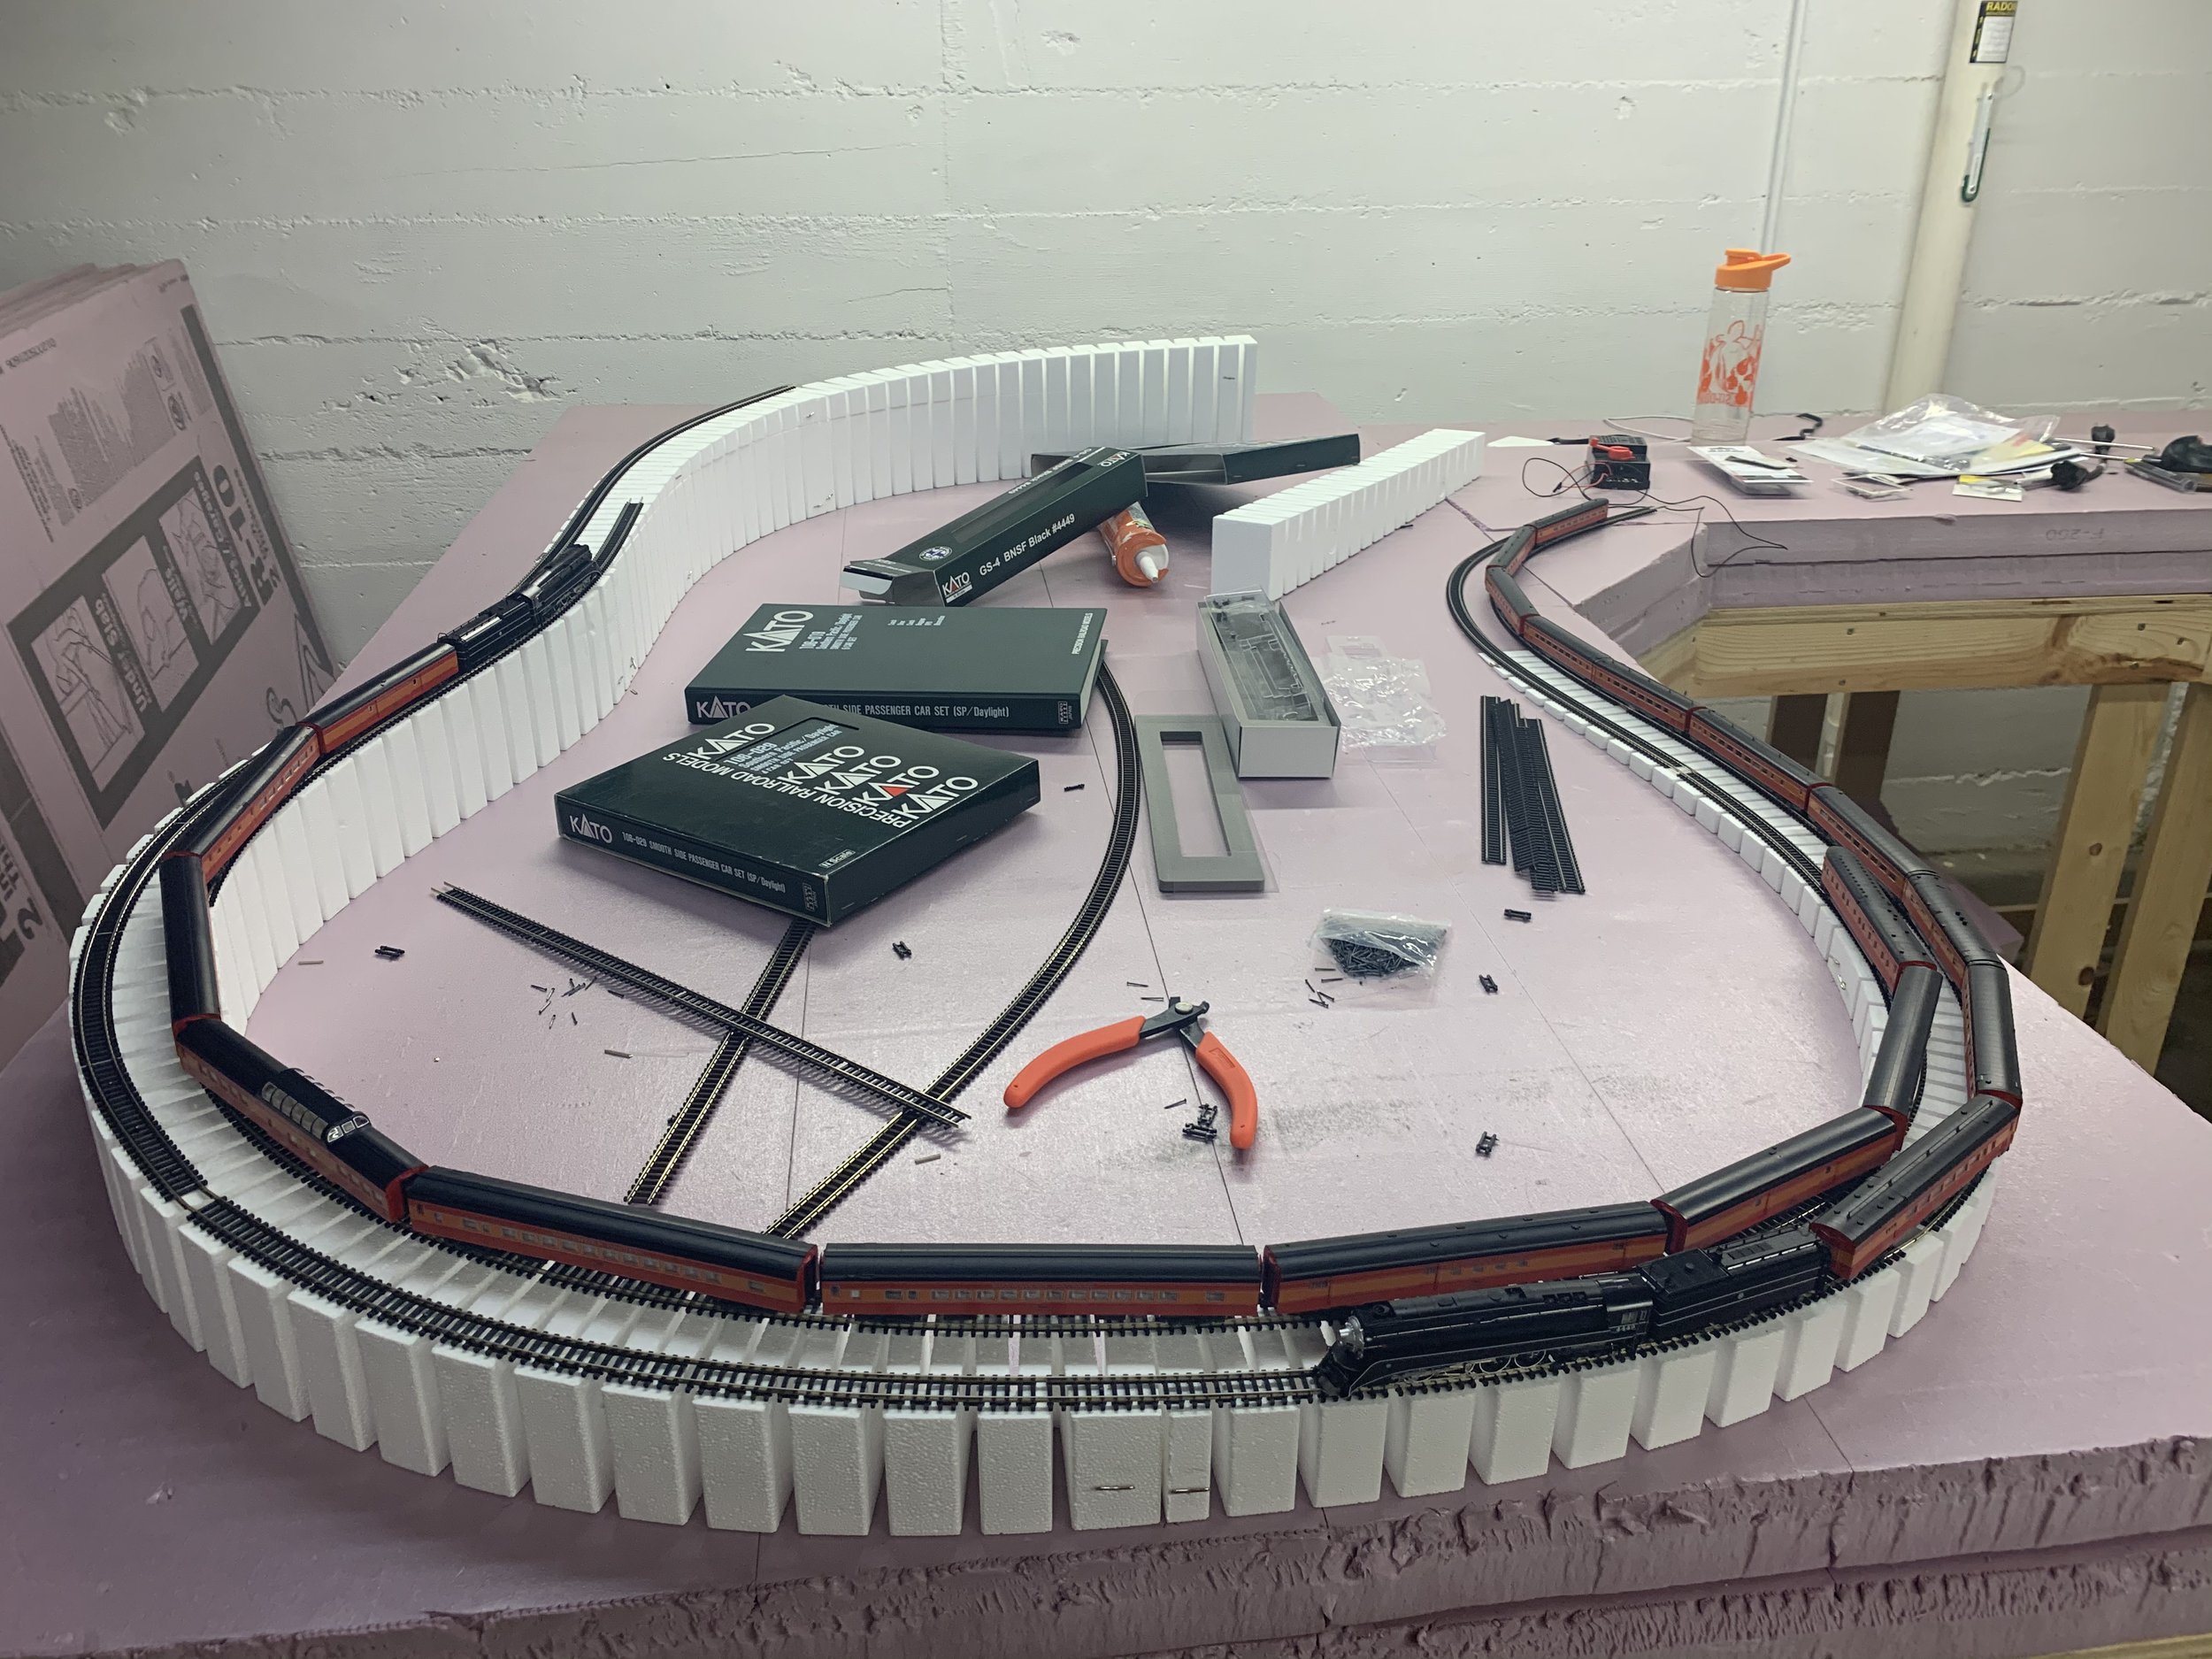
I built up a large hill that the track climbed up to. The idea was for the main loop to start at ground level, climb up to the top of the hill, cross in front of the waterfall about 7 inches, and then loop back down to cross the river in front of the waterfall at ground level. This would both highlight the relative high difference, and provide opportunities for two trains to be crossing the waterfall at different heights at the same time.
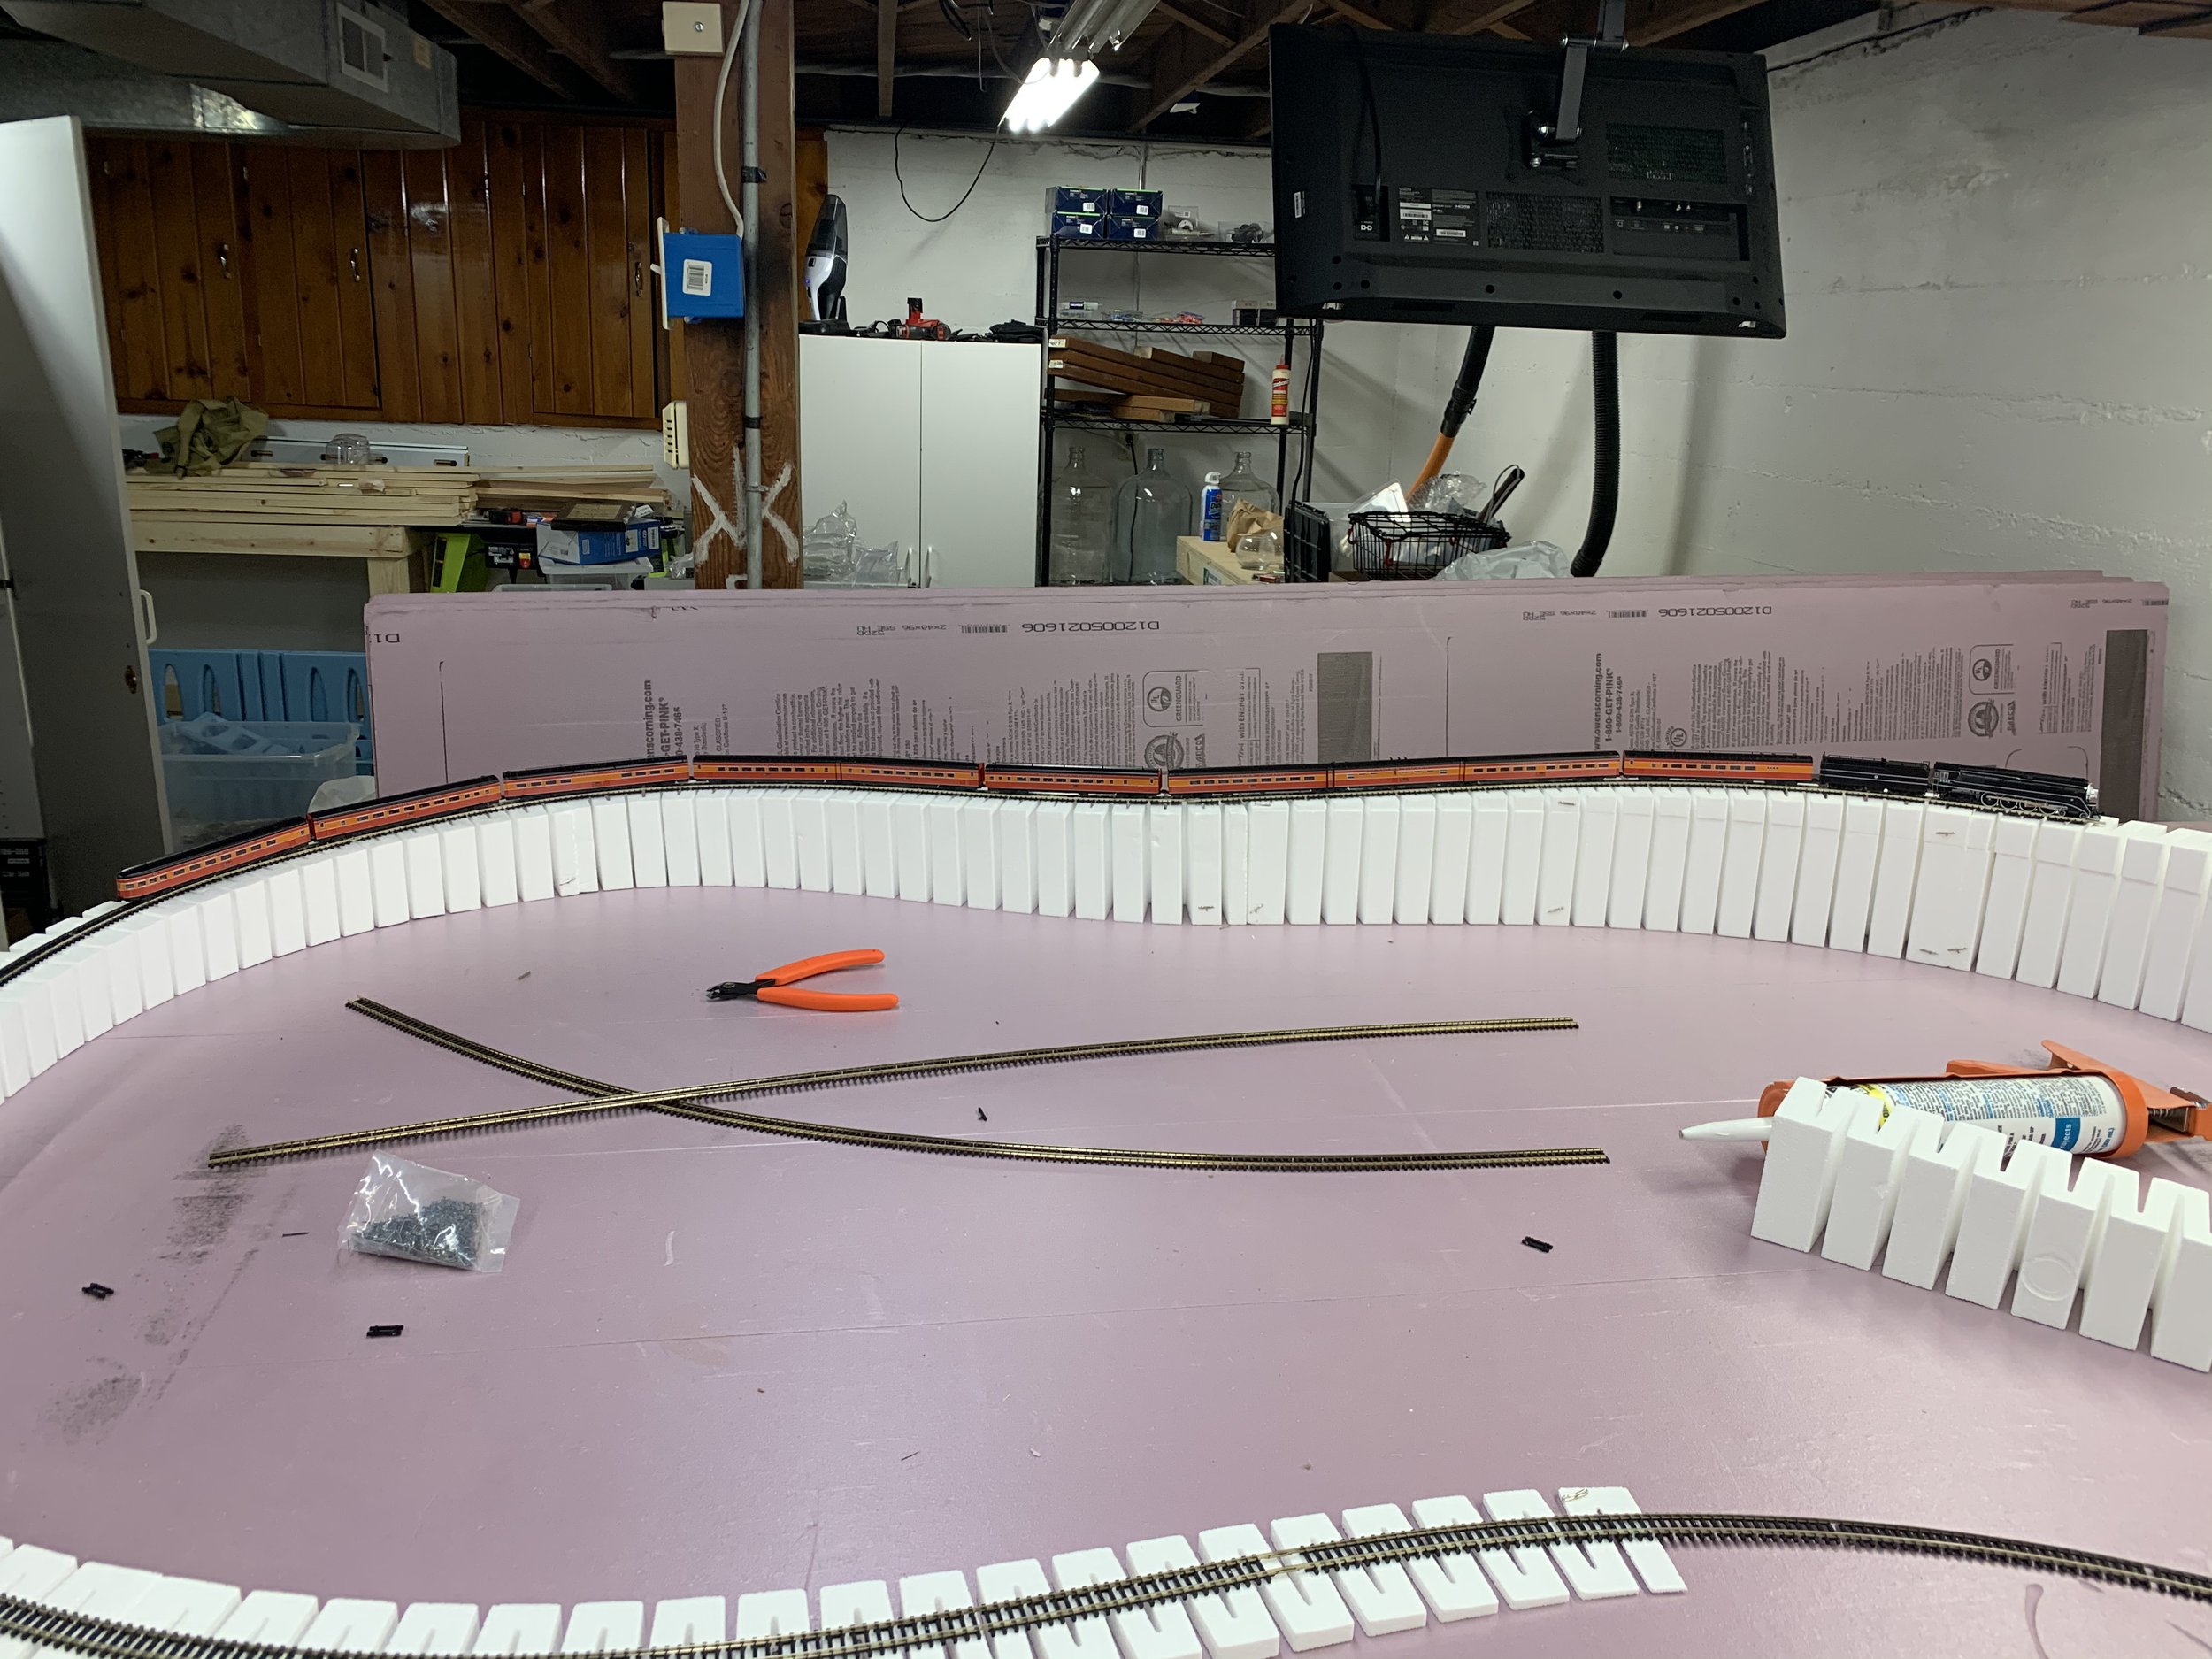
I used Atlas code 80 flex track in order to allow for natural-looking curves. This proved to be more custom work than I was willing to do, in large part because I find that I need to see some aspect of the result of a project in order to keep excitement up for the project. With flex track and manual switches it would have taken far too long before I could actually run a train around the loop.
I used 4% grade risers from Woodland Scenics in order to get the dramatic rise of the waterfall. As you can see, I was able to get my Daylight trains to run reliably on that grade, but as I would discover later, diesel engines just could not make the grade, even without load. This became a primary reason for scrapping this design.
