Greenhouse
The shed was one of the things I was moved excited to work on when I first moved into my house.
Originally the dream was to turn it into a home office, separating my work life and personal life, but eventually I stopped needing that physical separation.
At the same time my interest in growing my own food had, well, grown. My mushroom setup had undergone its first iteration, and my espalier trees were starting to come into their own.
So when I decided to revisit the shed it seemed quite clear that I should turn it into a greenhouse.
The Sides
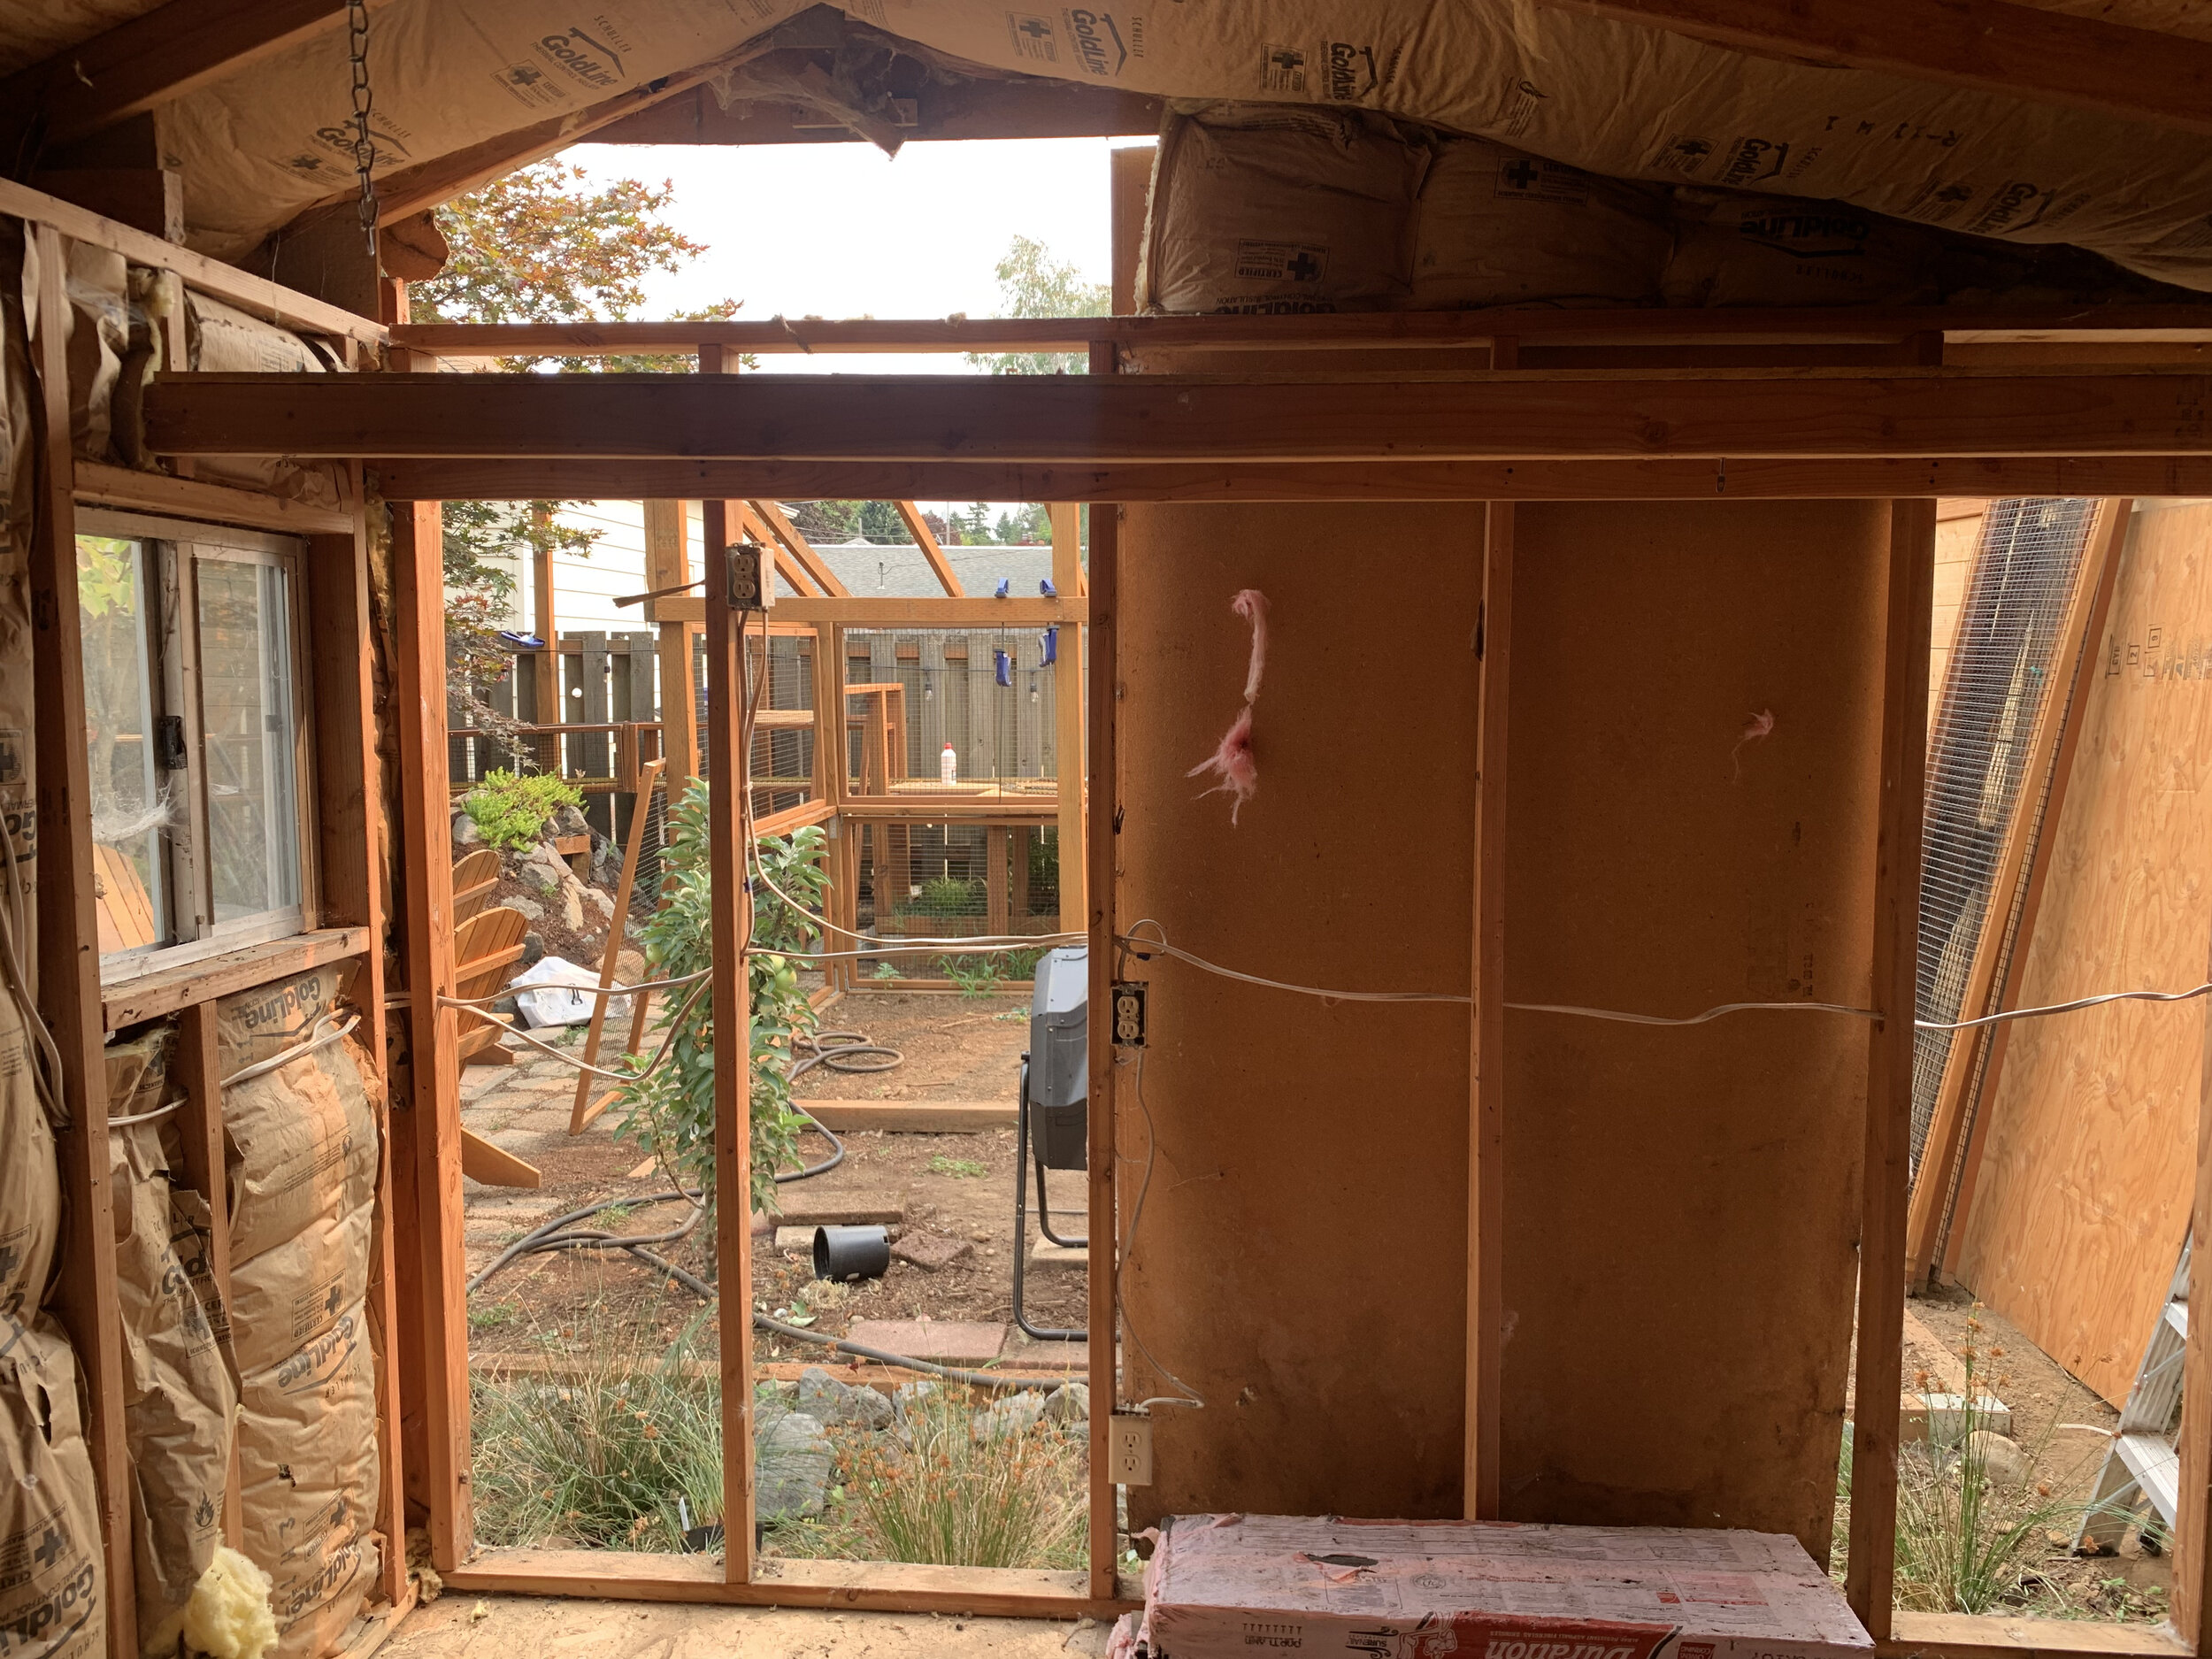
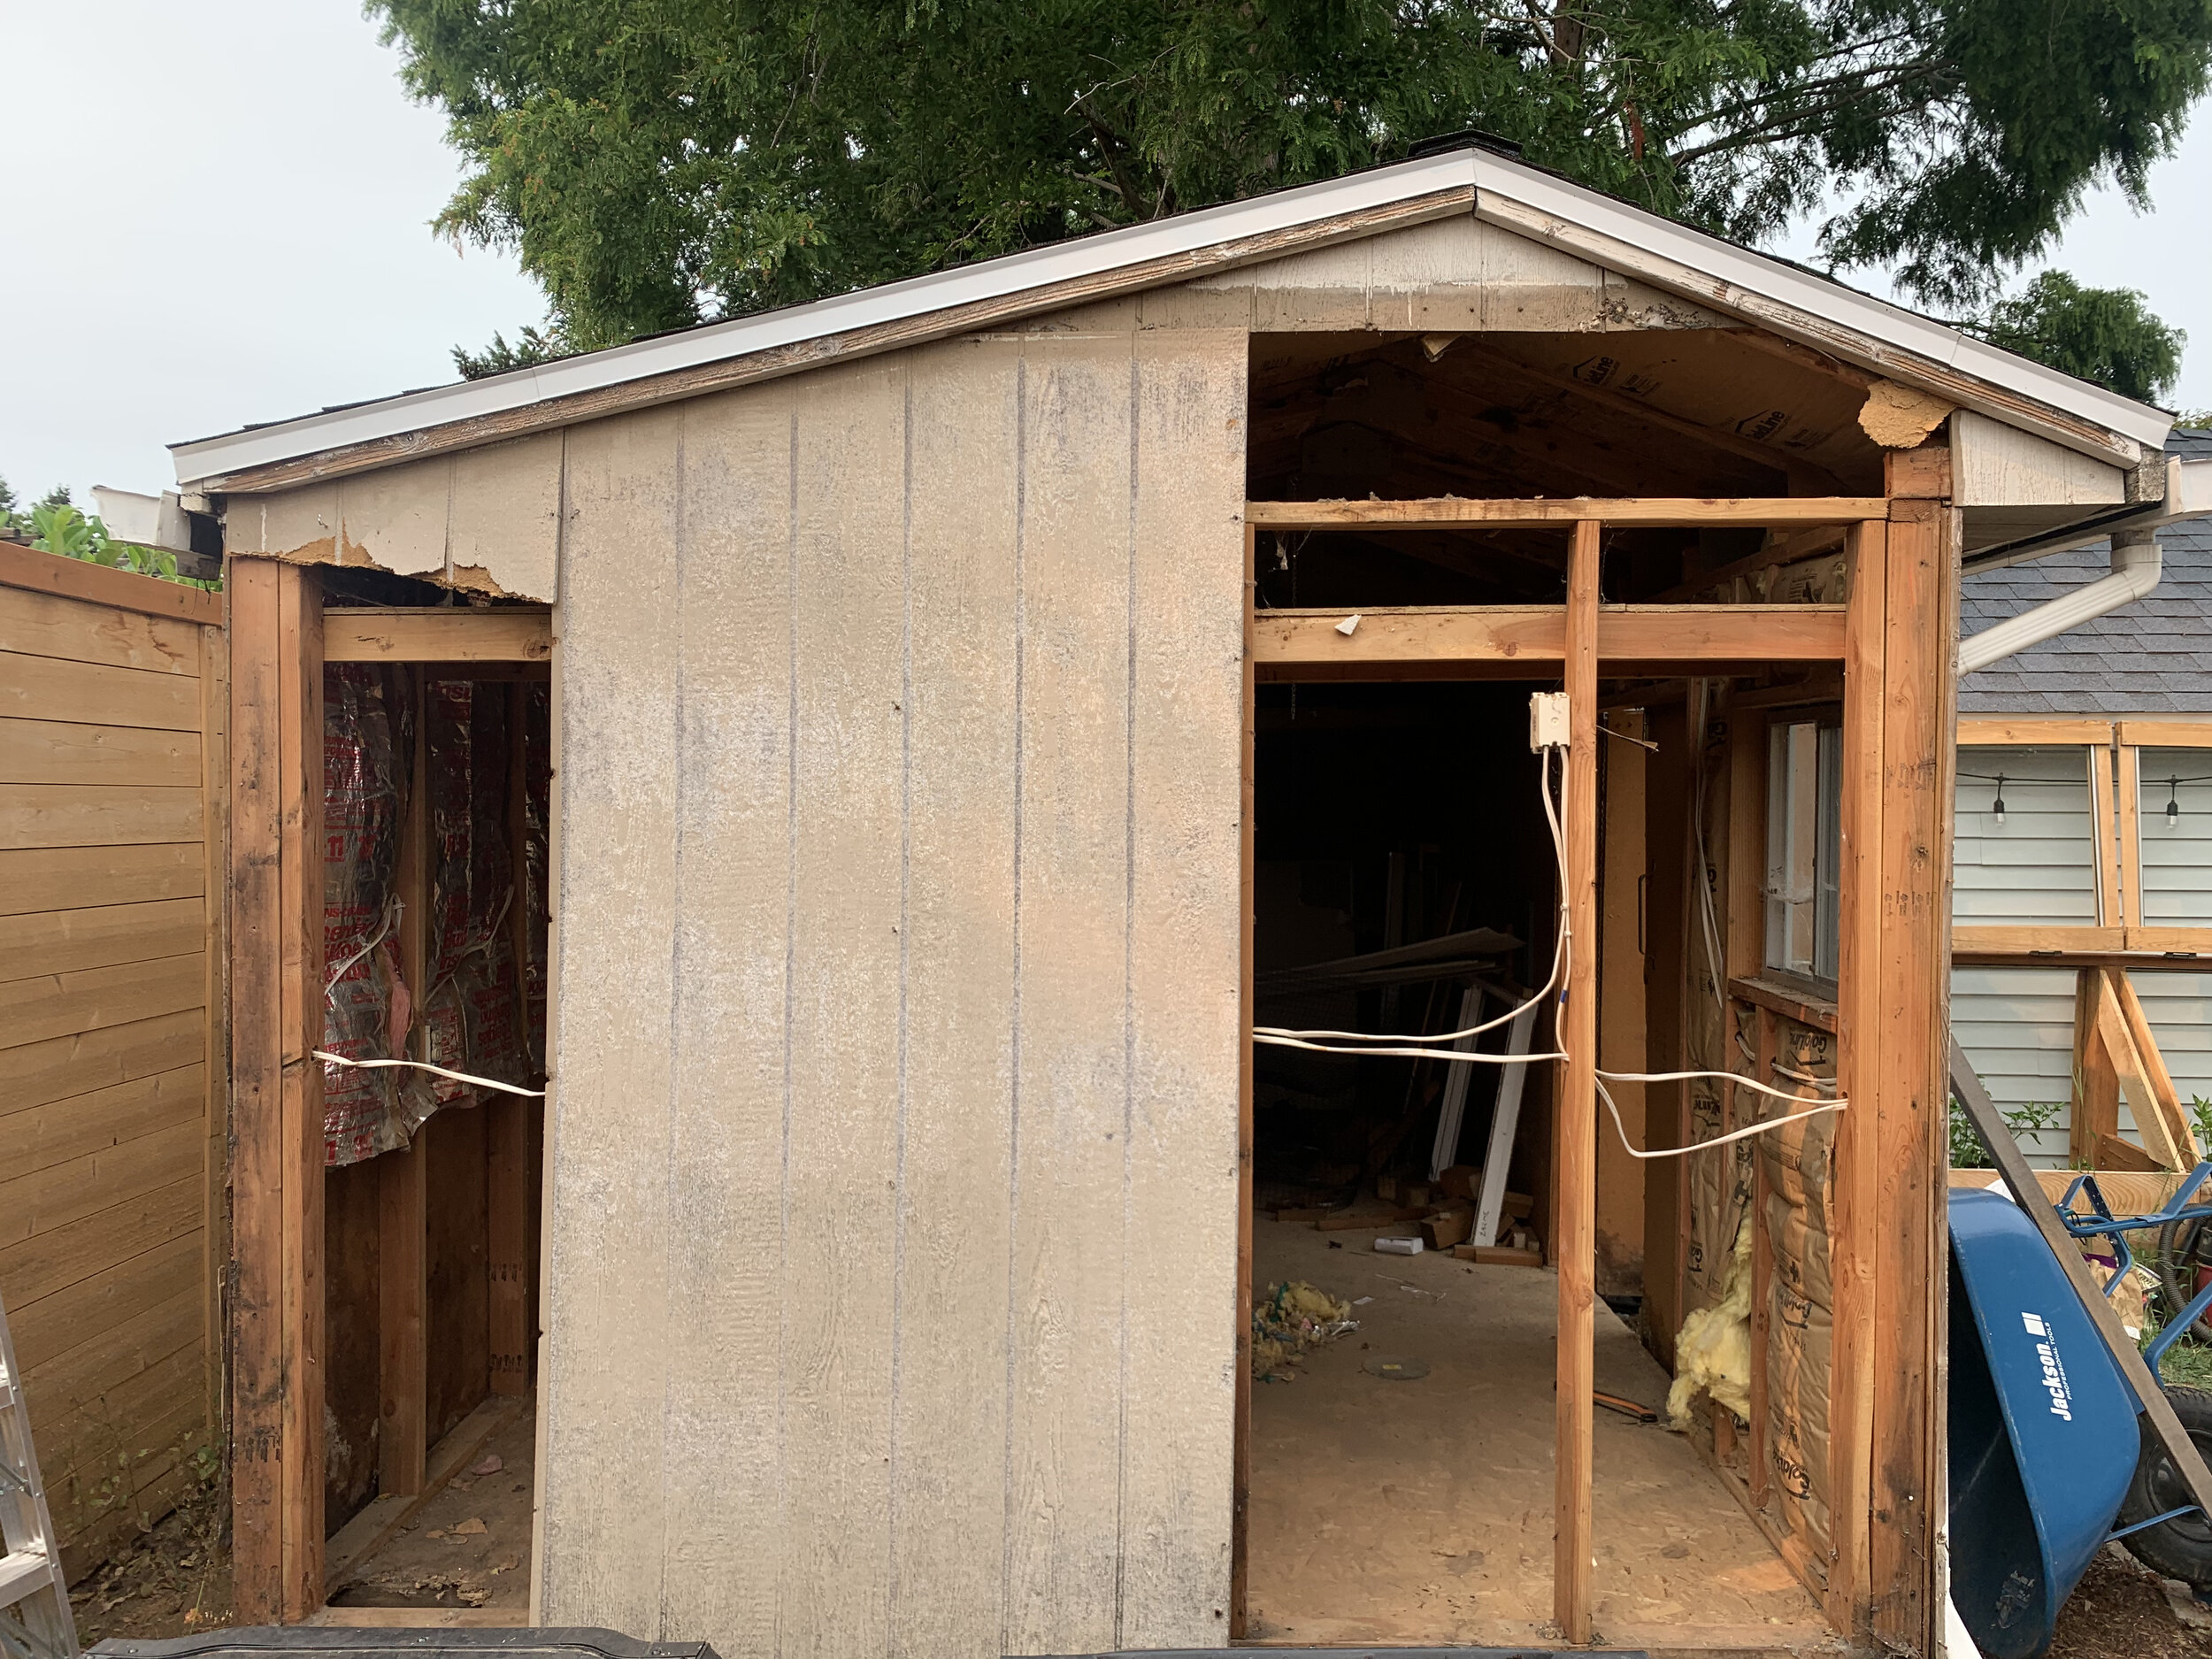
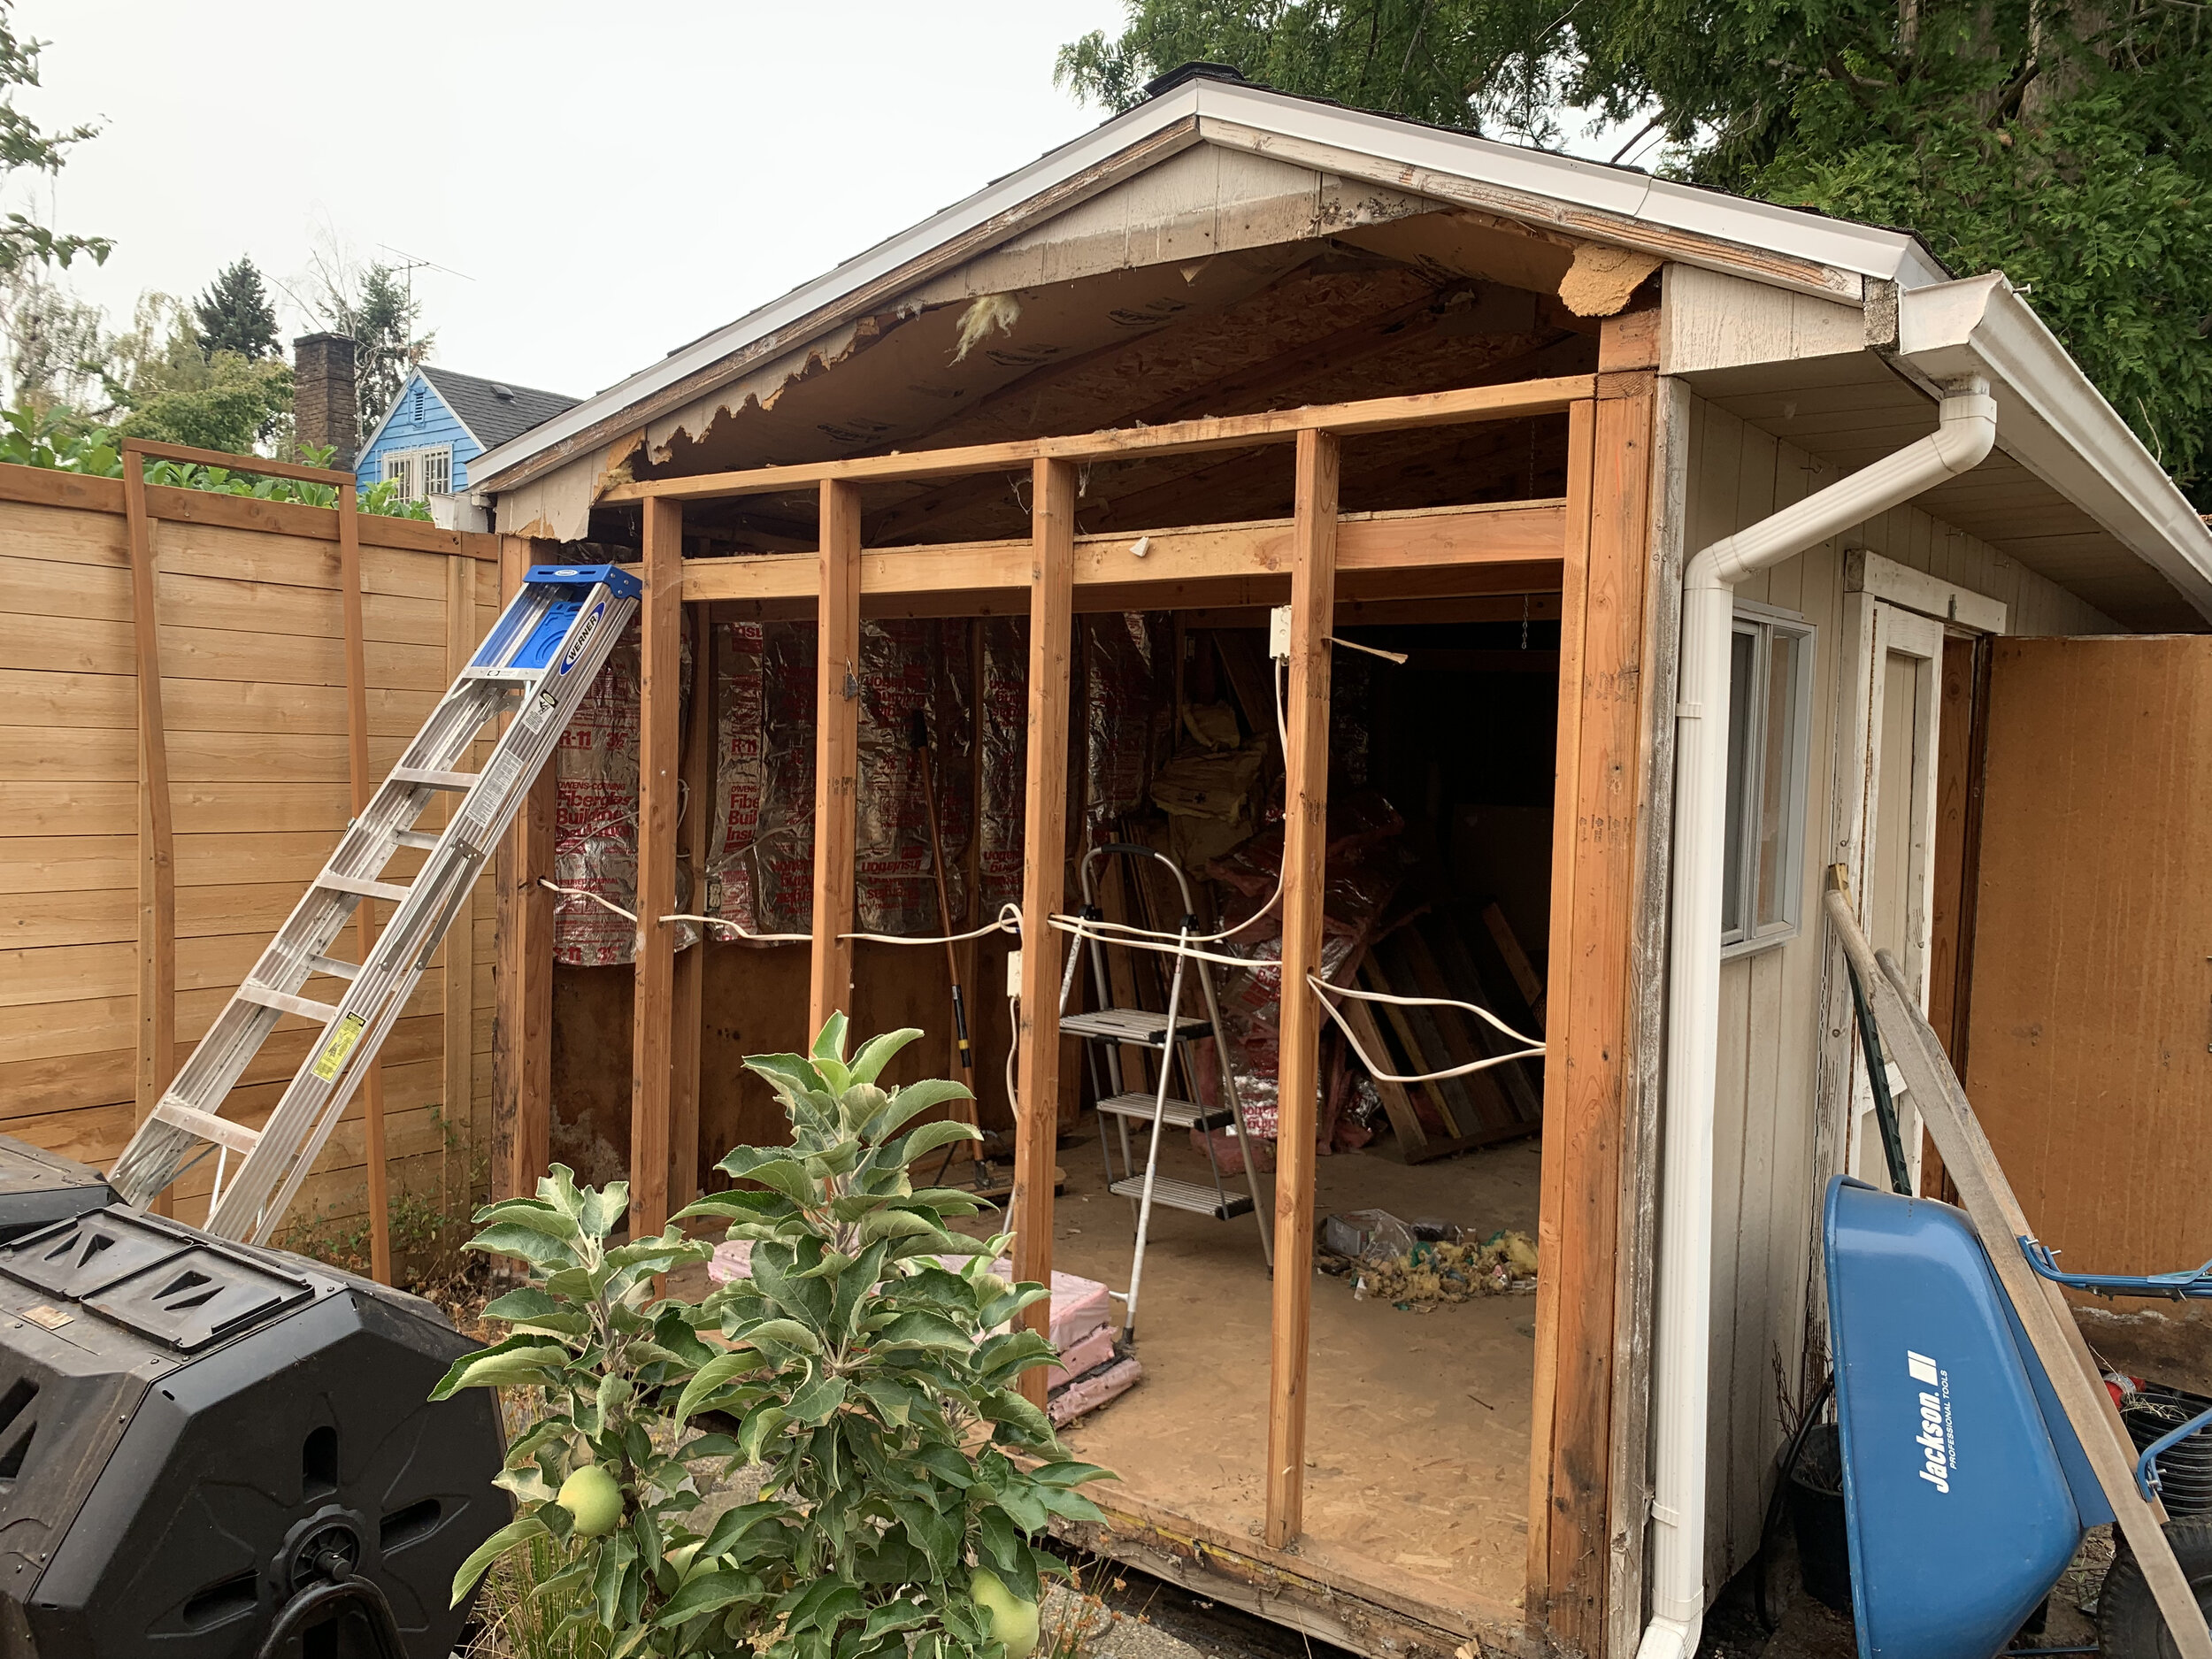
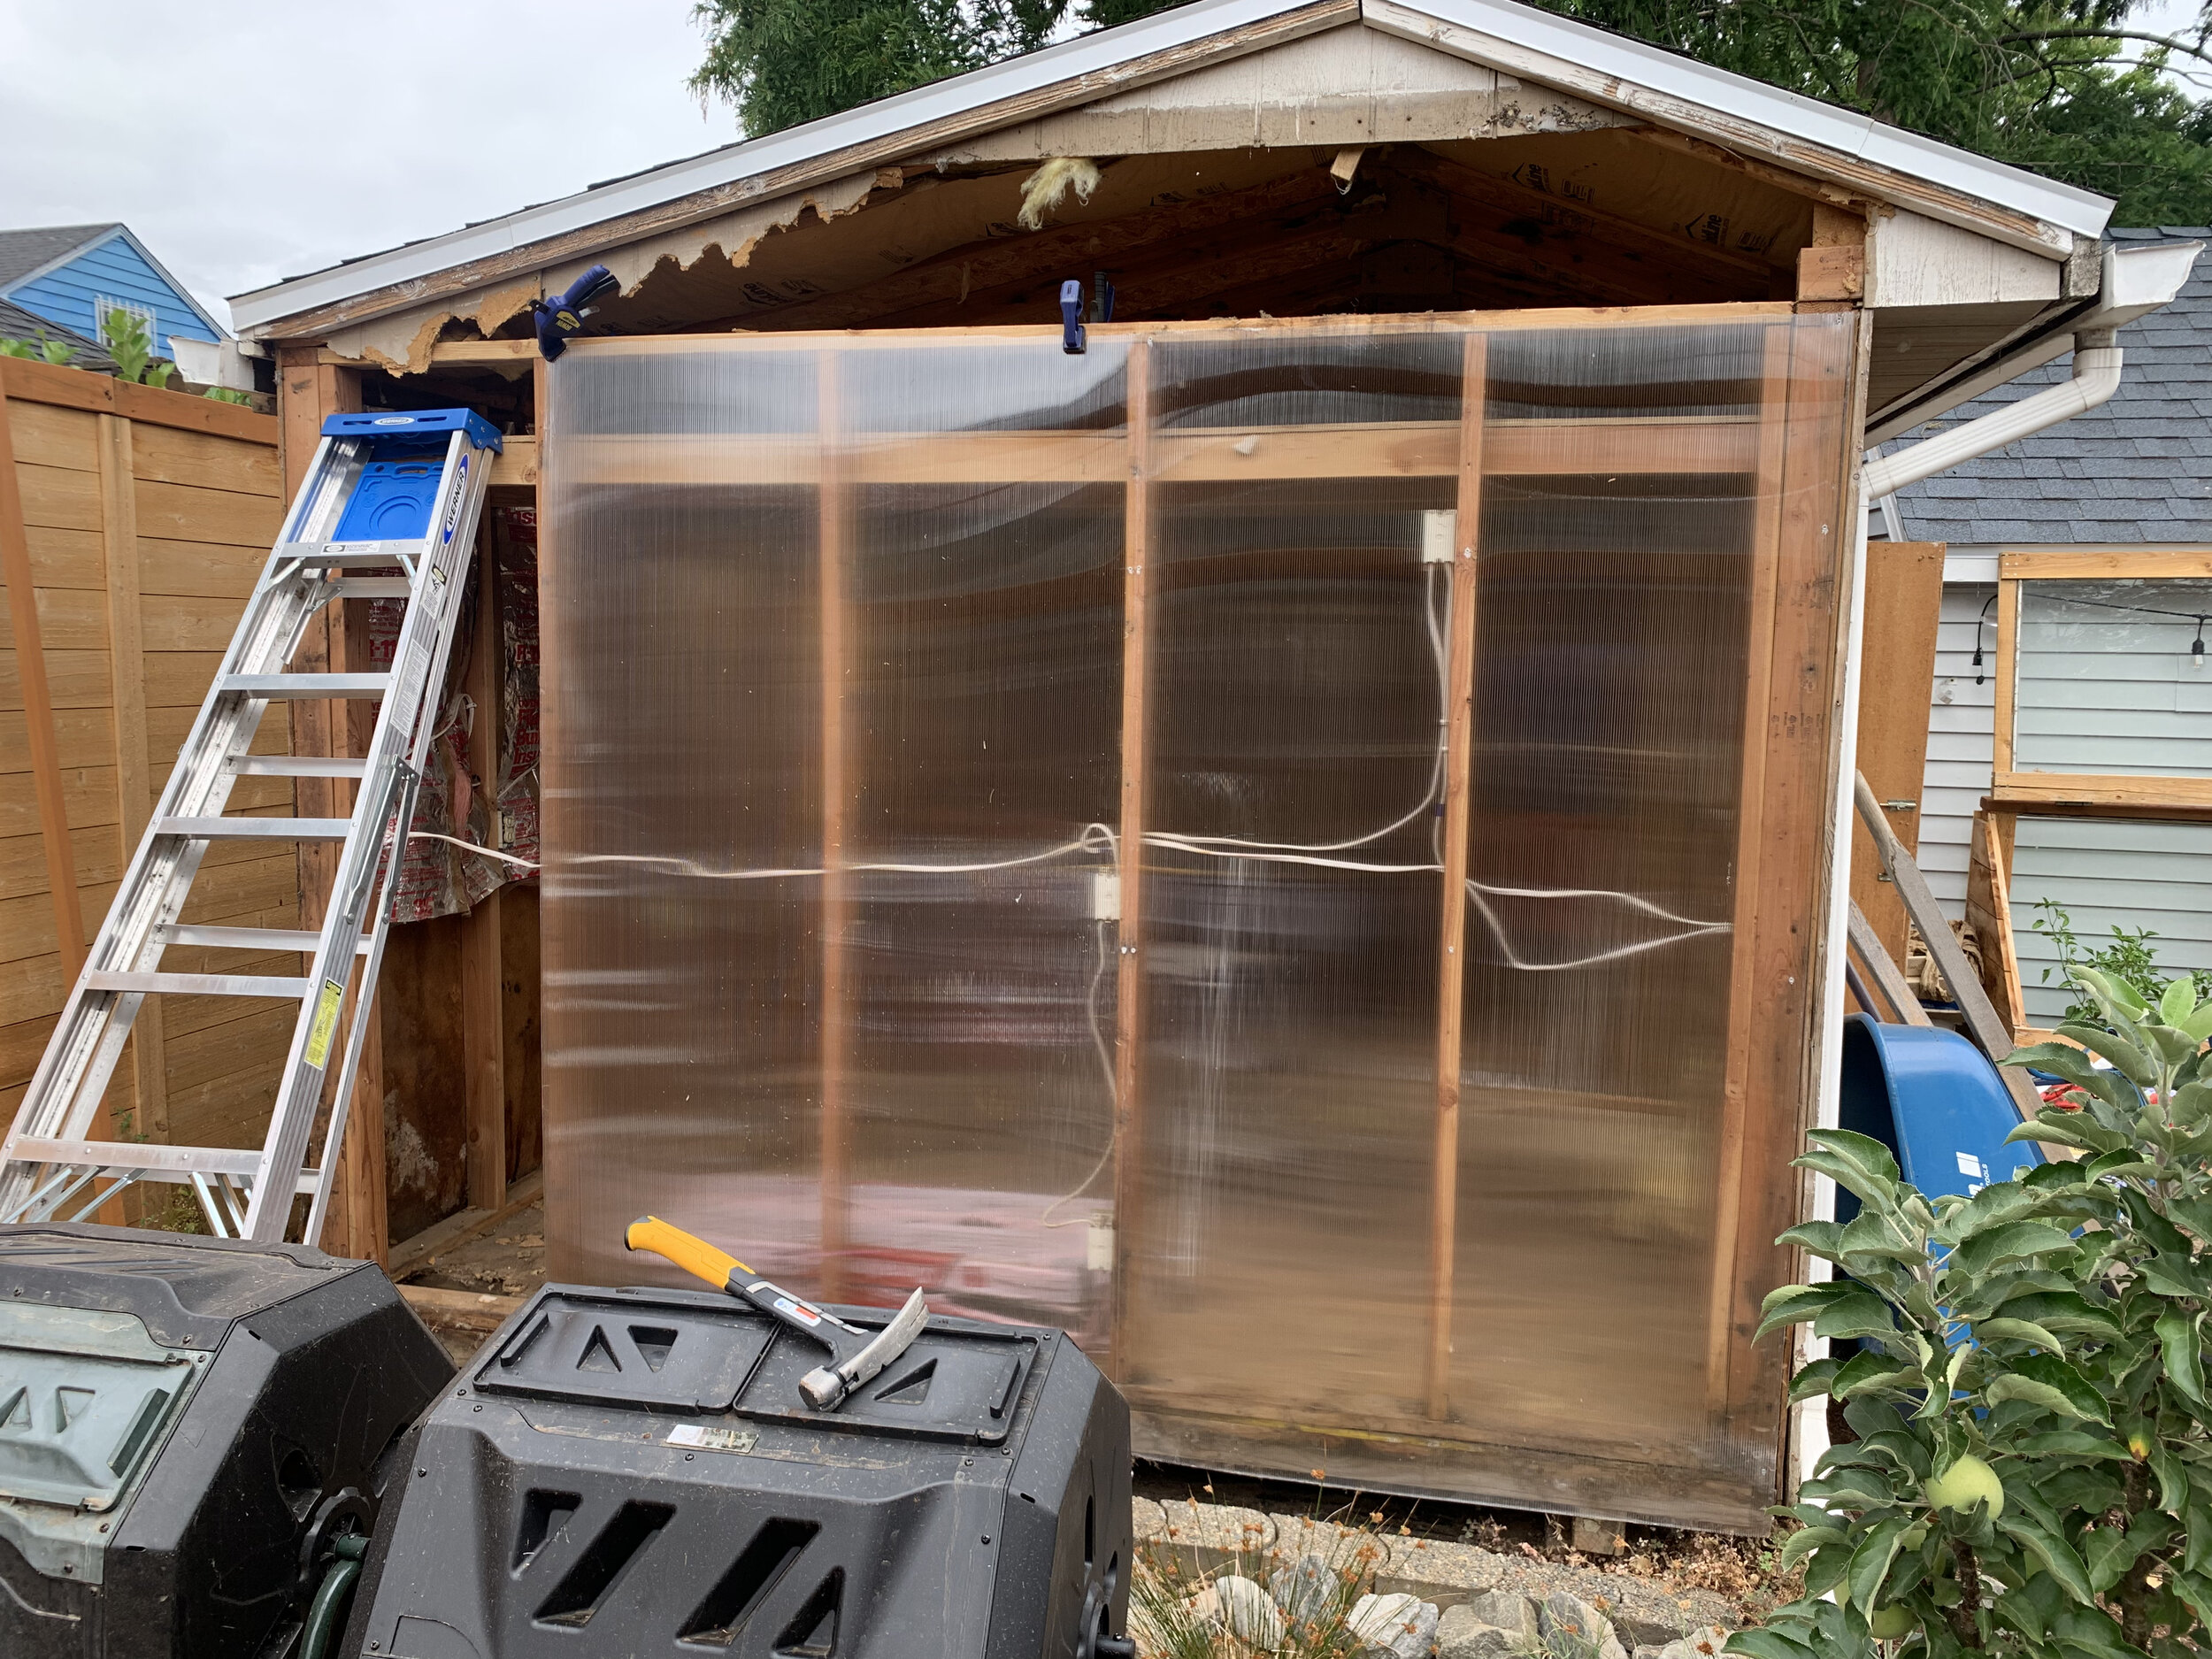
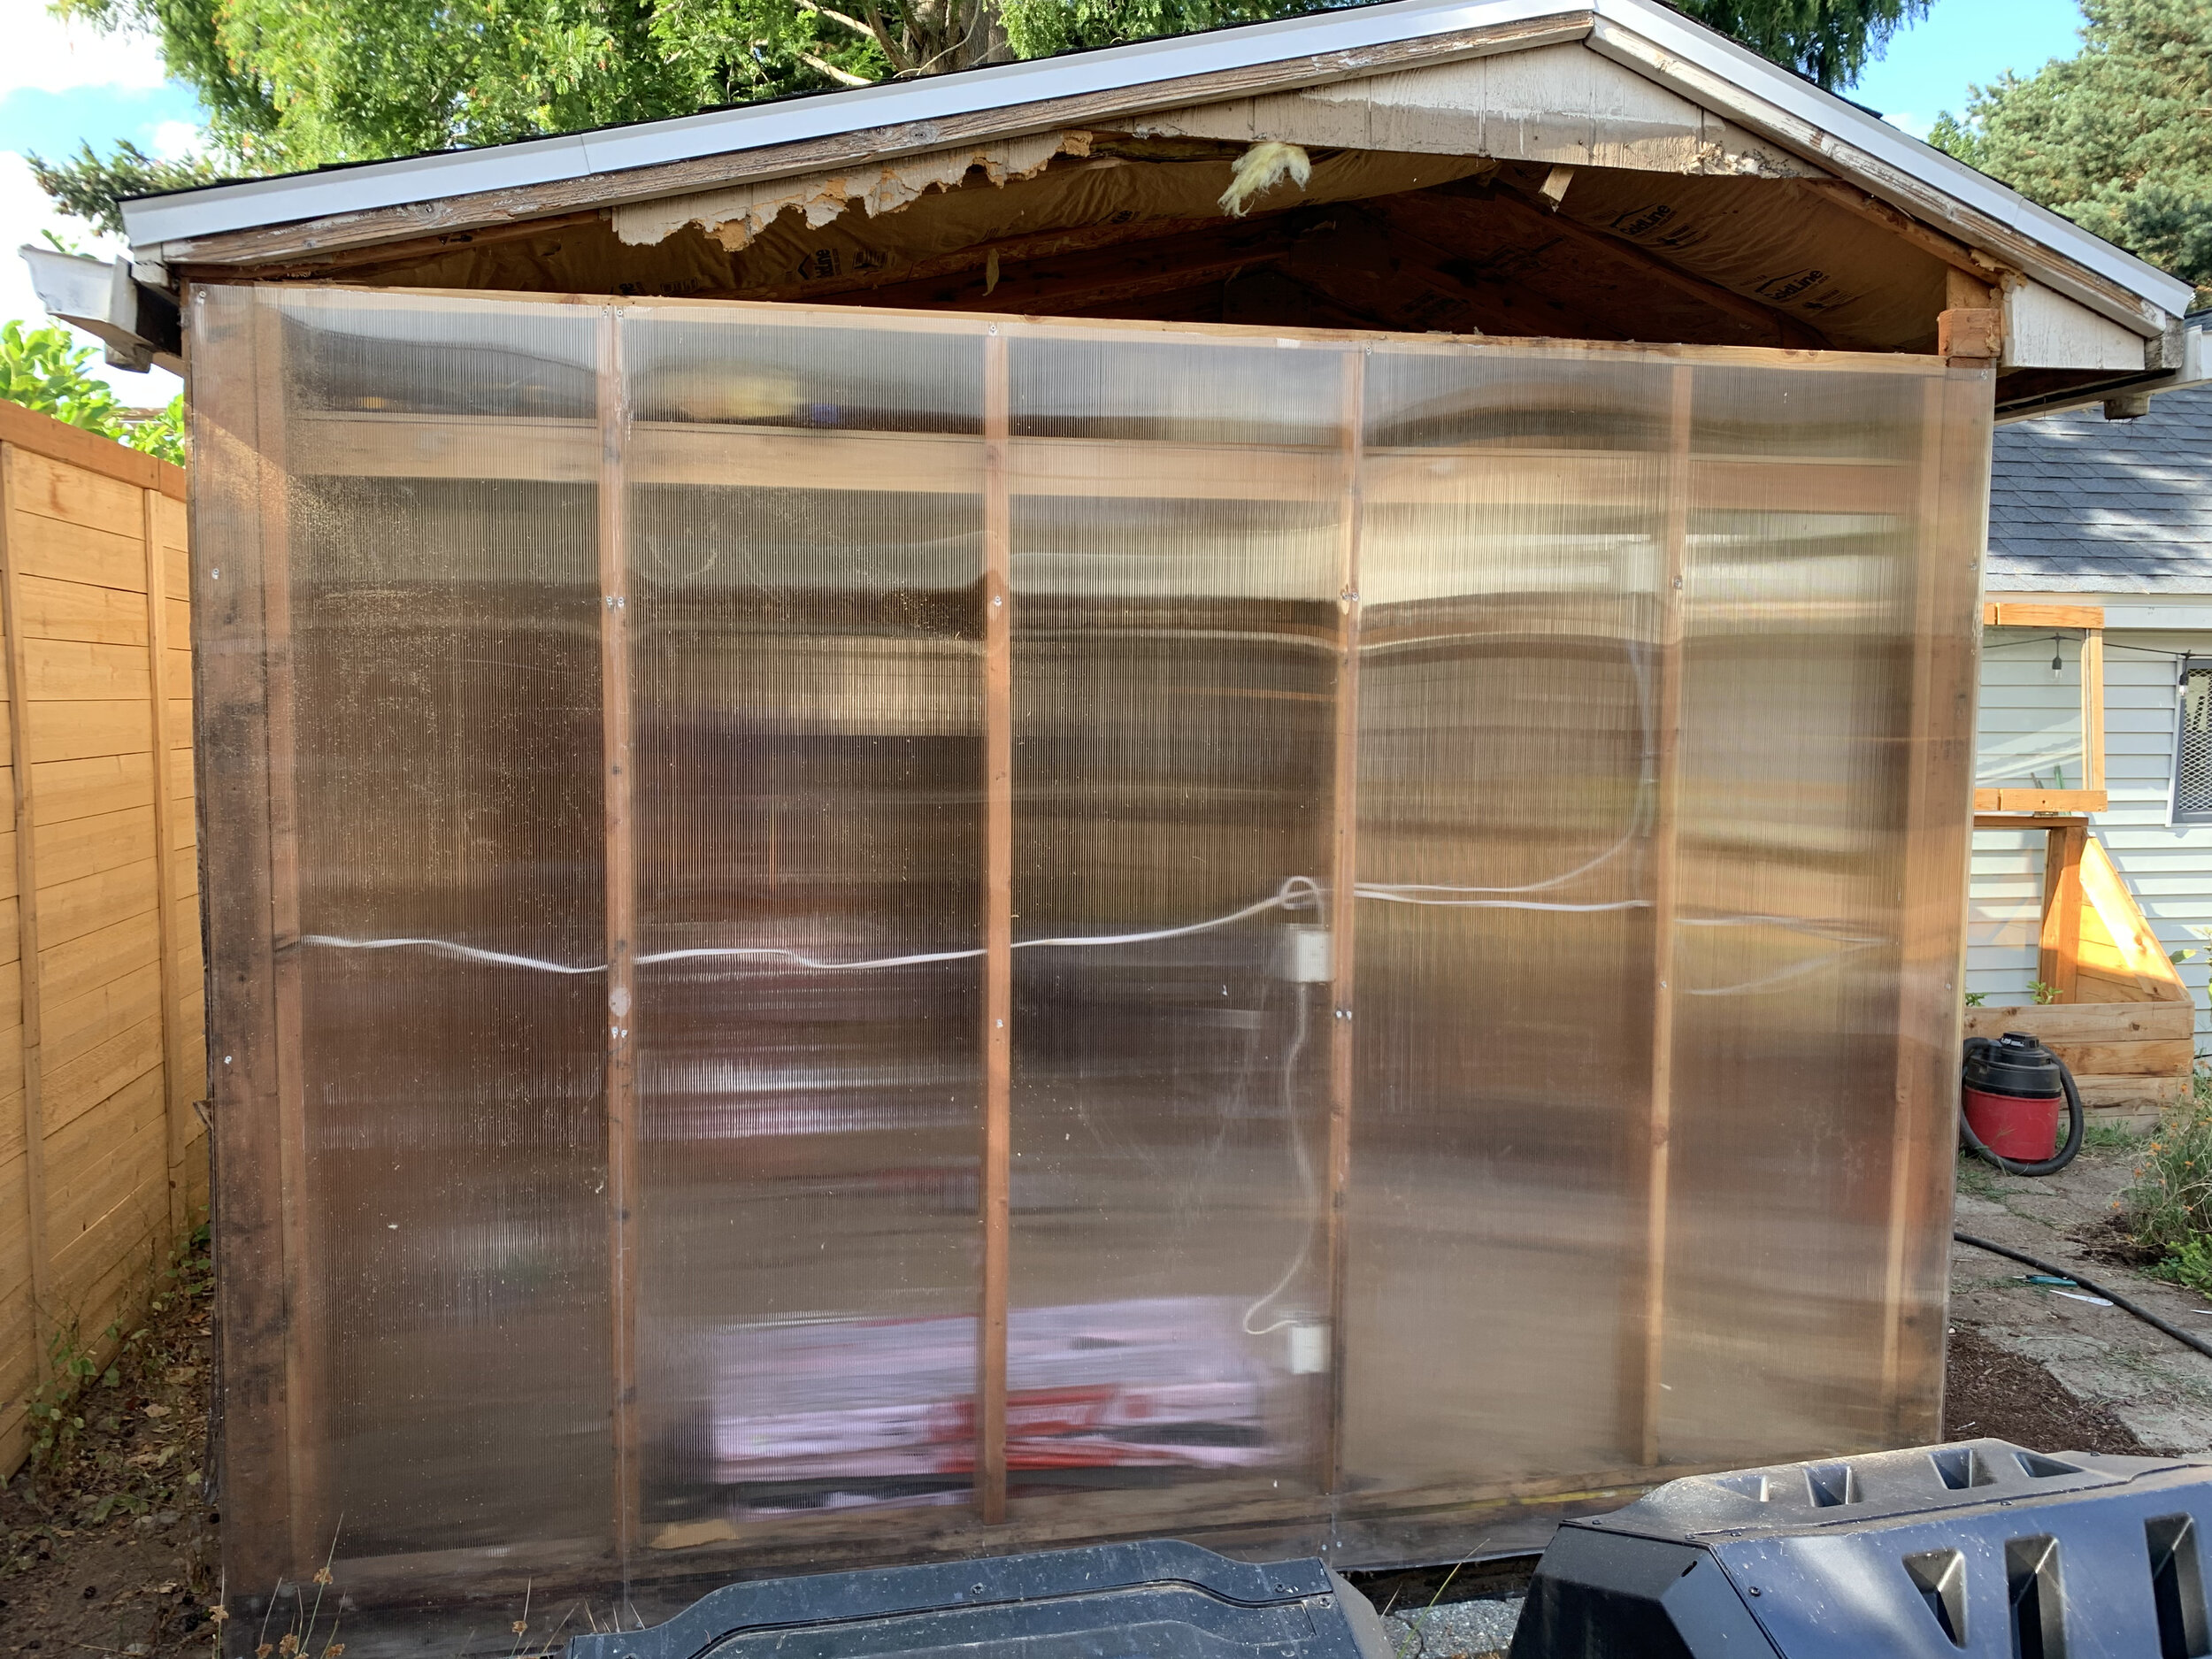
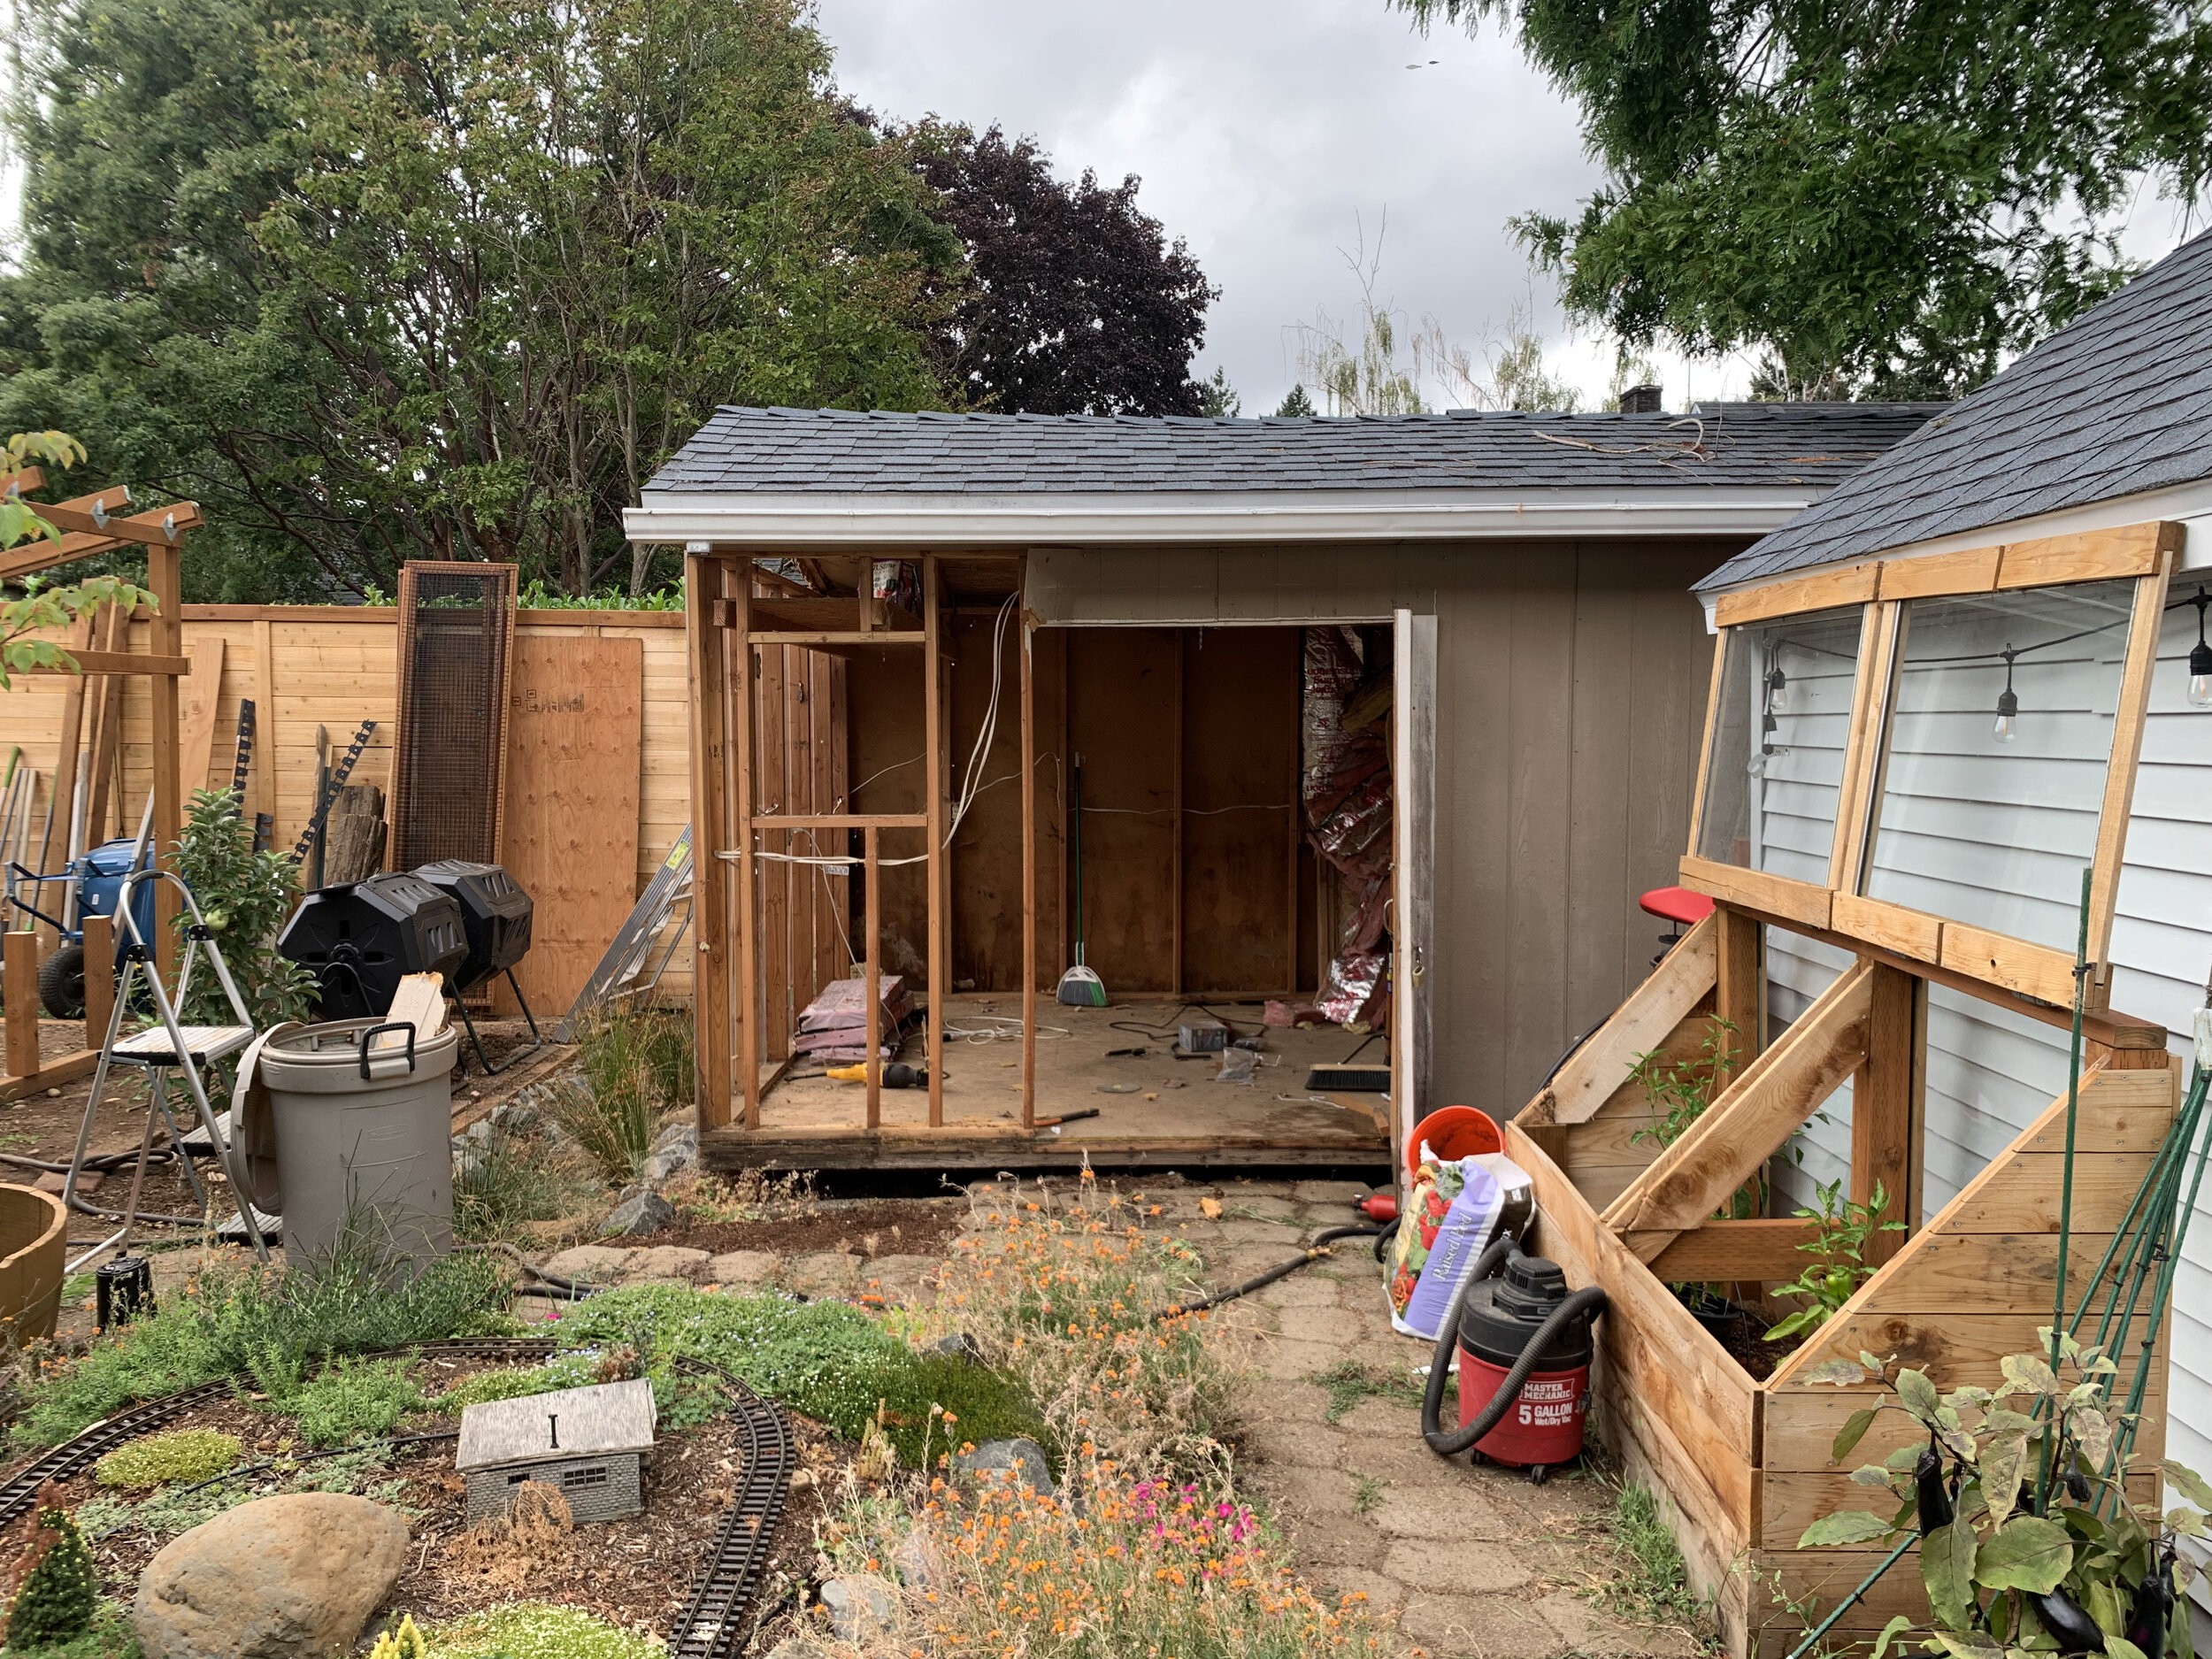
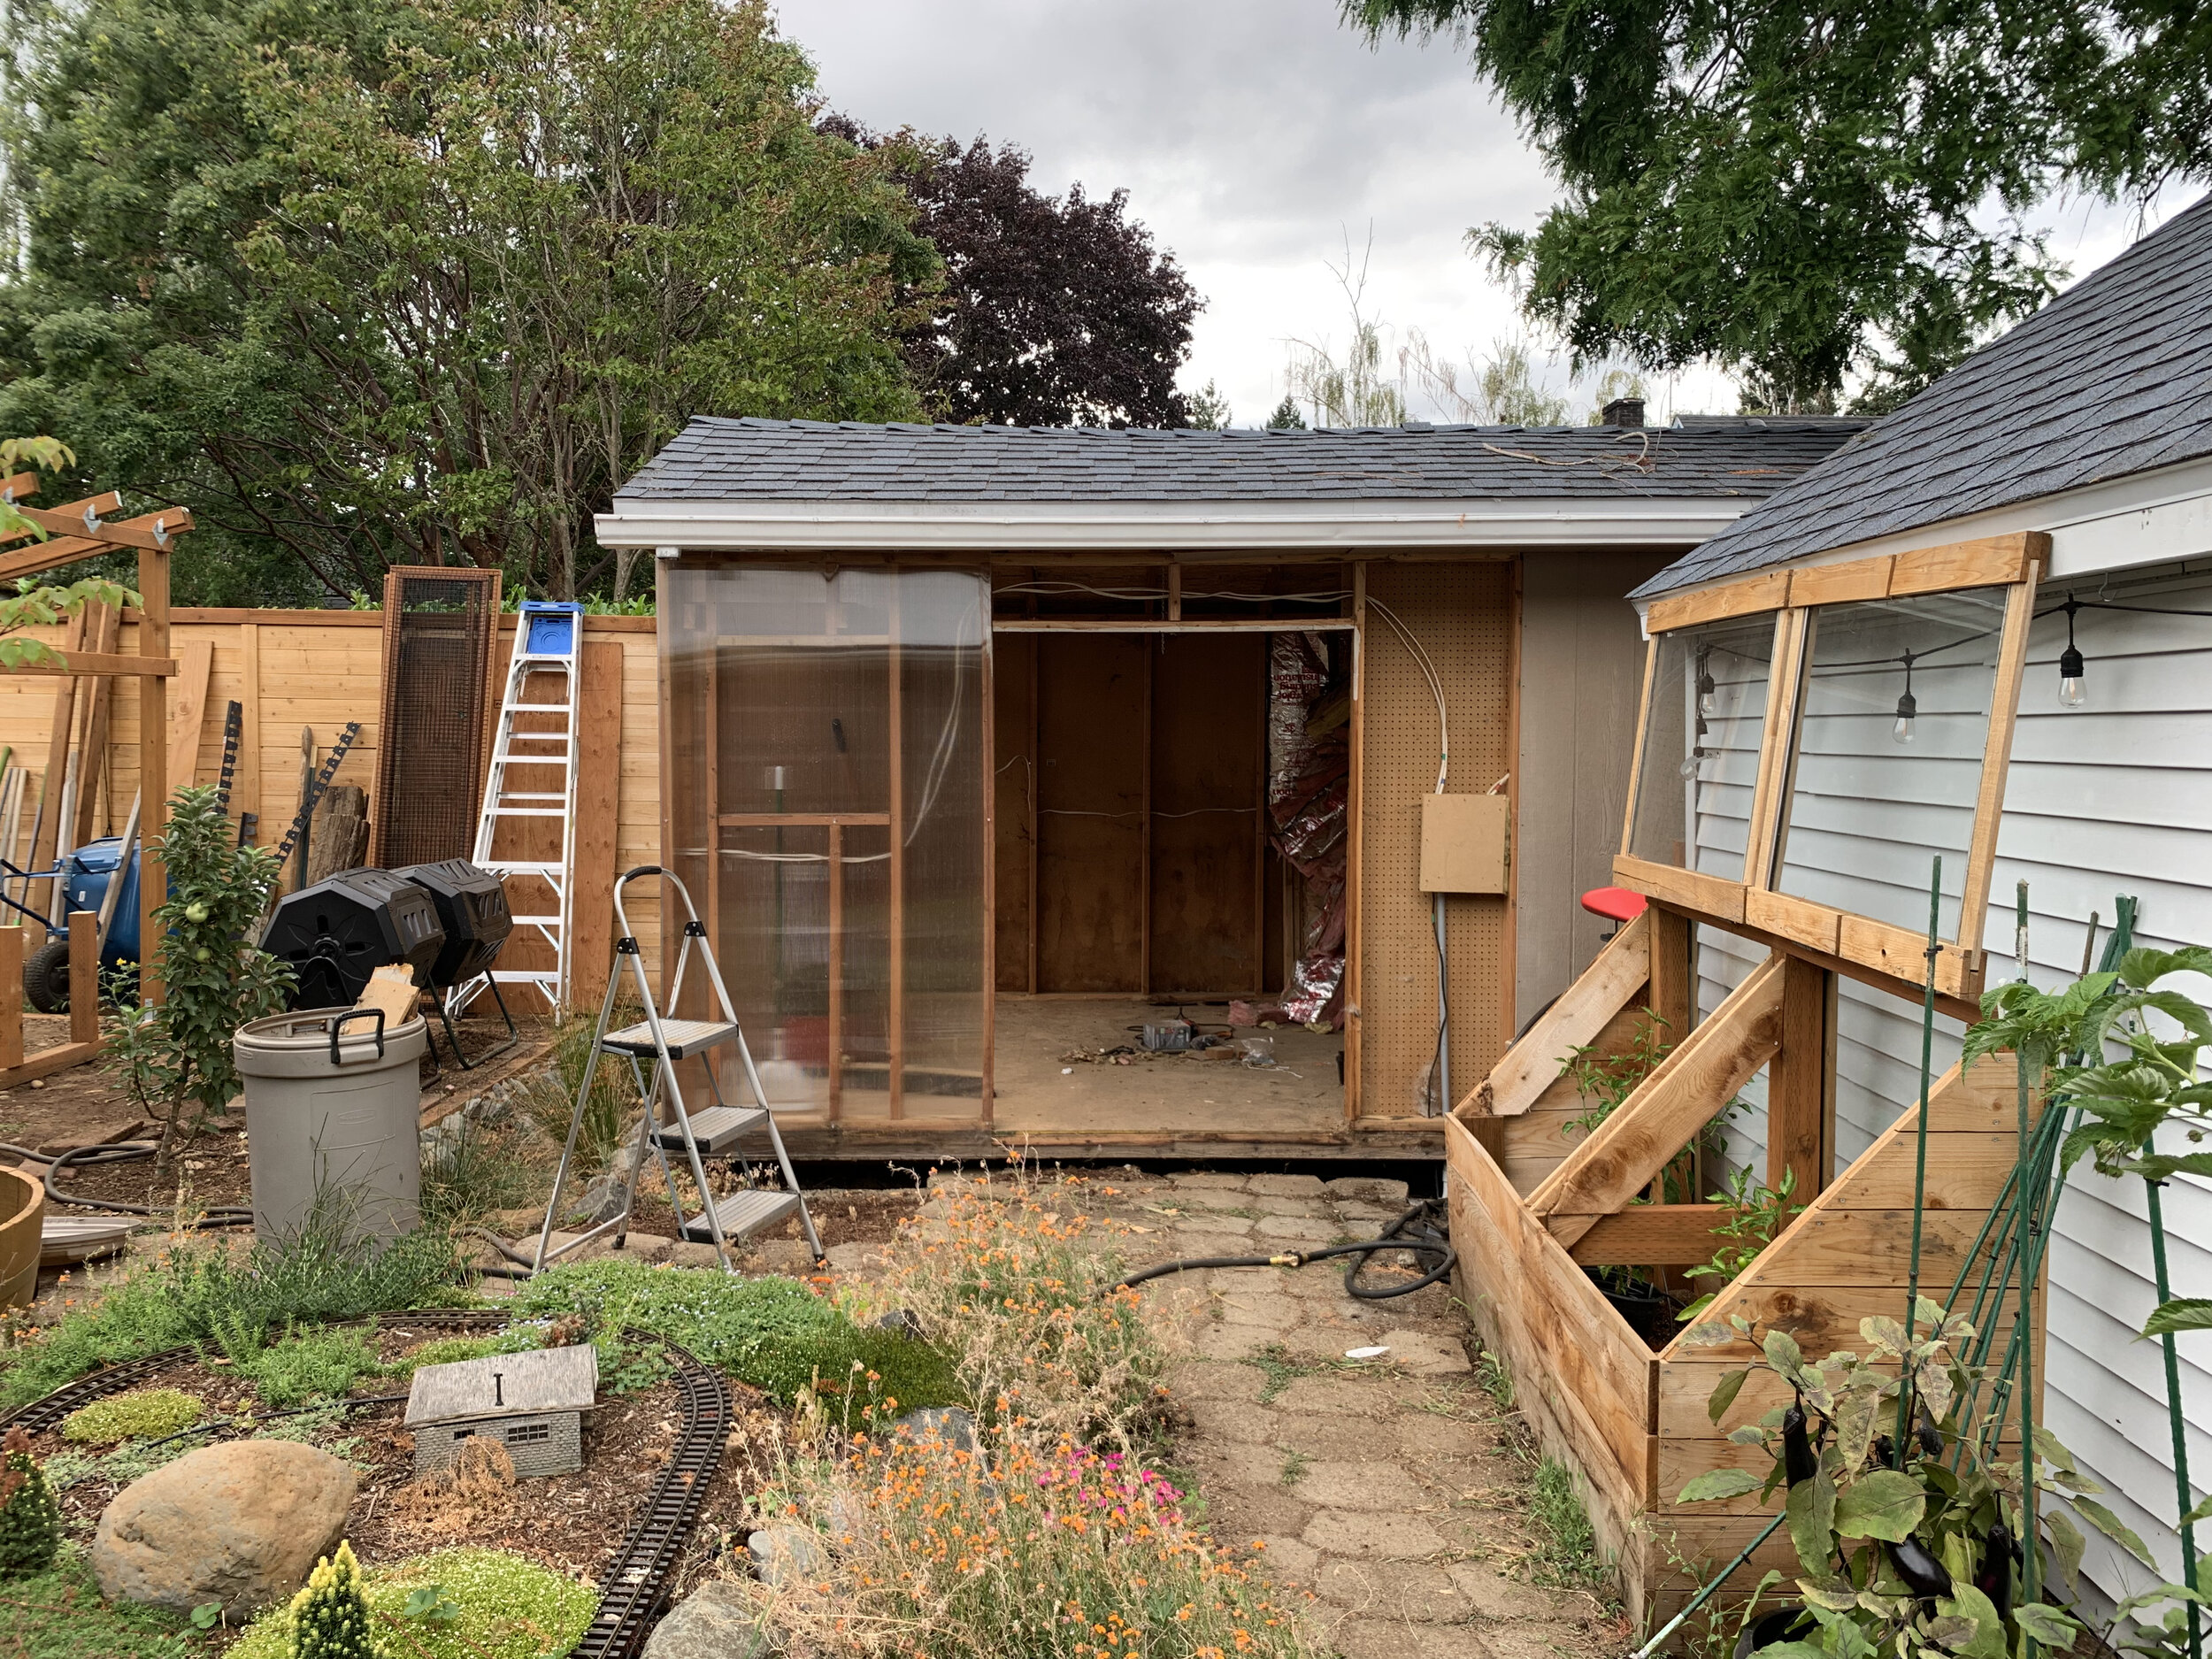
I started the process by tearing down and re-siding each of the three sides of the shed that was to become translucent. I tend not to make plans for these kinds of projects, I tend to see what I want to do next, and then figure things out from there. In this case I saw that I wanted the back part of the shed to remain a shed, so I focused on converting the front two thirds for now.
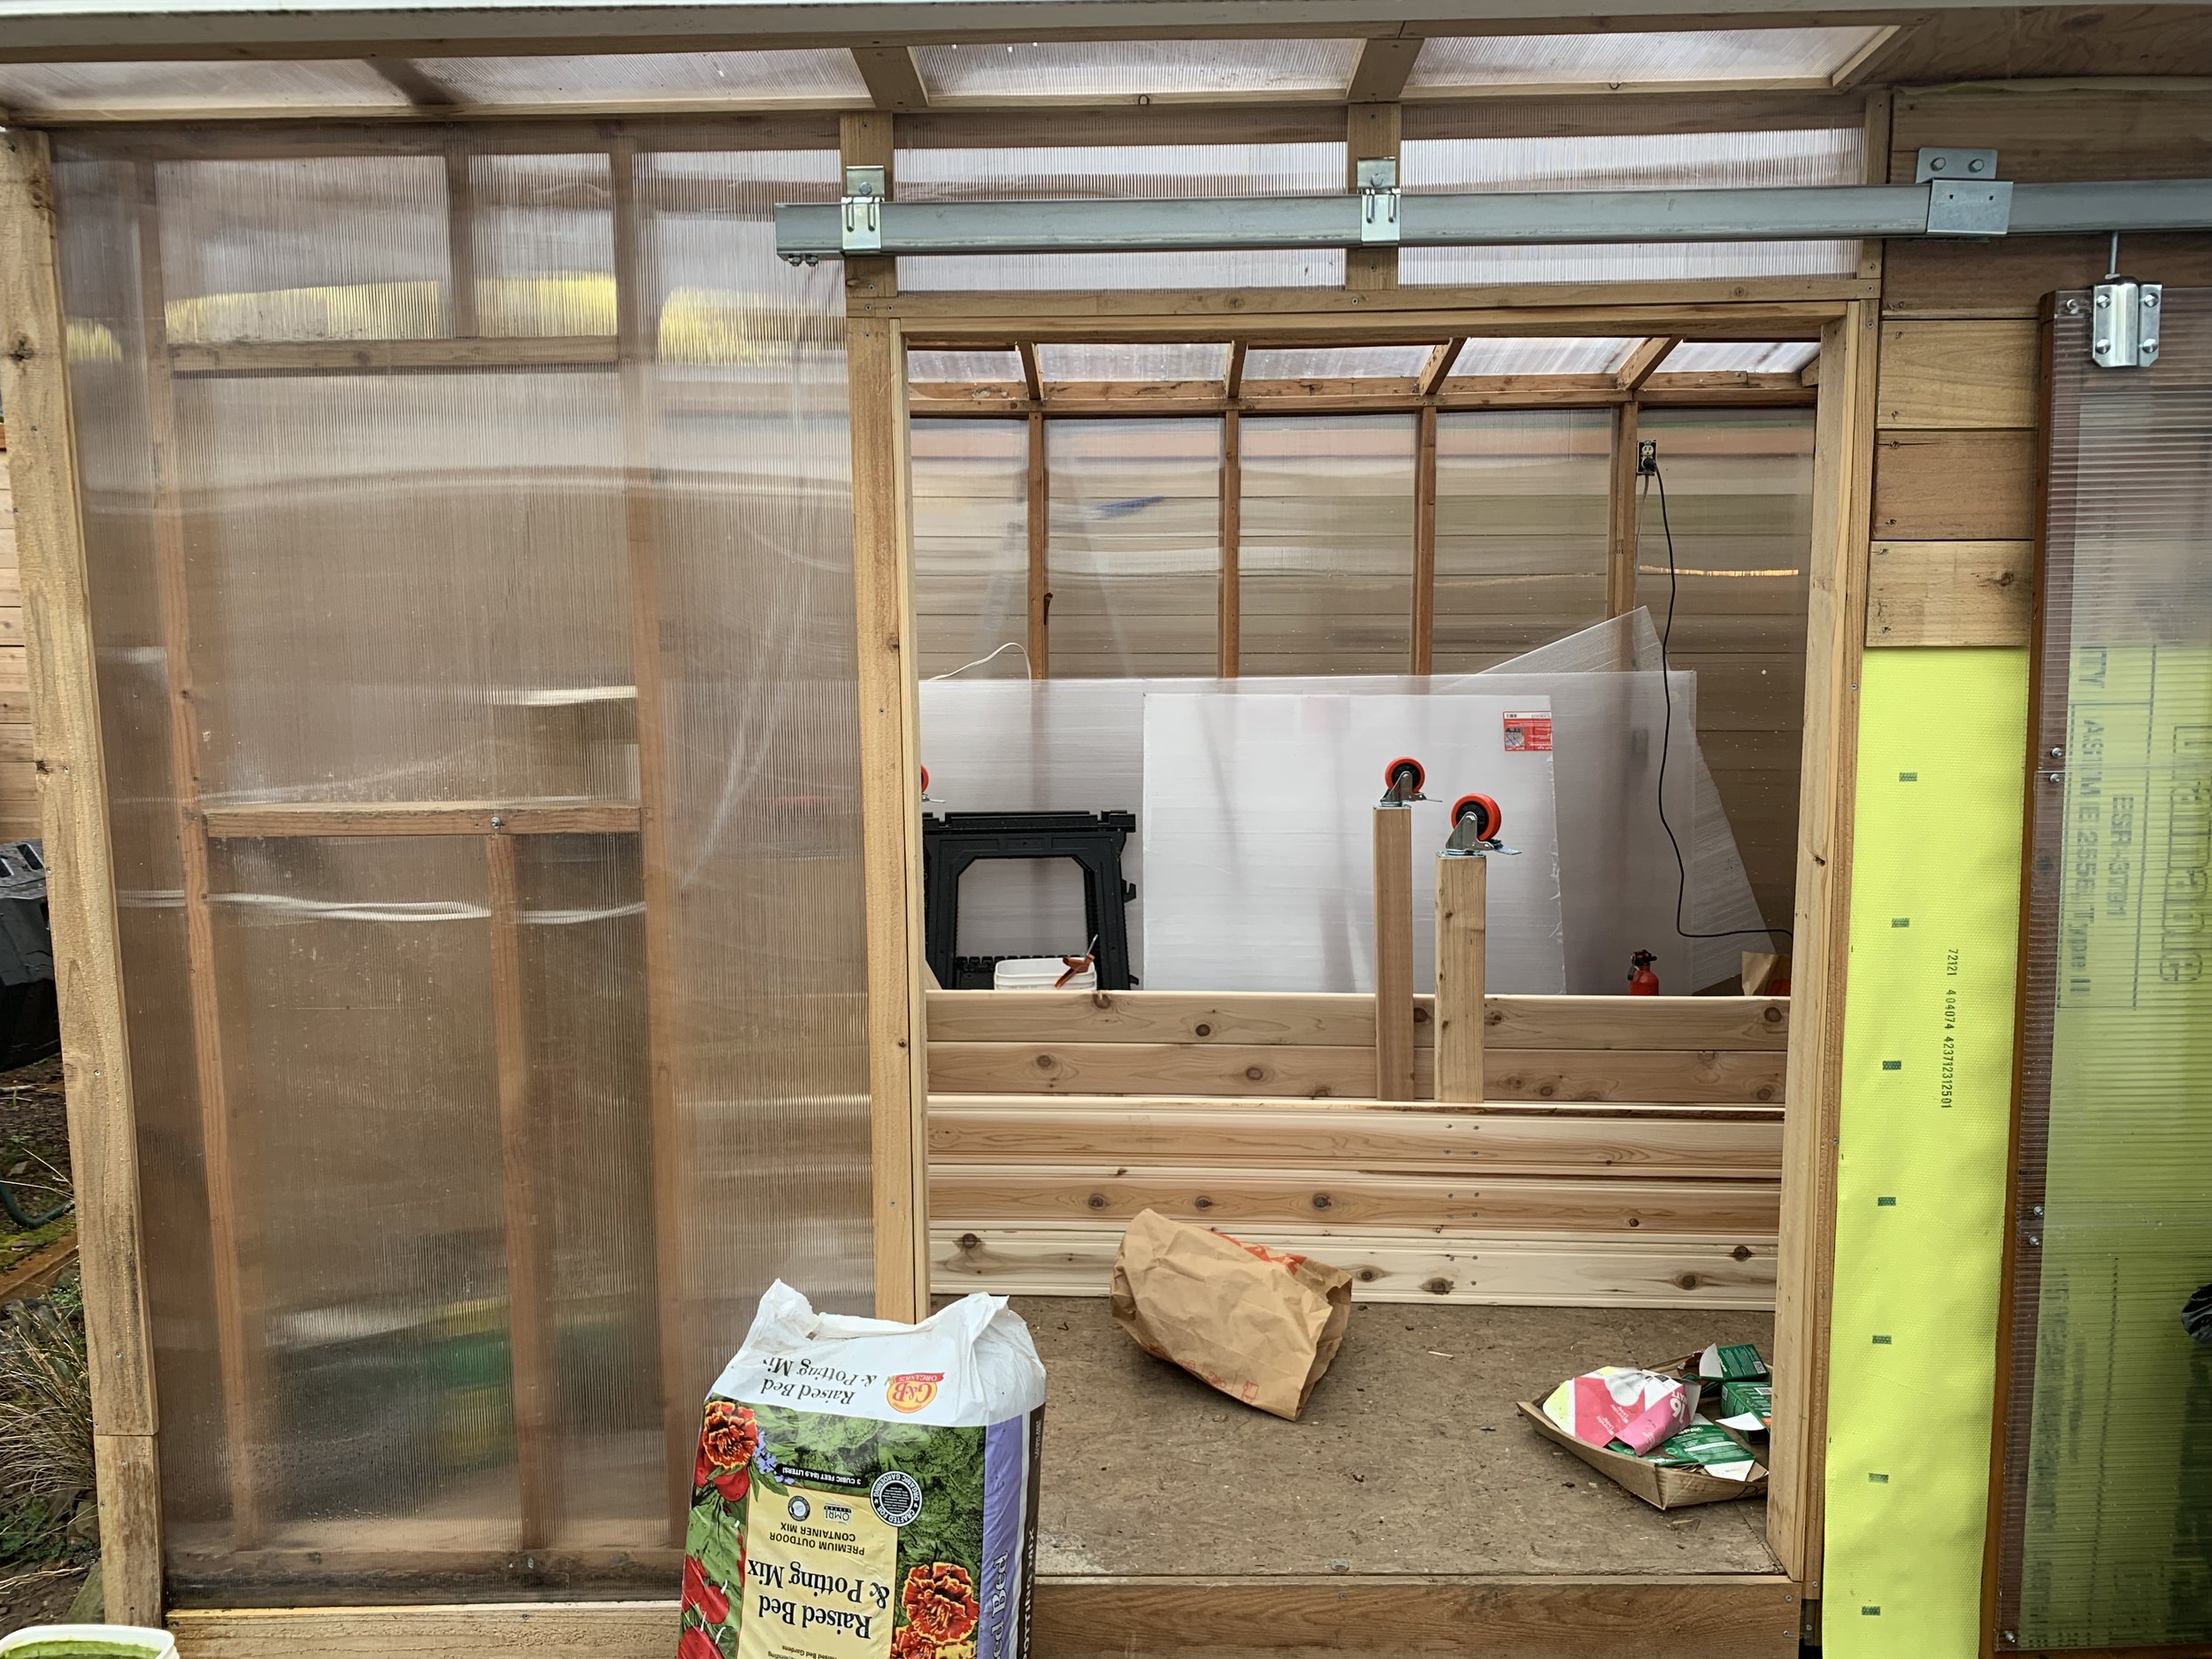
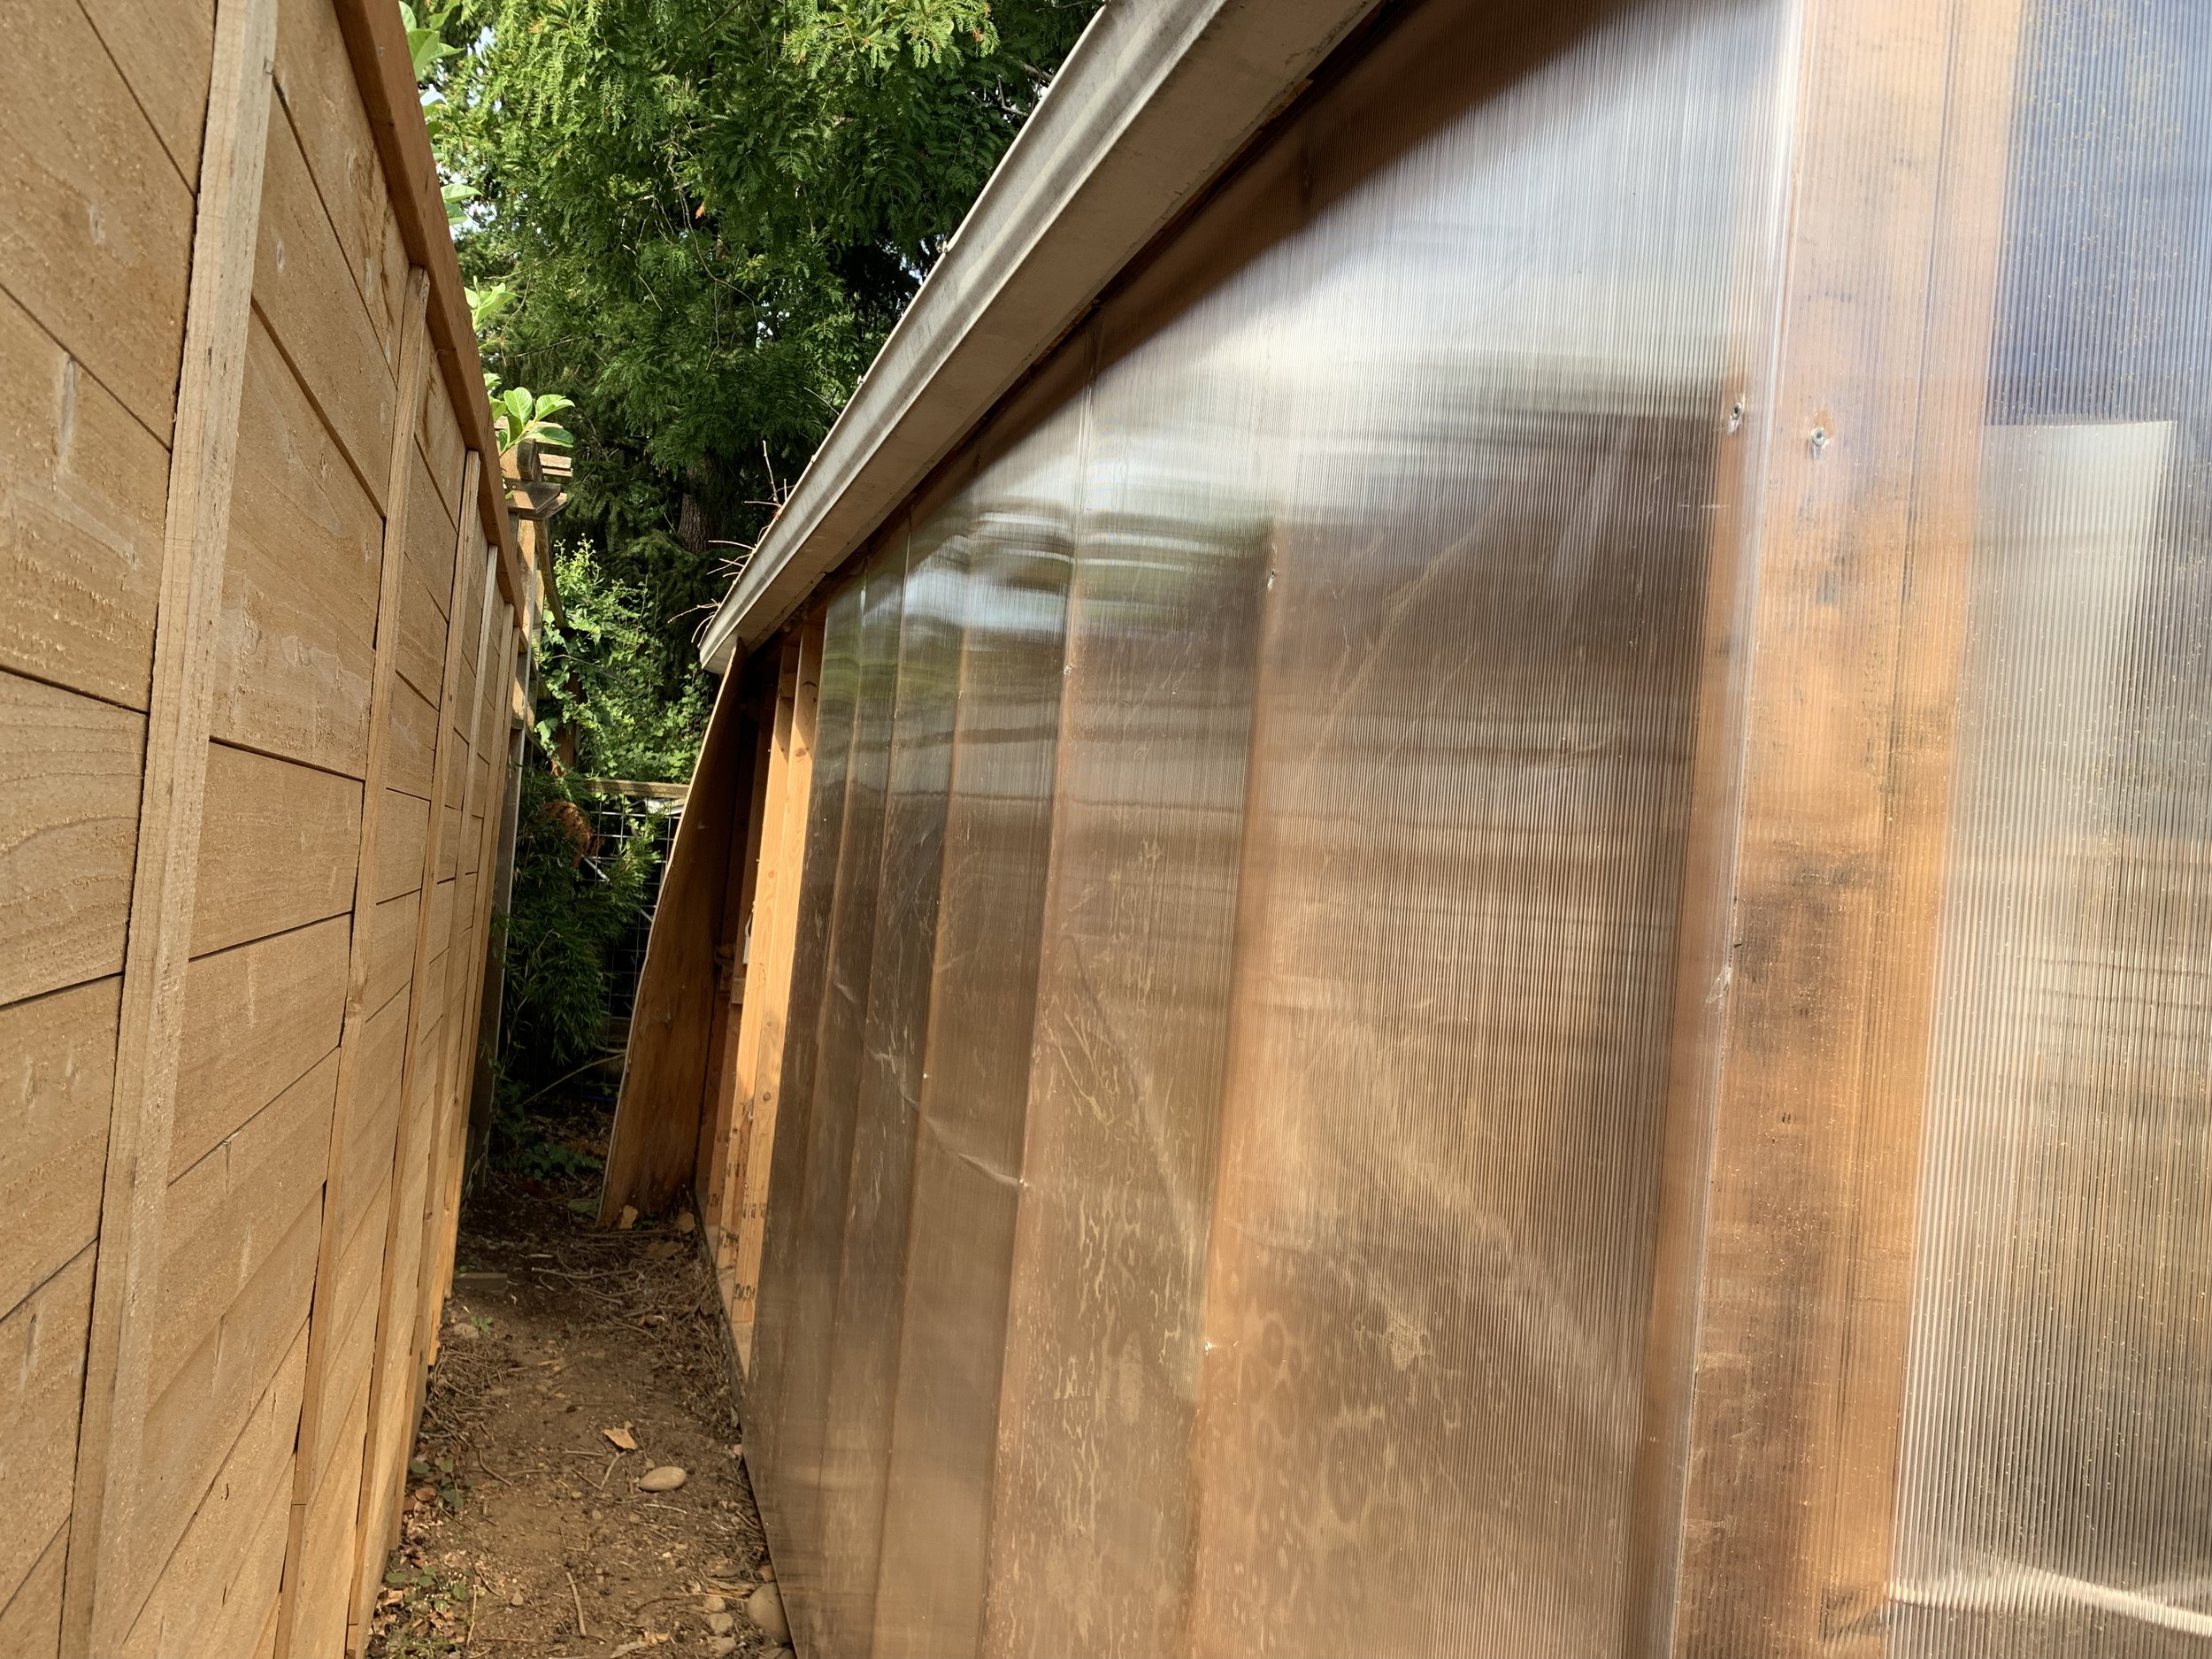
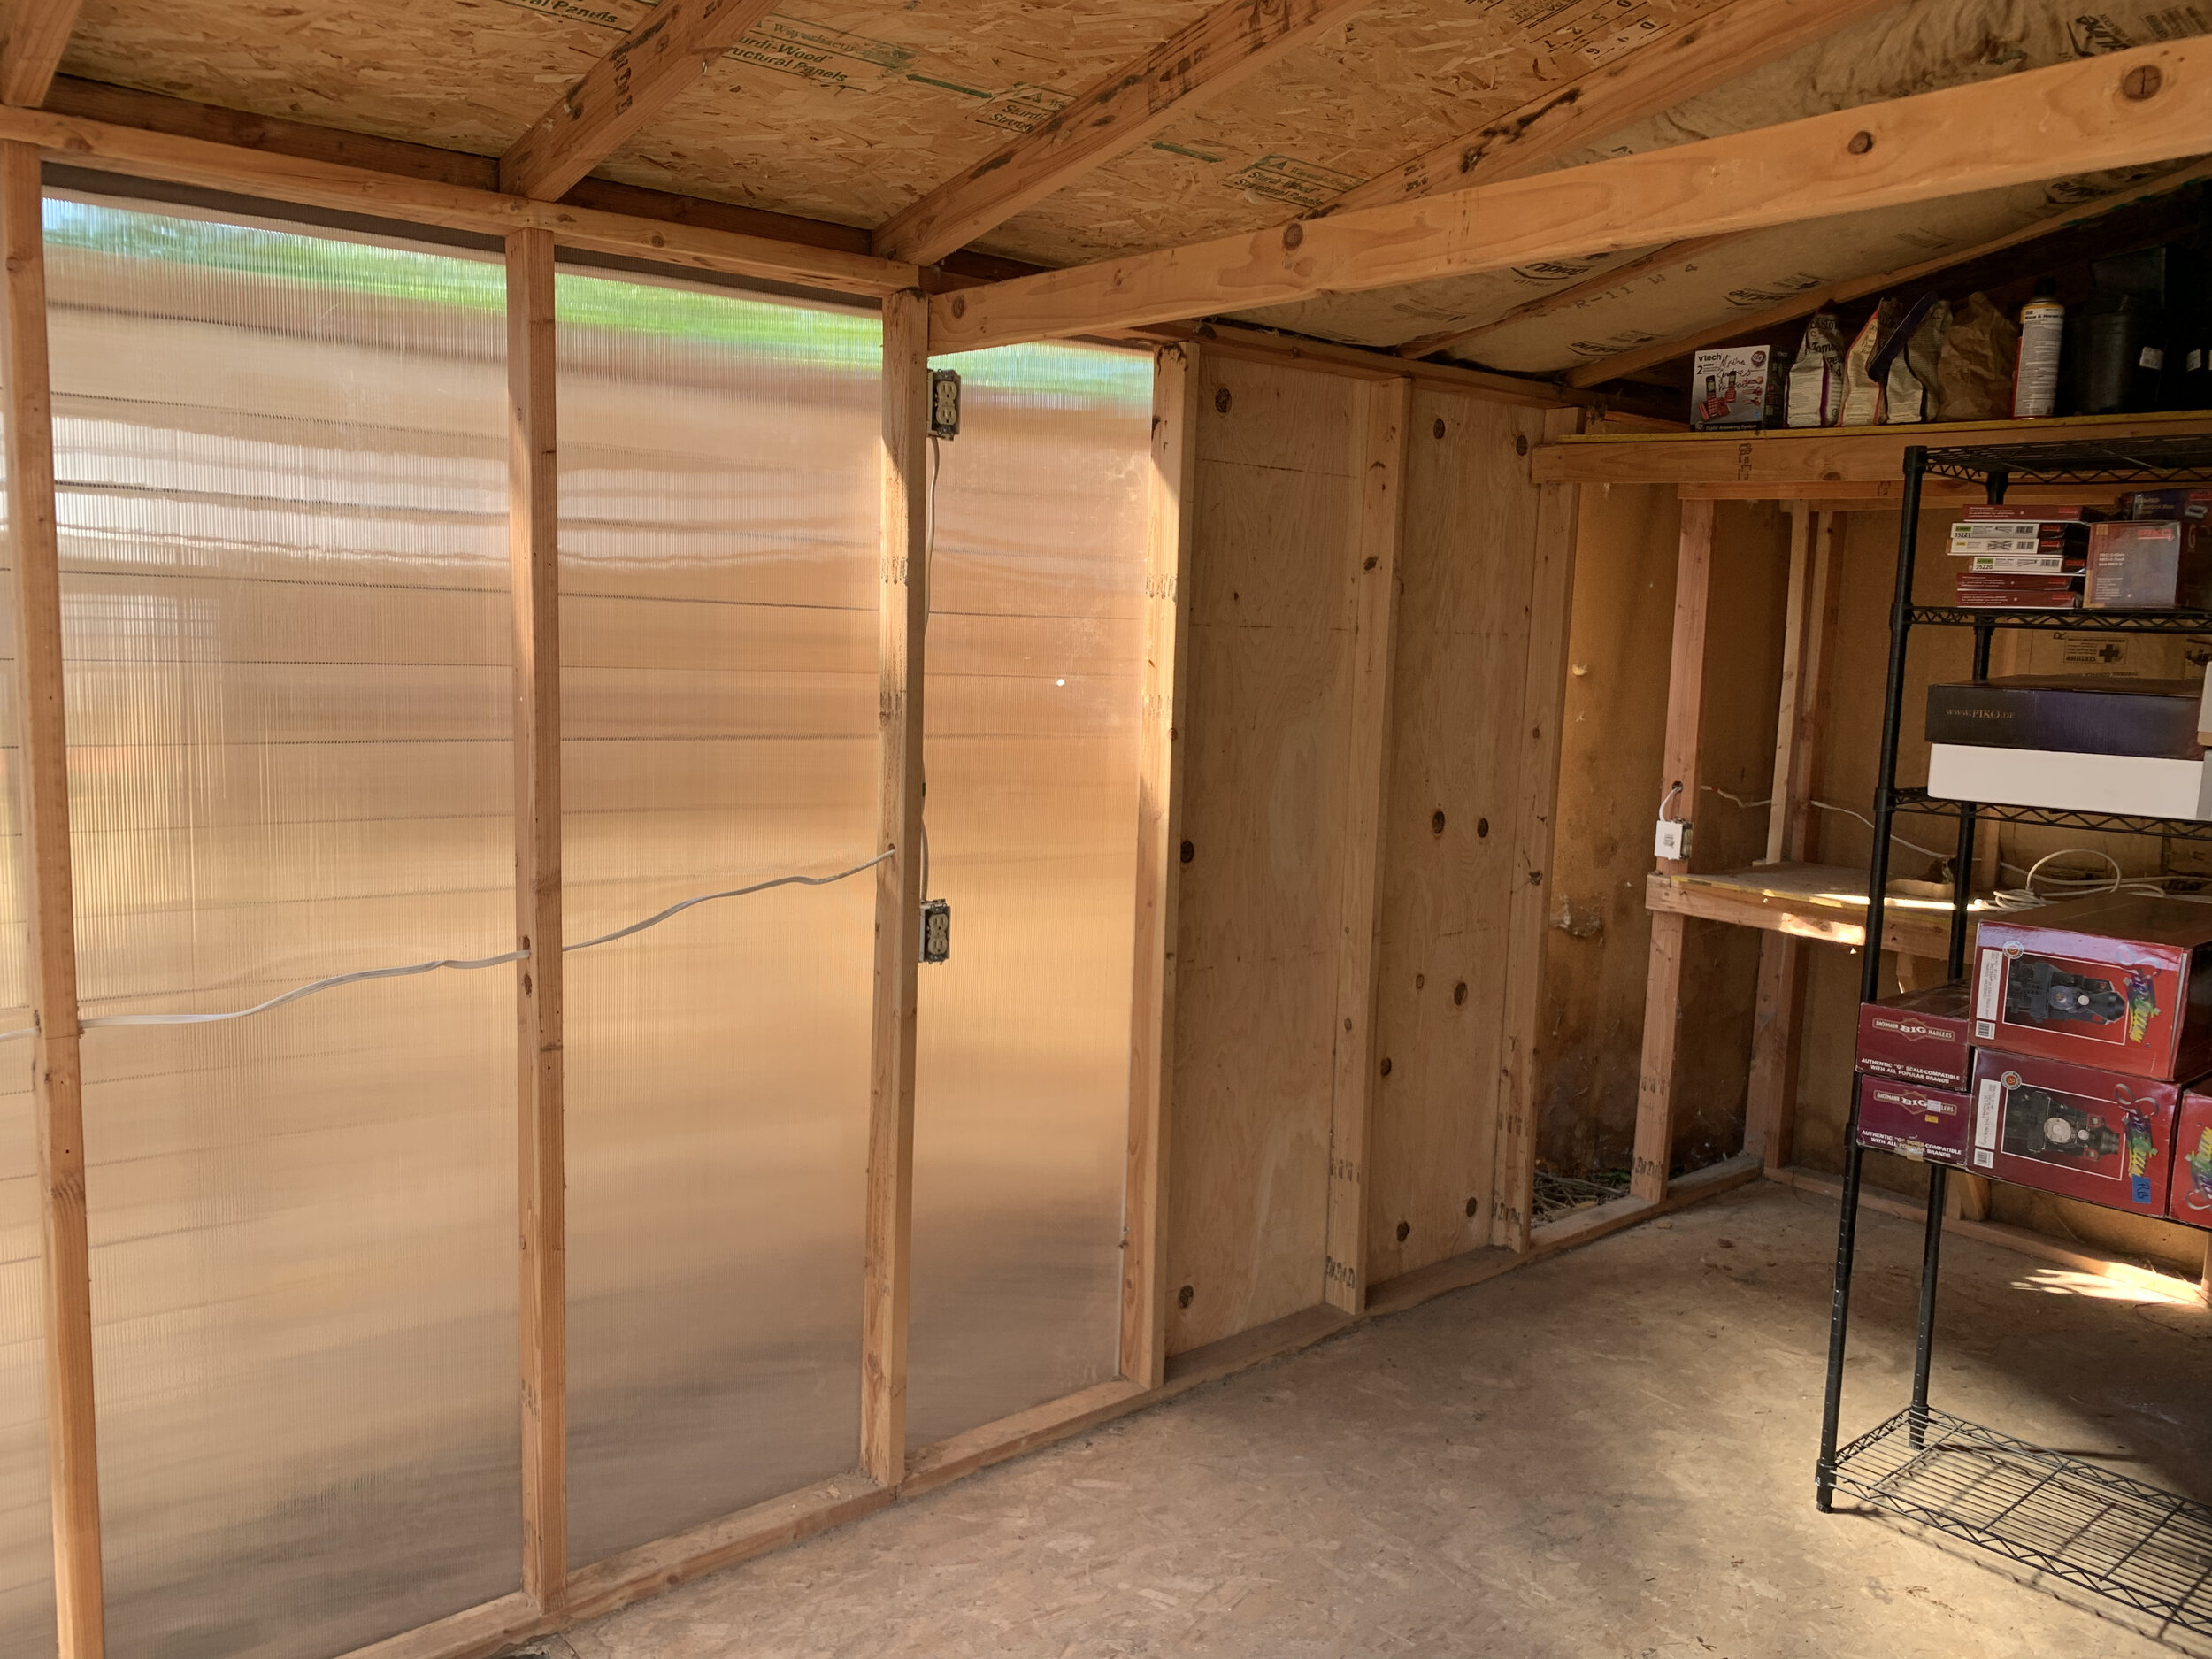
I used two layer polycarbonate siding (actually designed for roofing) mounted on the exterior of the 2x4 studs of the shed. Along the final third of the shed I used some extra 4x8 sheets of plywood I had lying around.
The Roof
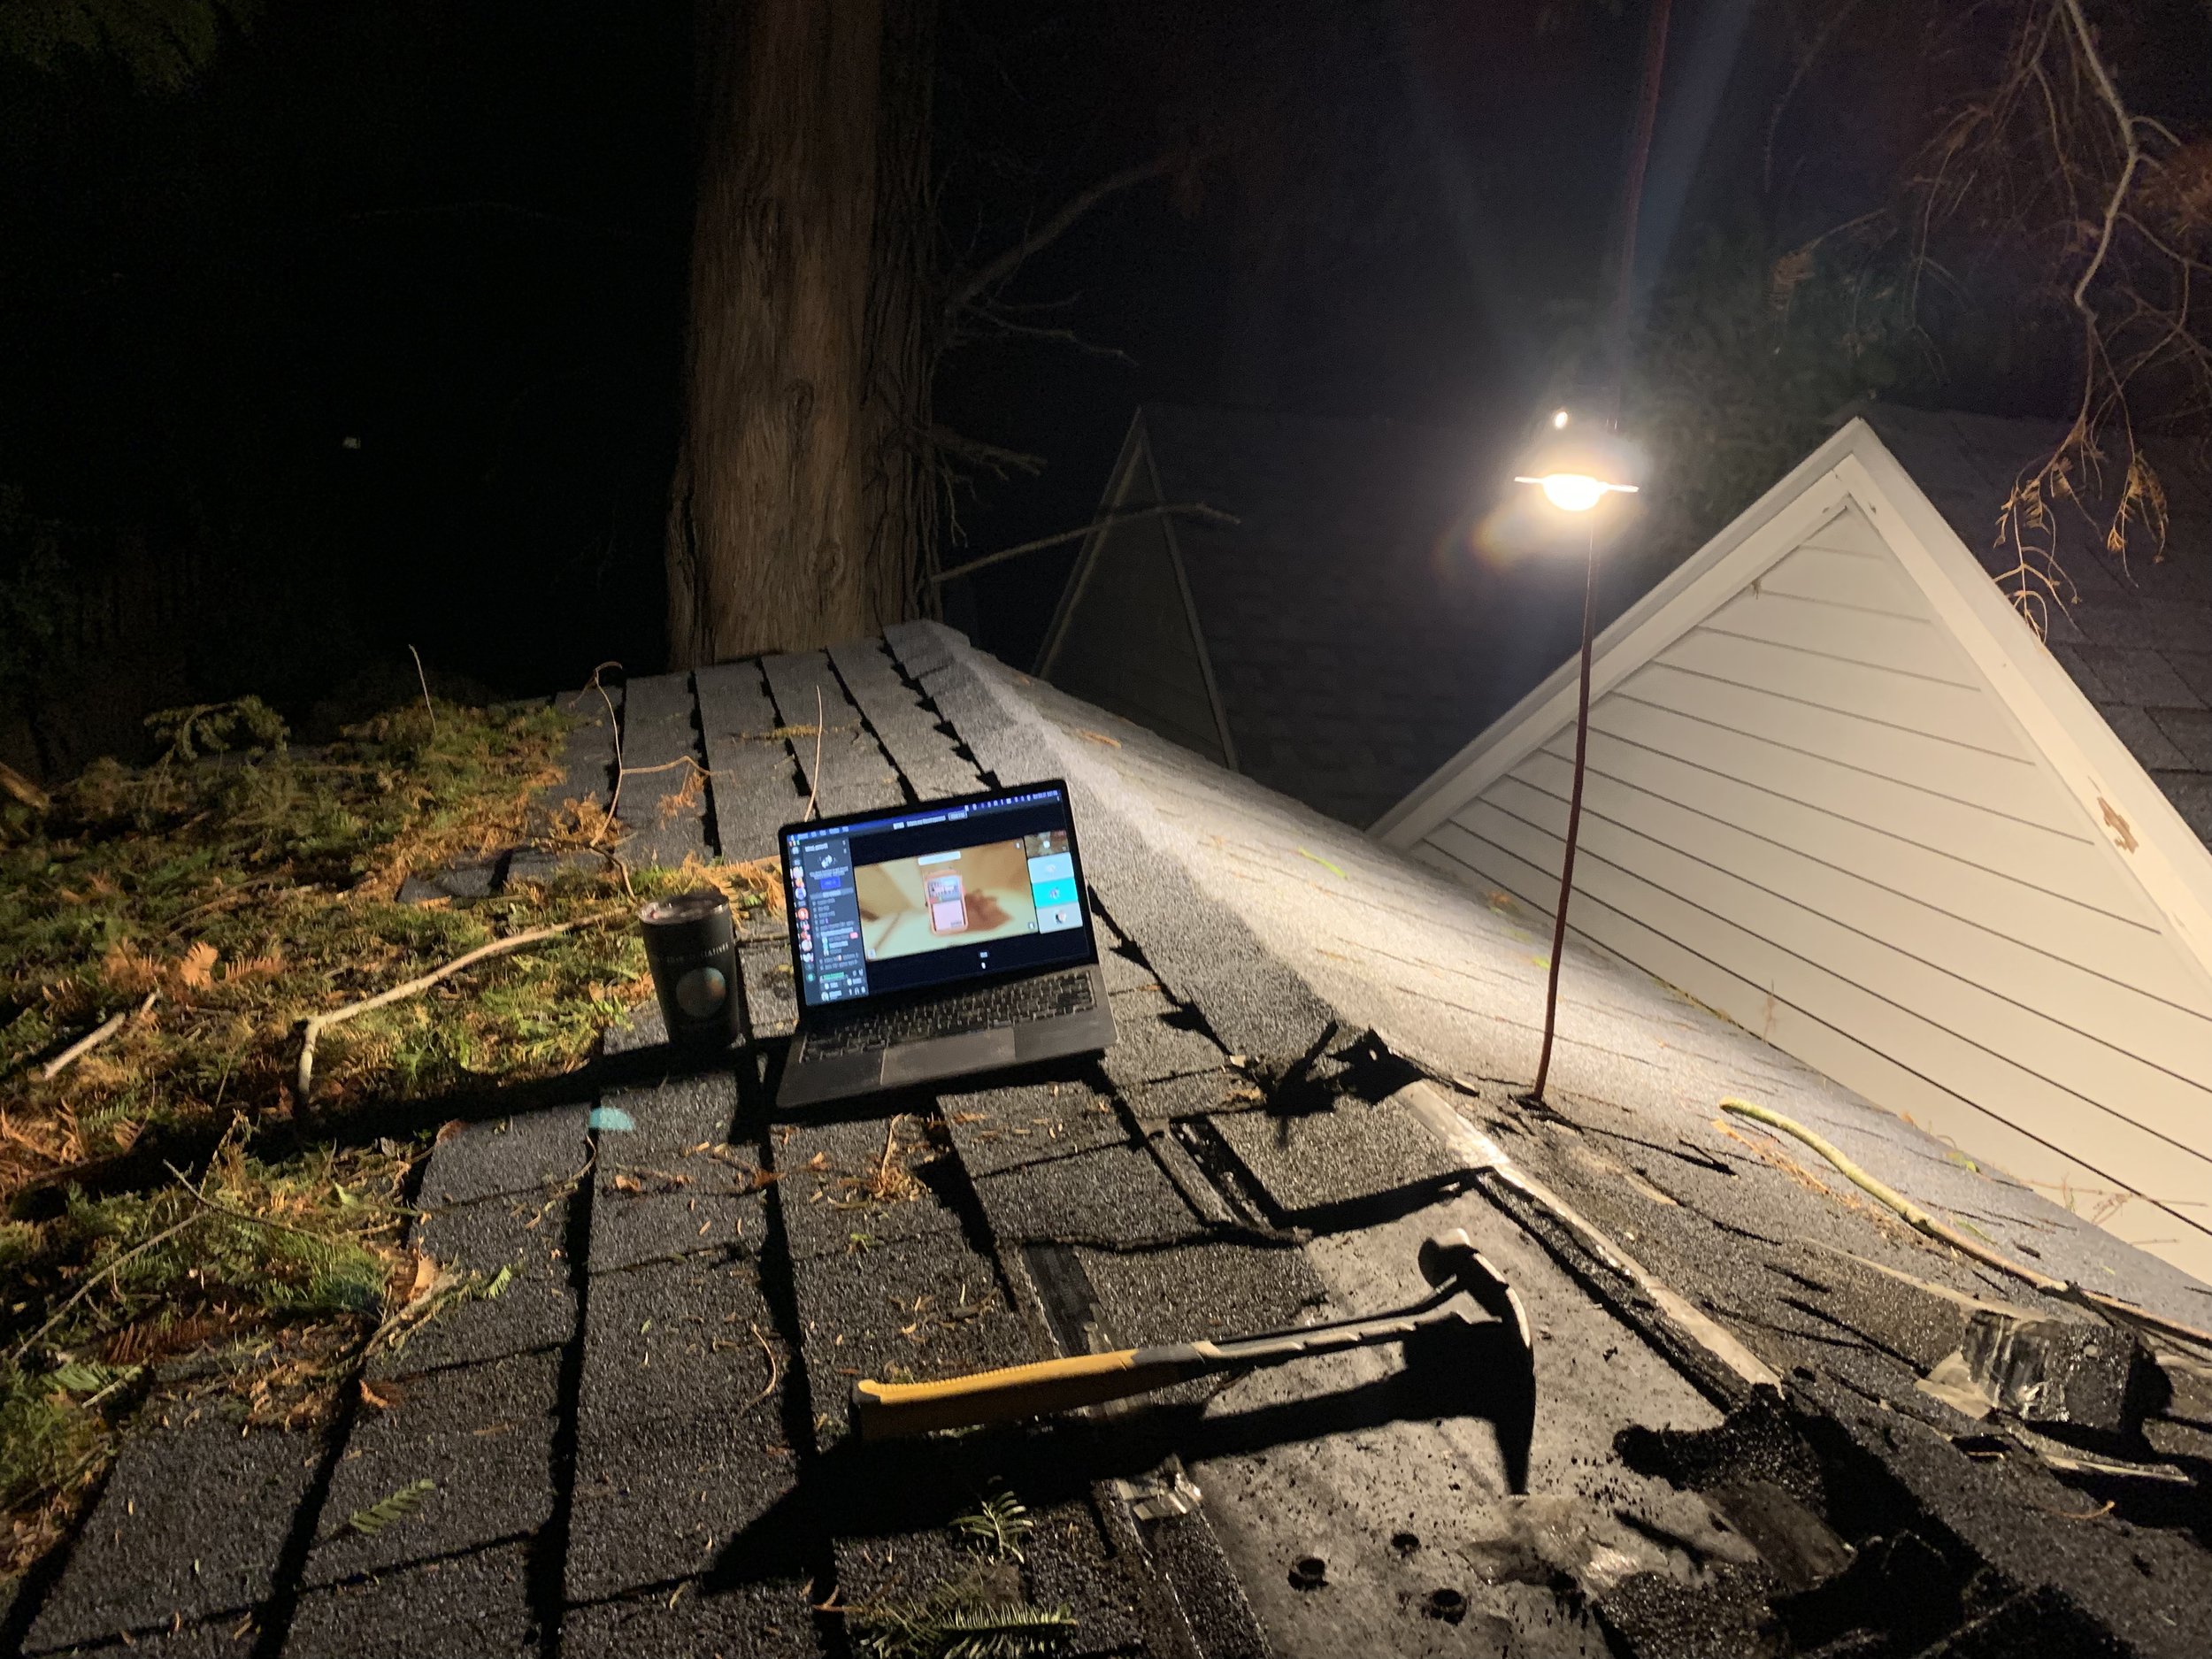
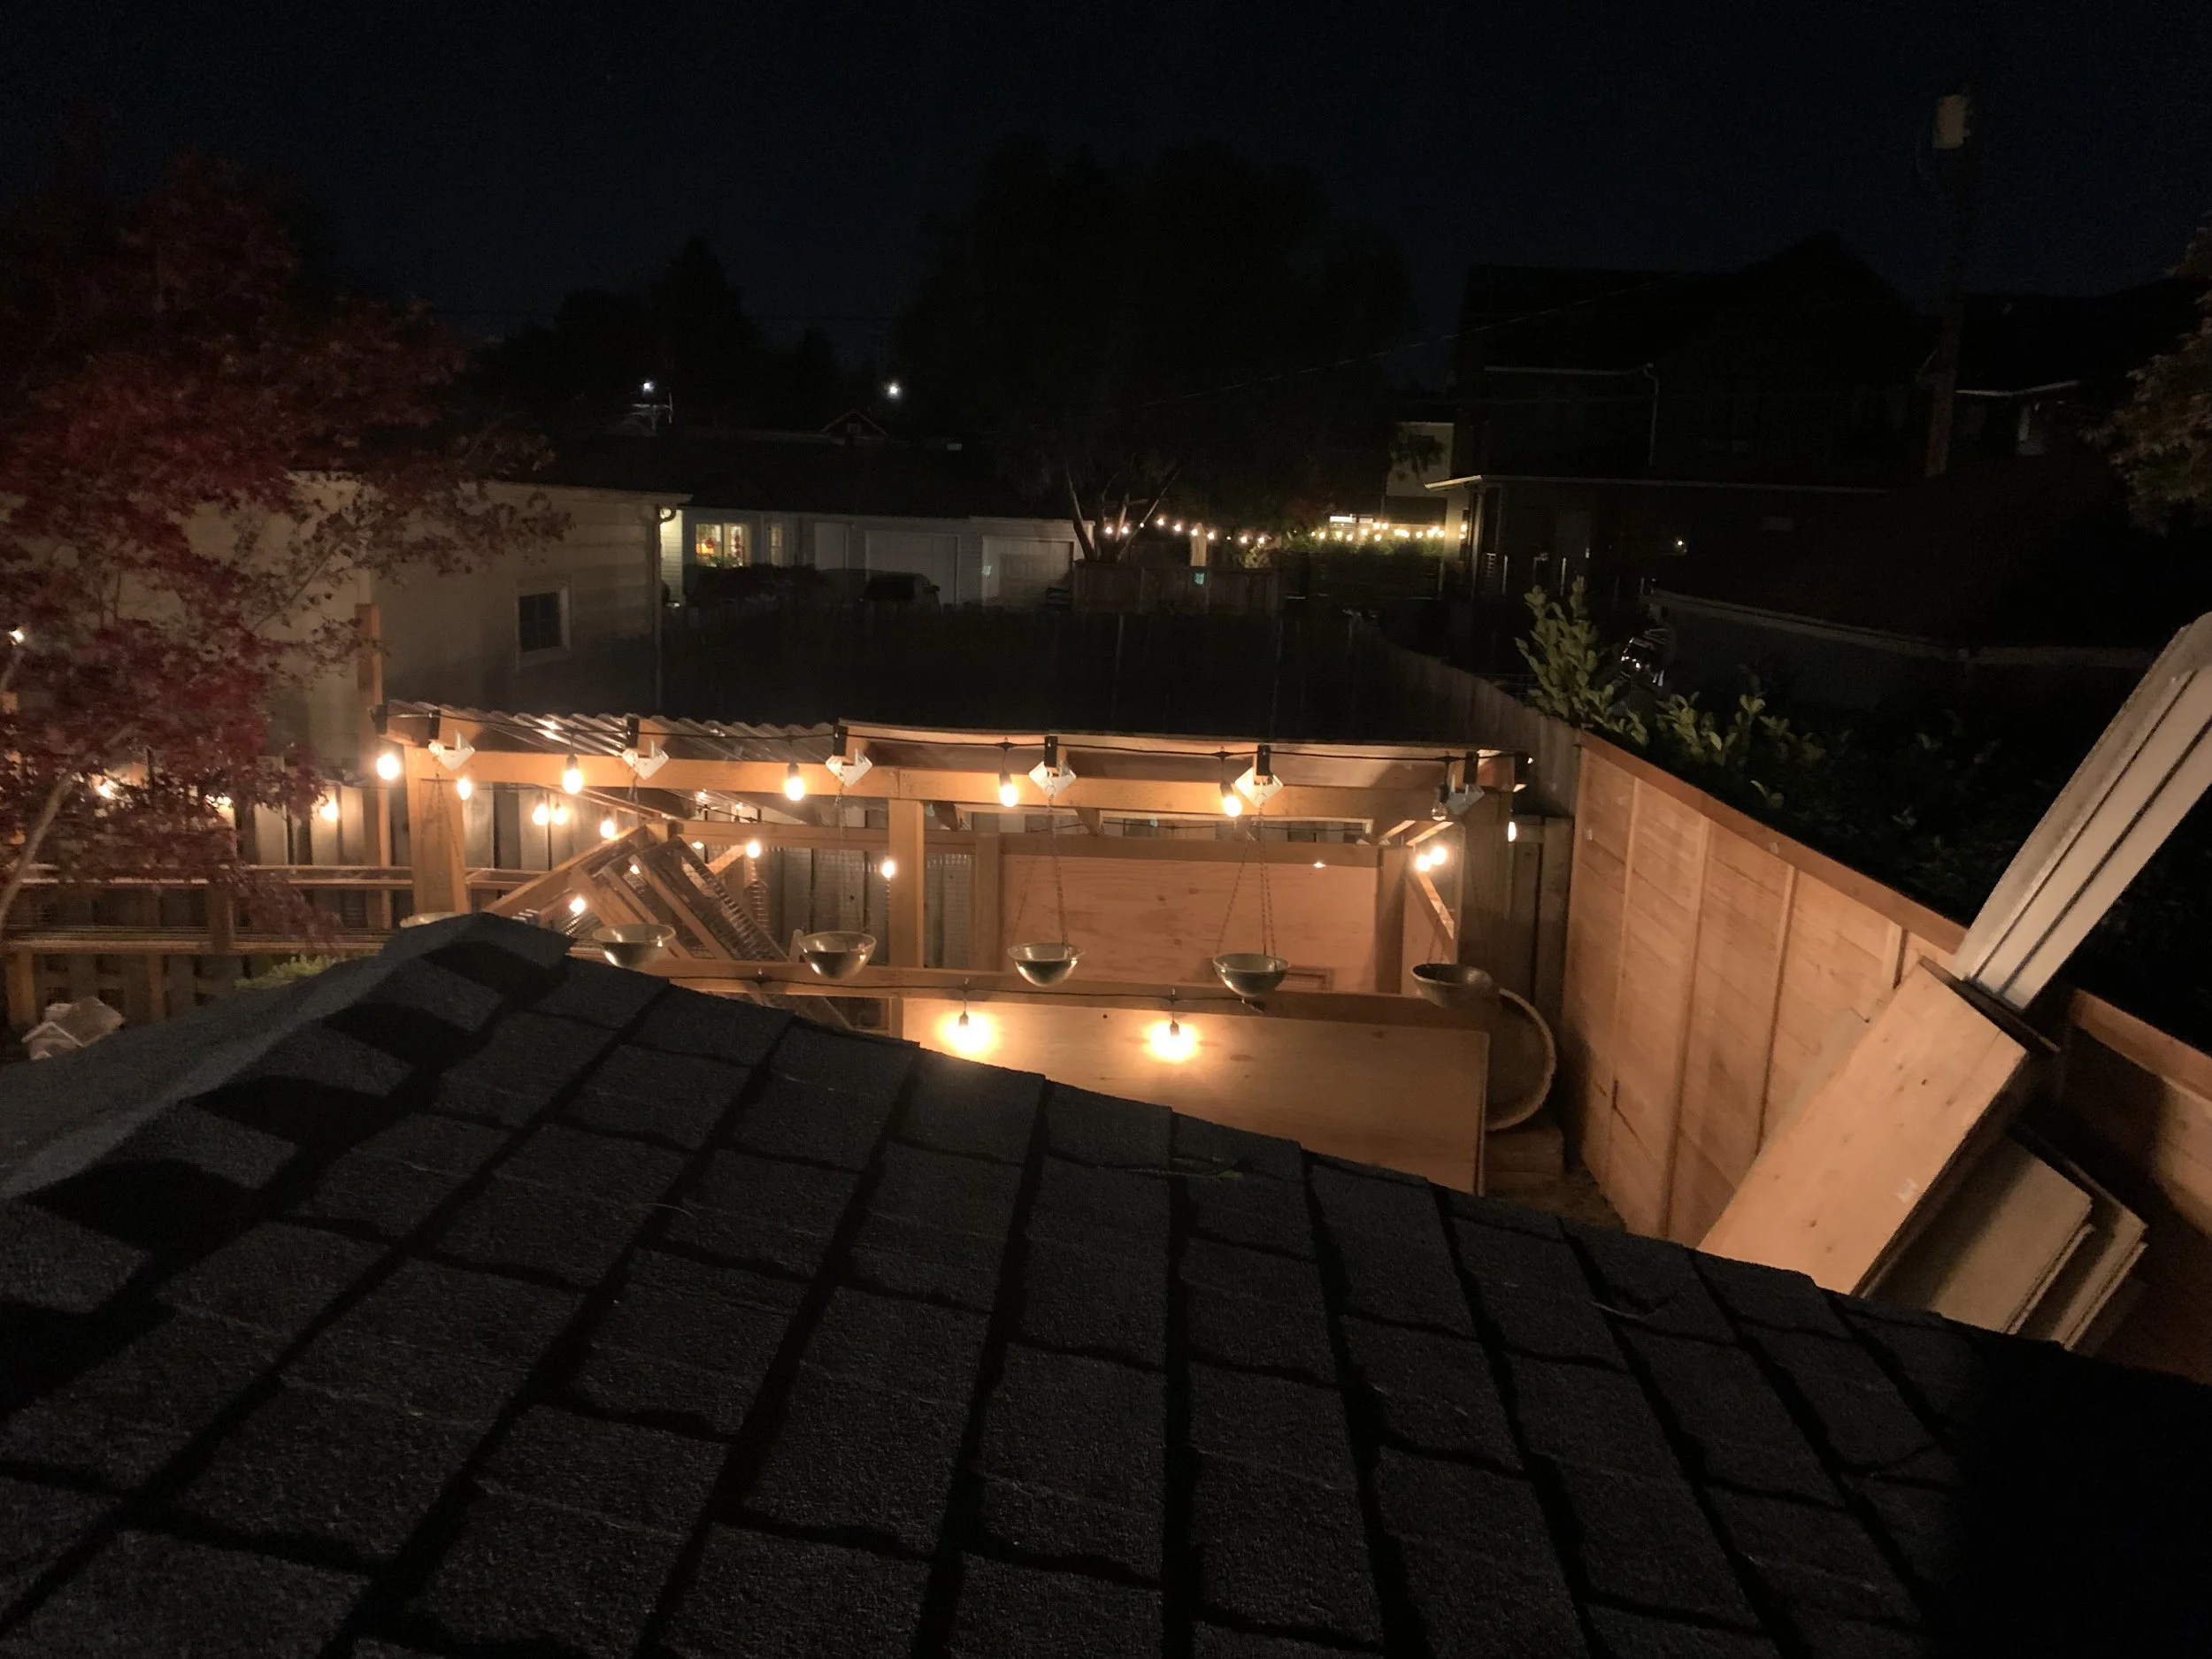
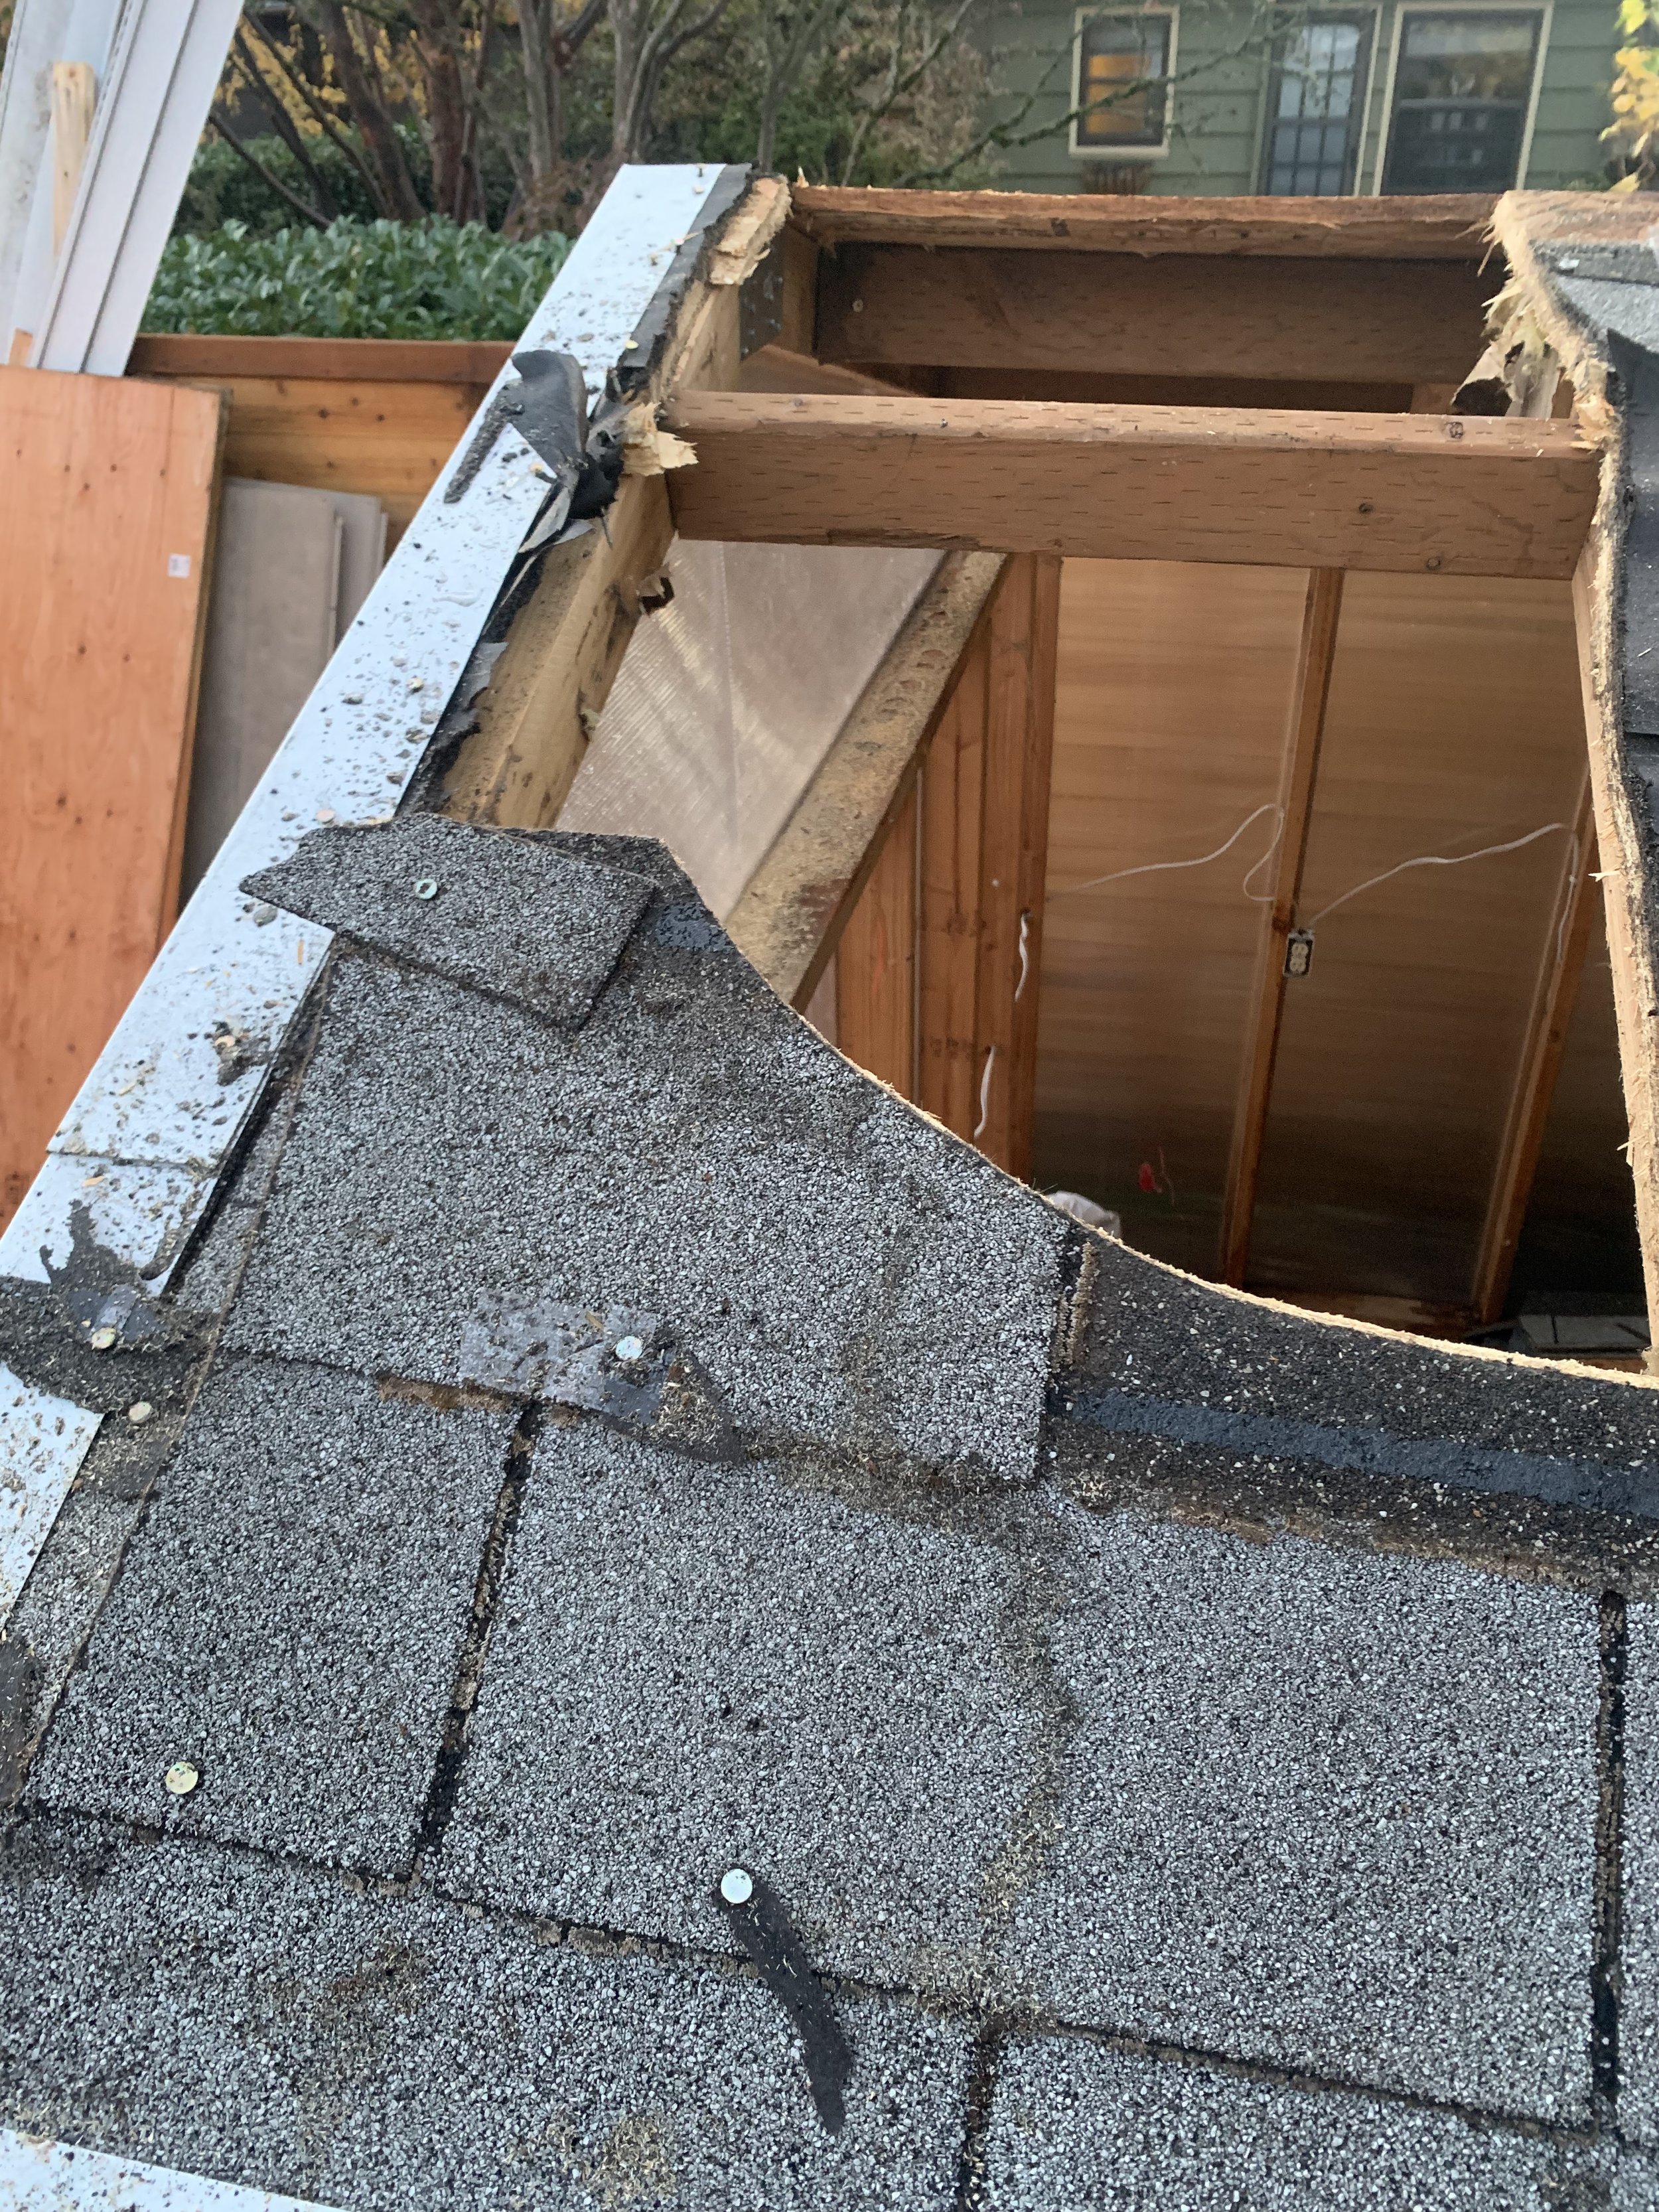
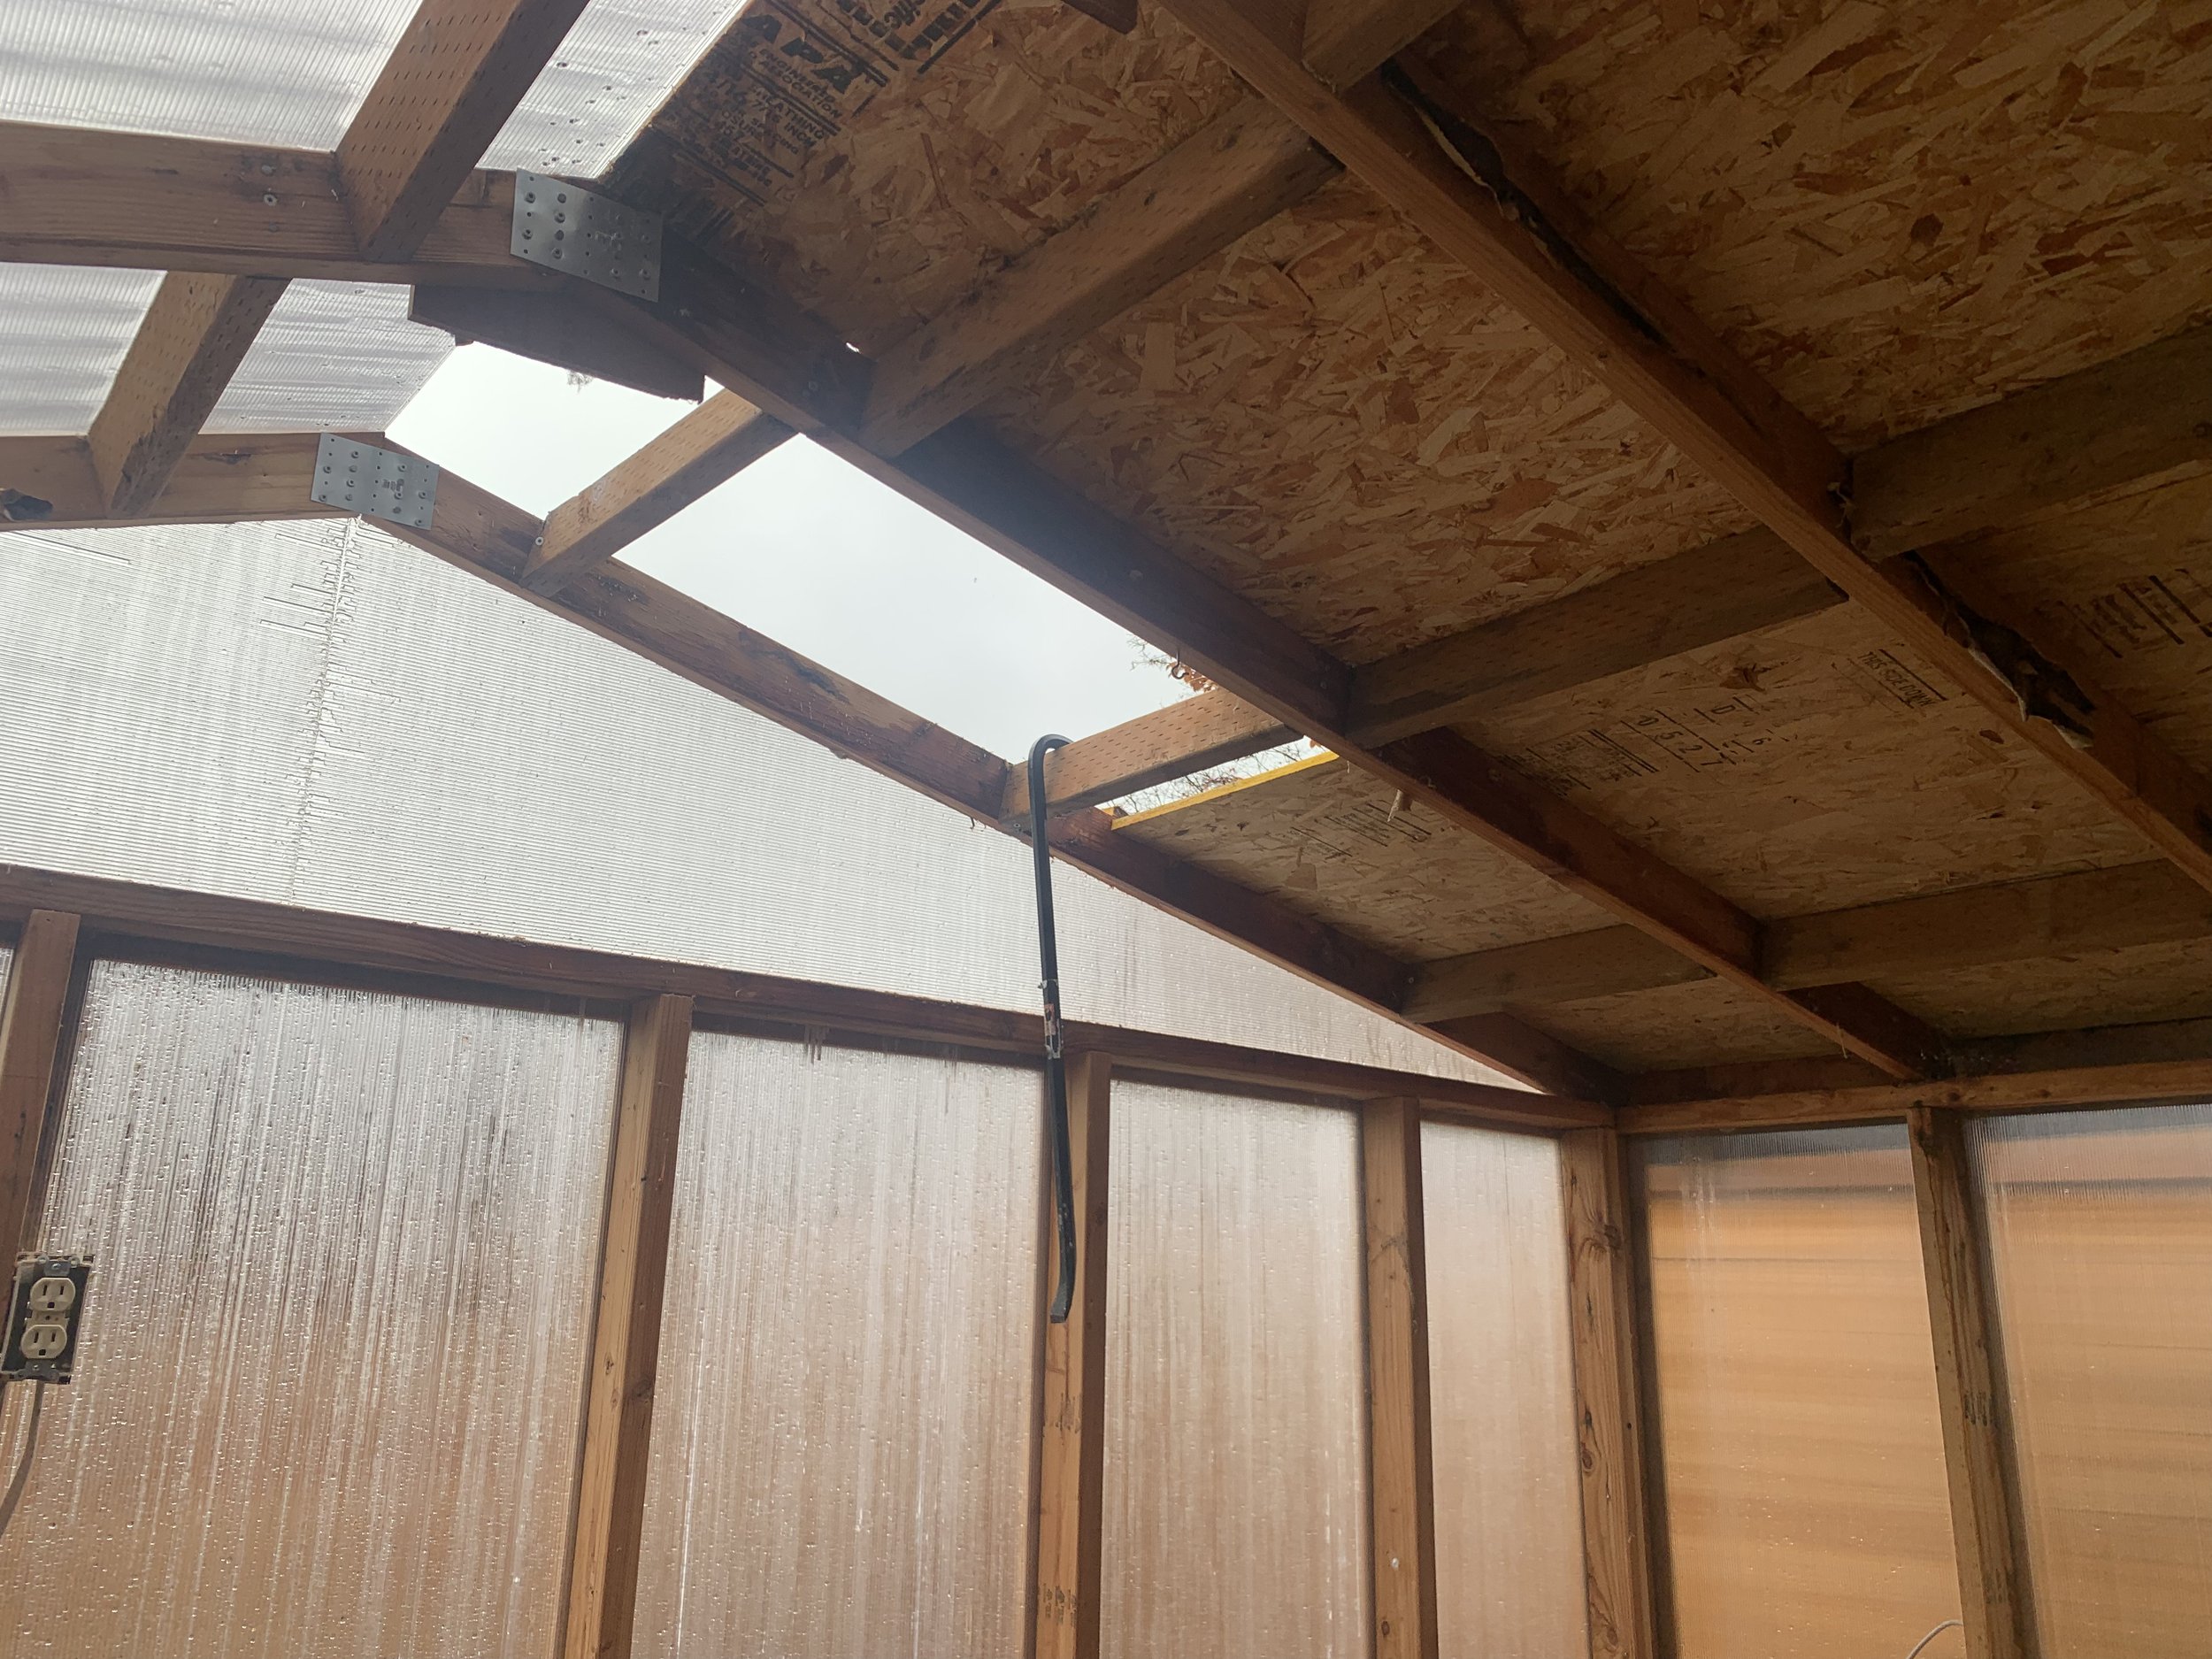
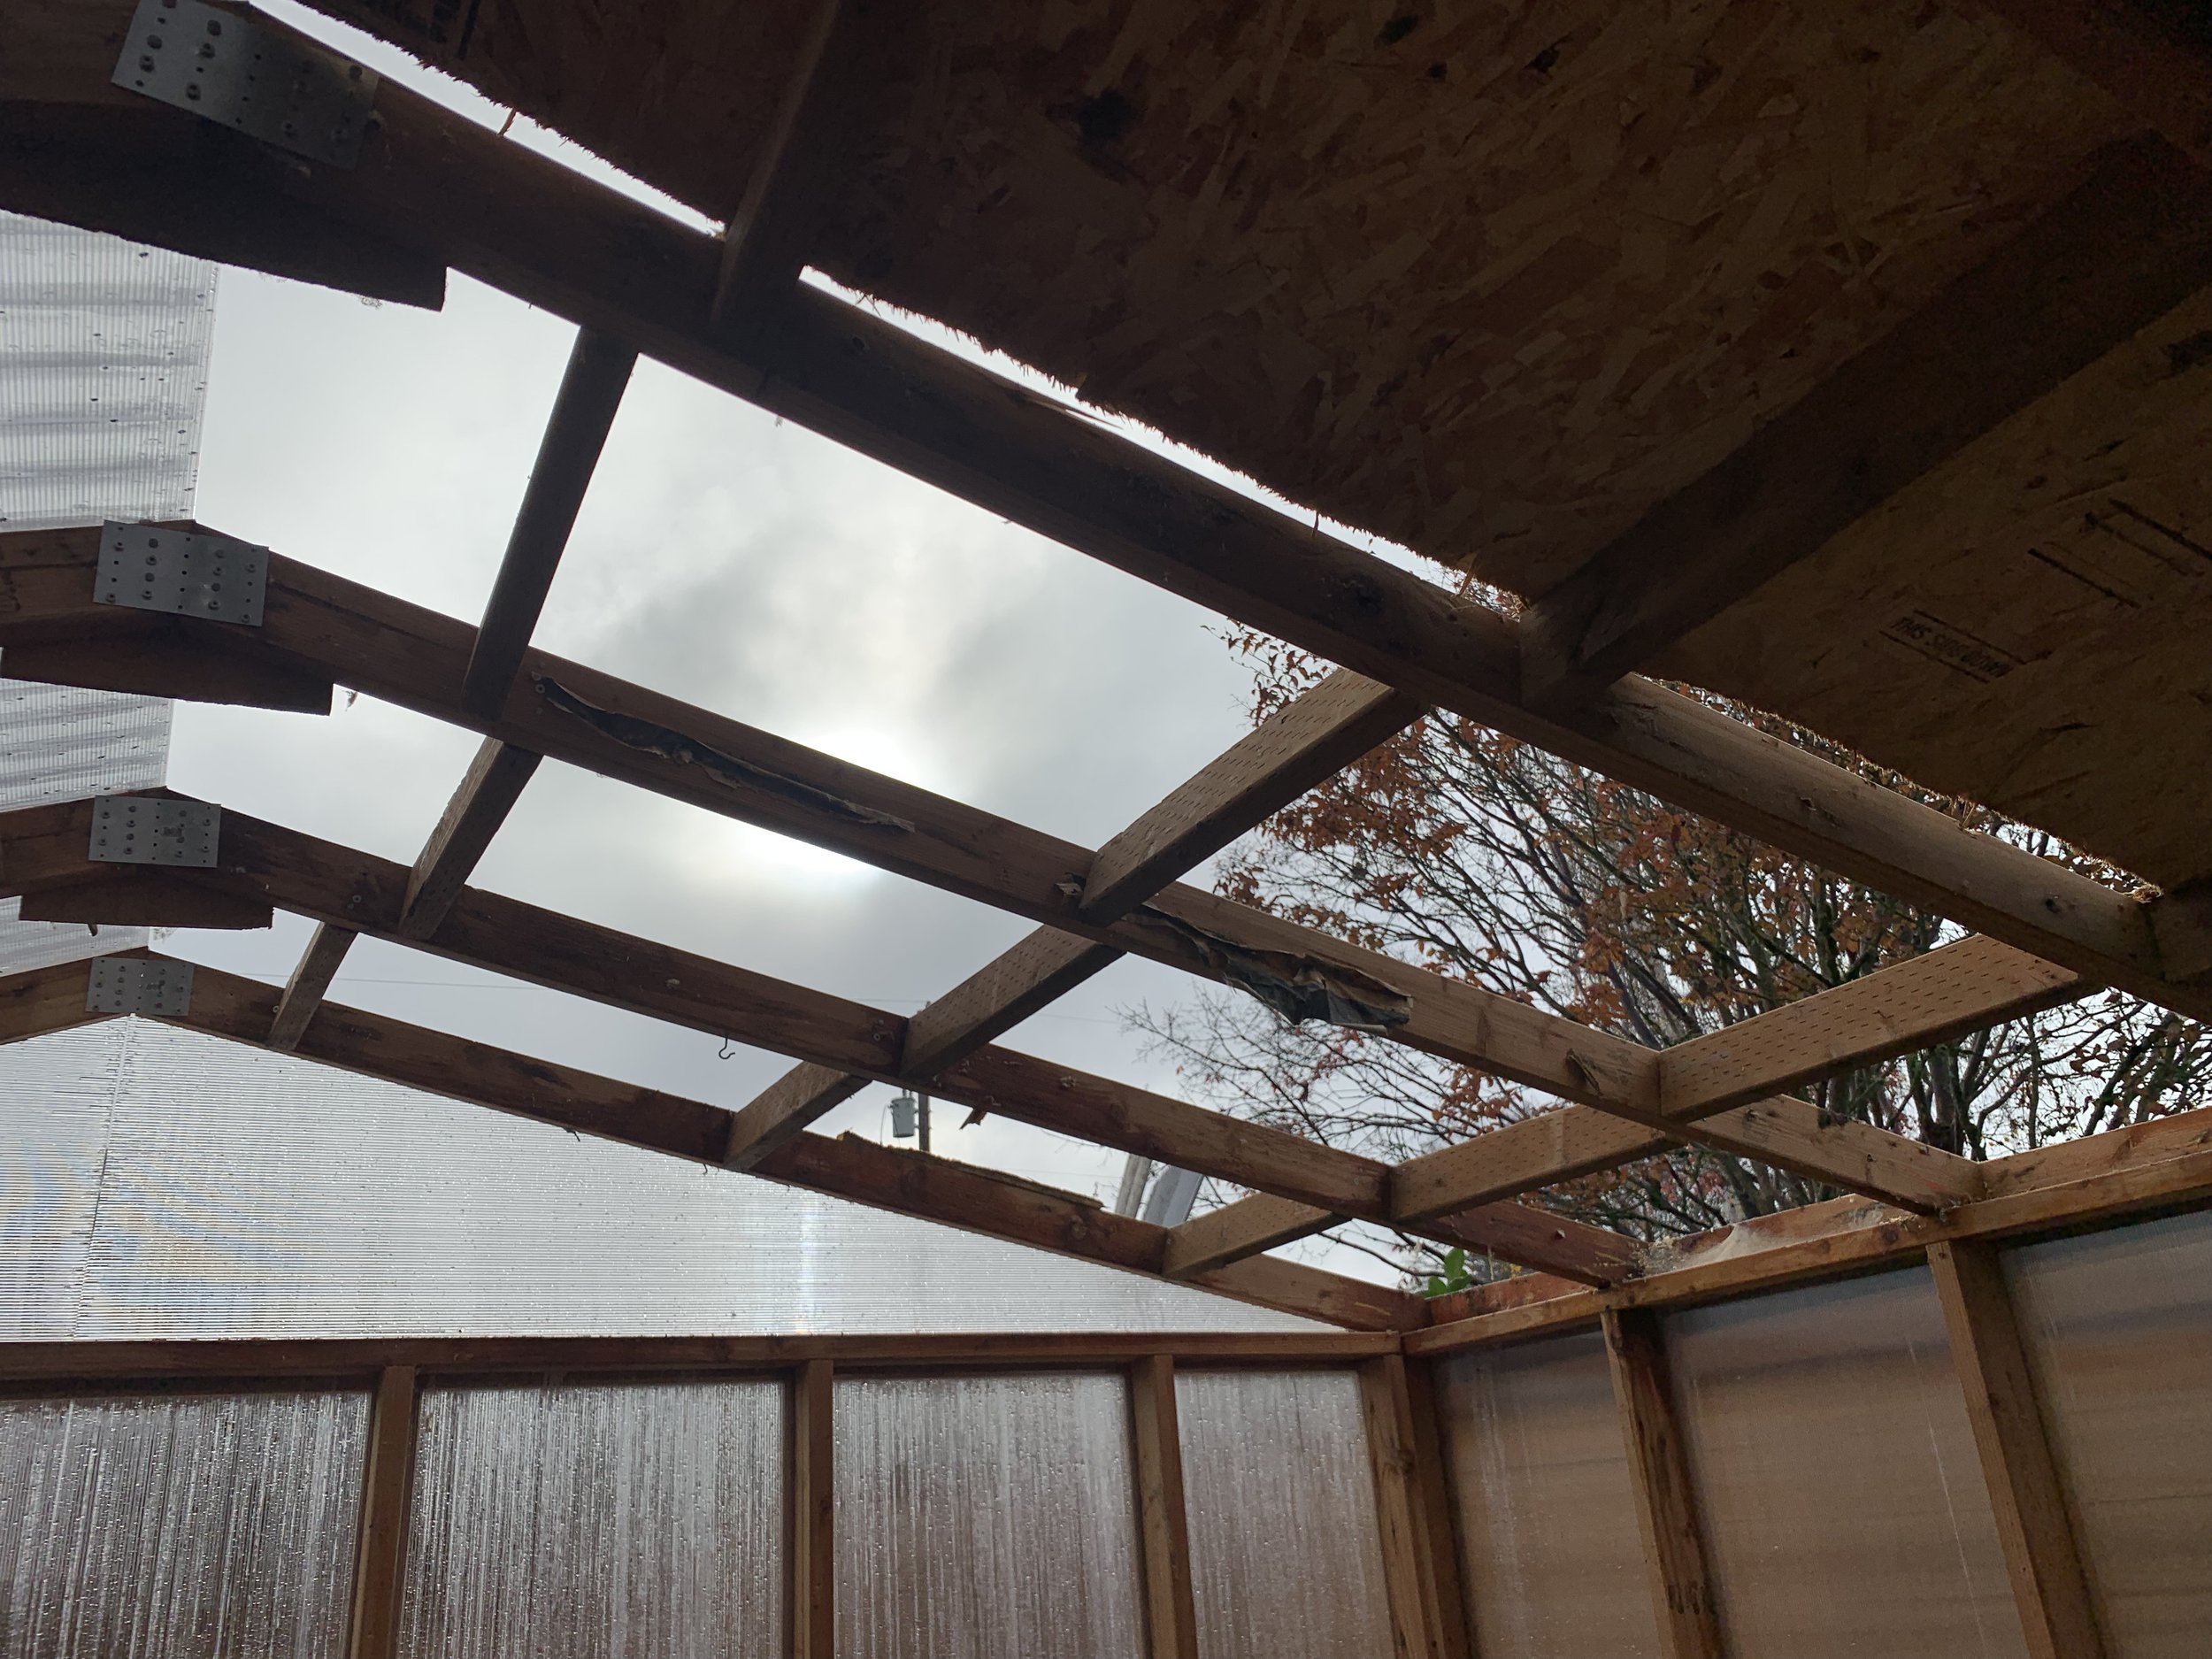
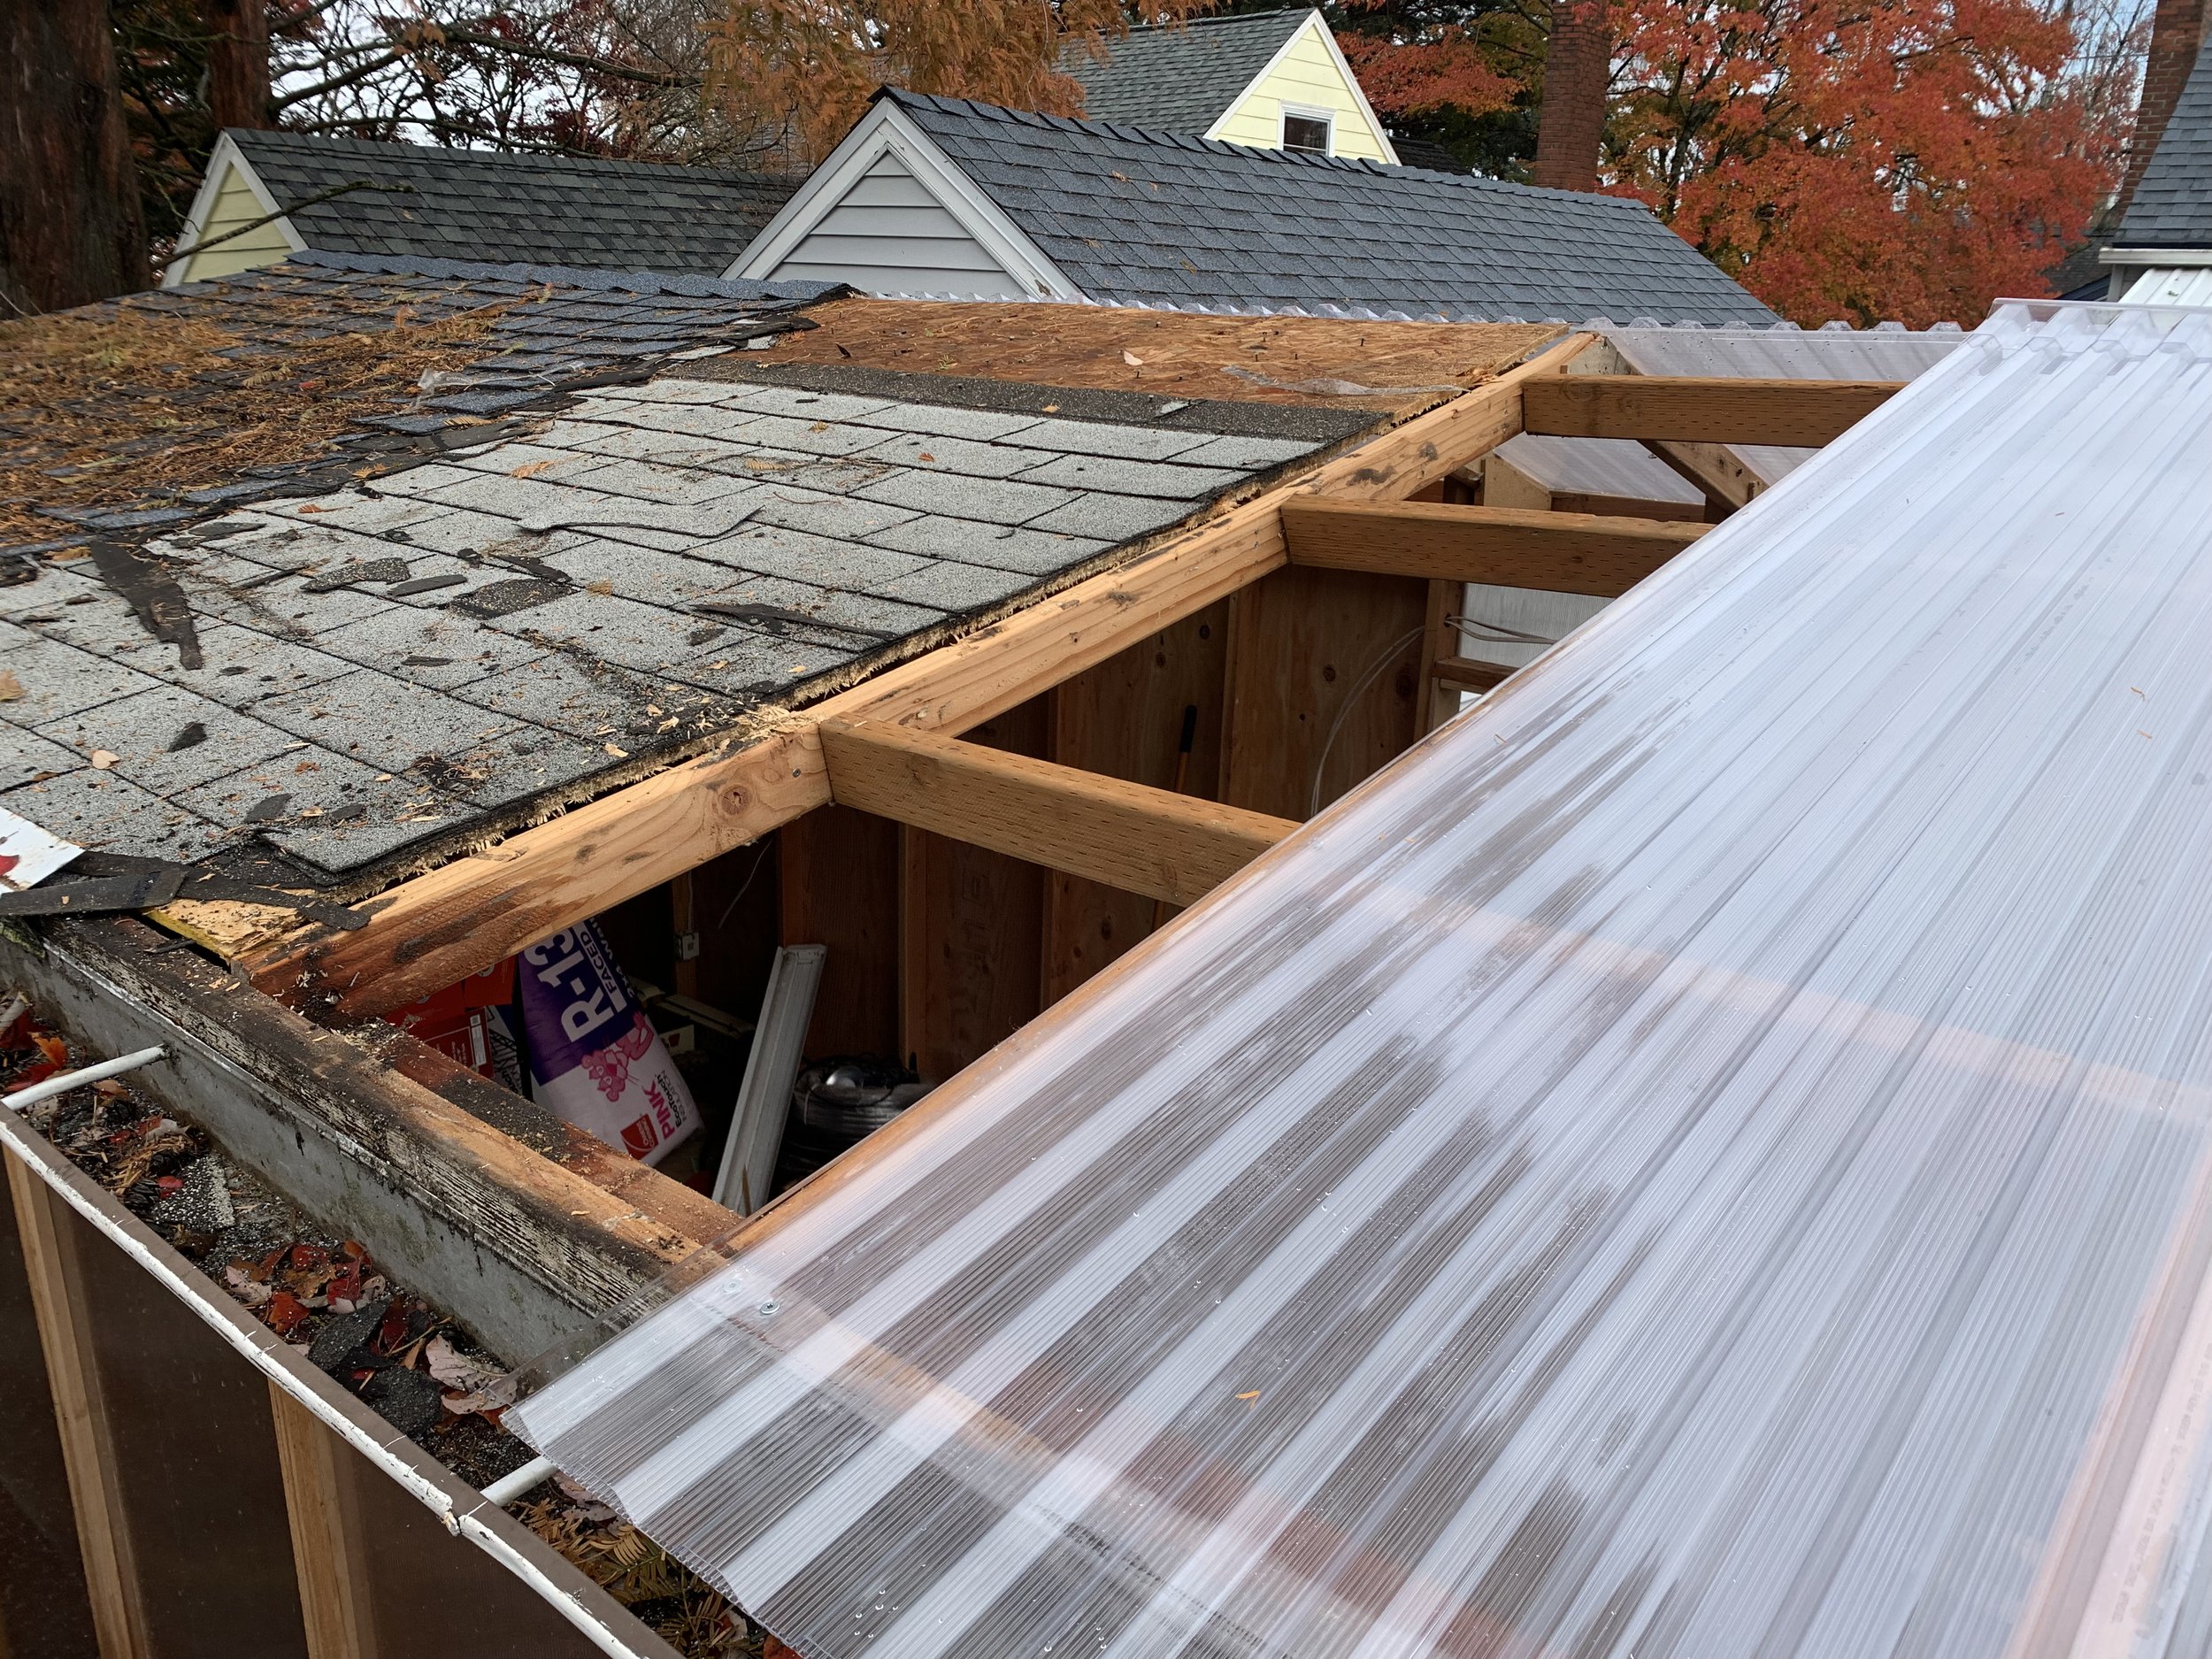
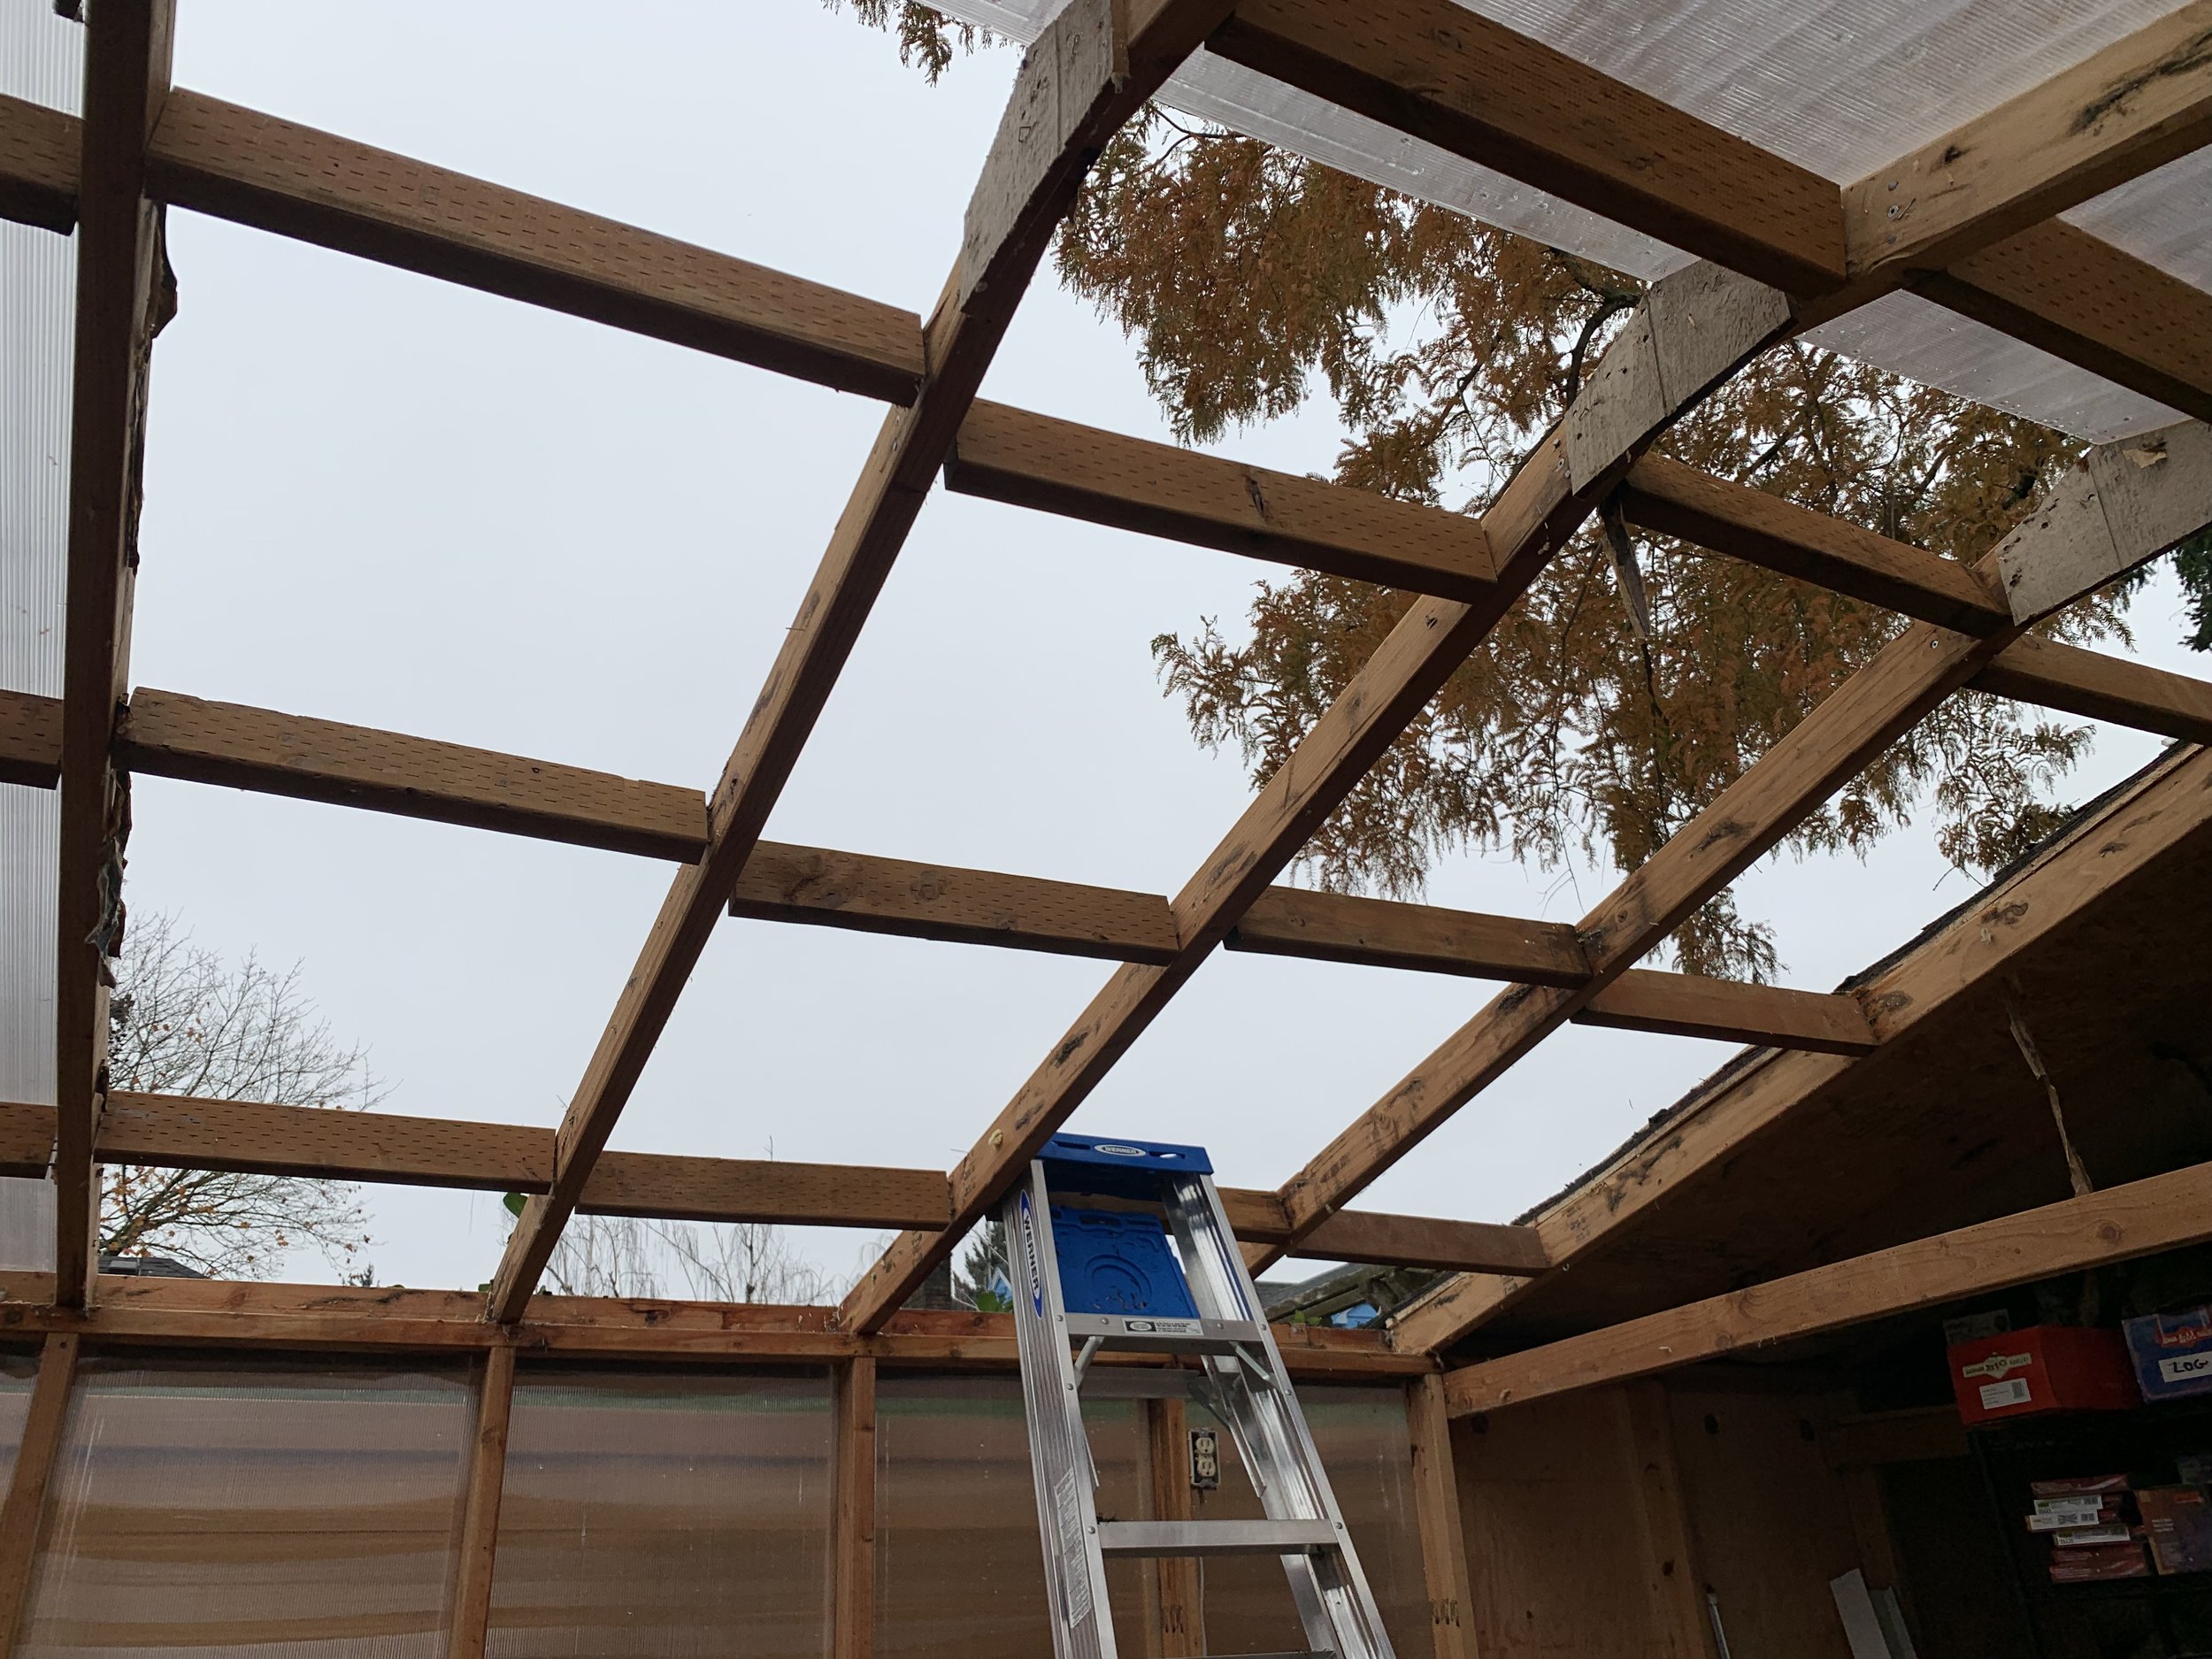
Next came the roof, and I have to admit that I was a bit stupid in my approach there. Sitting on a roof cutting down into it is… less than wise. But, I’m still here, so here we are. I did reinforce the roof from inside before getting on top of it, so that’s at least a bonus point.
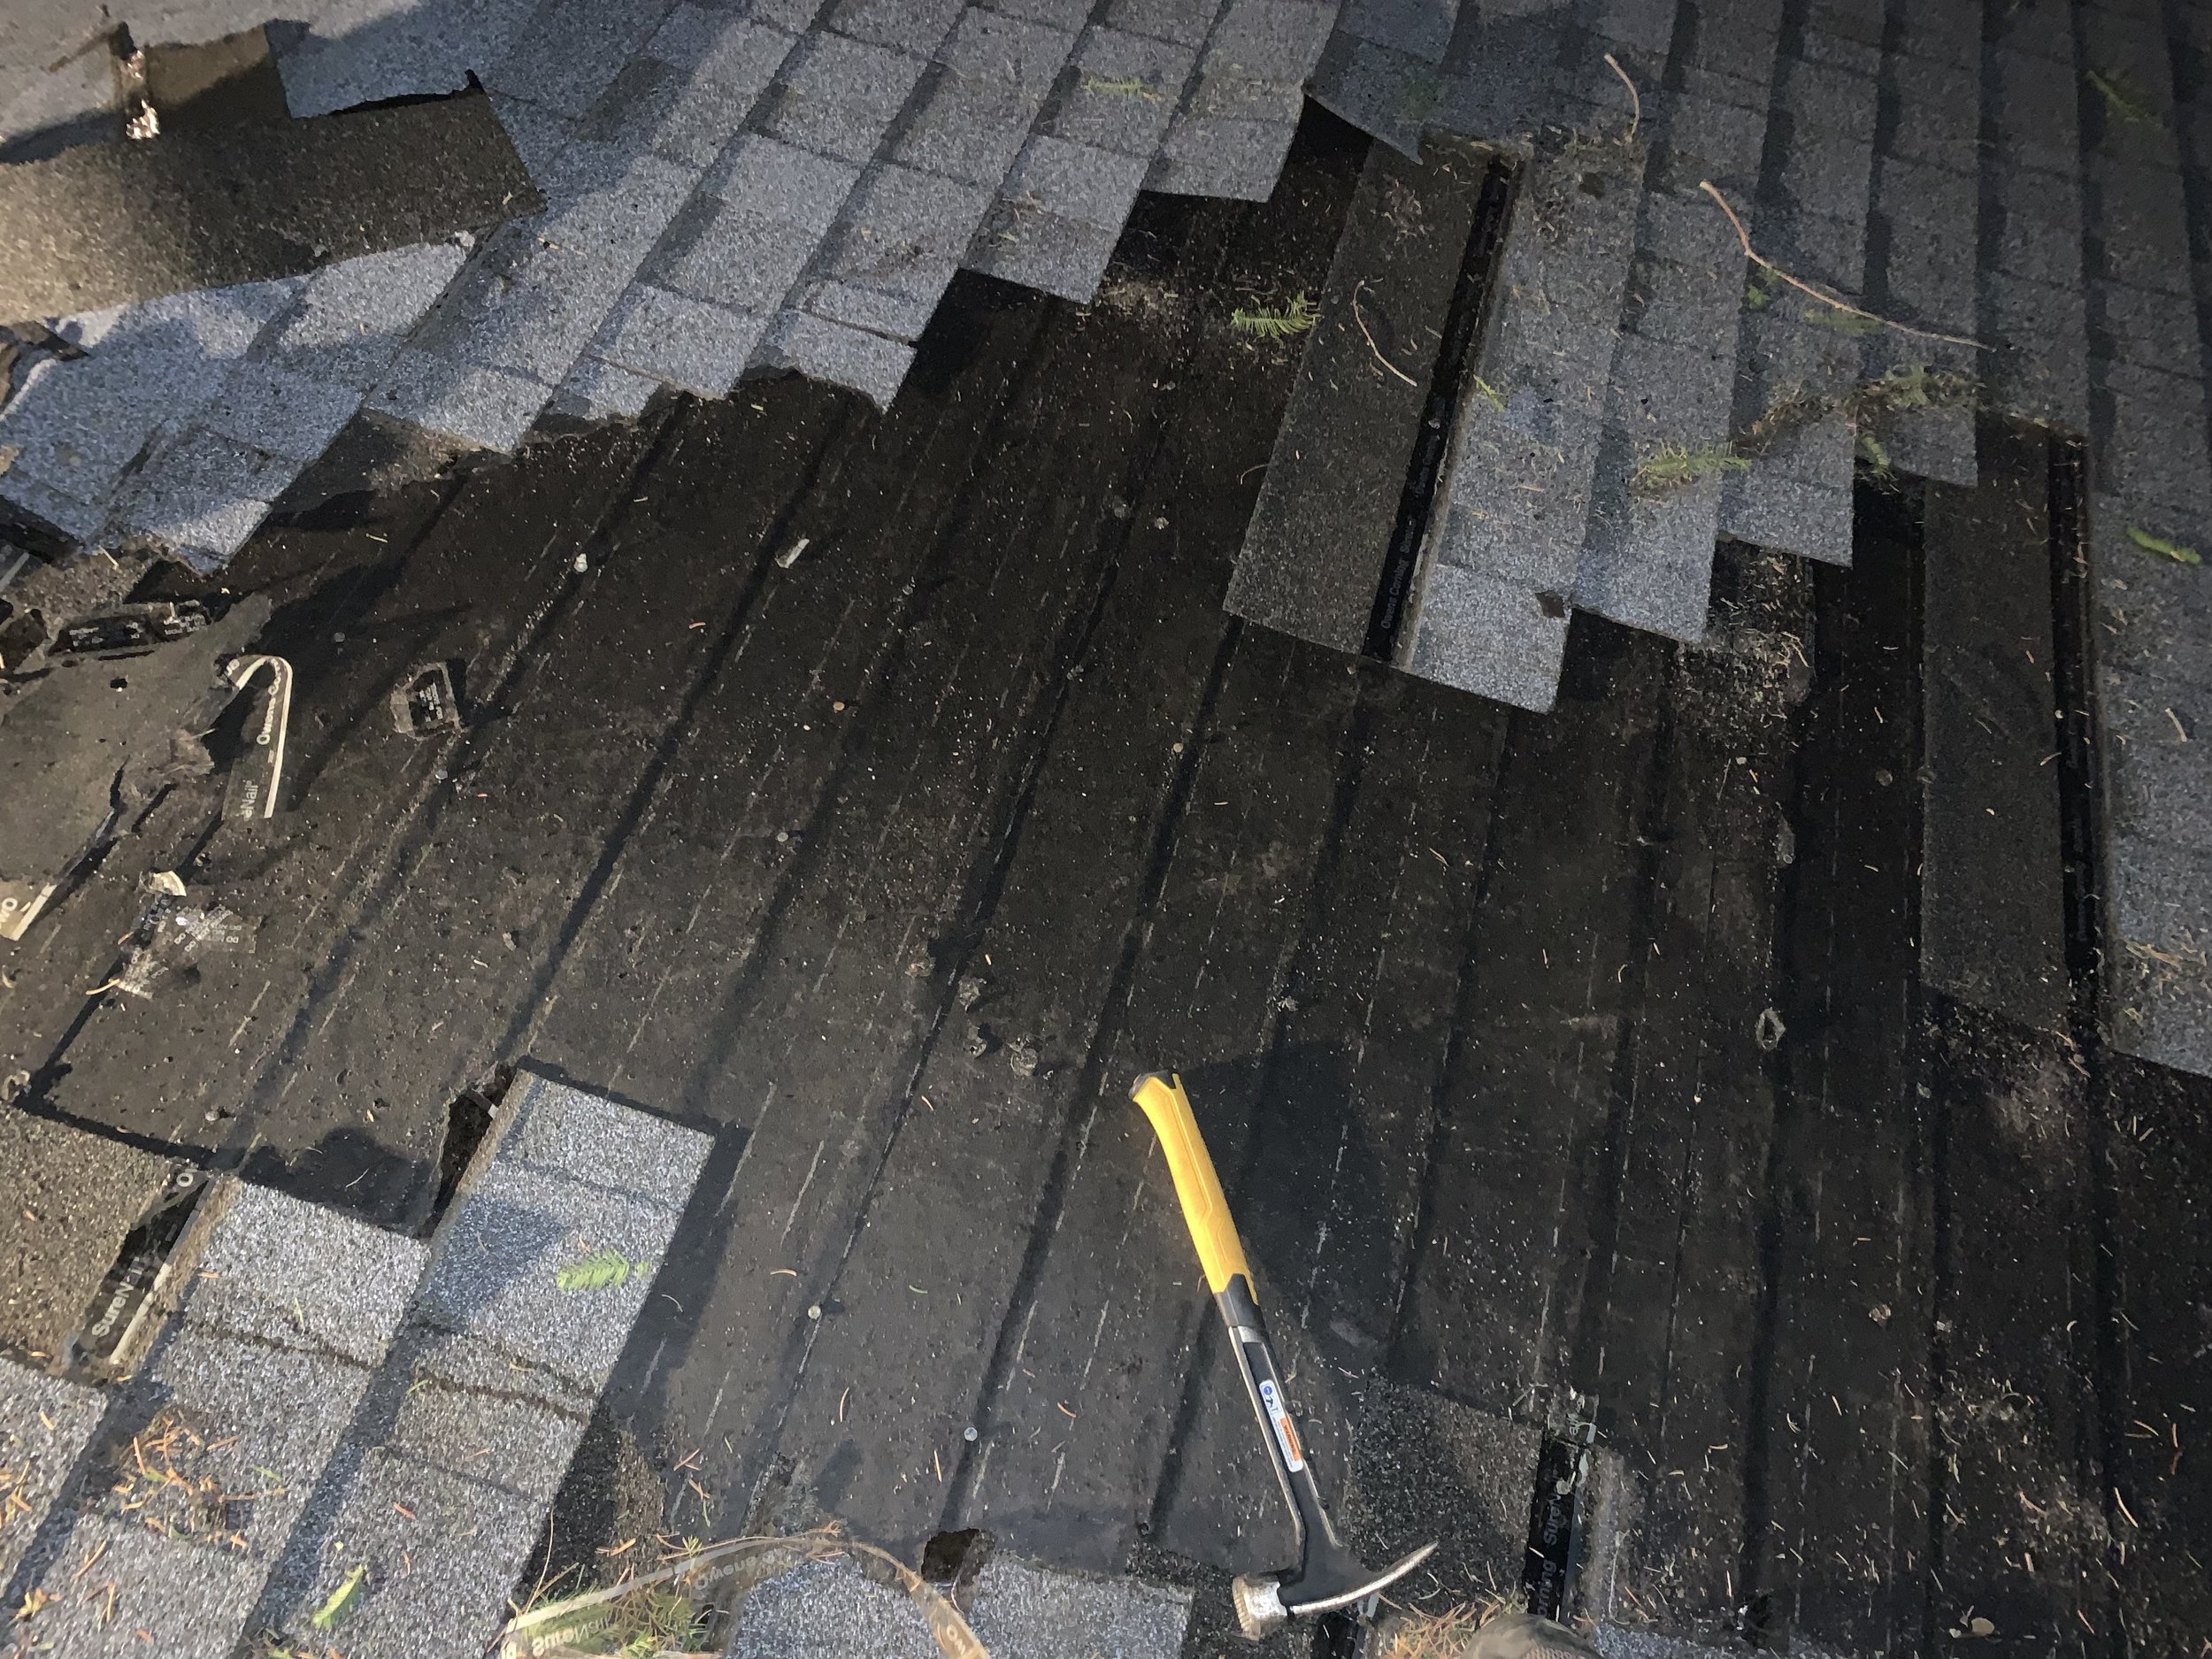
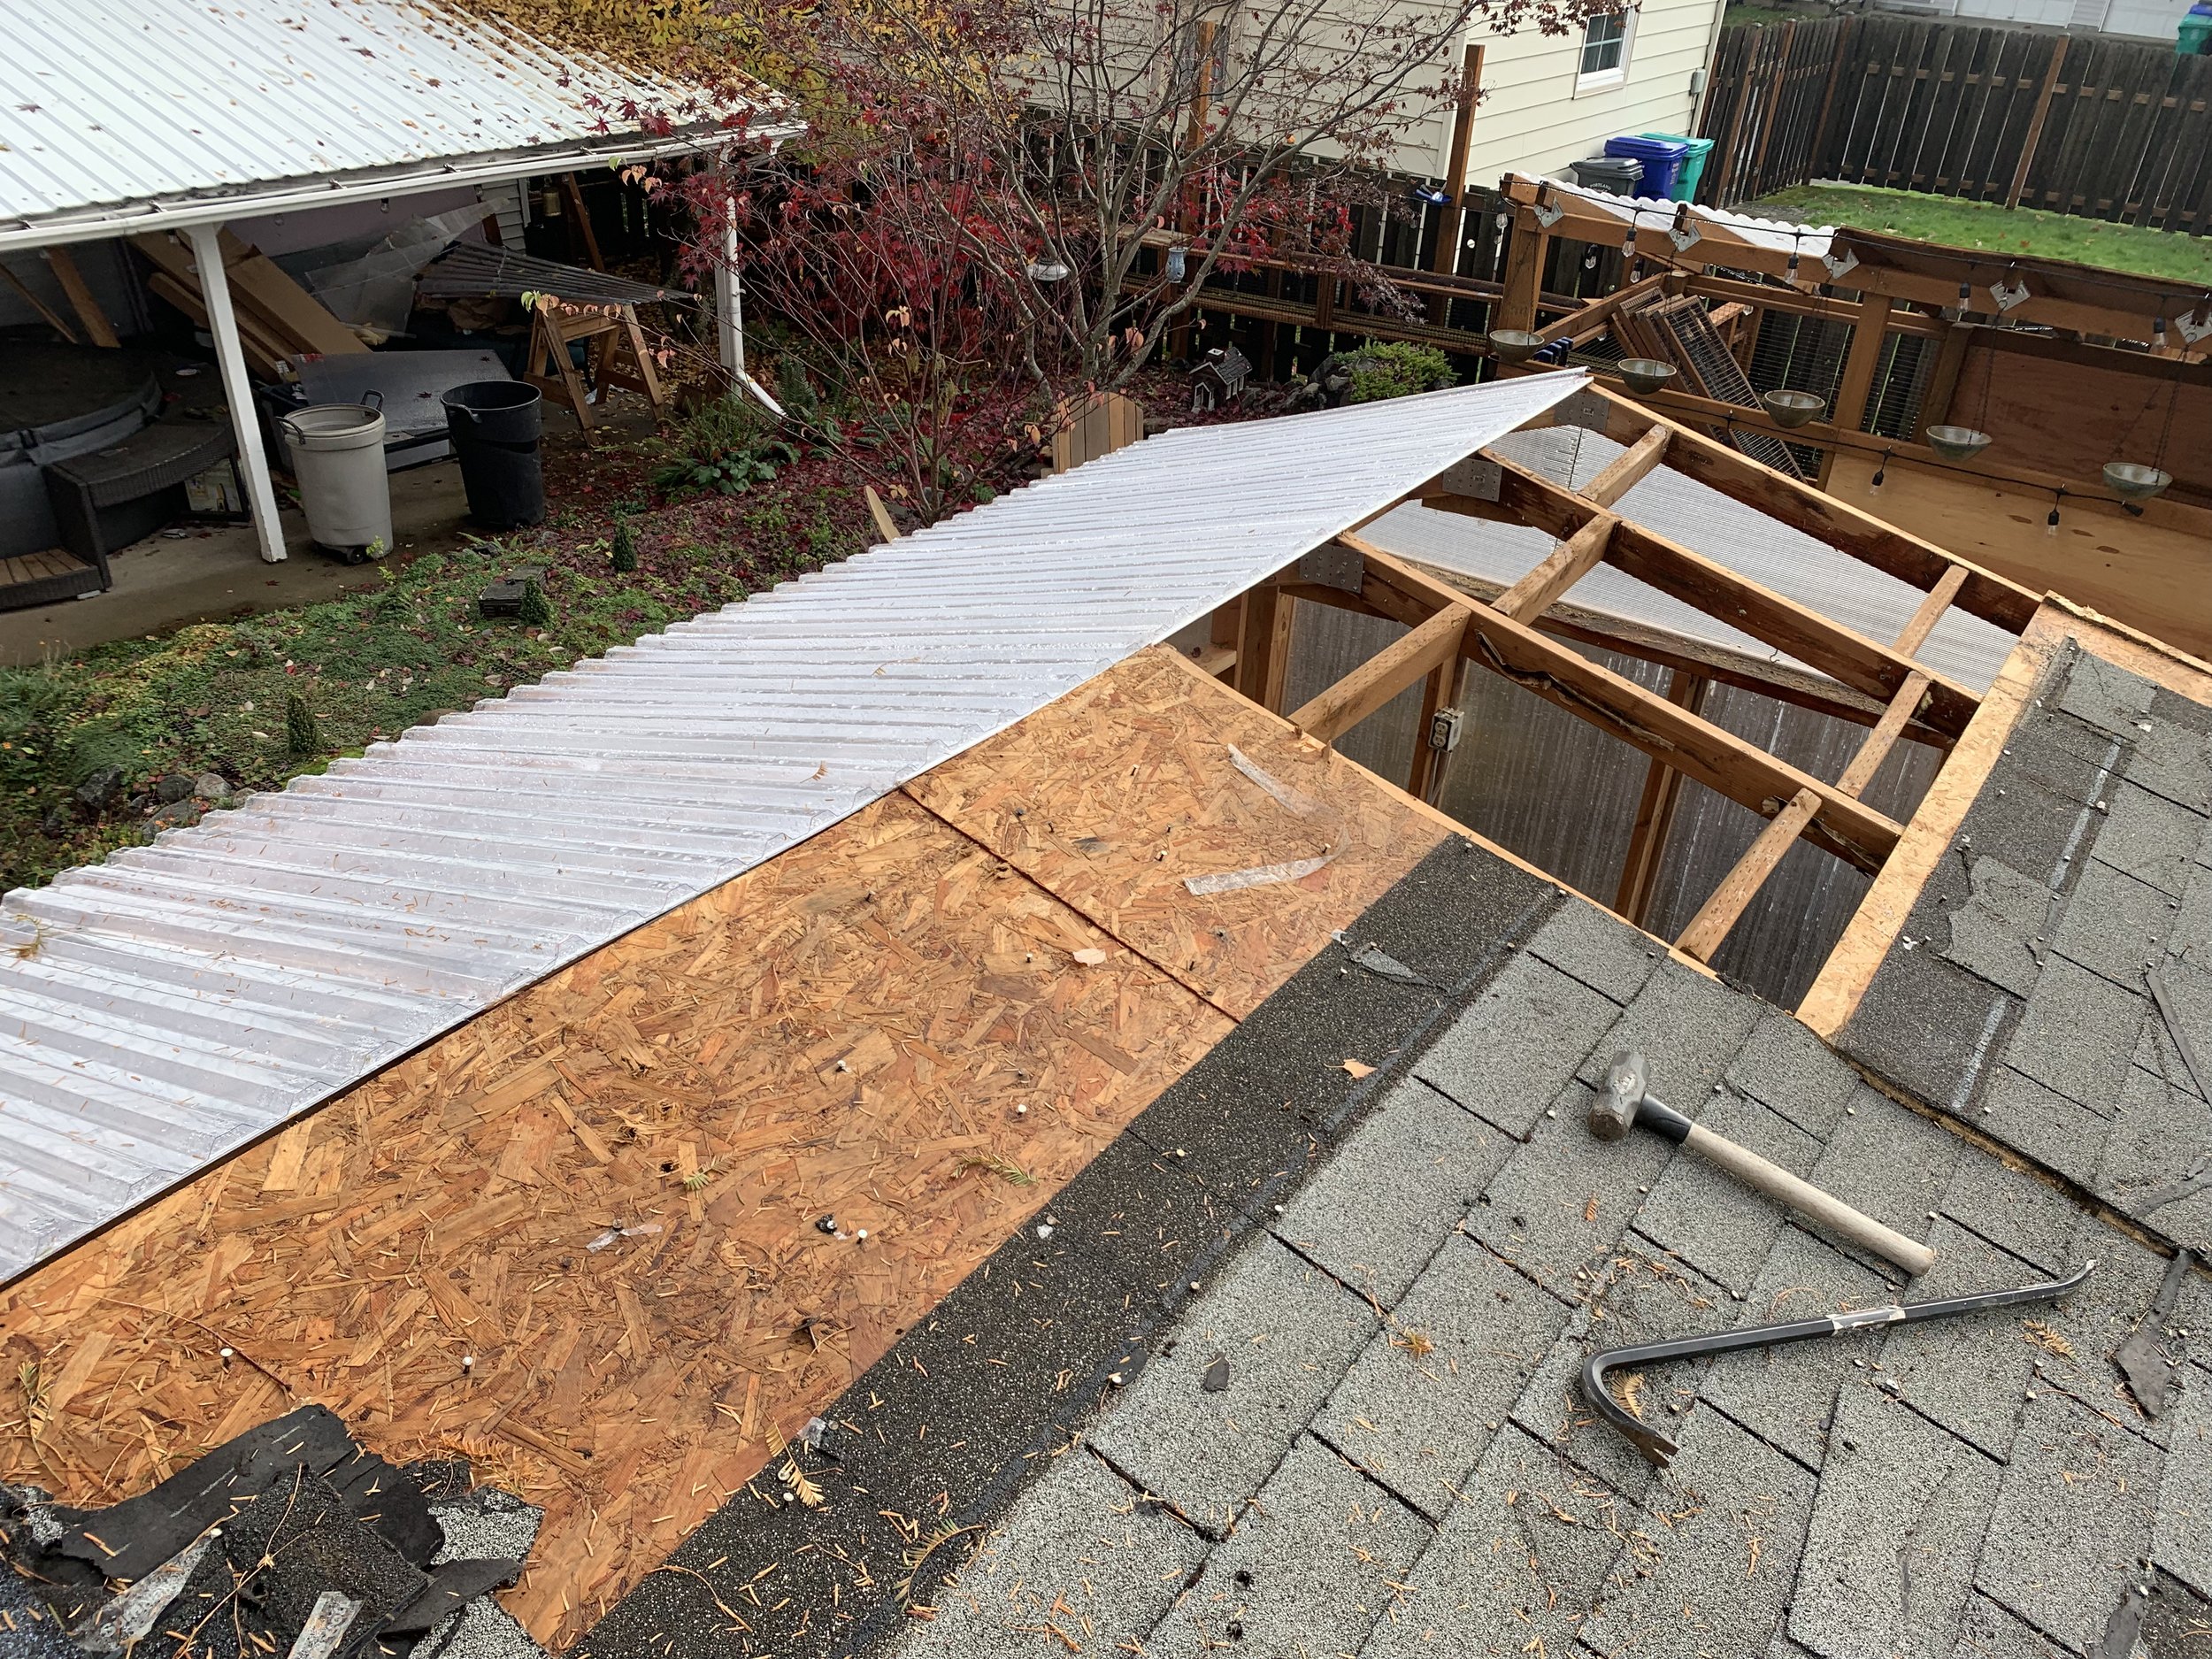
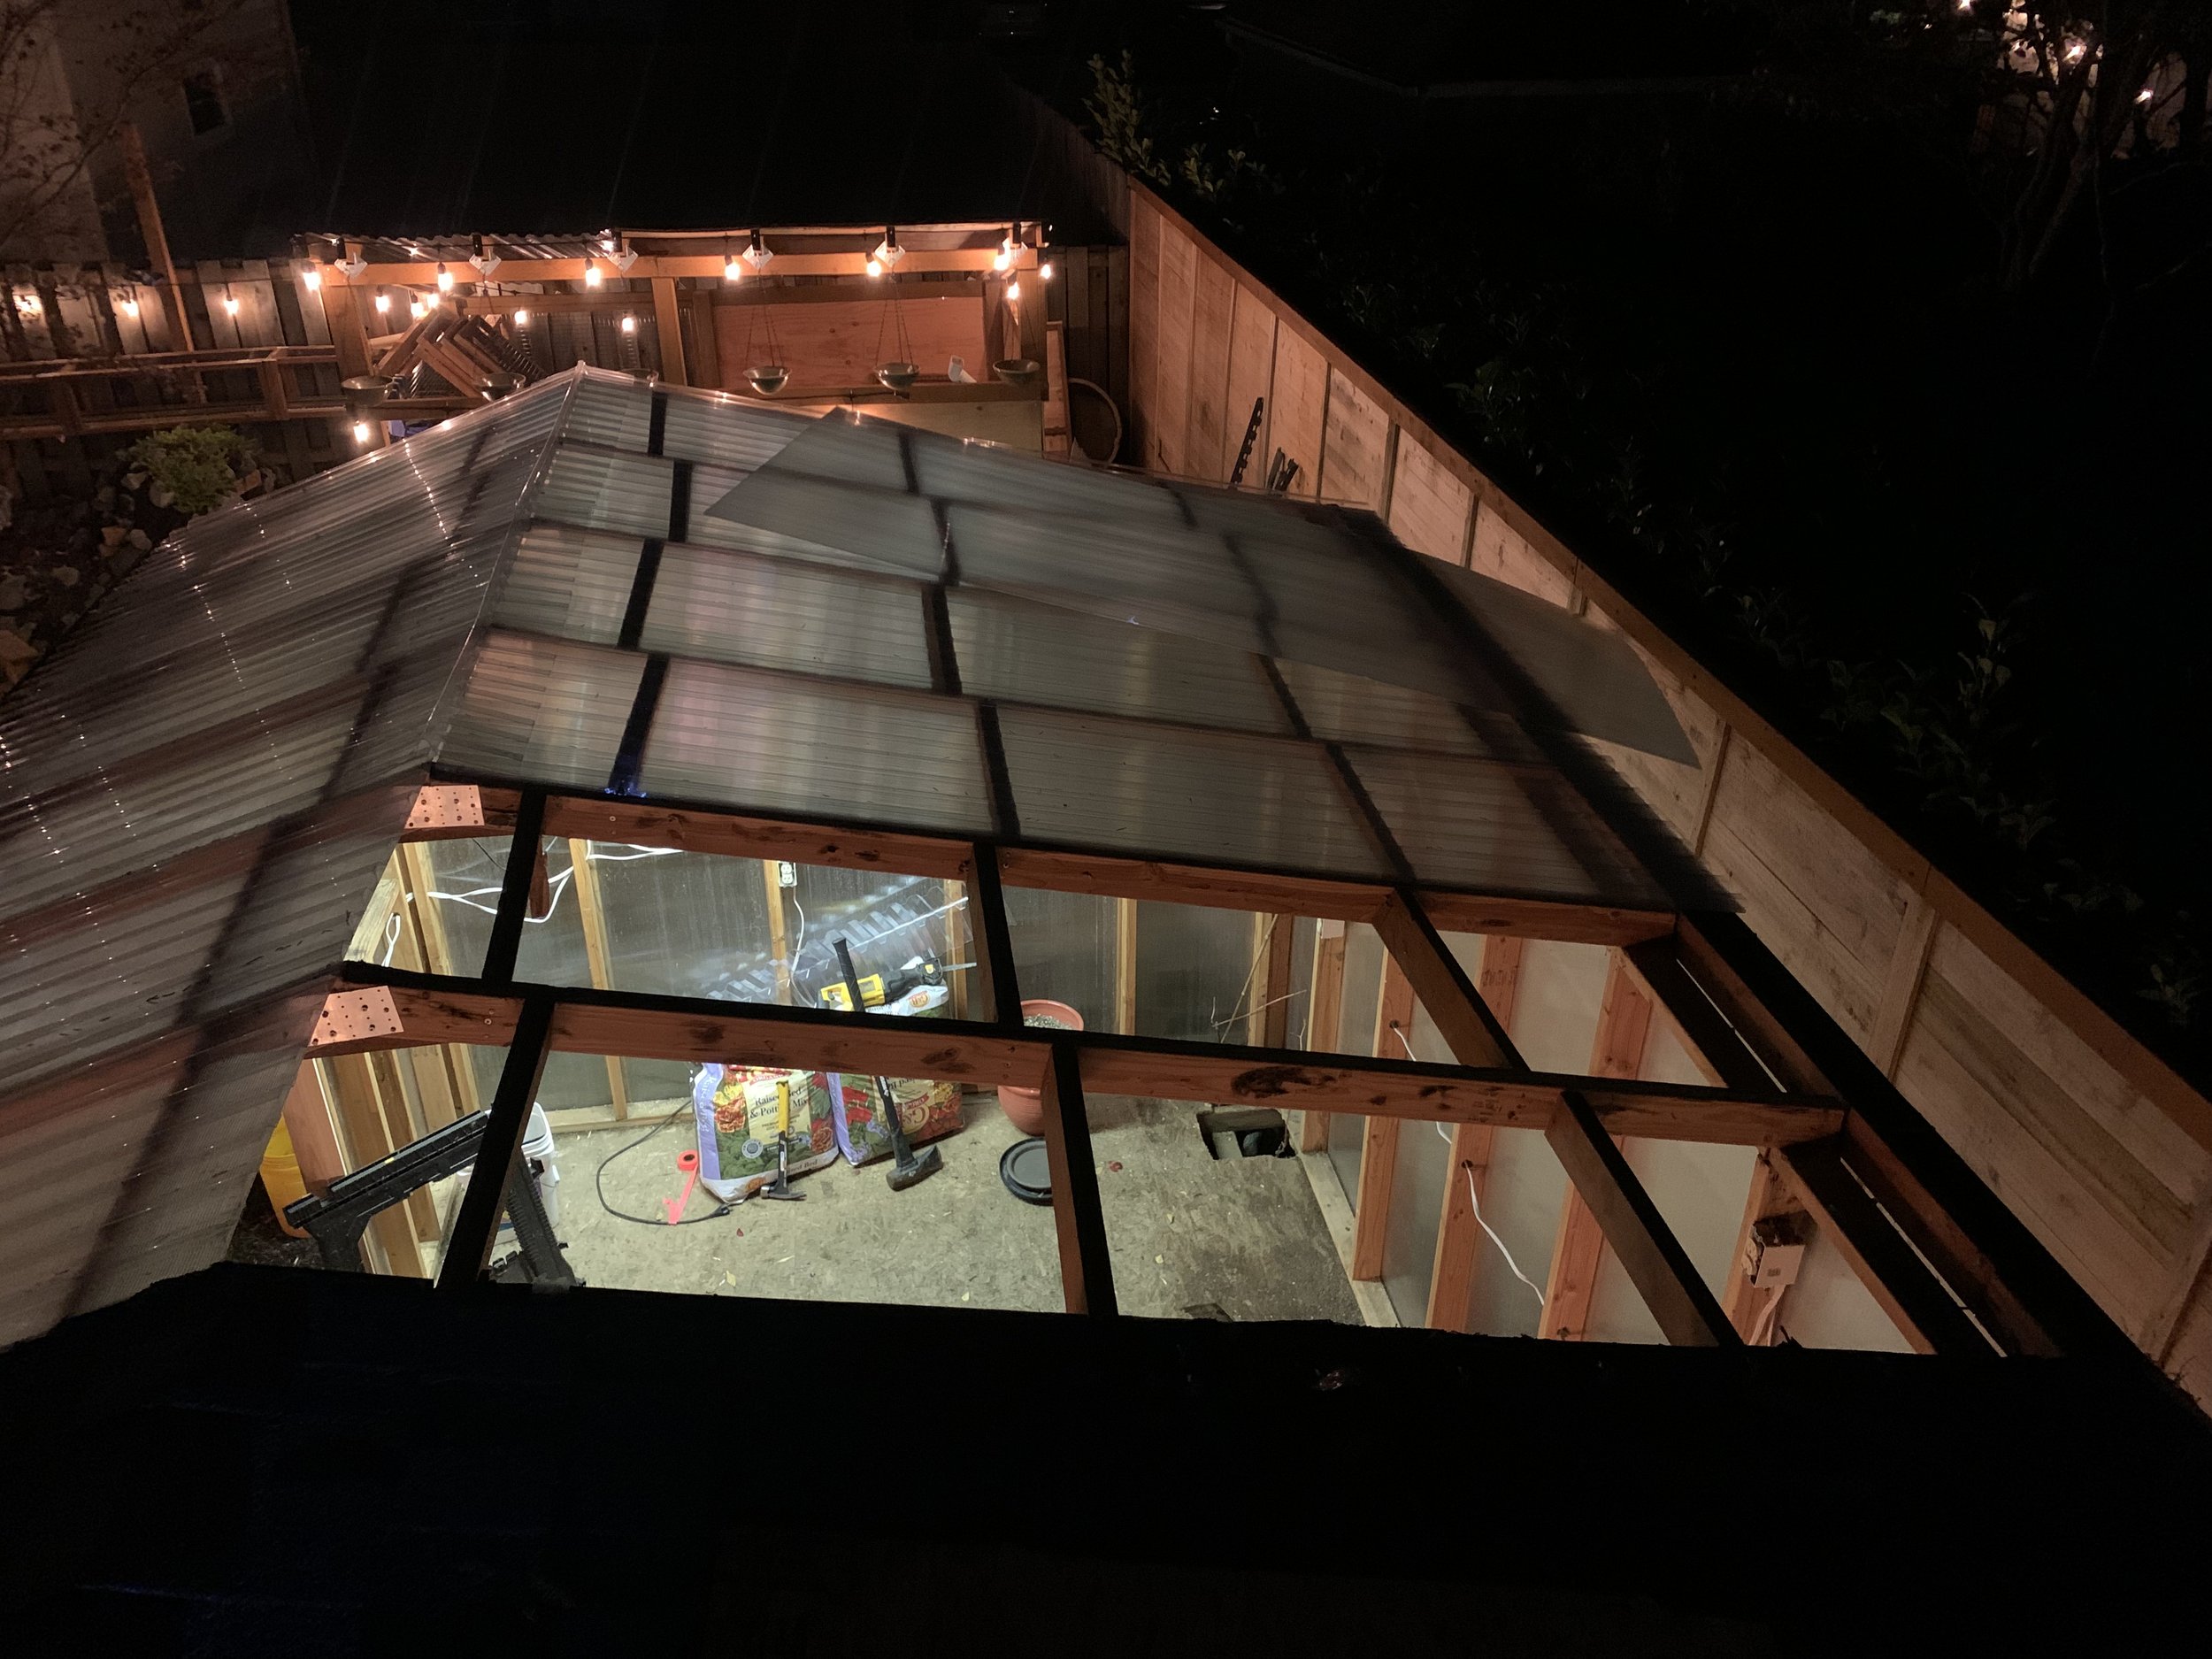
This was also the first time I learned that it was common practice to put new roofs over old roofs. I was so excited to get down through the first layer of shingles. I grabbed my reciprocating saw and started working through the roof and then, well, I hit more shingles. I ended up using a hammer to pry up shingles and pile them up on the ground. In the dark.
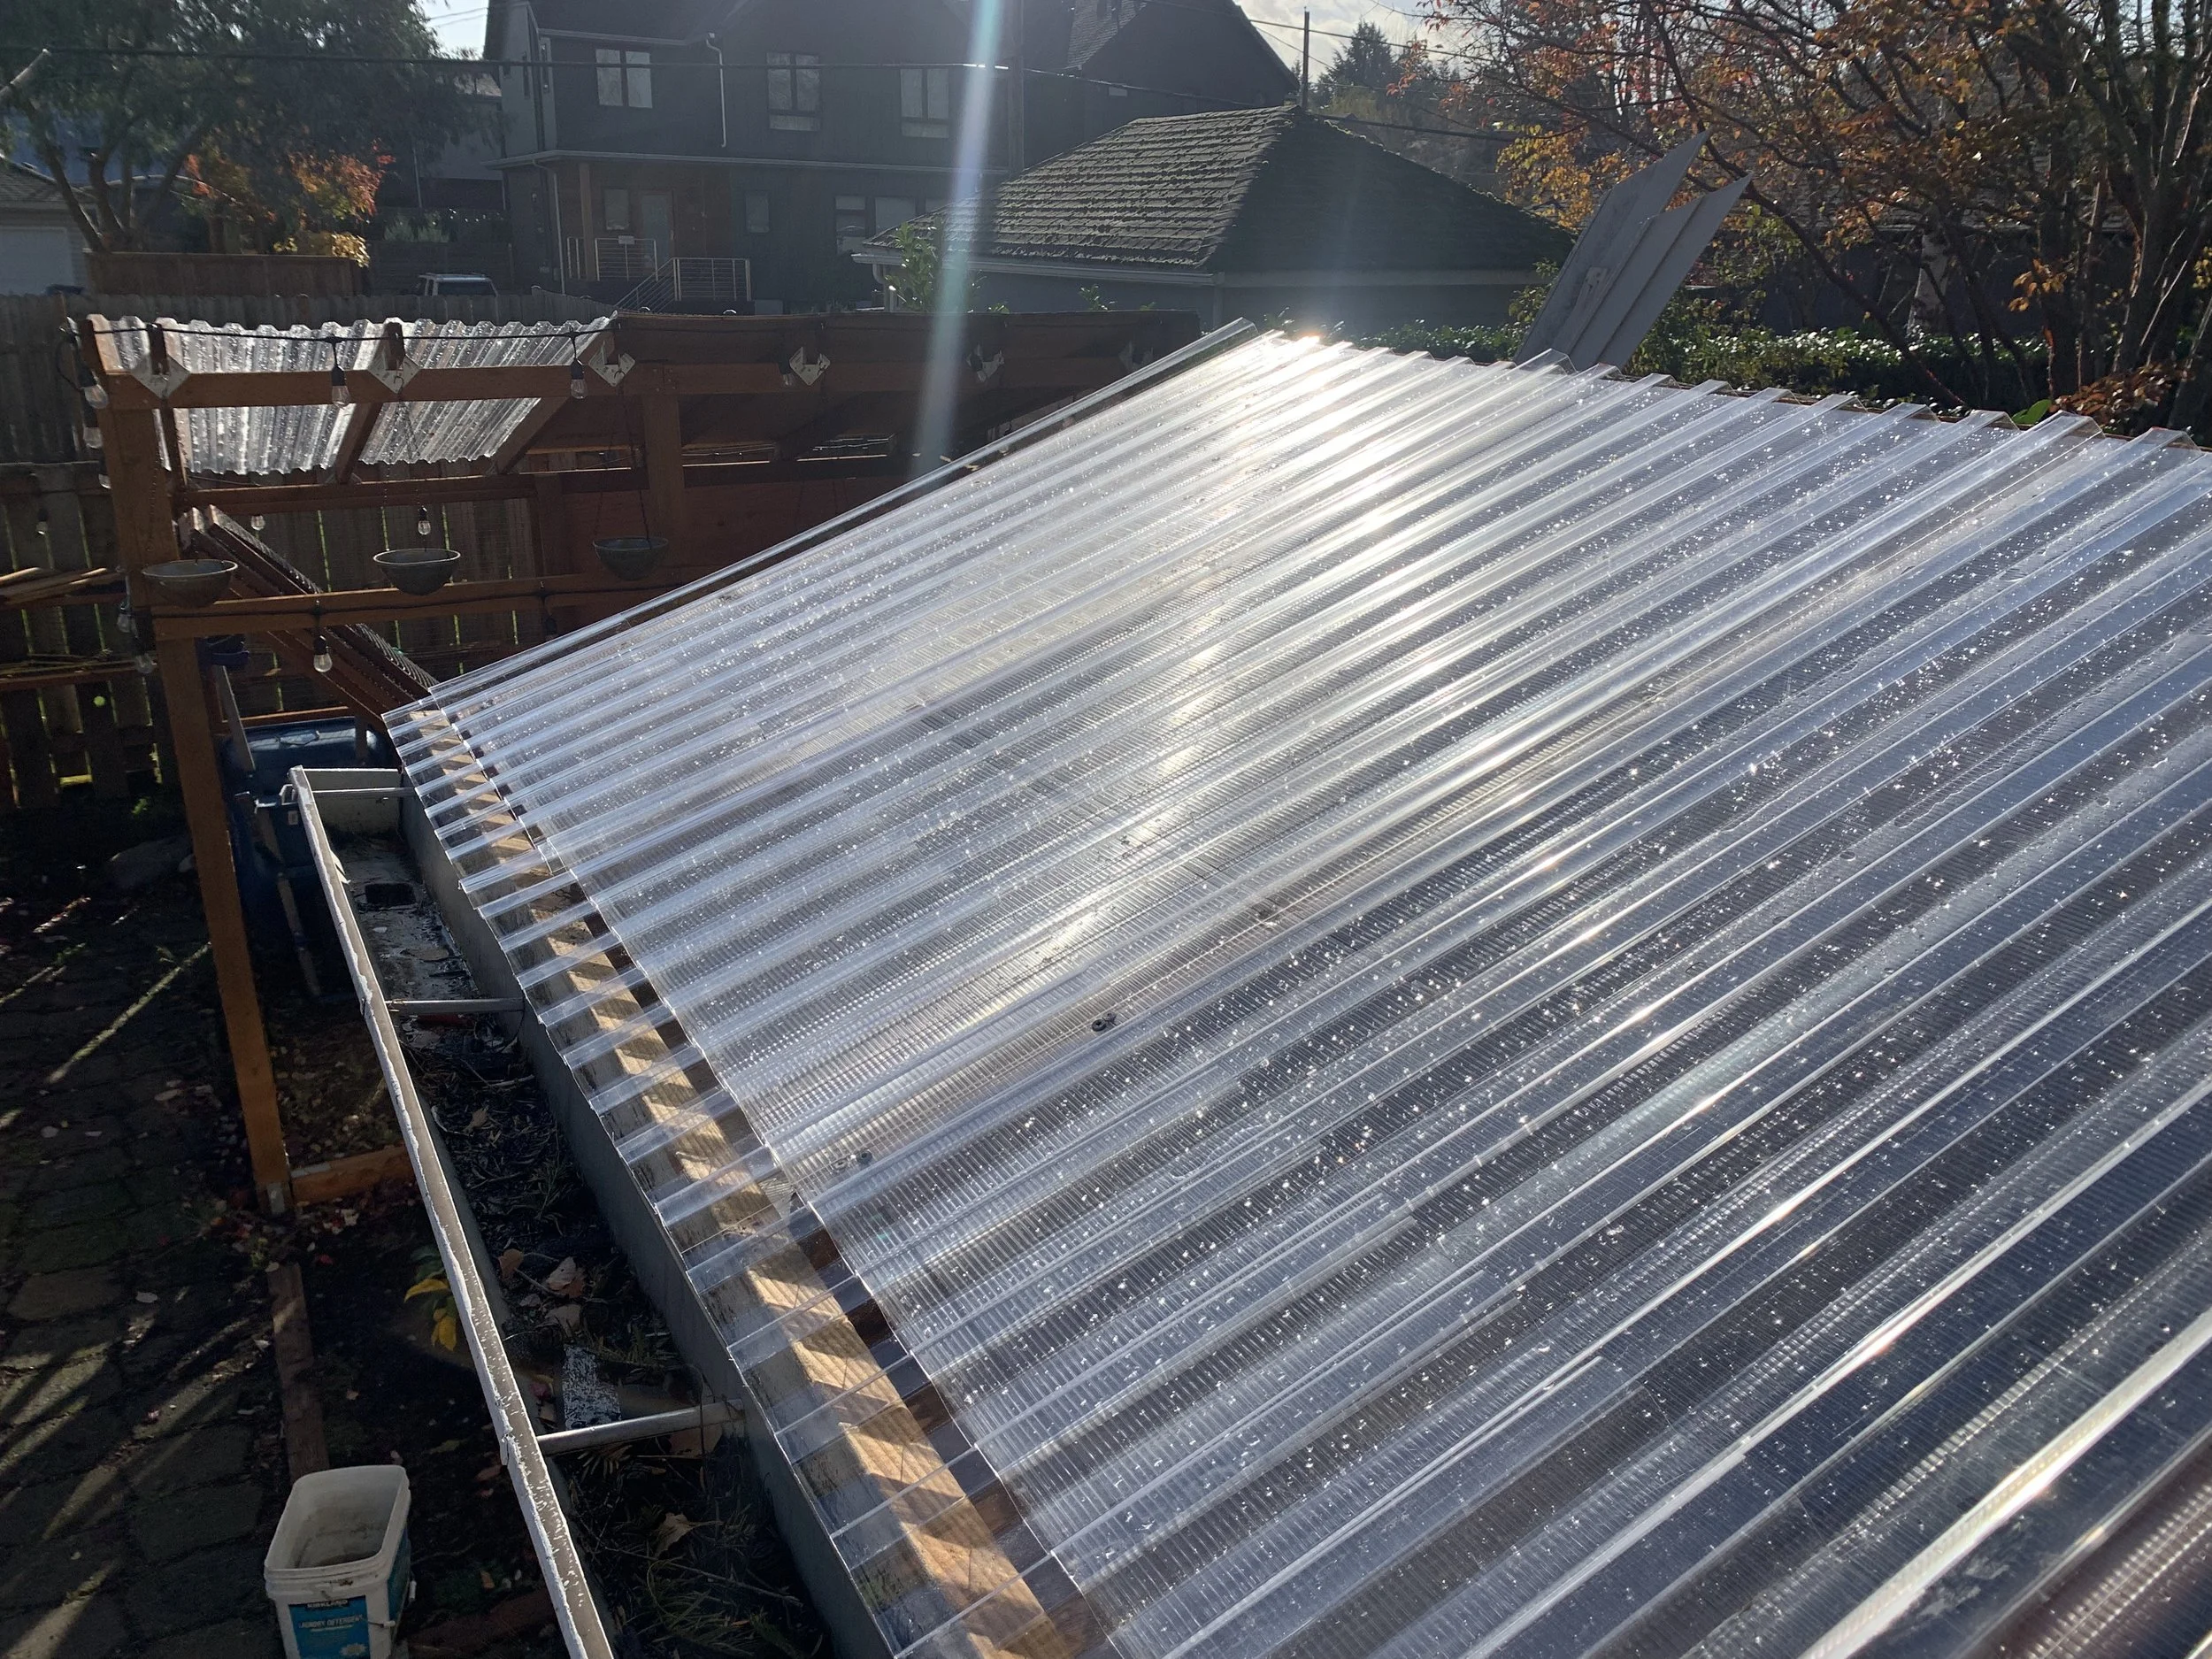
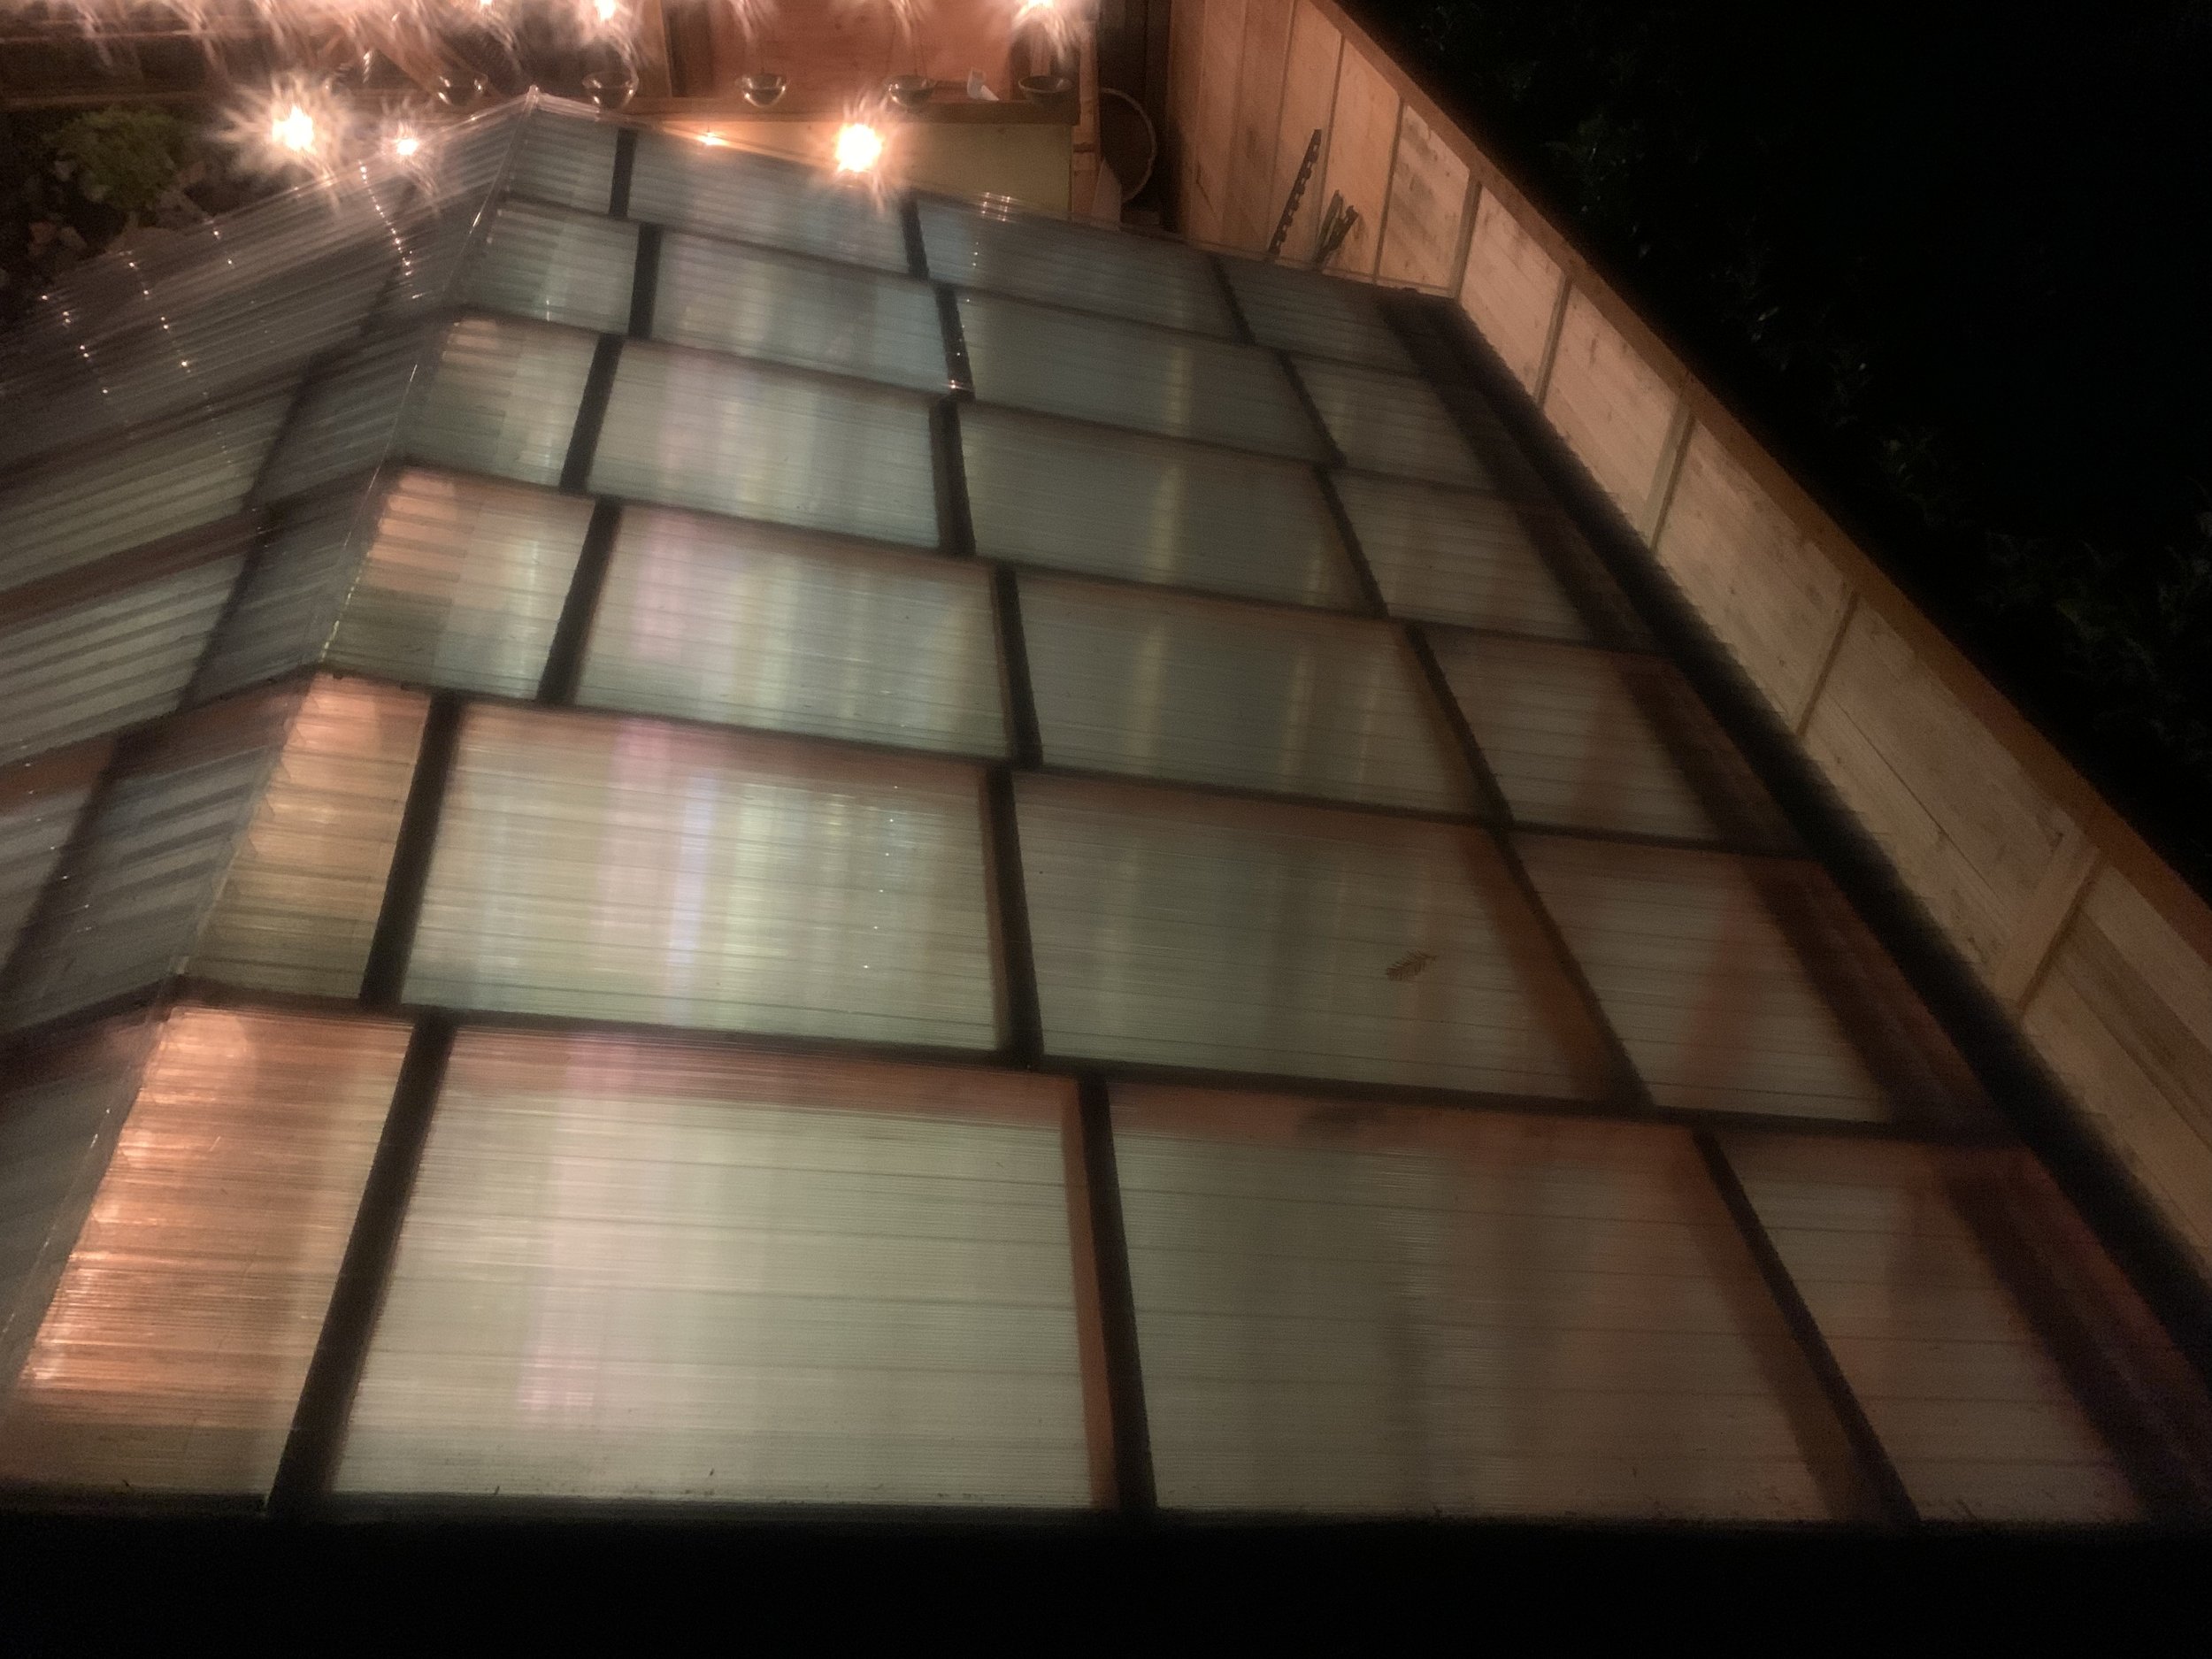
The roof uses the same polycarbonate material that I used for the siding, with corrugated roofing made of the same material on top. I am still working on properly sealing the join between the new polycarbonate roofing and the old shingles. I’ve used a decent amount of caulk, but I think I need to take another pass at it. The leaks are small, but any leaks become bad news over time.
The Raised Garden Bed
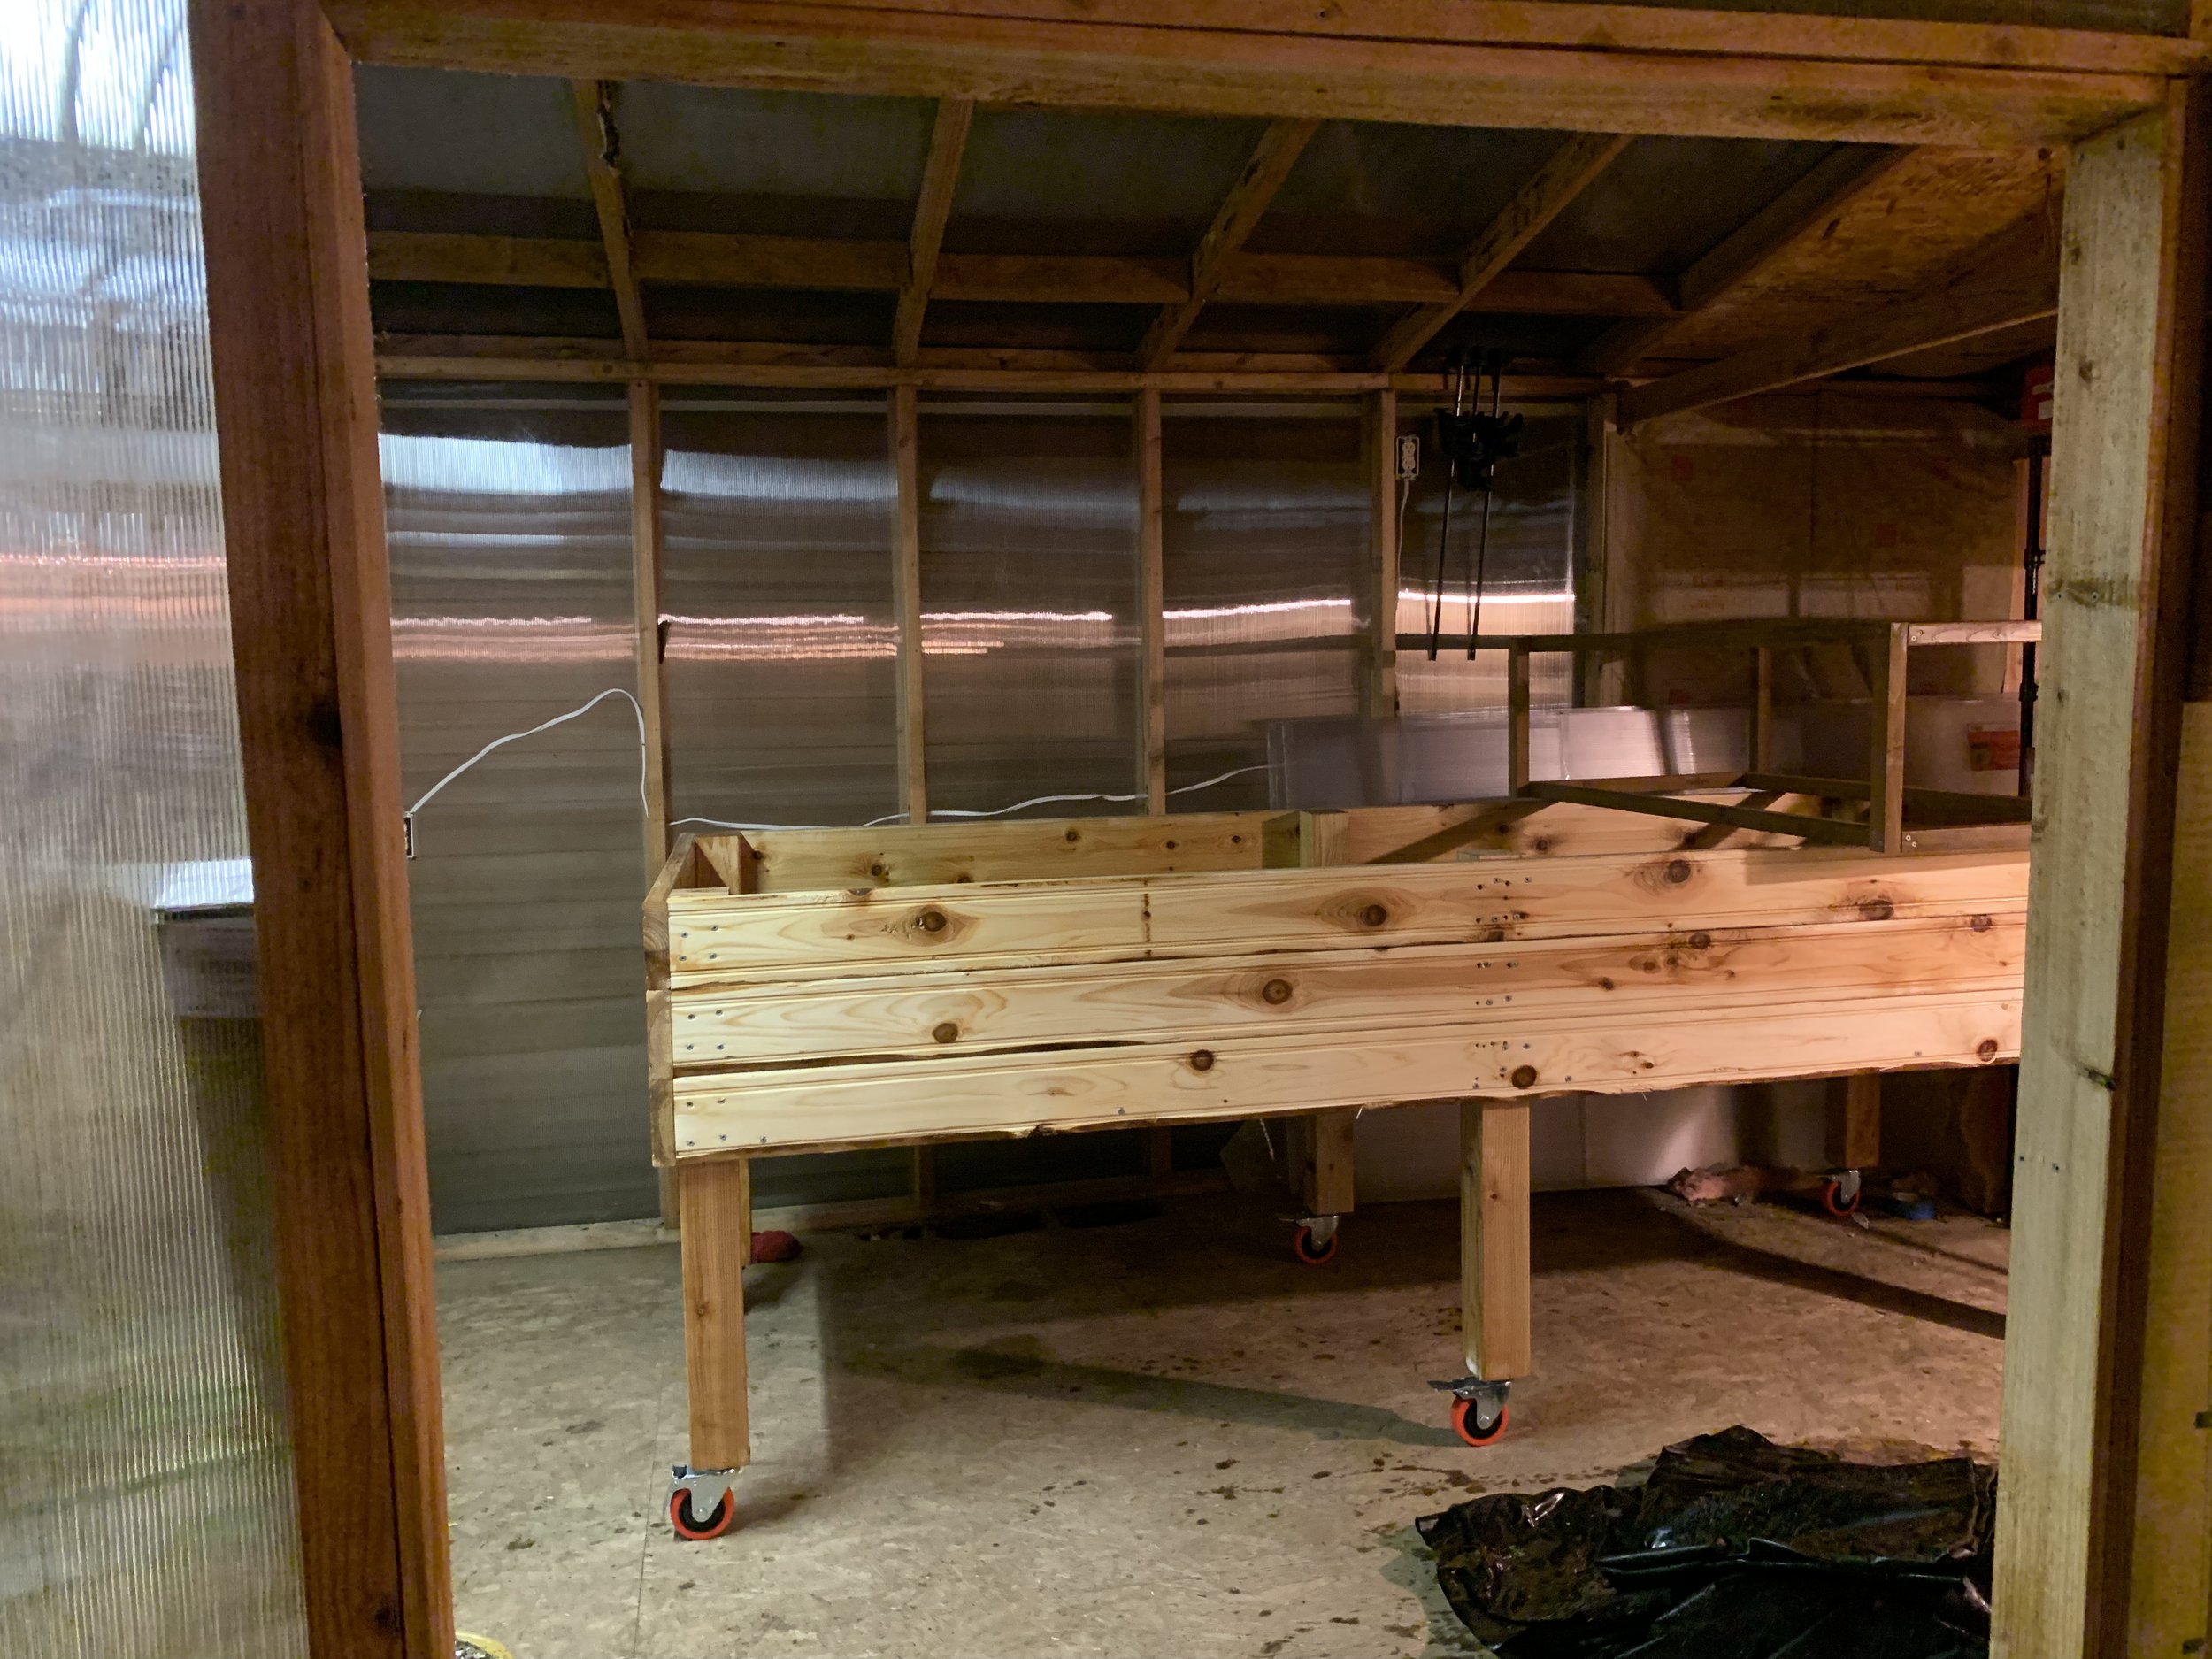
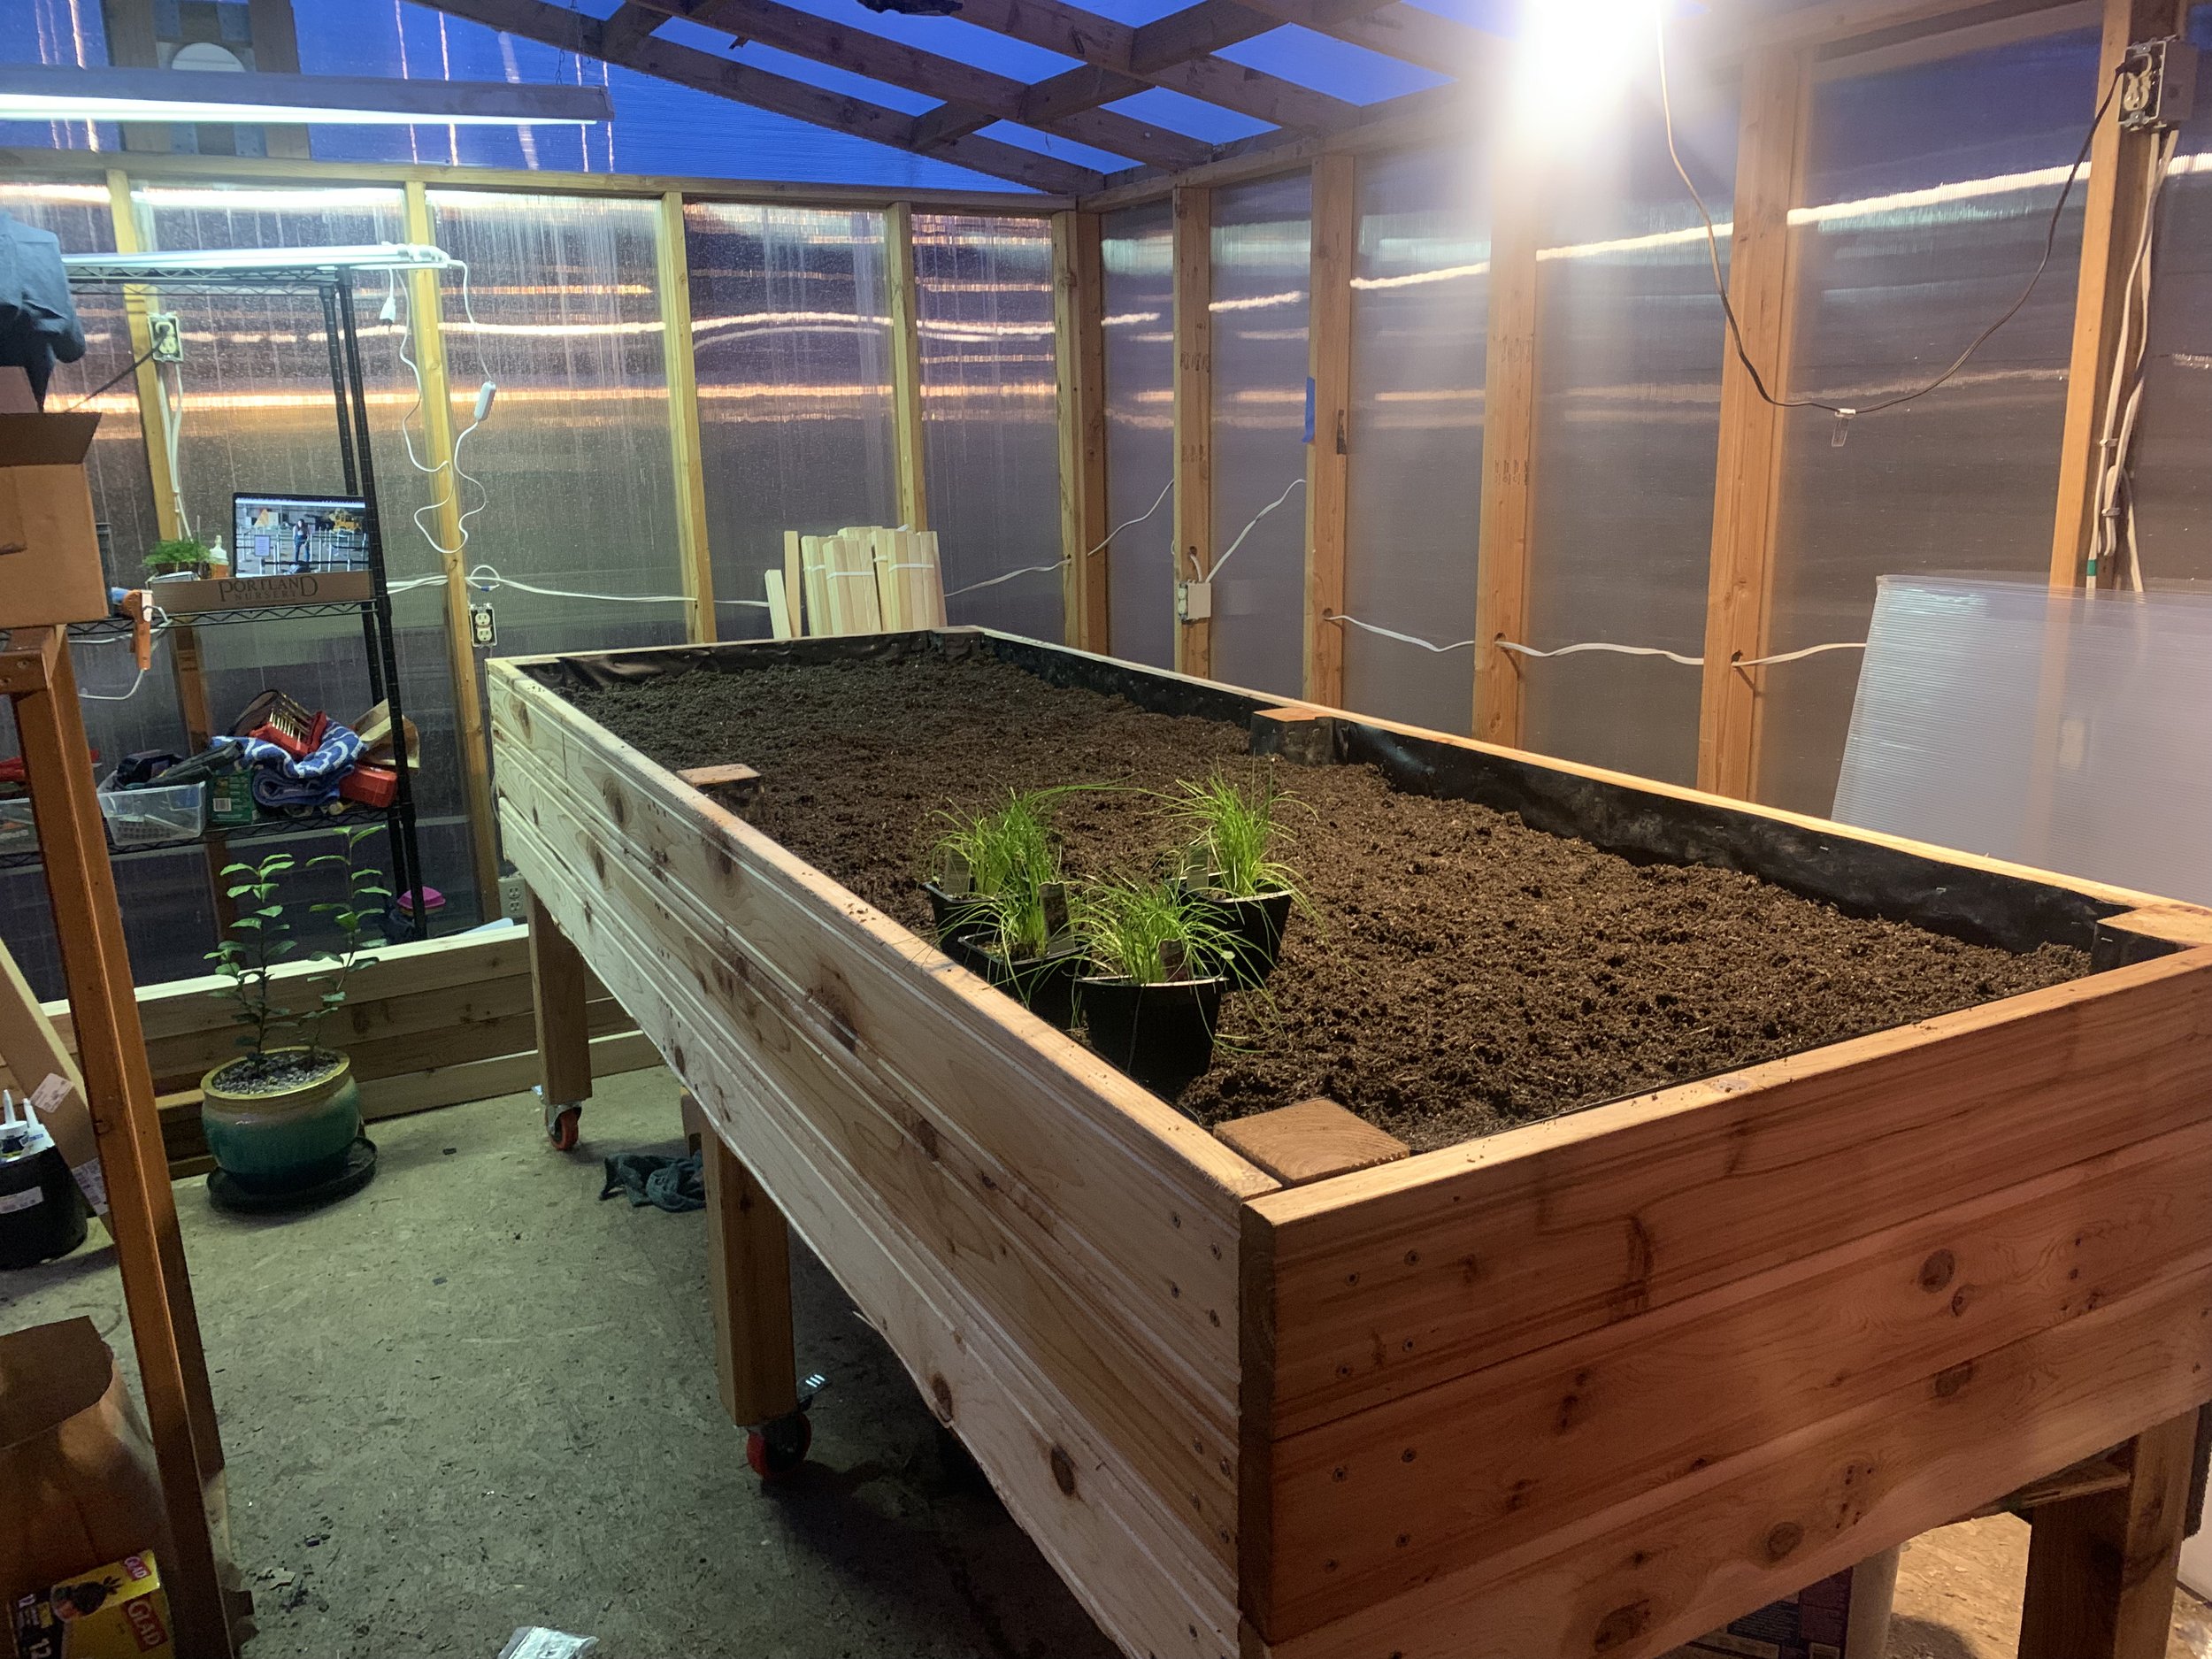
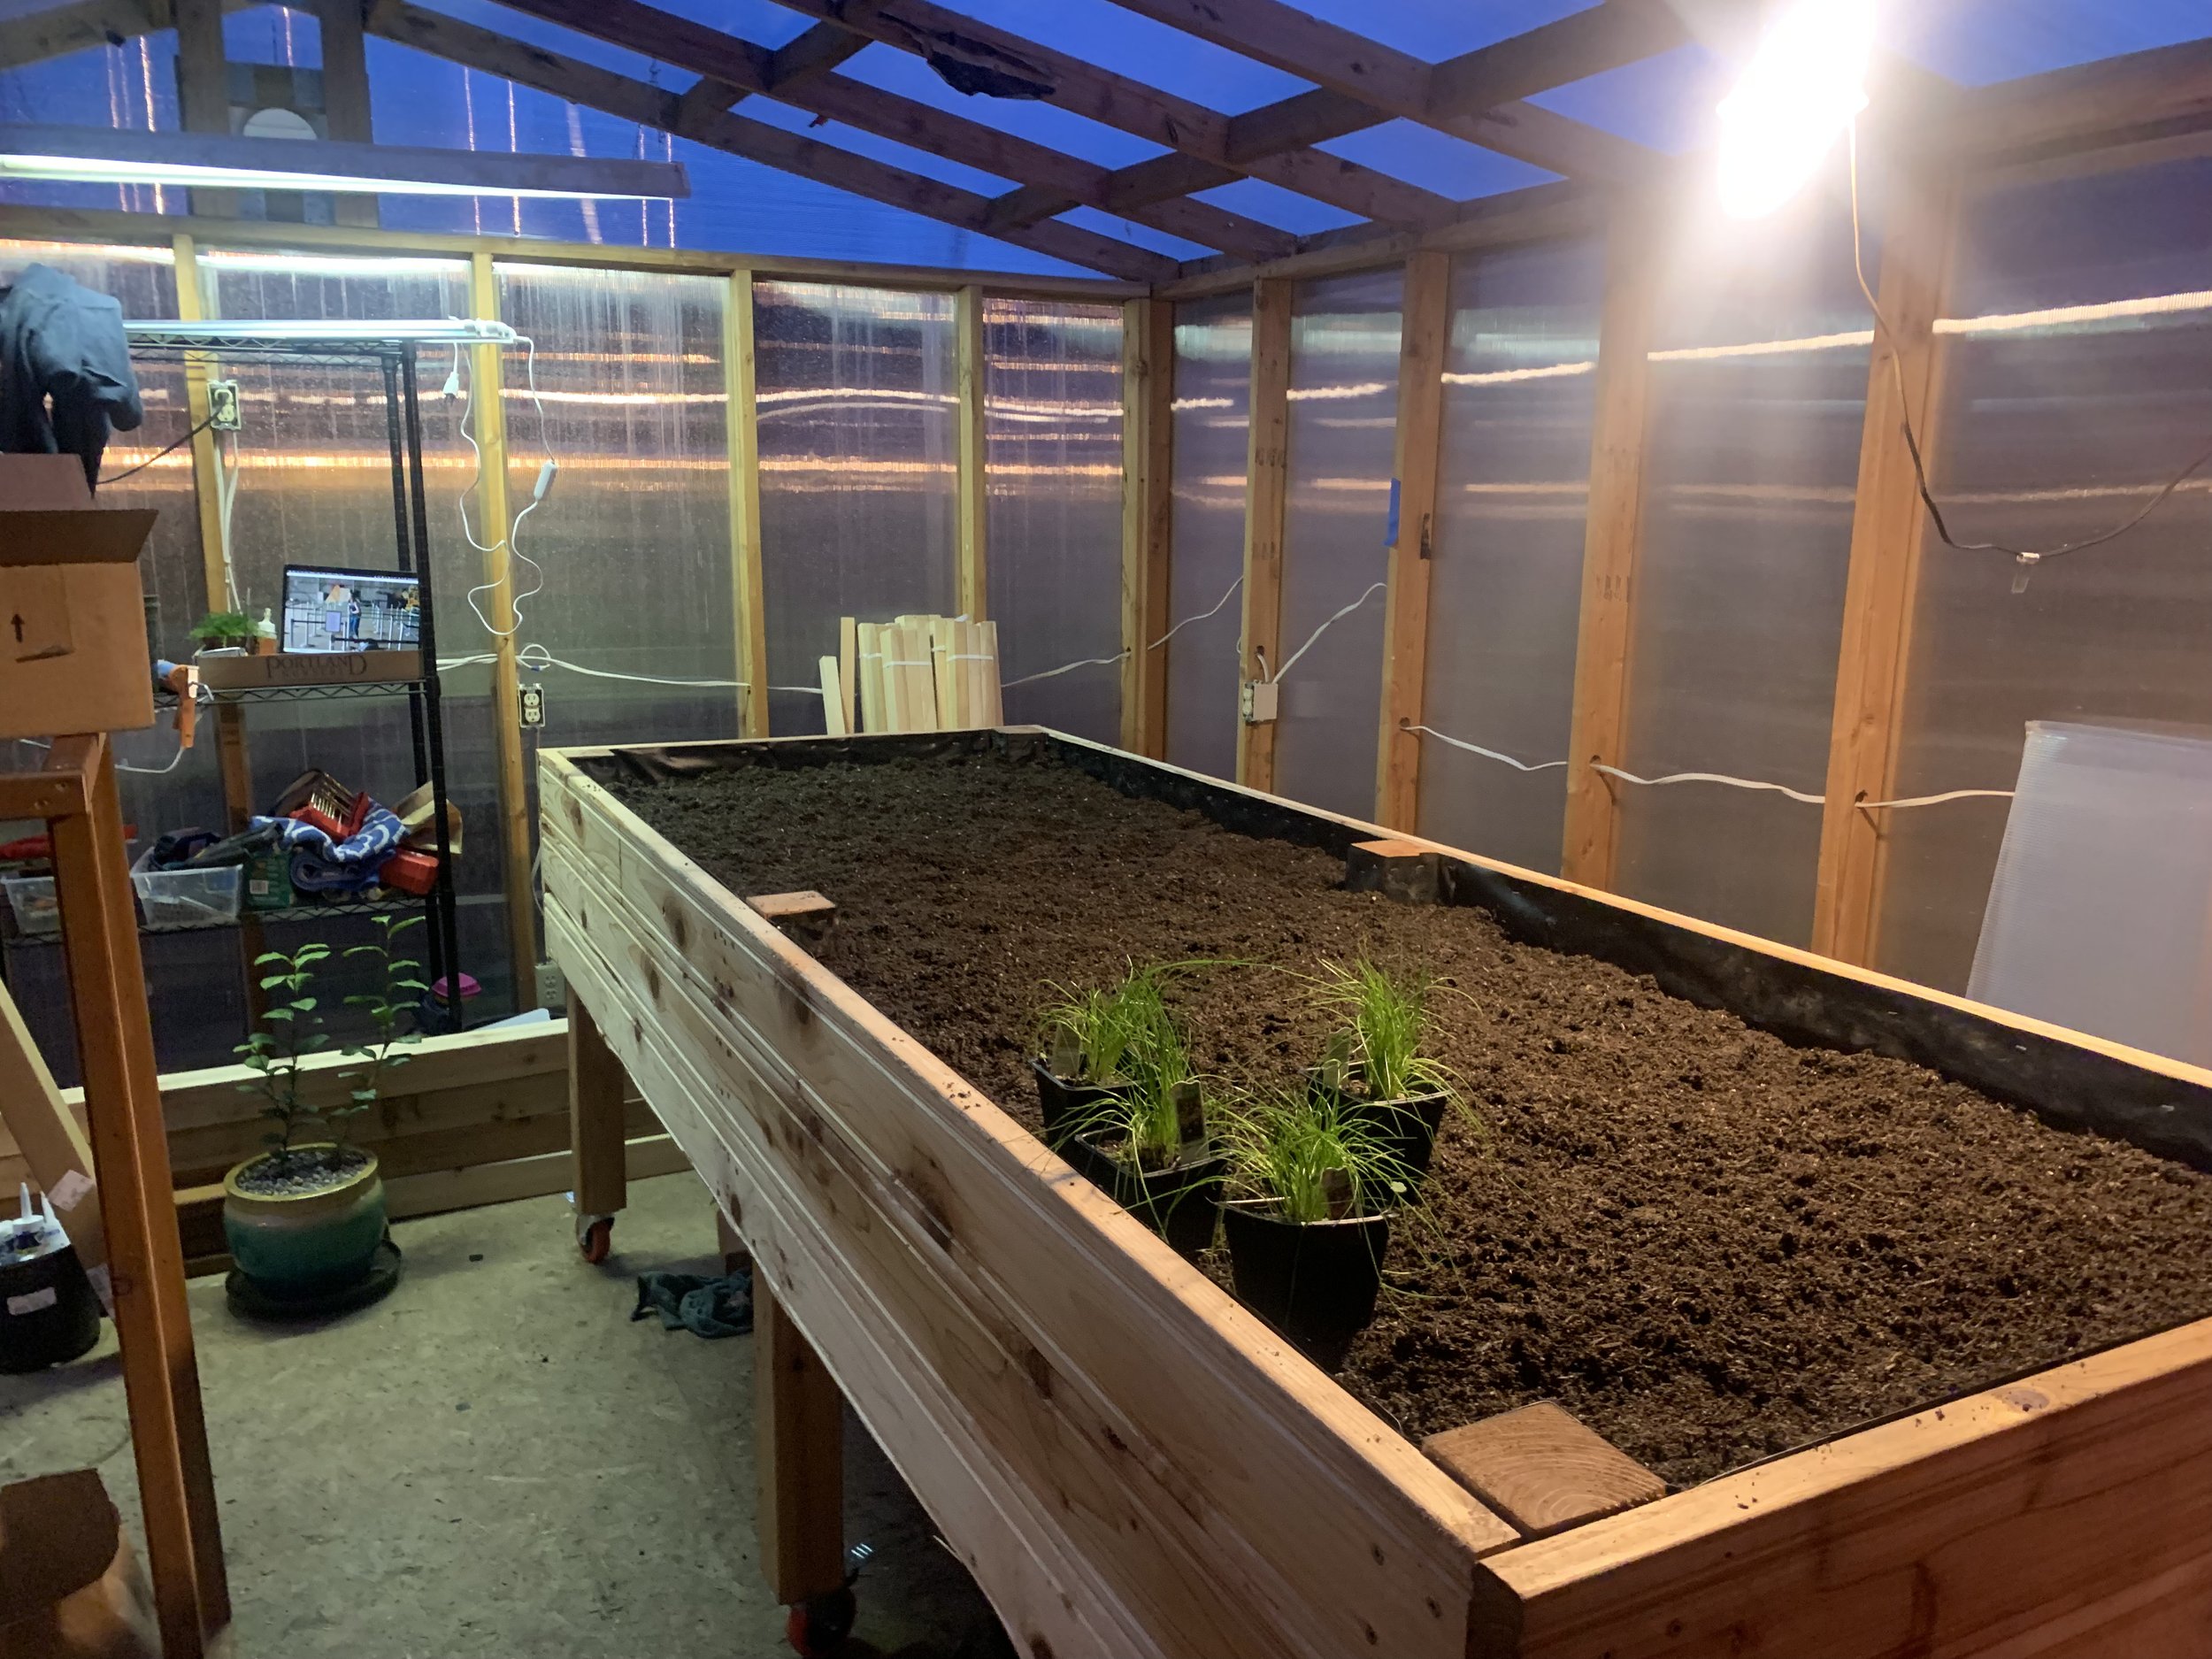
After finishing up the first pass on the greenhouse structure I had to decide what to put into it. I had ordered a farmbot a long long time ago, but I had recently heard it was due to arrive in May or June, so after some brief thought I decided to build the largest raised bed that it could be installed onto. This ended up being about 9 feet by 3 and a half feet.
That is no small task, but fortunately one of my best friends, William, was staying with me for about 3 weeks in late February and early March. William has always been one of my main project buddies, so there seemed to be no better time for building the raised garden bed.
The bed itself has a few design decisions that are worth calling out.
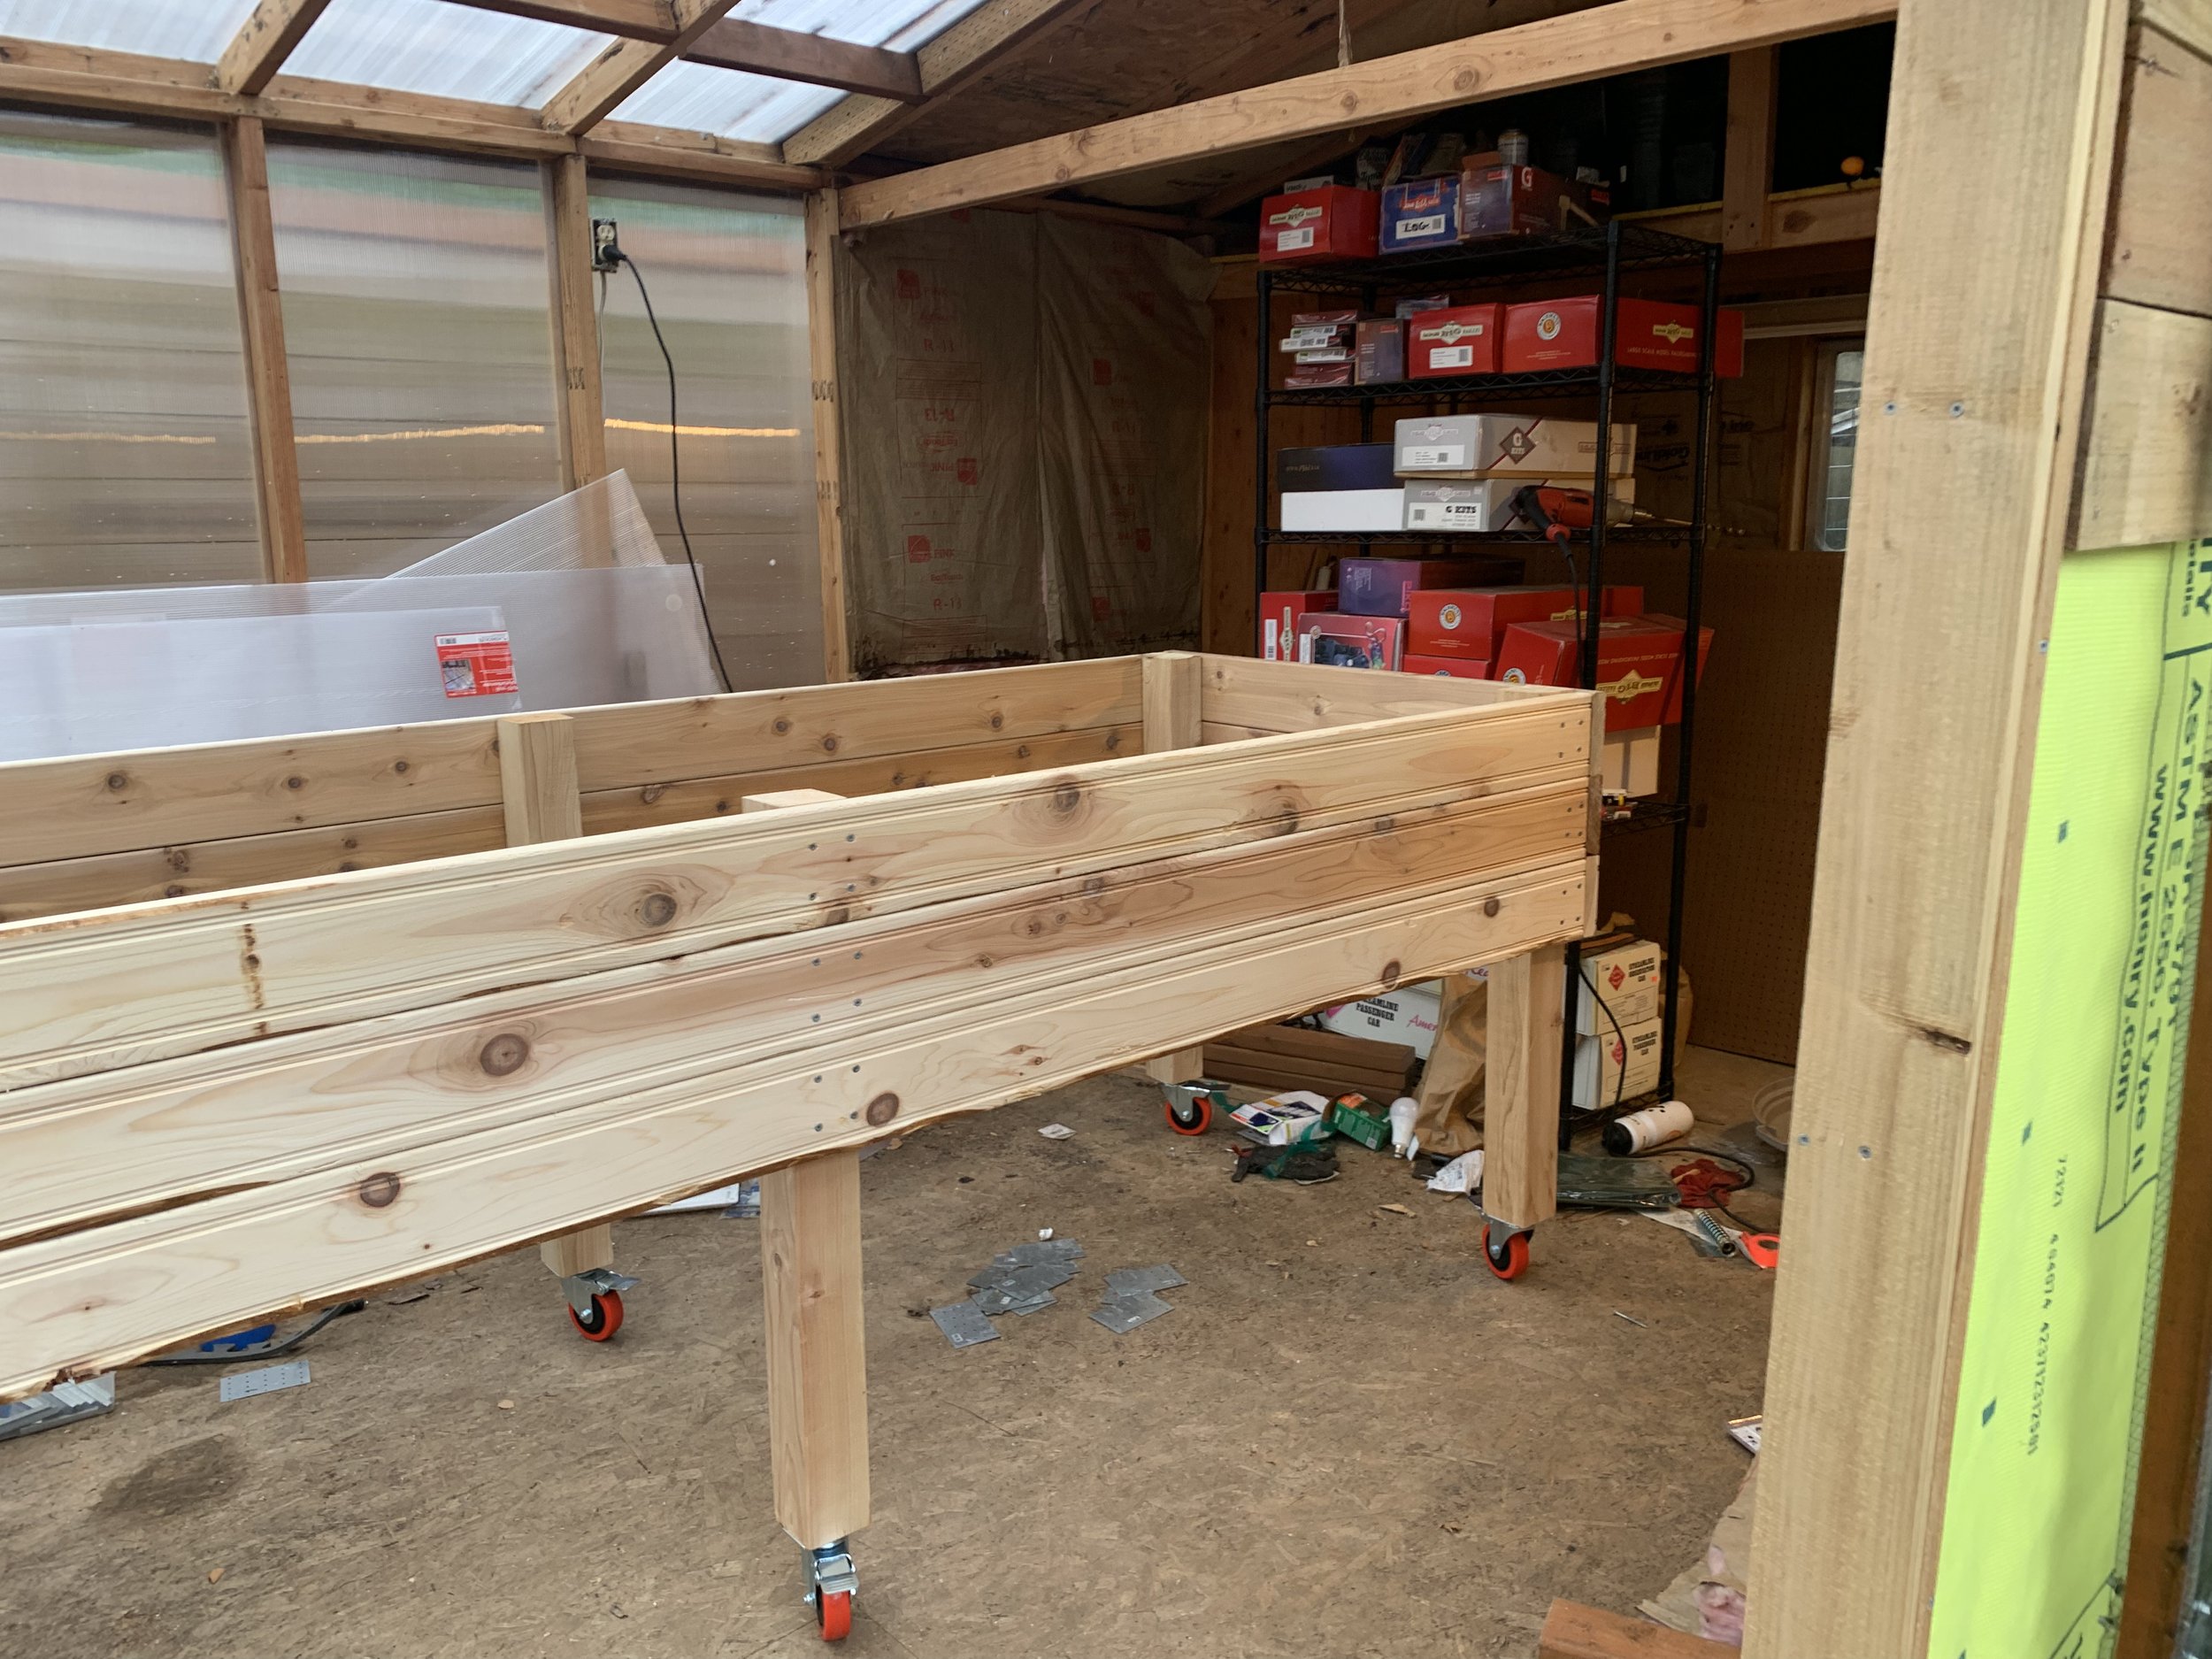
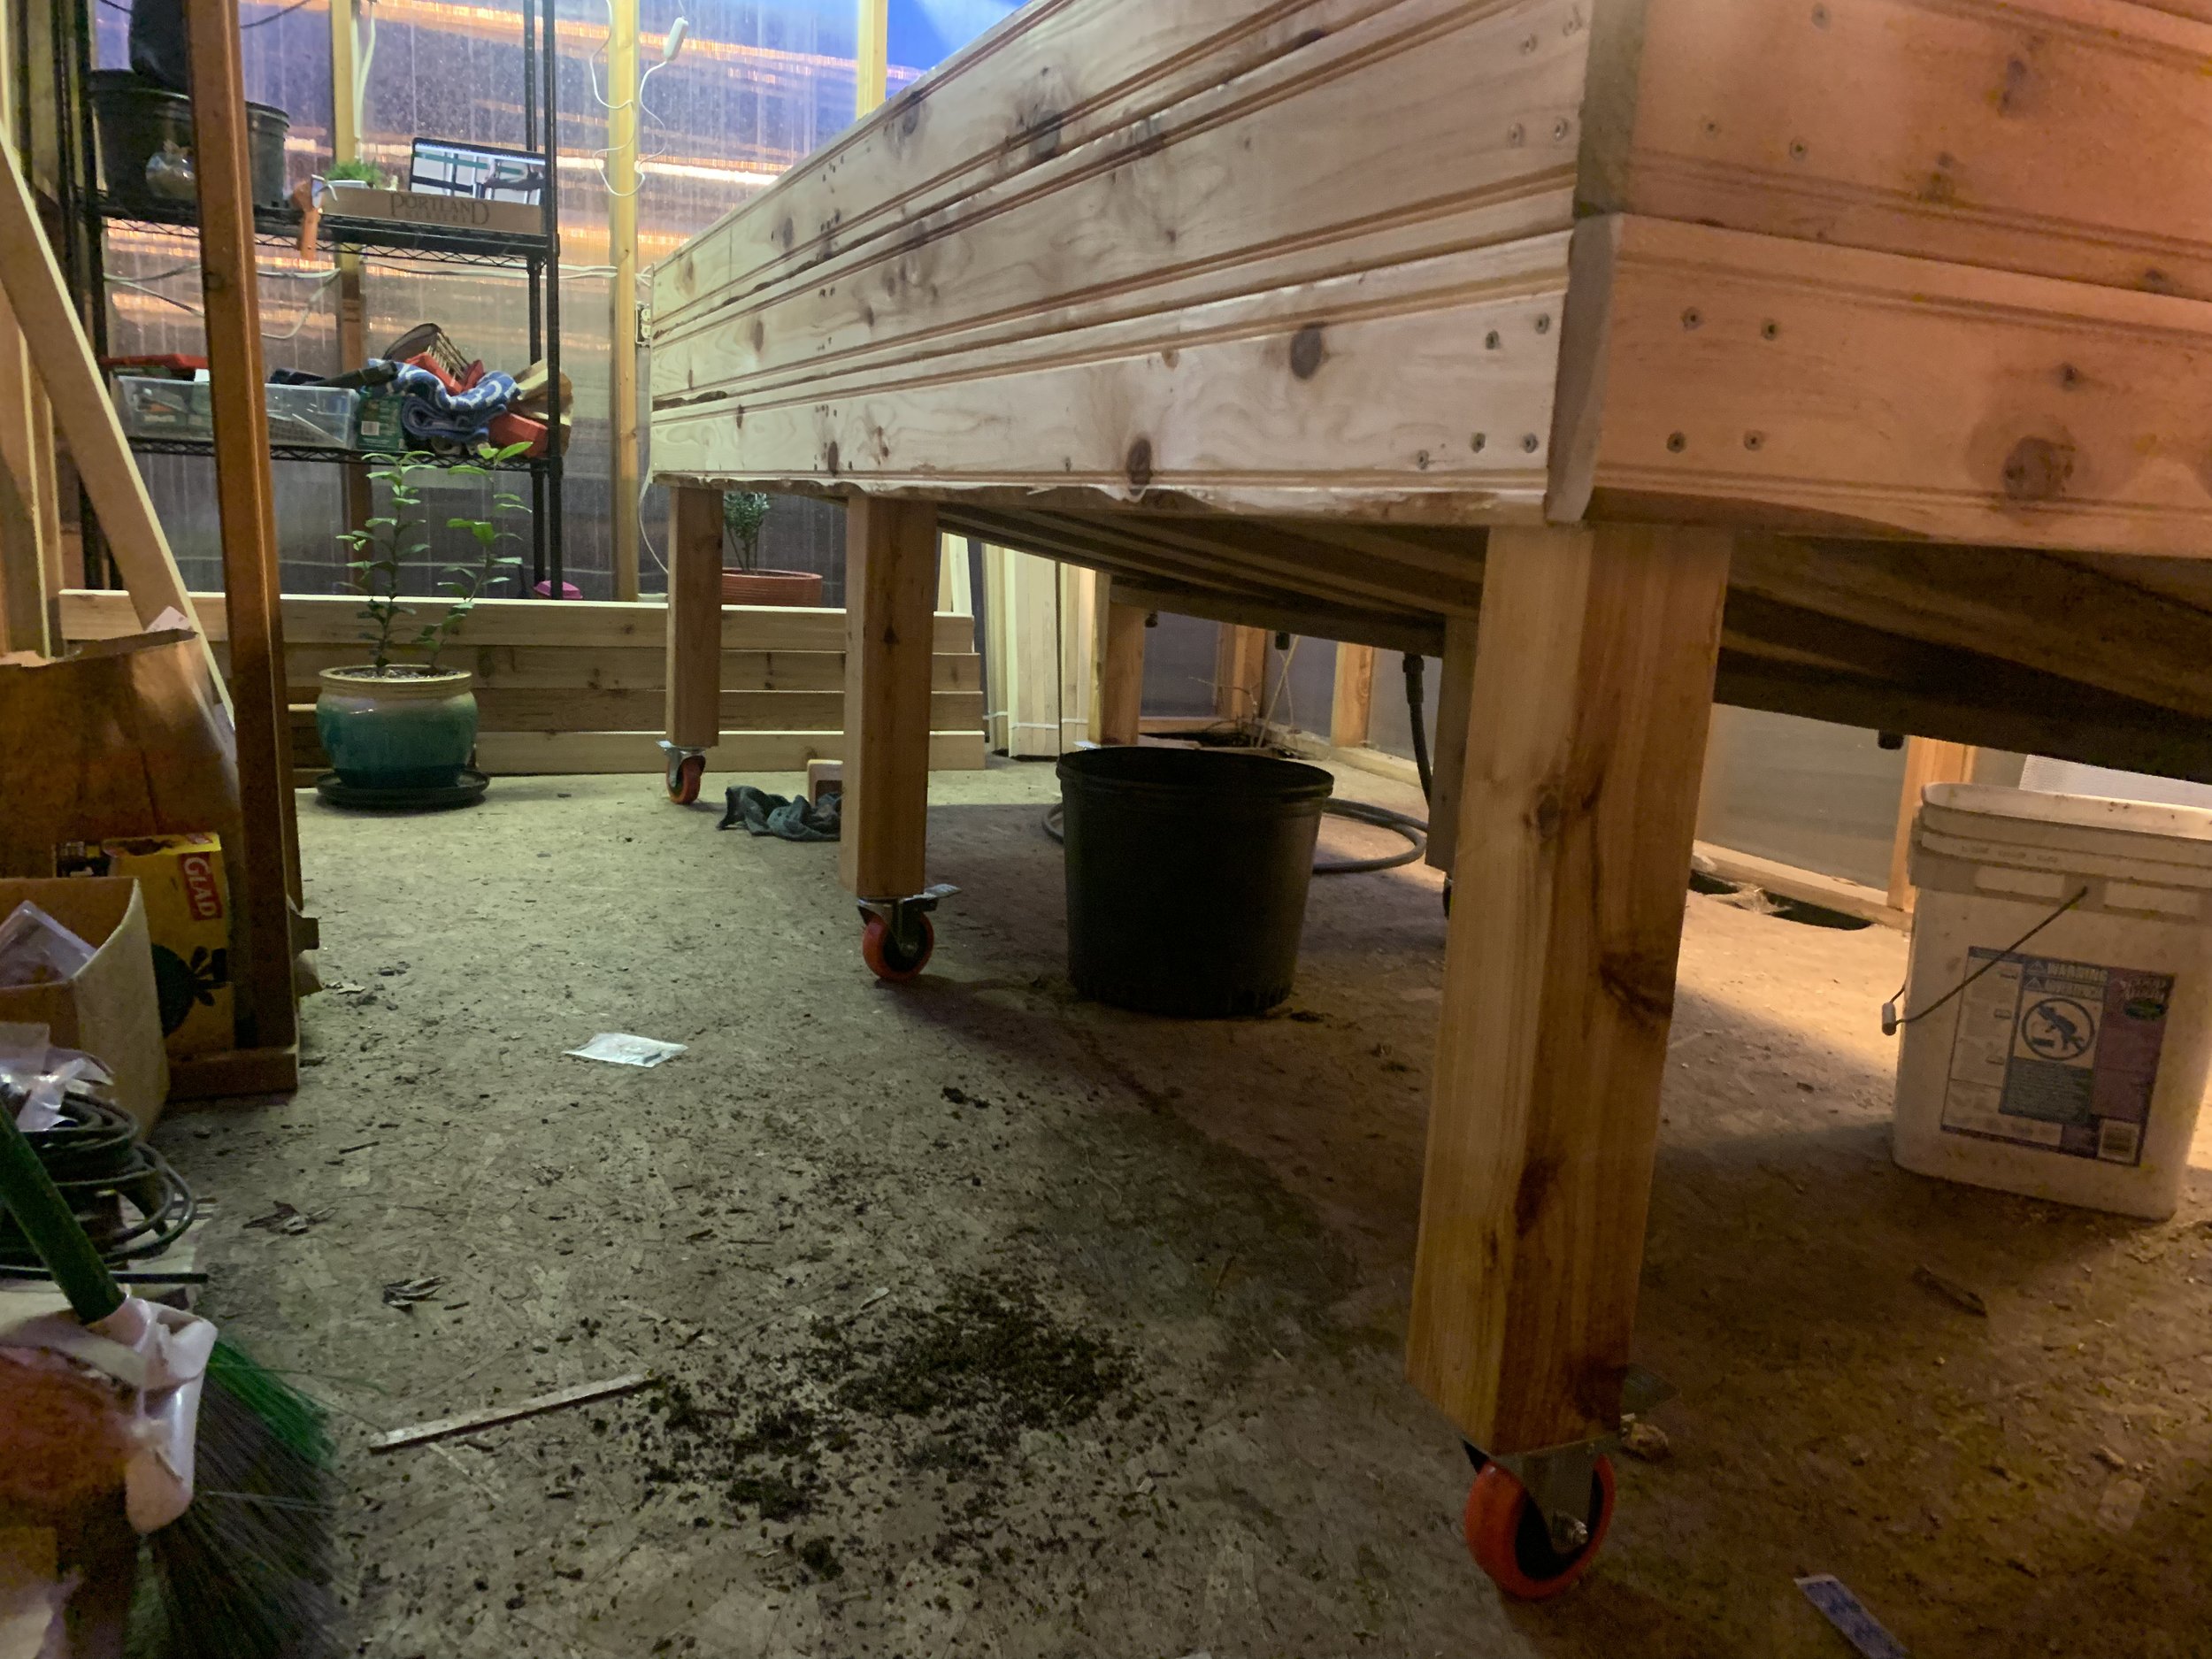
First, even though I knew it would be very heavy, I wanted it to be able to move. The greenhouse isn’t a huge space, so being able to keep it along one side when back access isn’t needed seemed prudent.
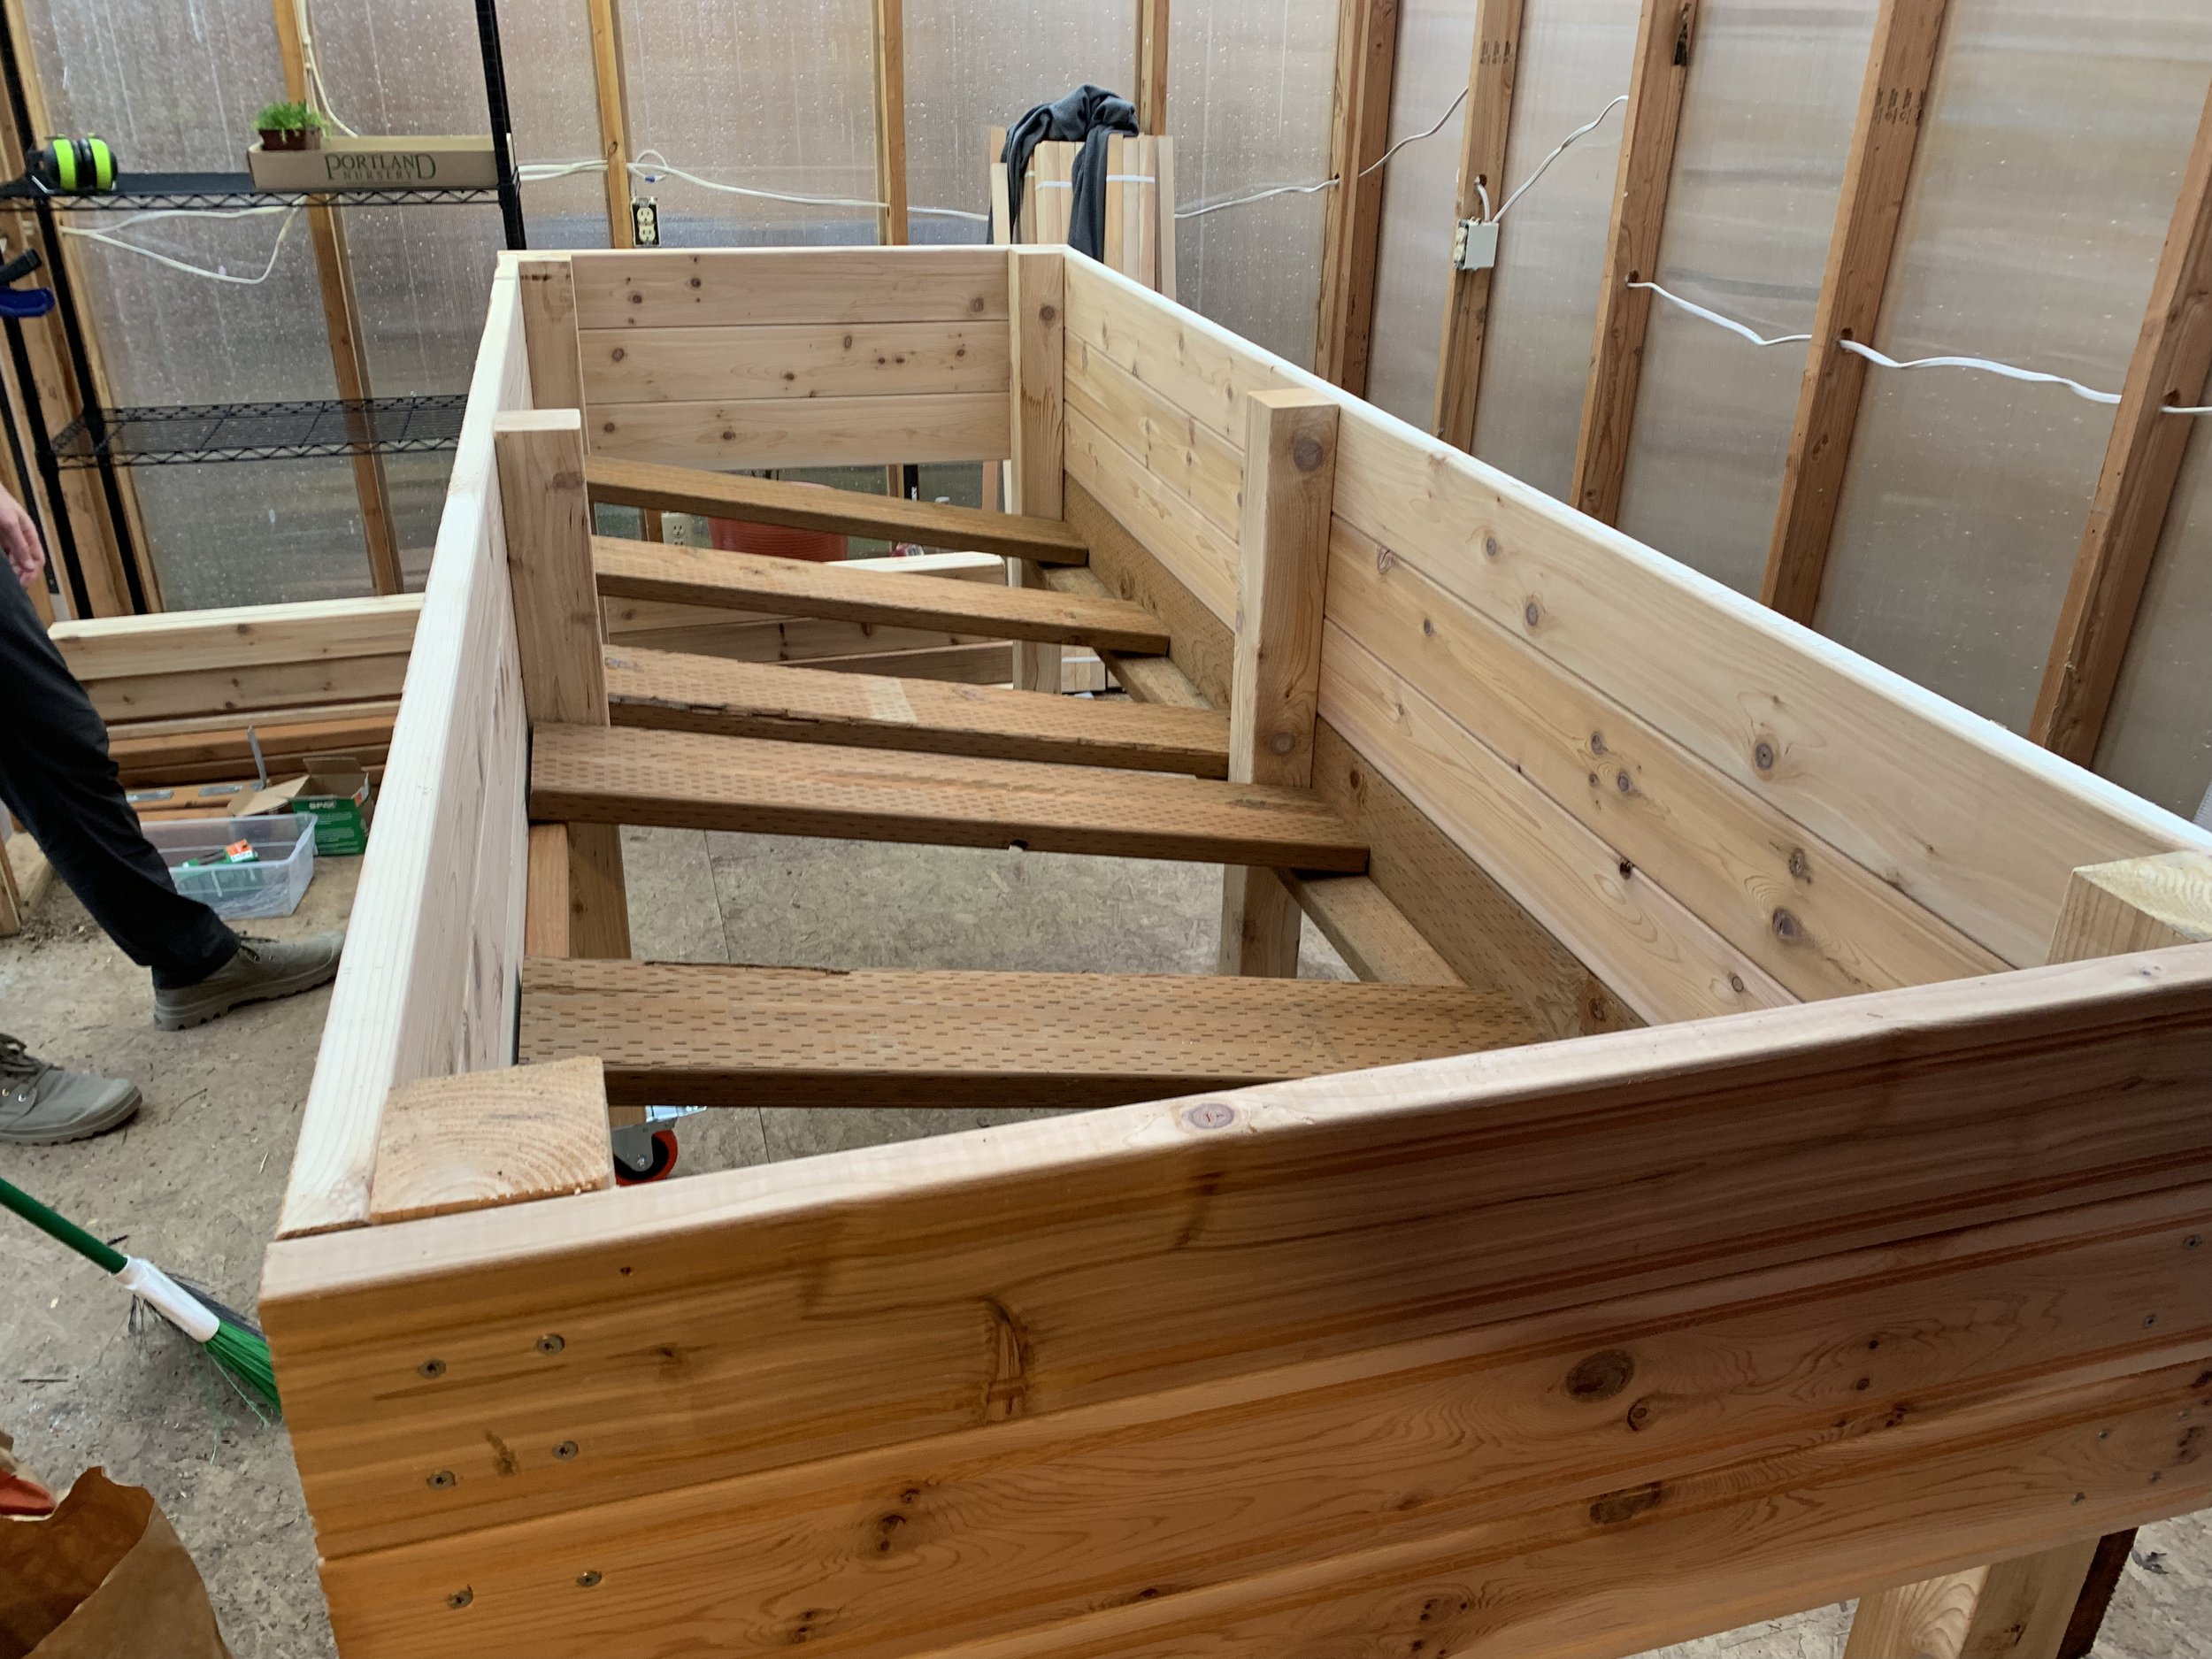
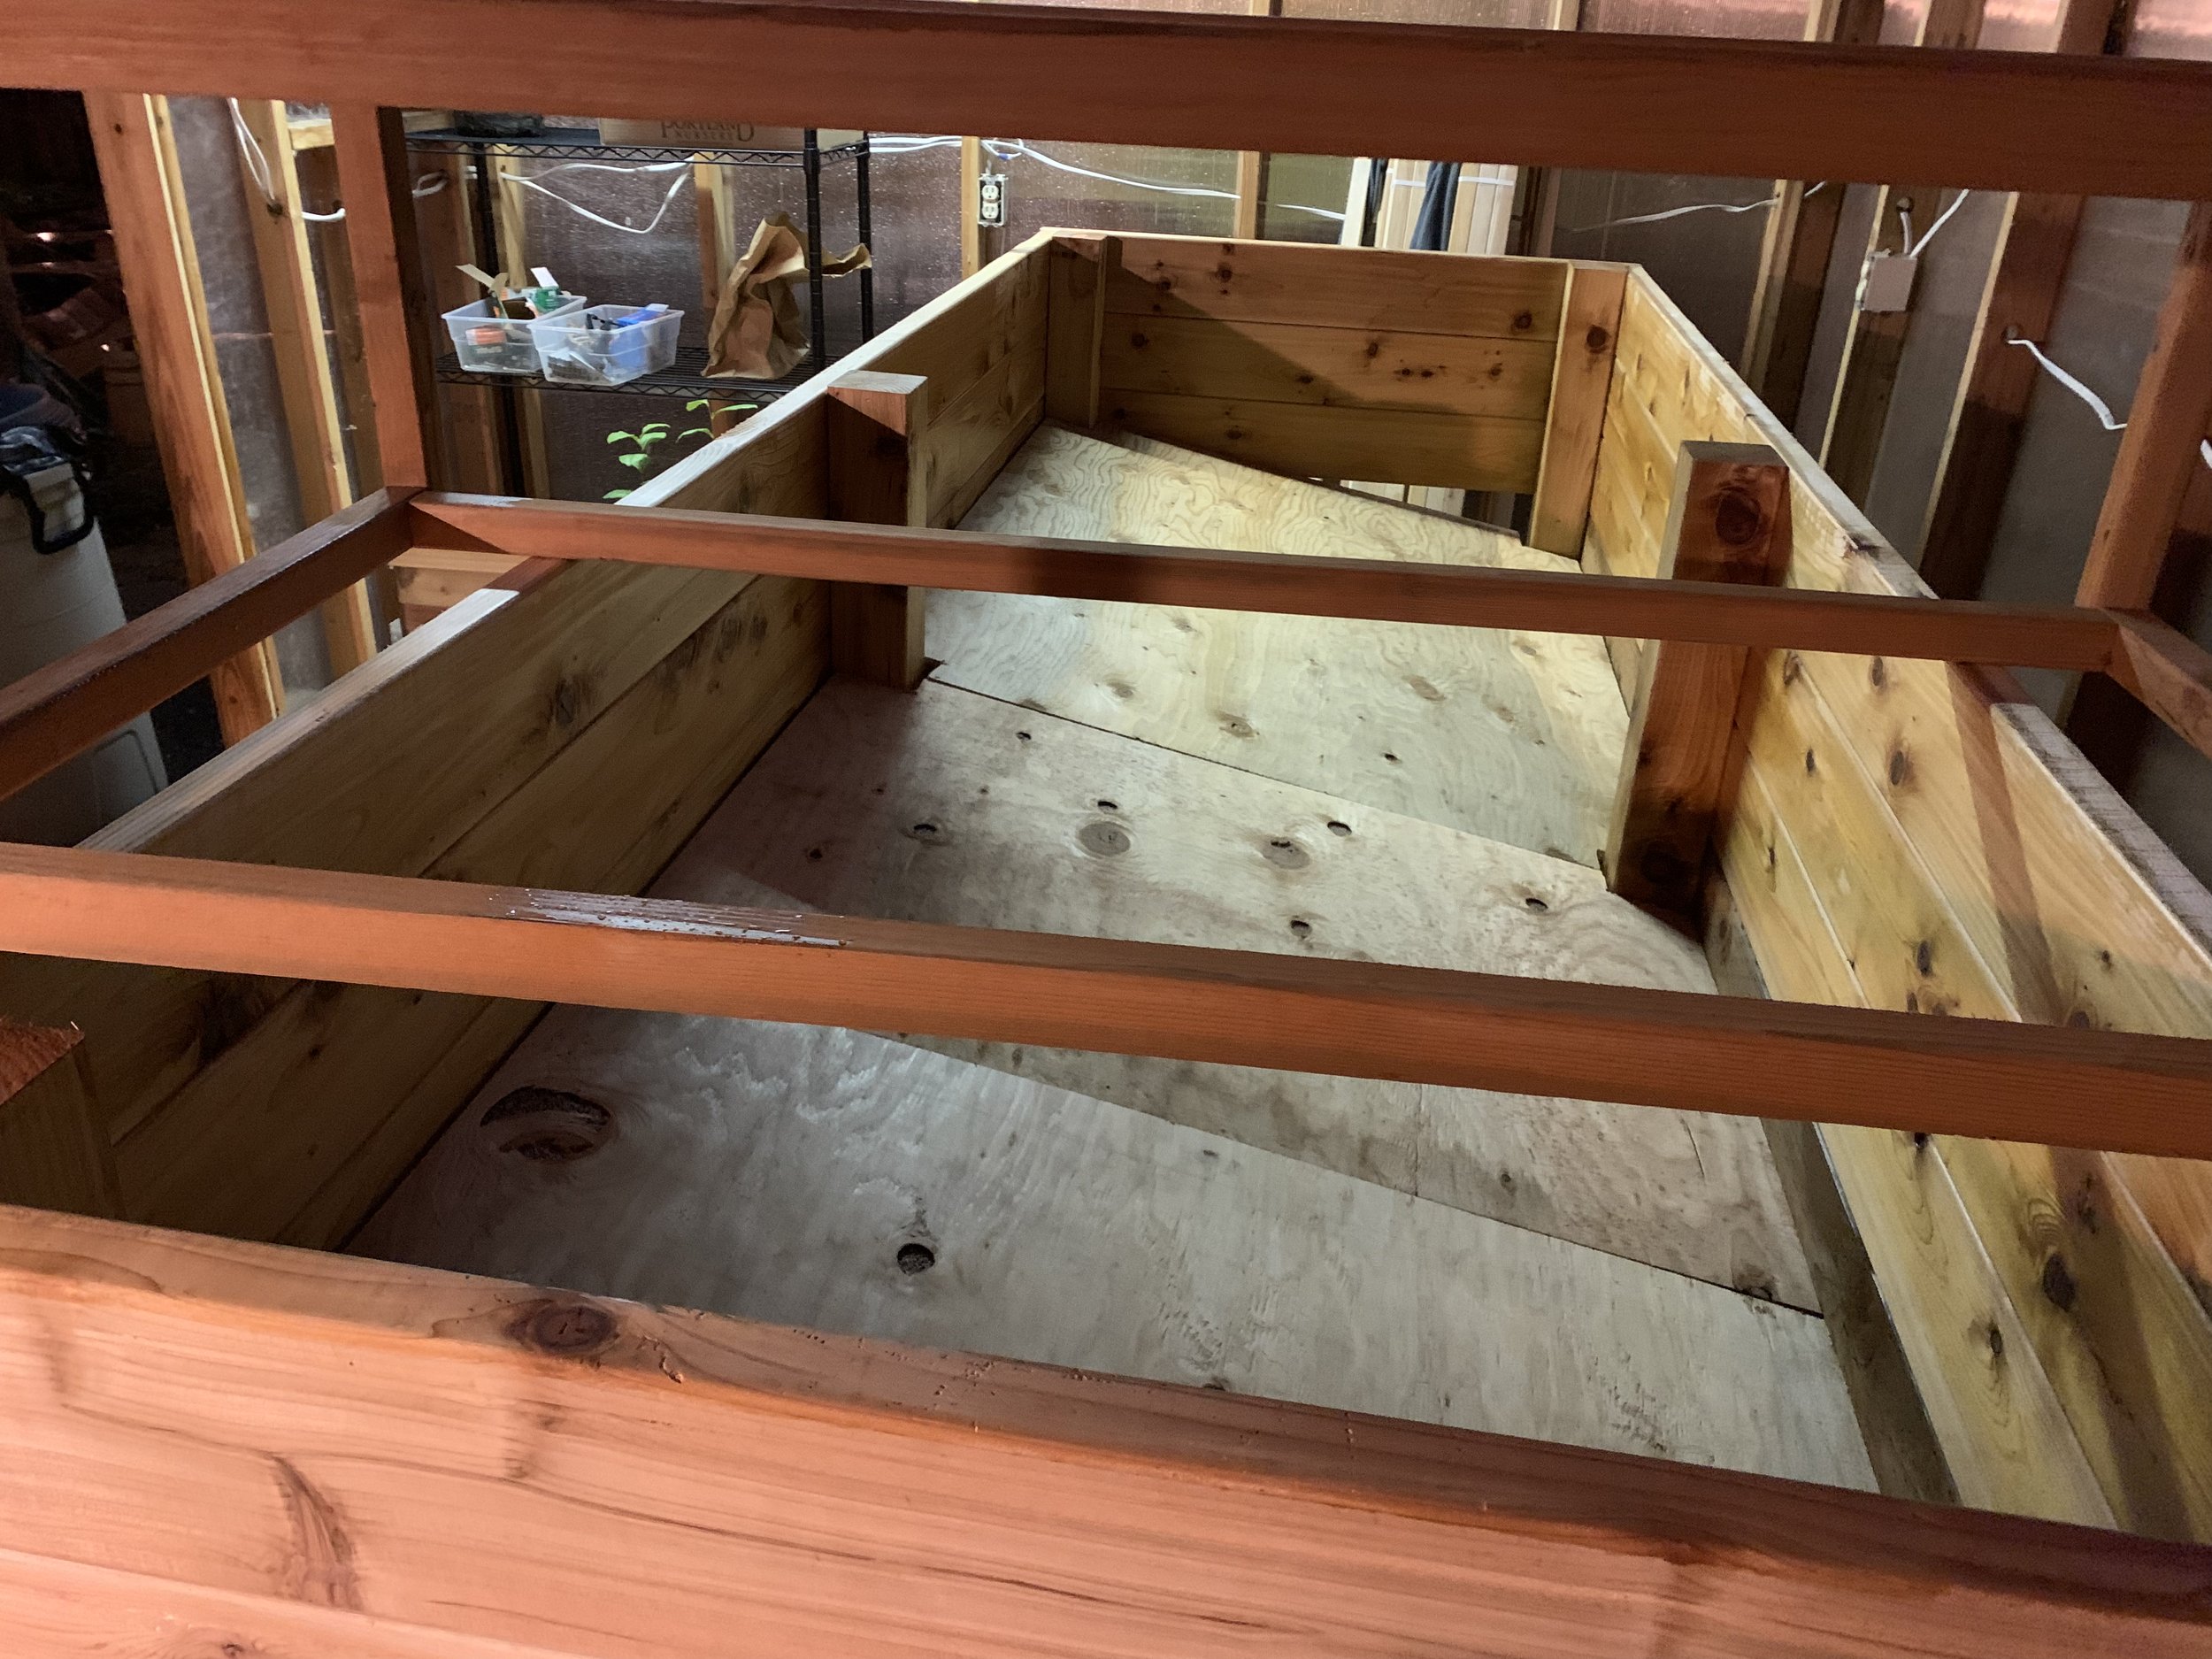
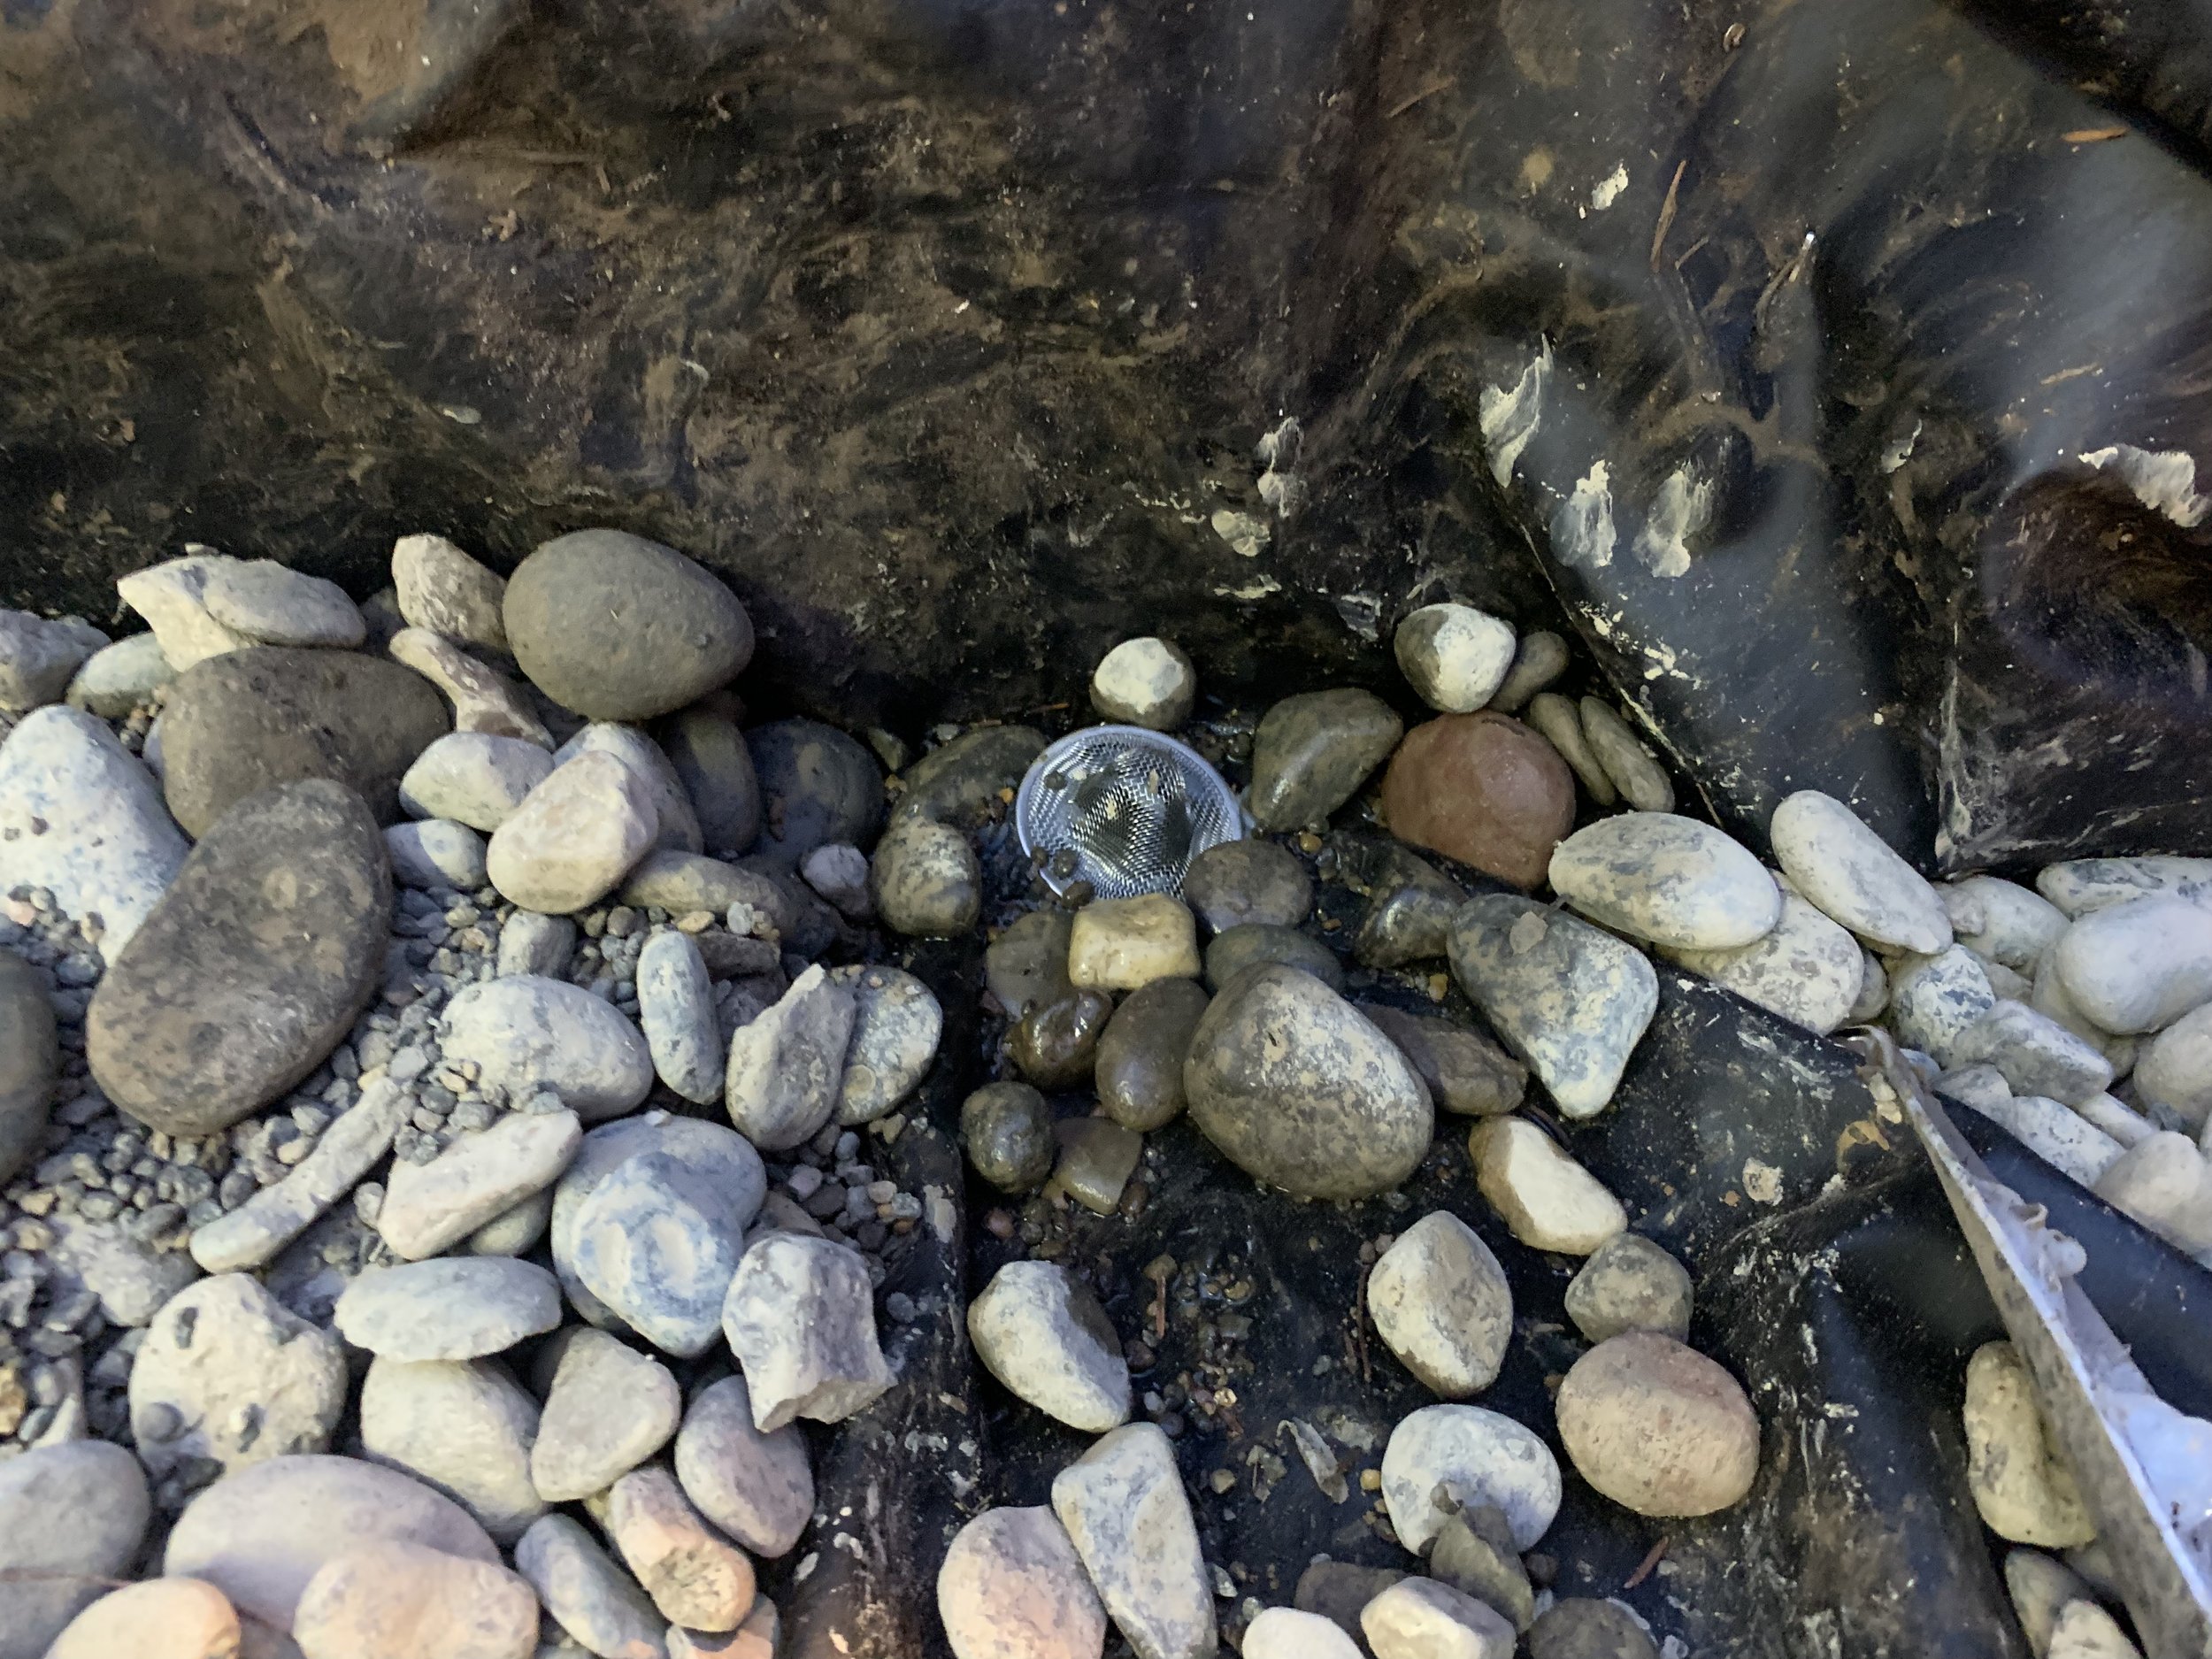
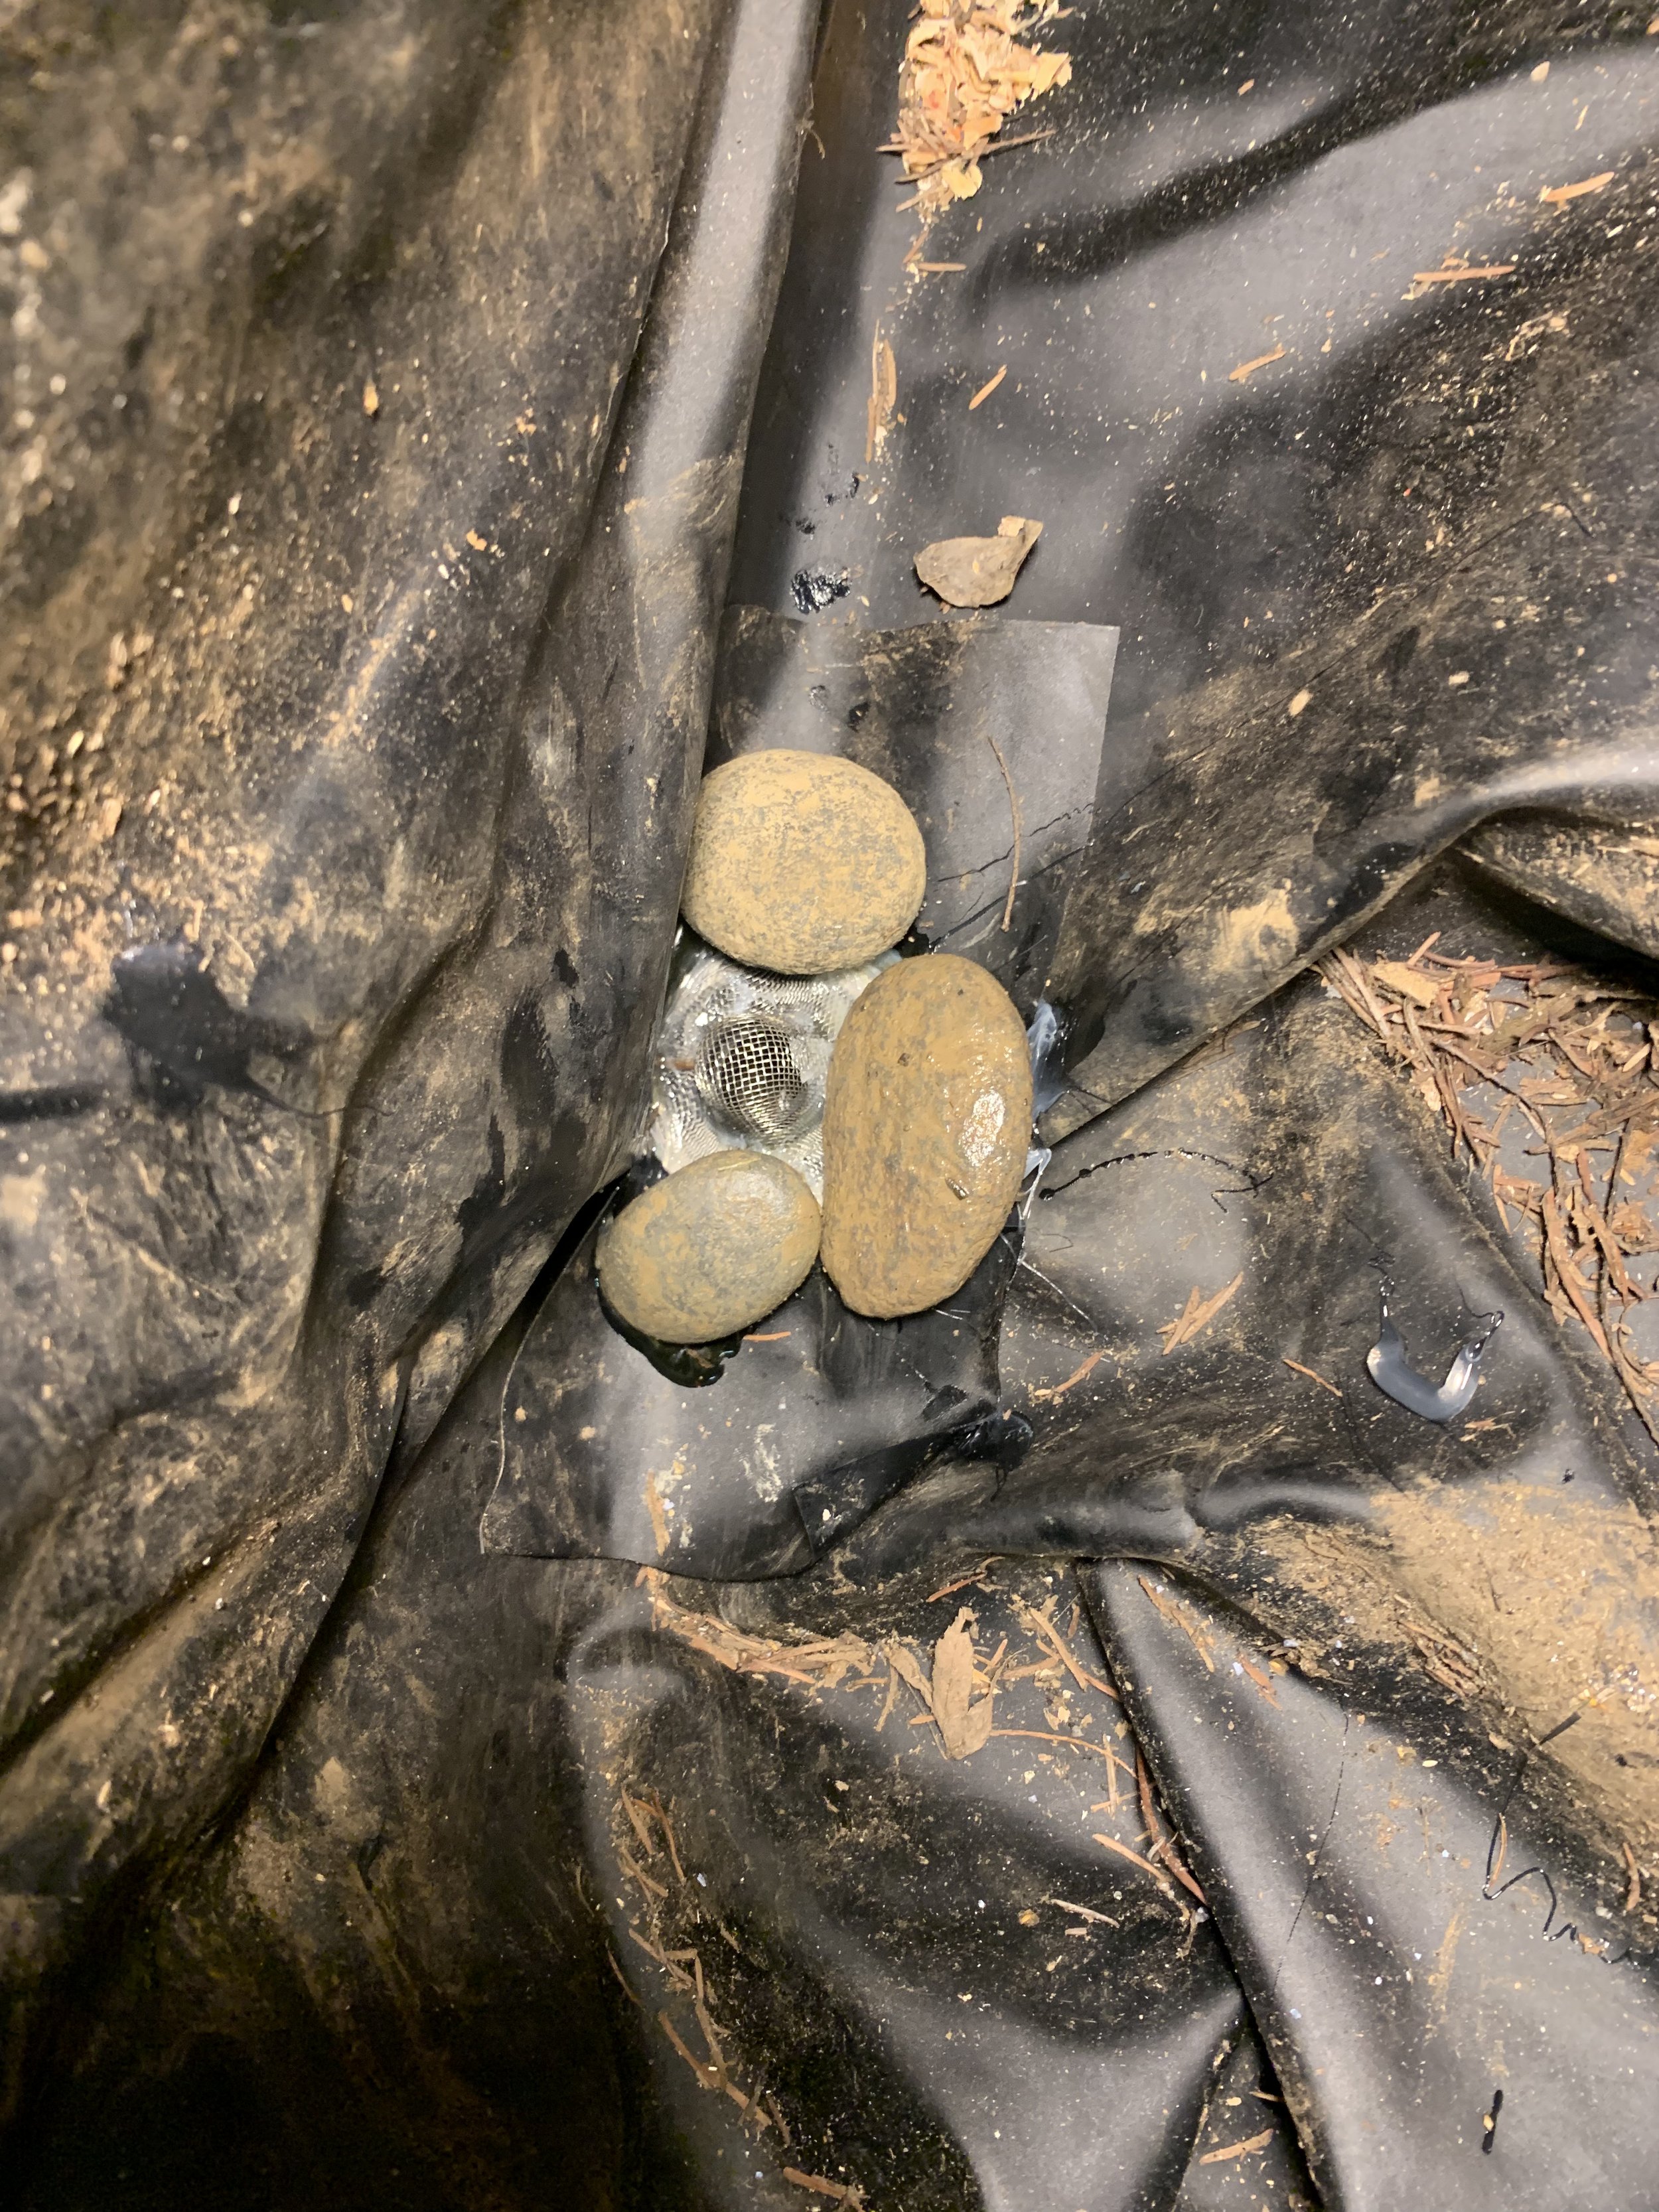
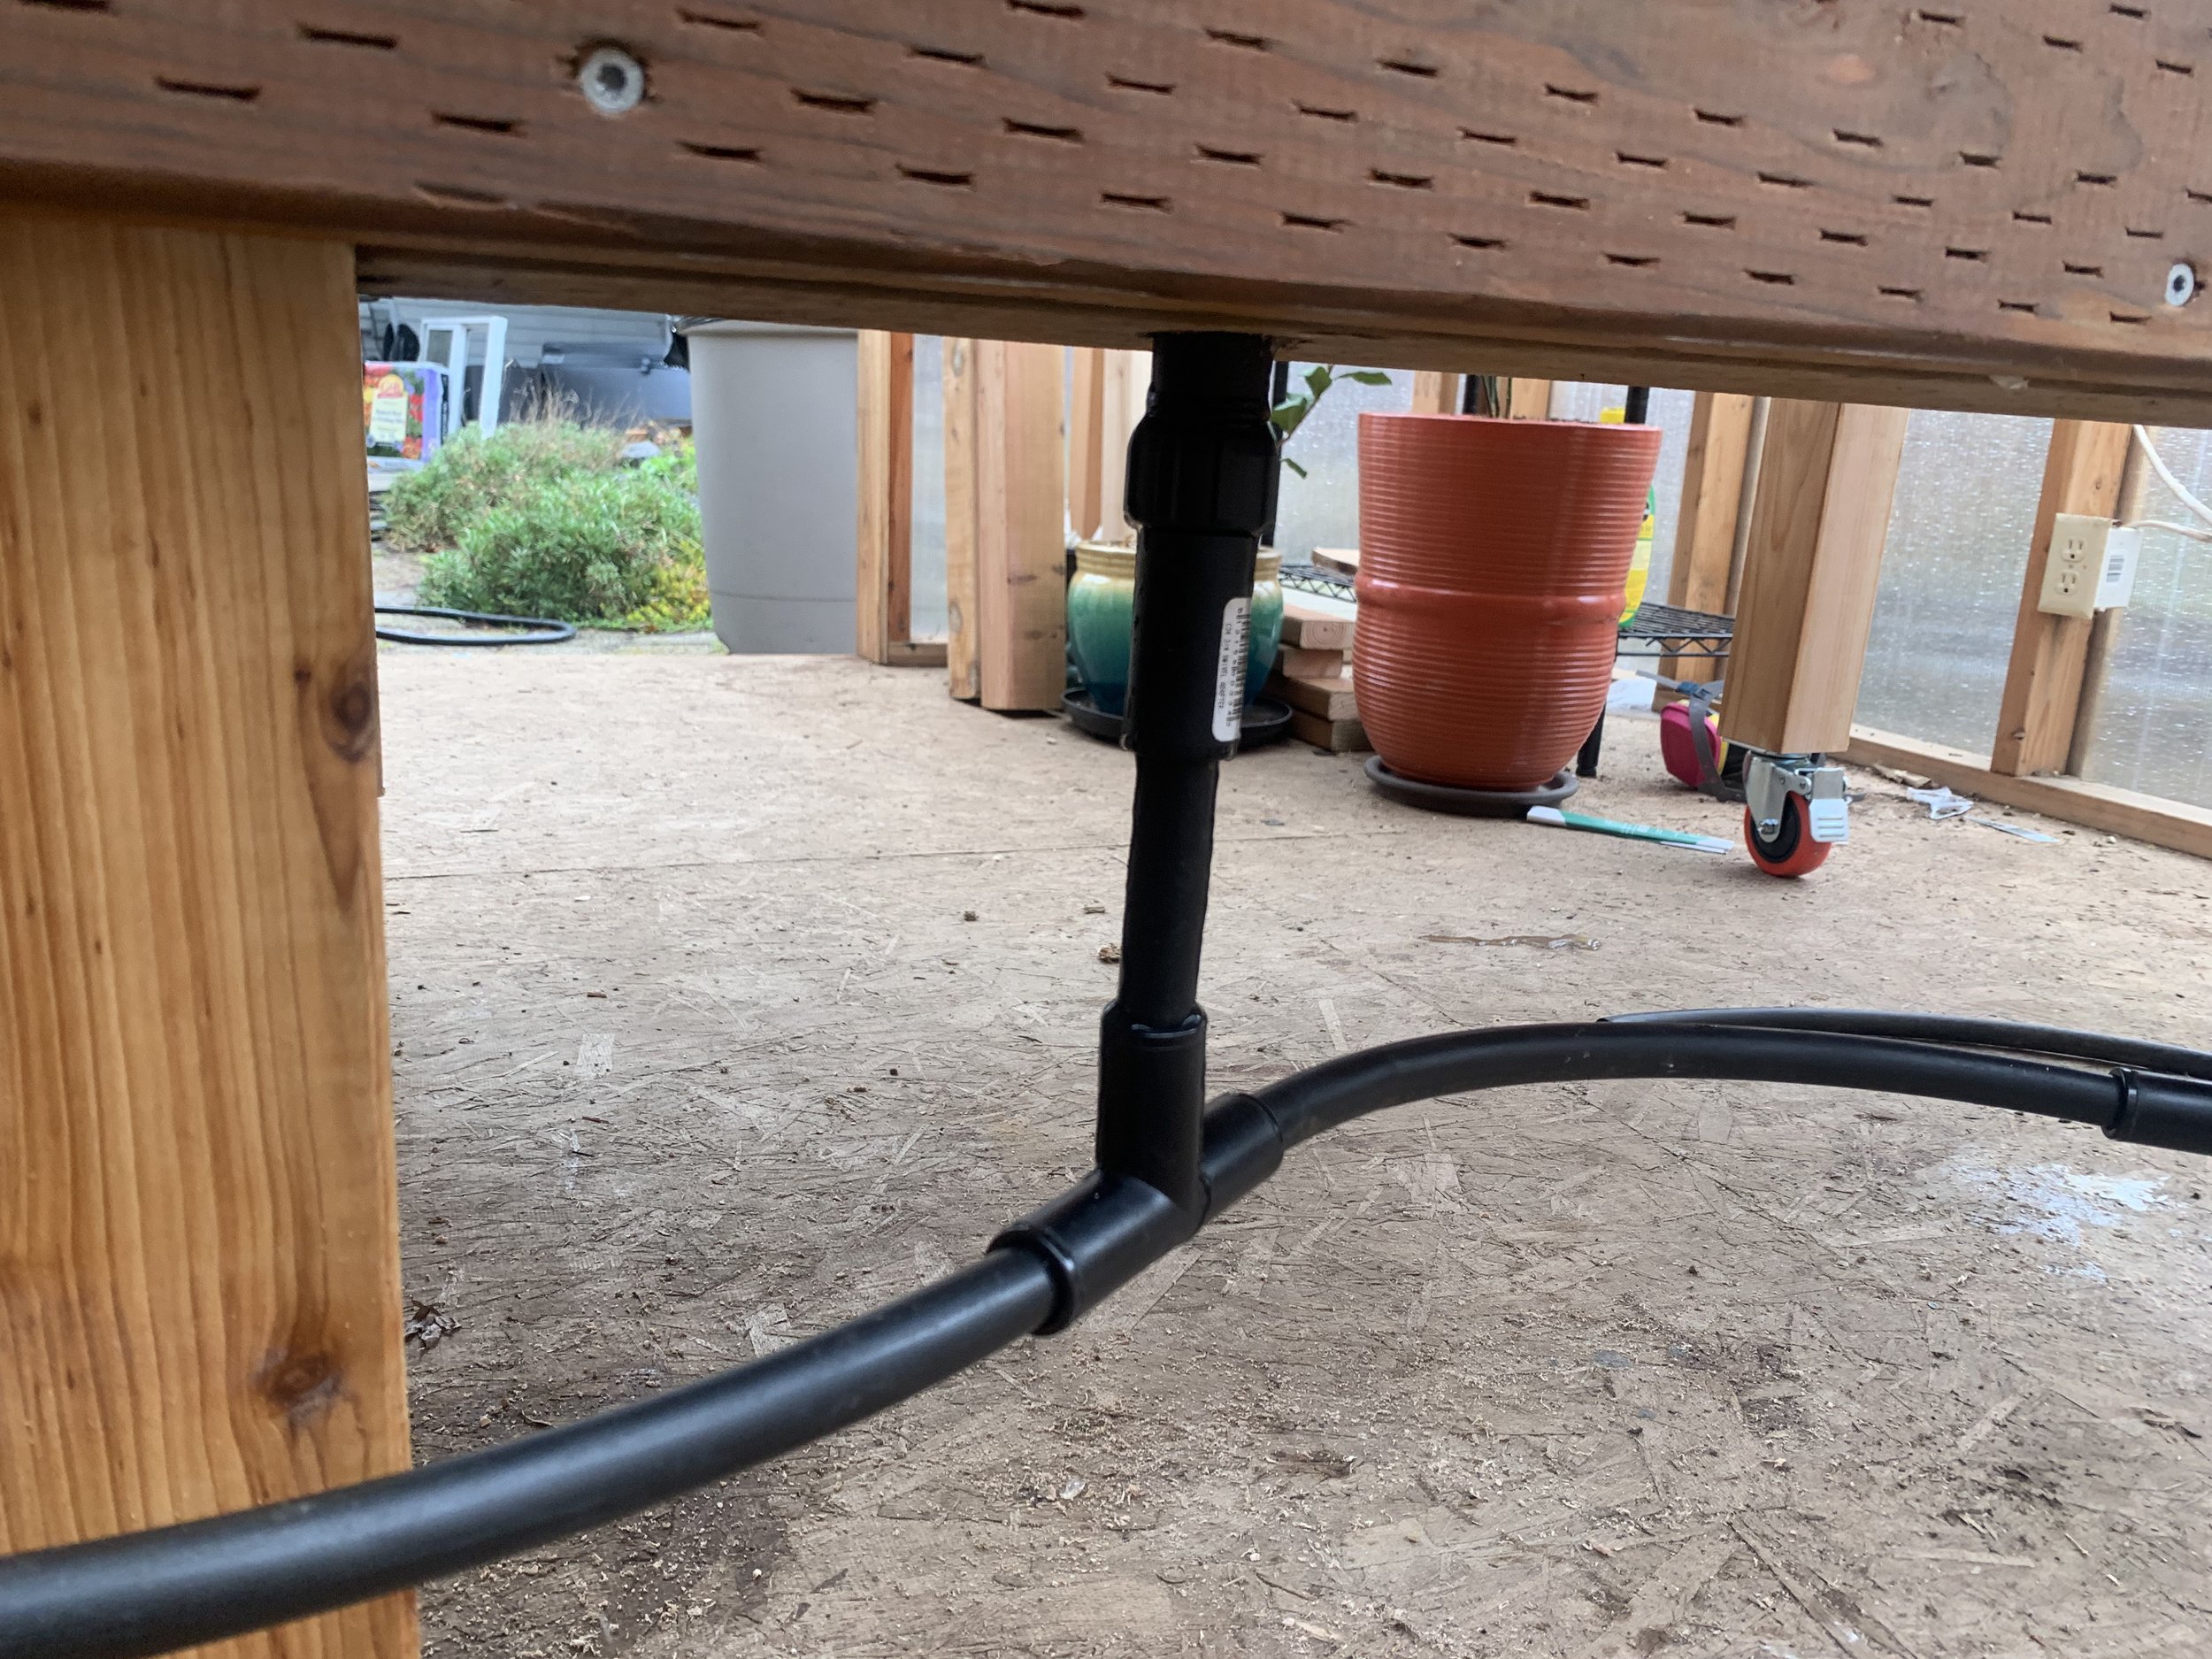
Second, the bed needed to have good drainage. Obviously draining onto the floor would quickly cause the floor to rot out, so I needed an easy way to collect and drain the water.
Finally, the bed needed to look nice. I’m not a fine woodworker, I tend to focus on functionality, but that doesn’t mean I want things to look ugly.
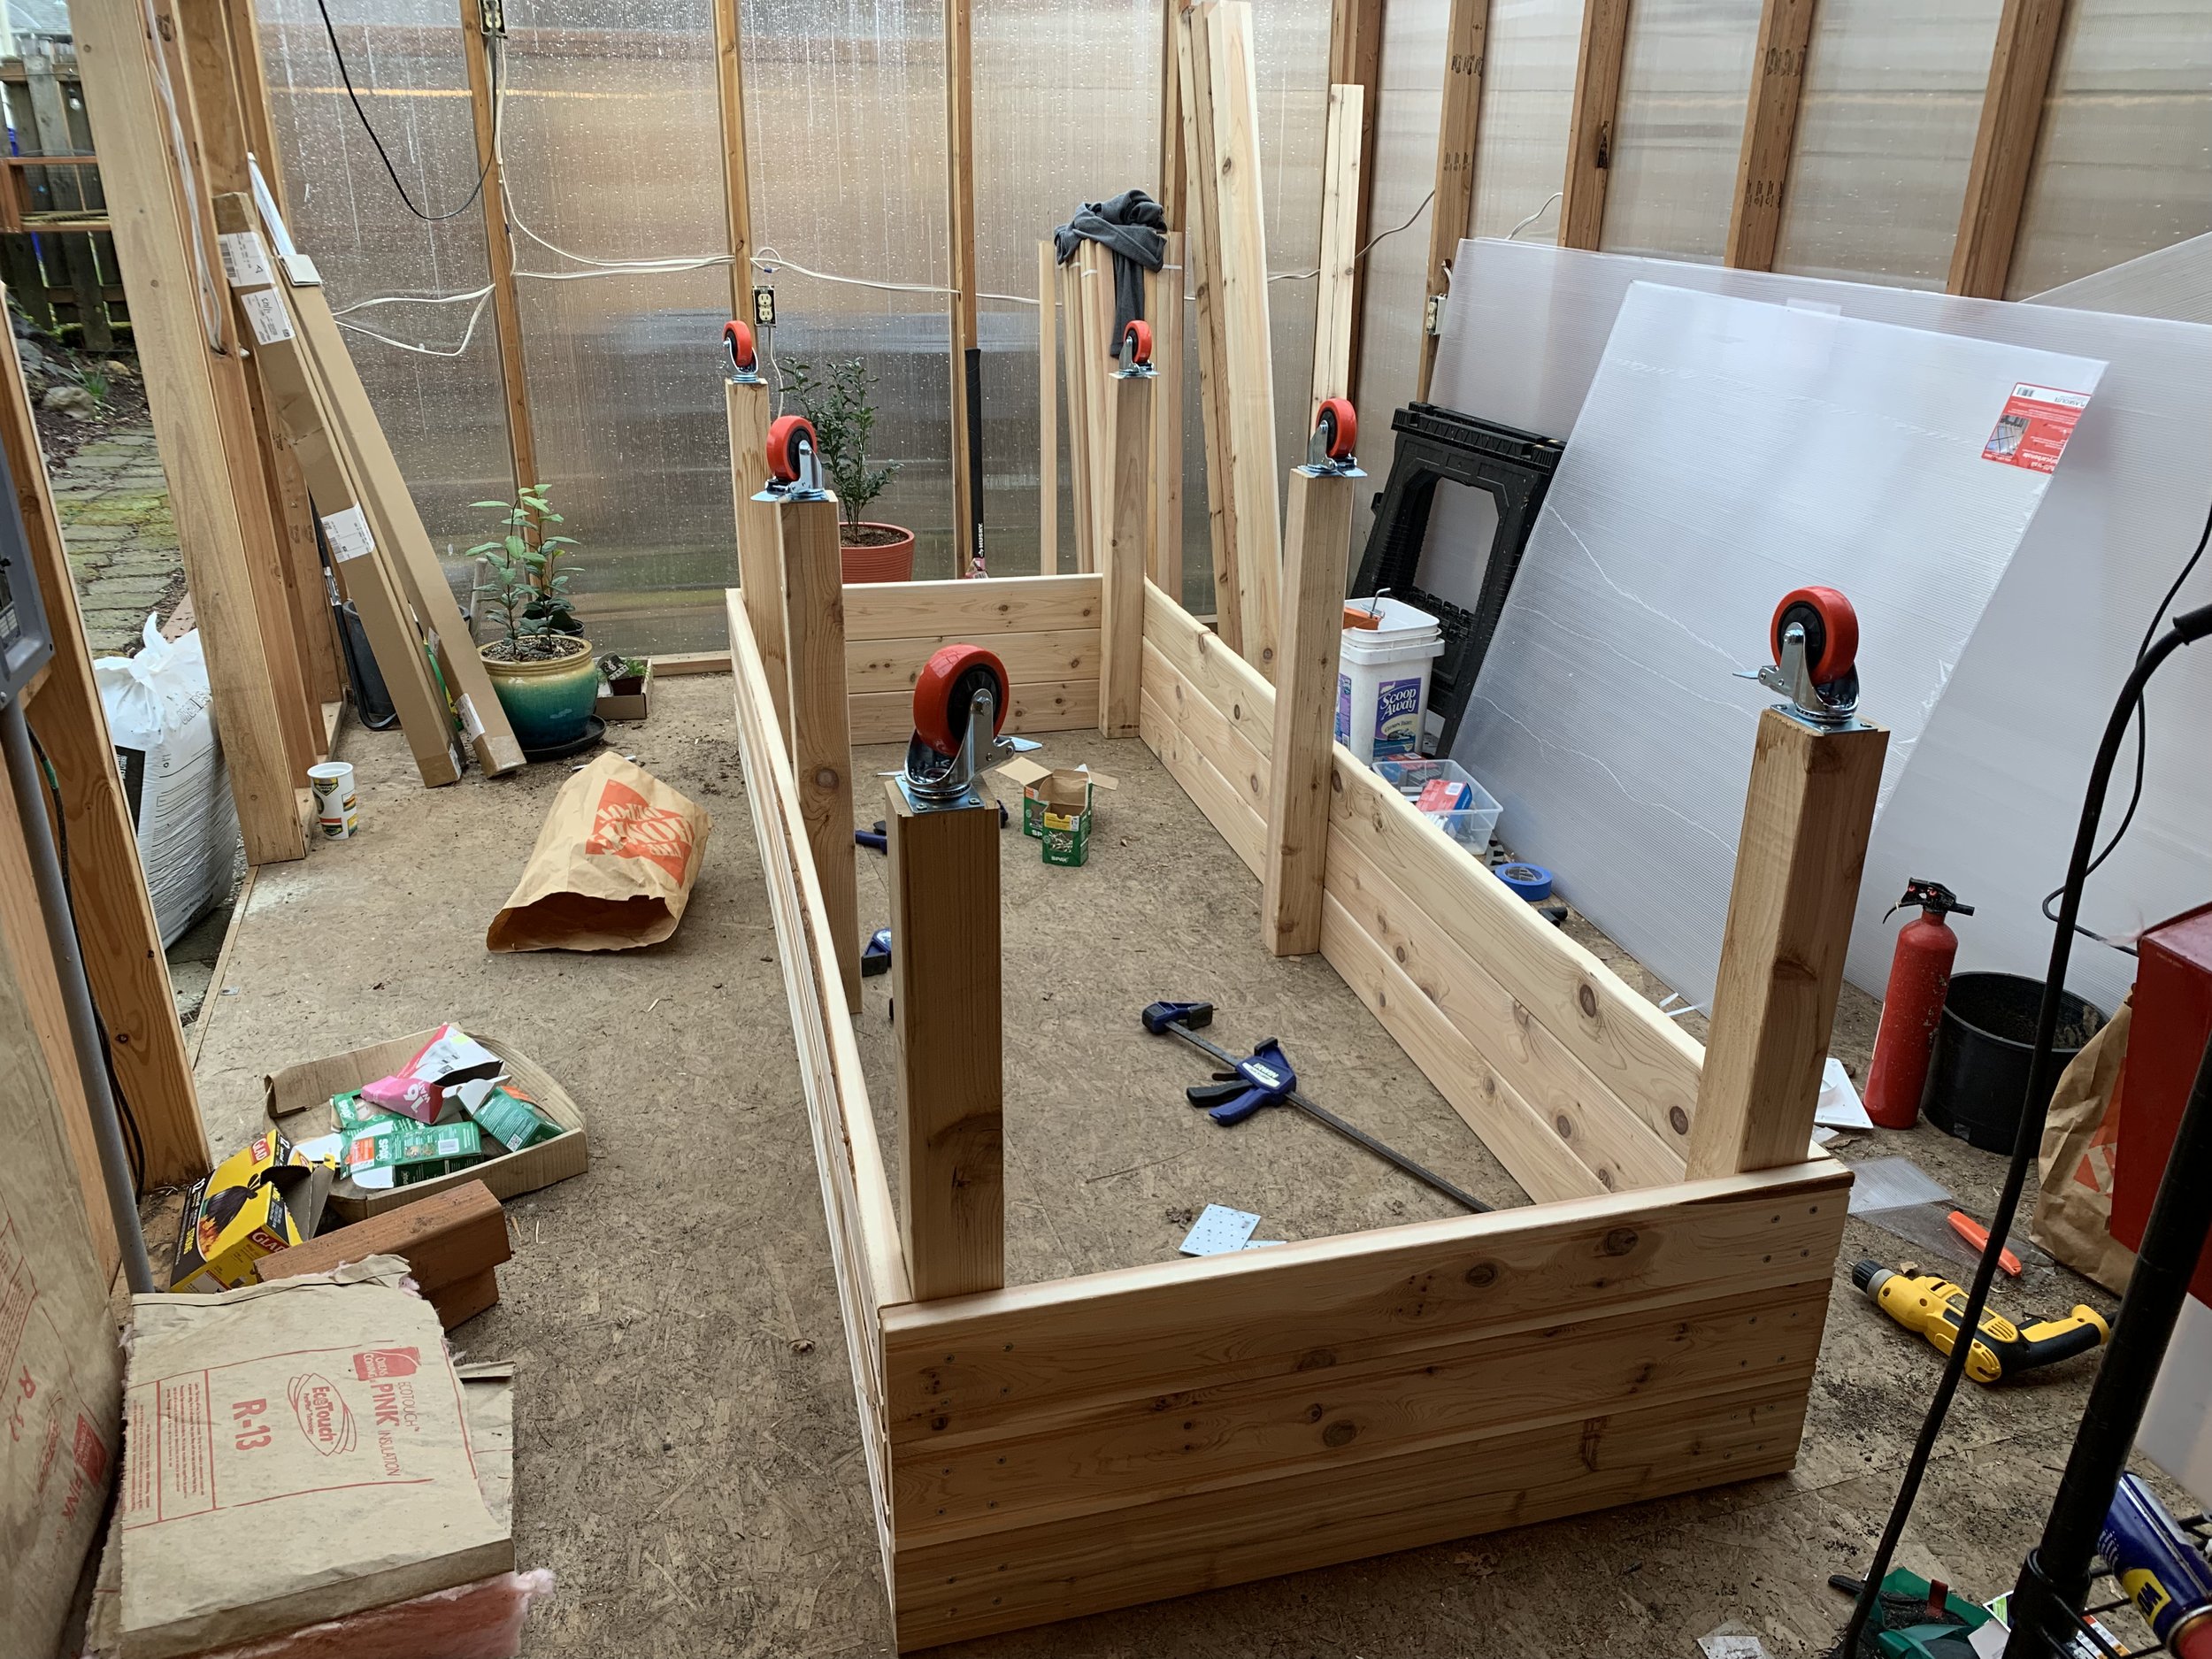
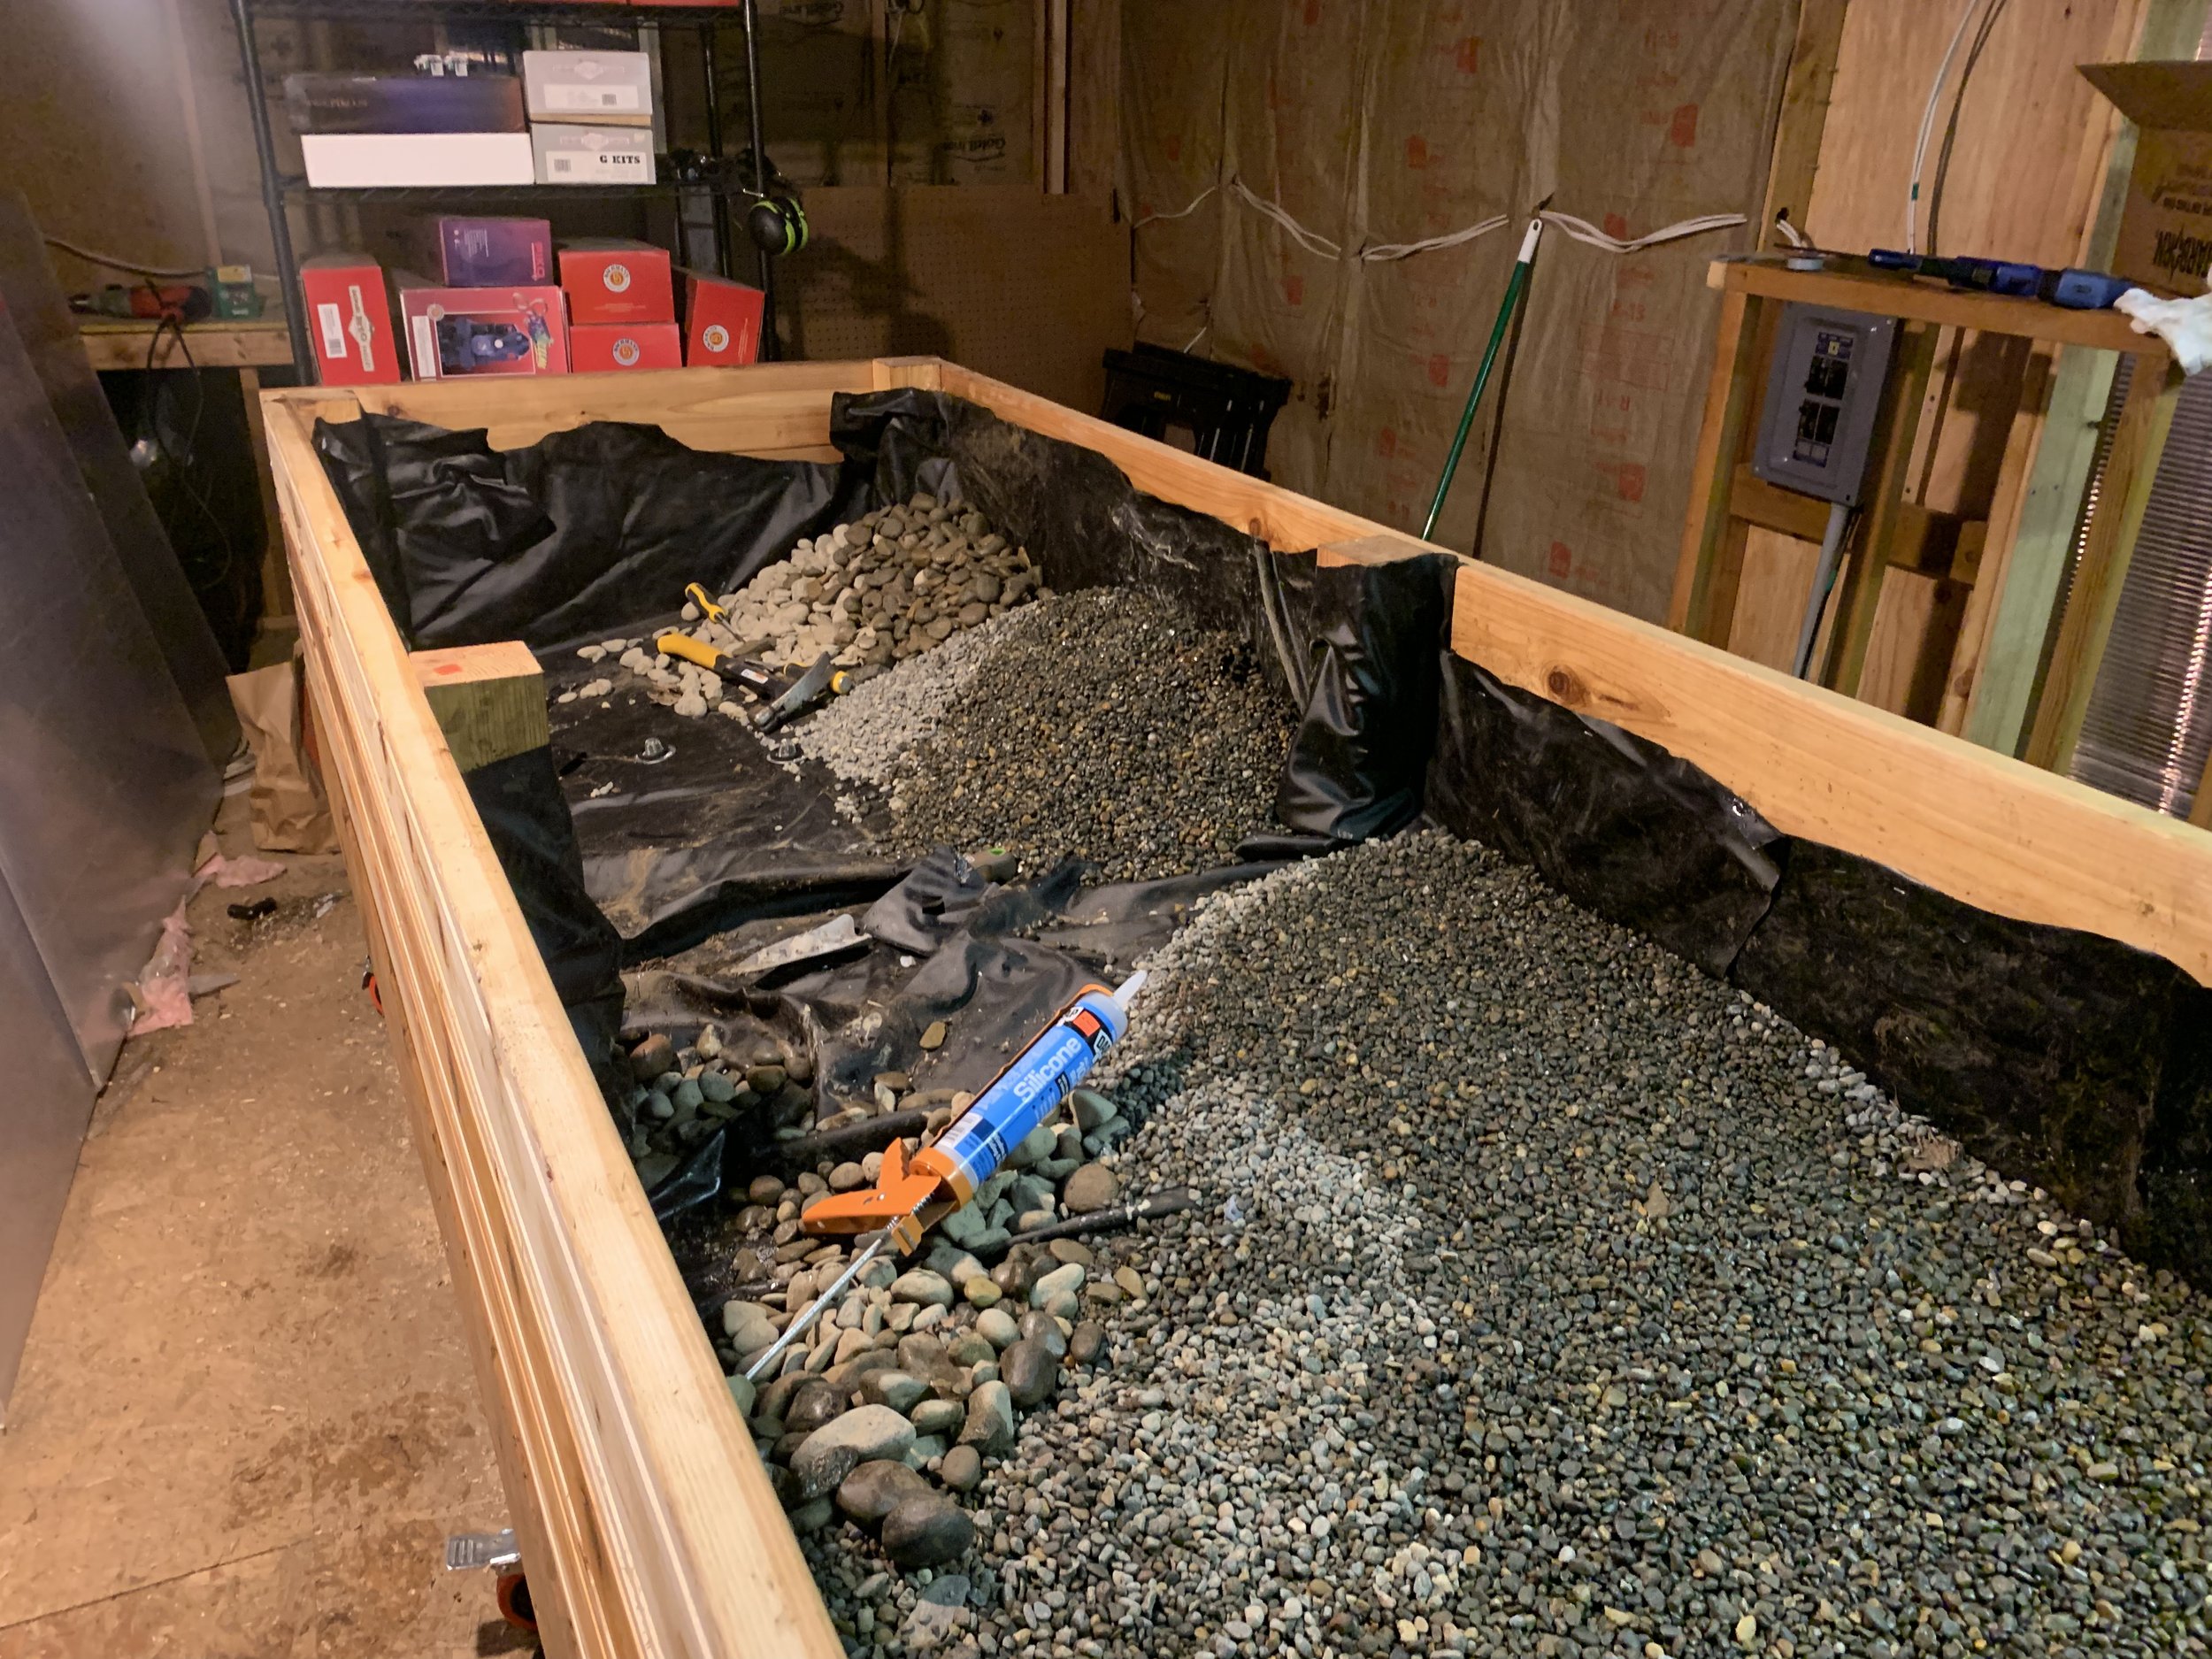
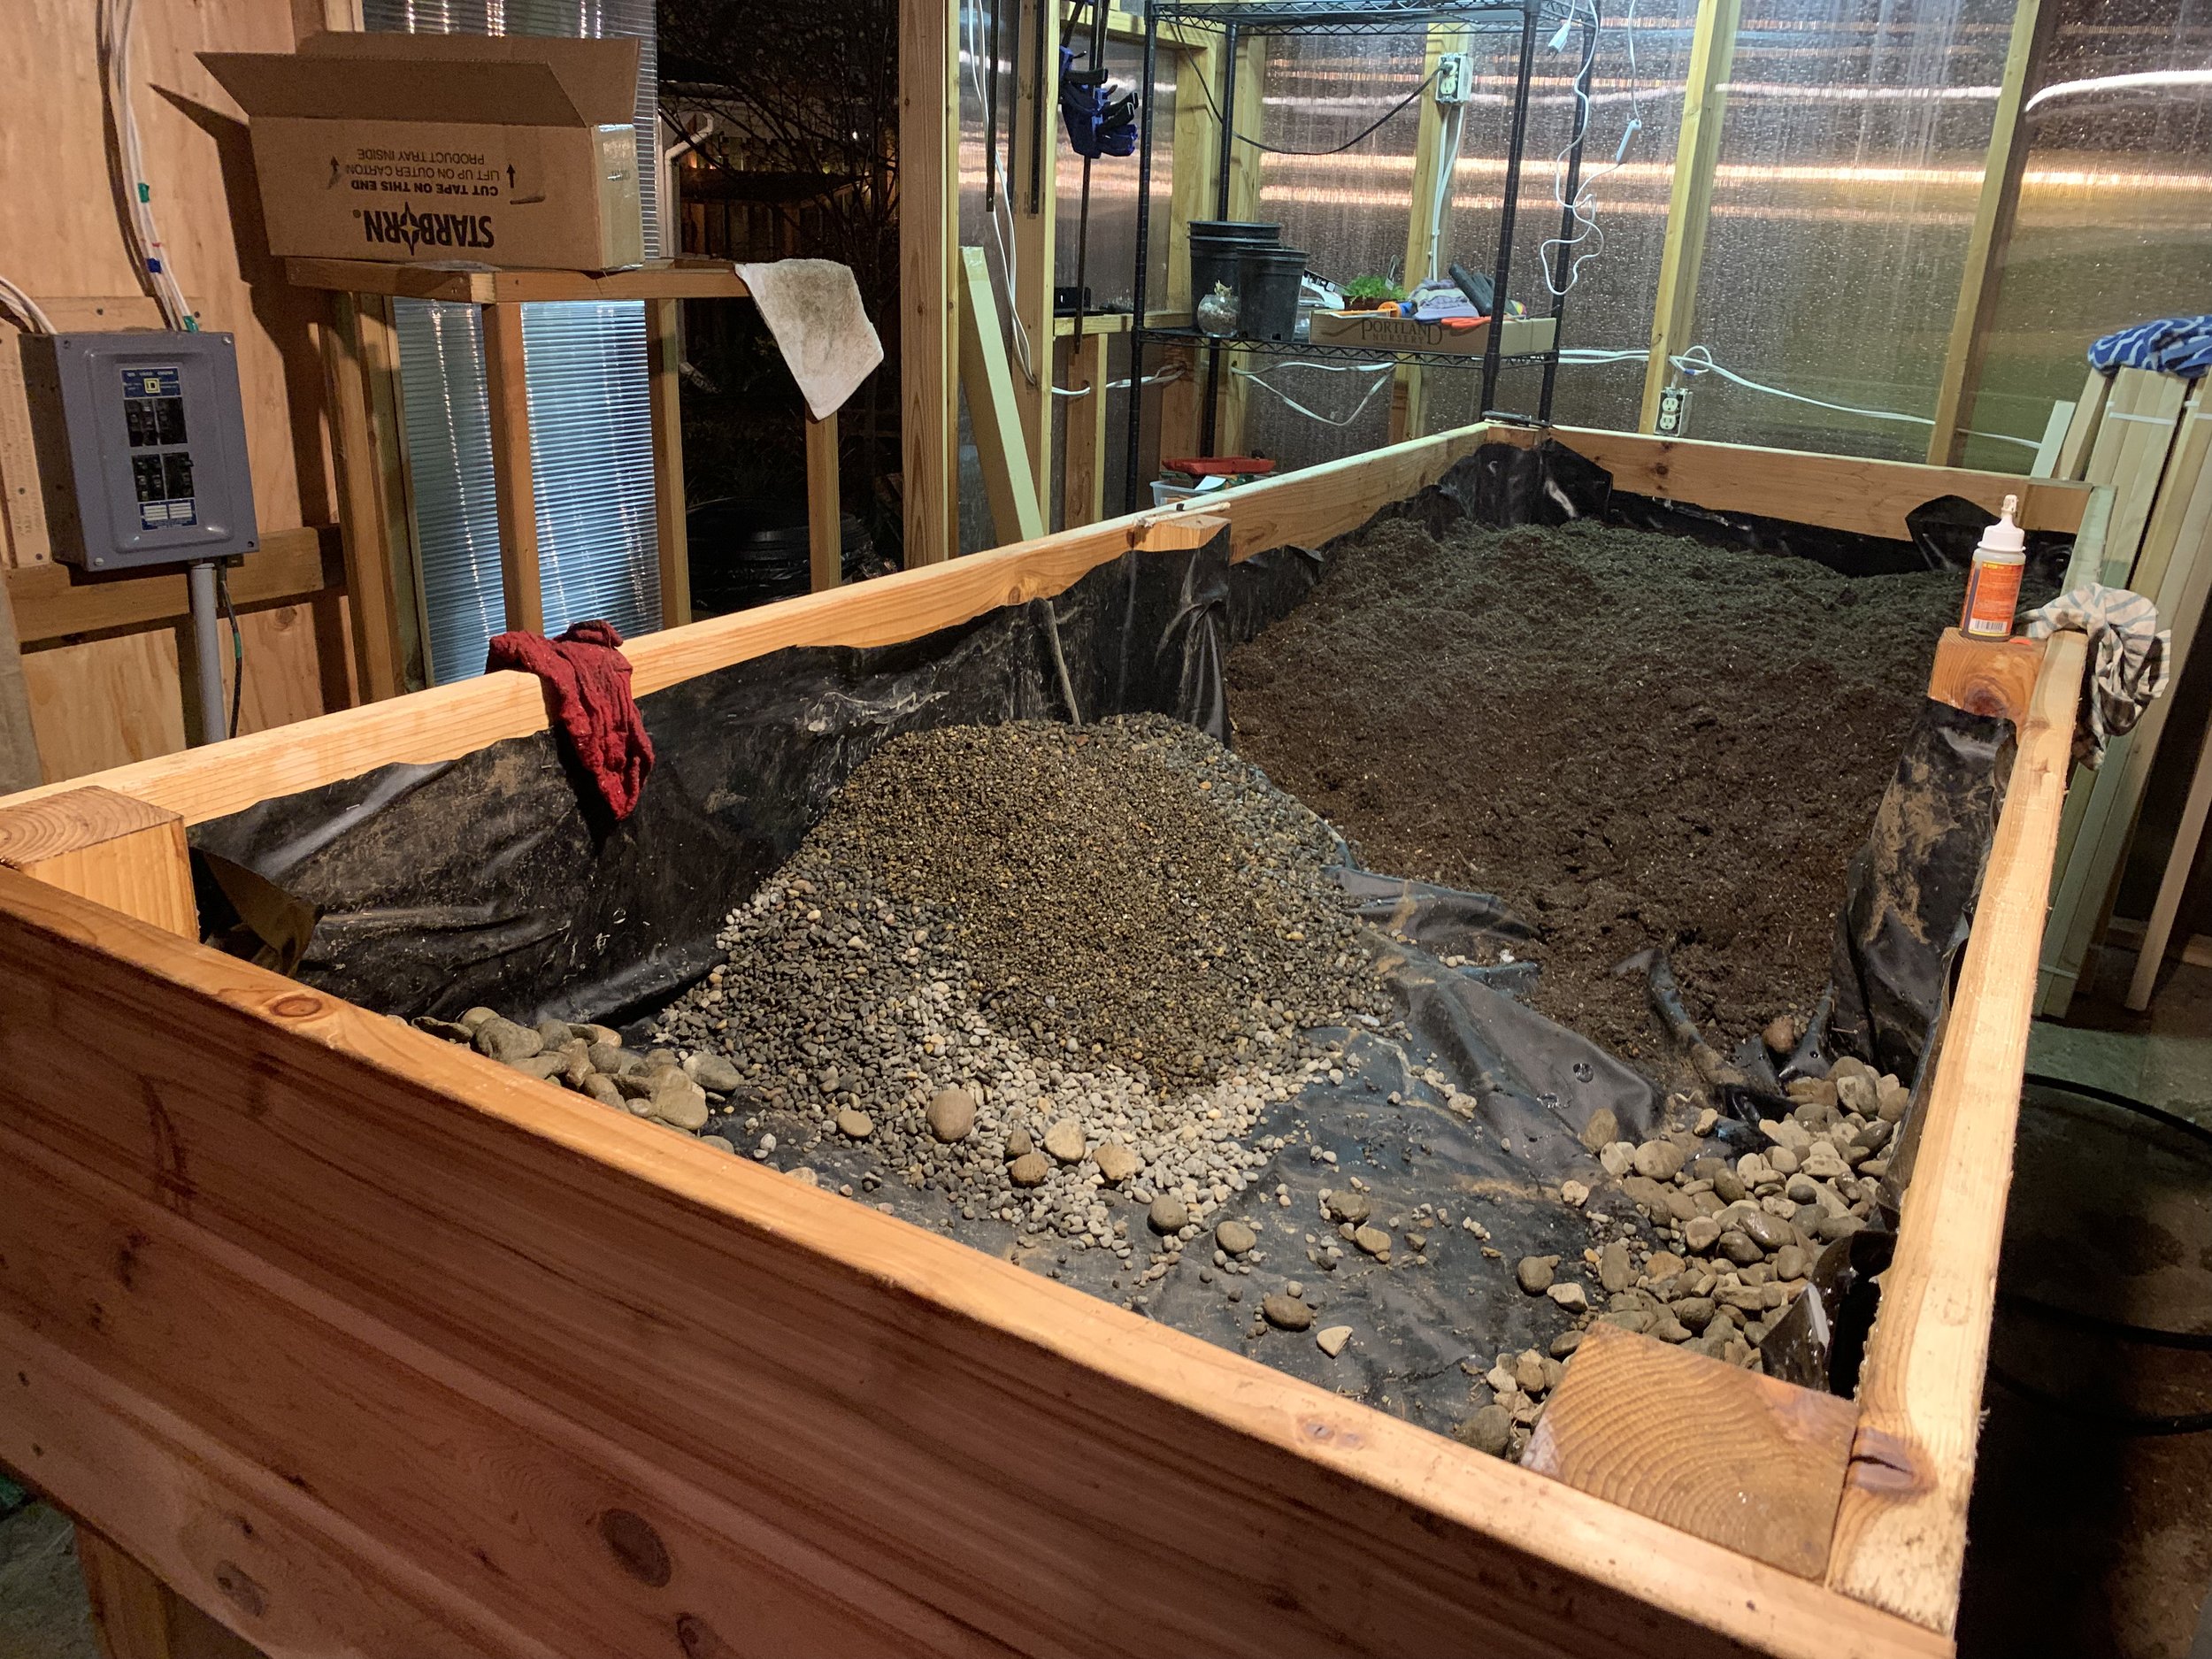
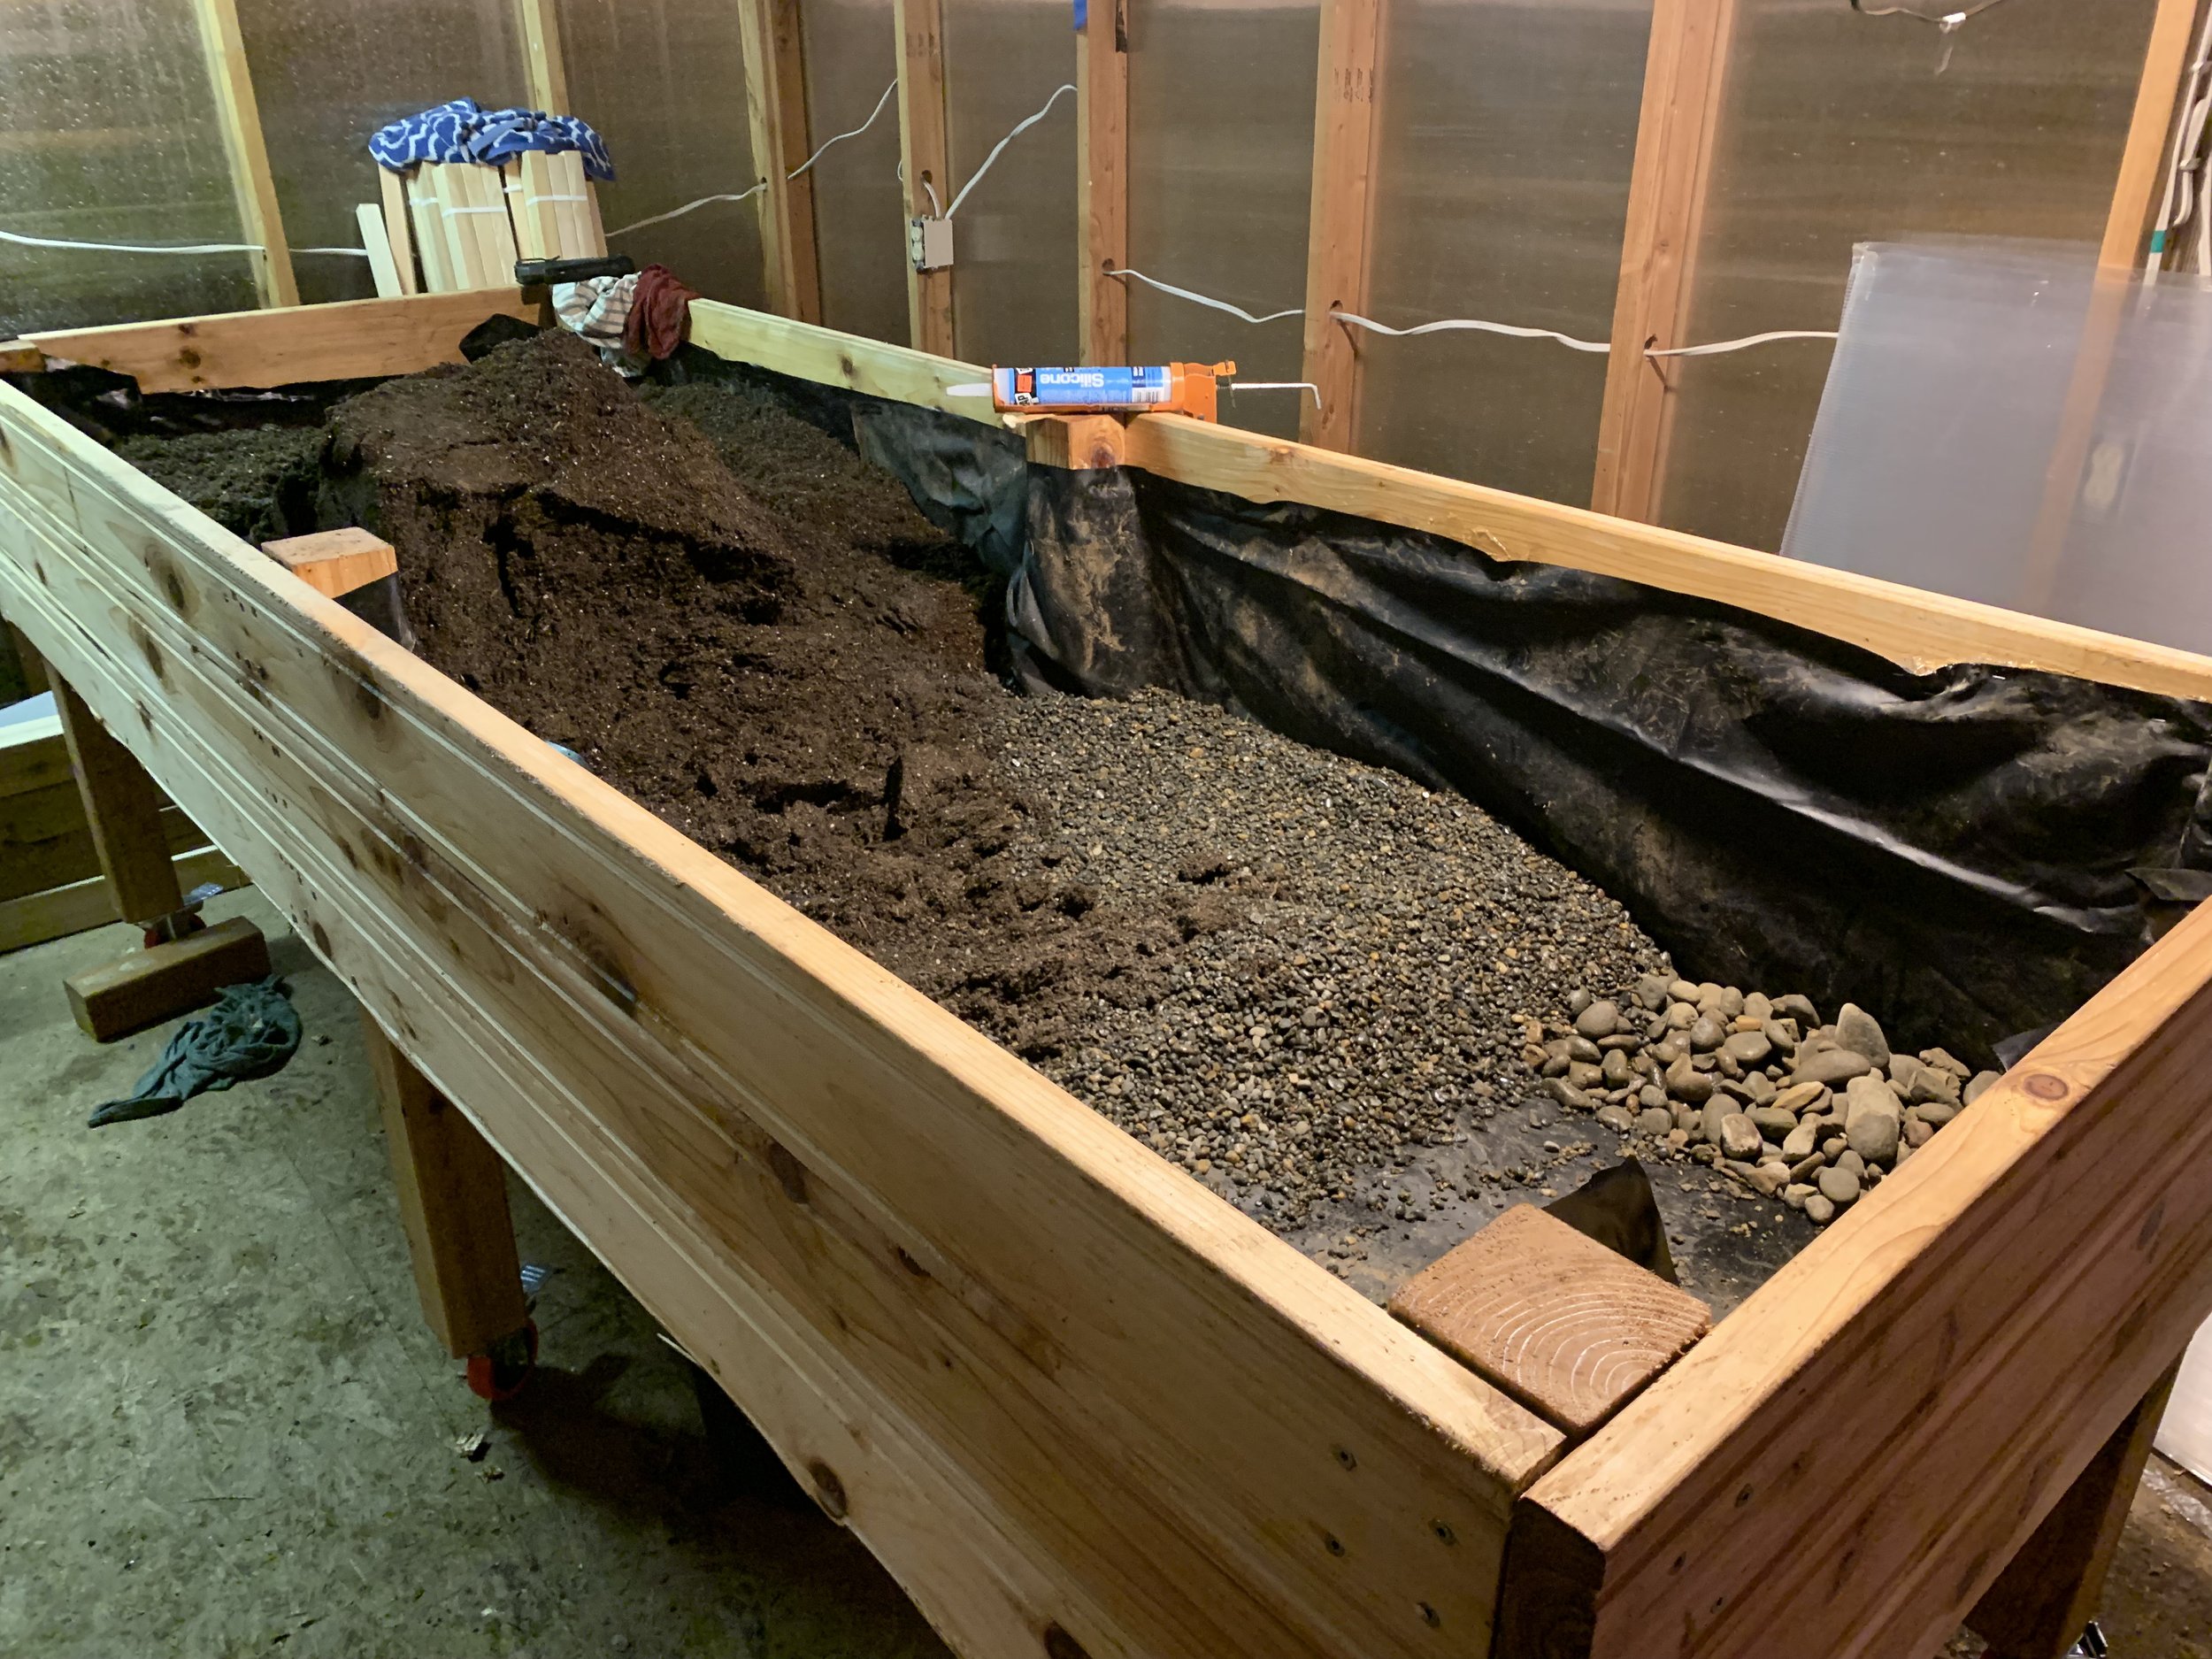
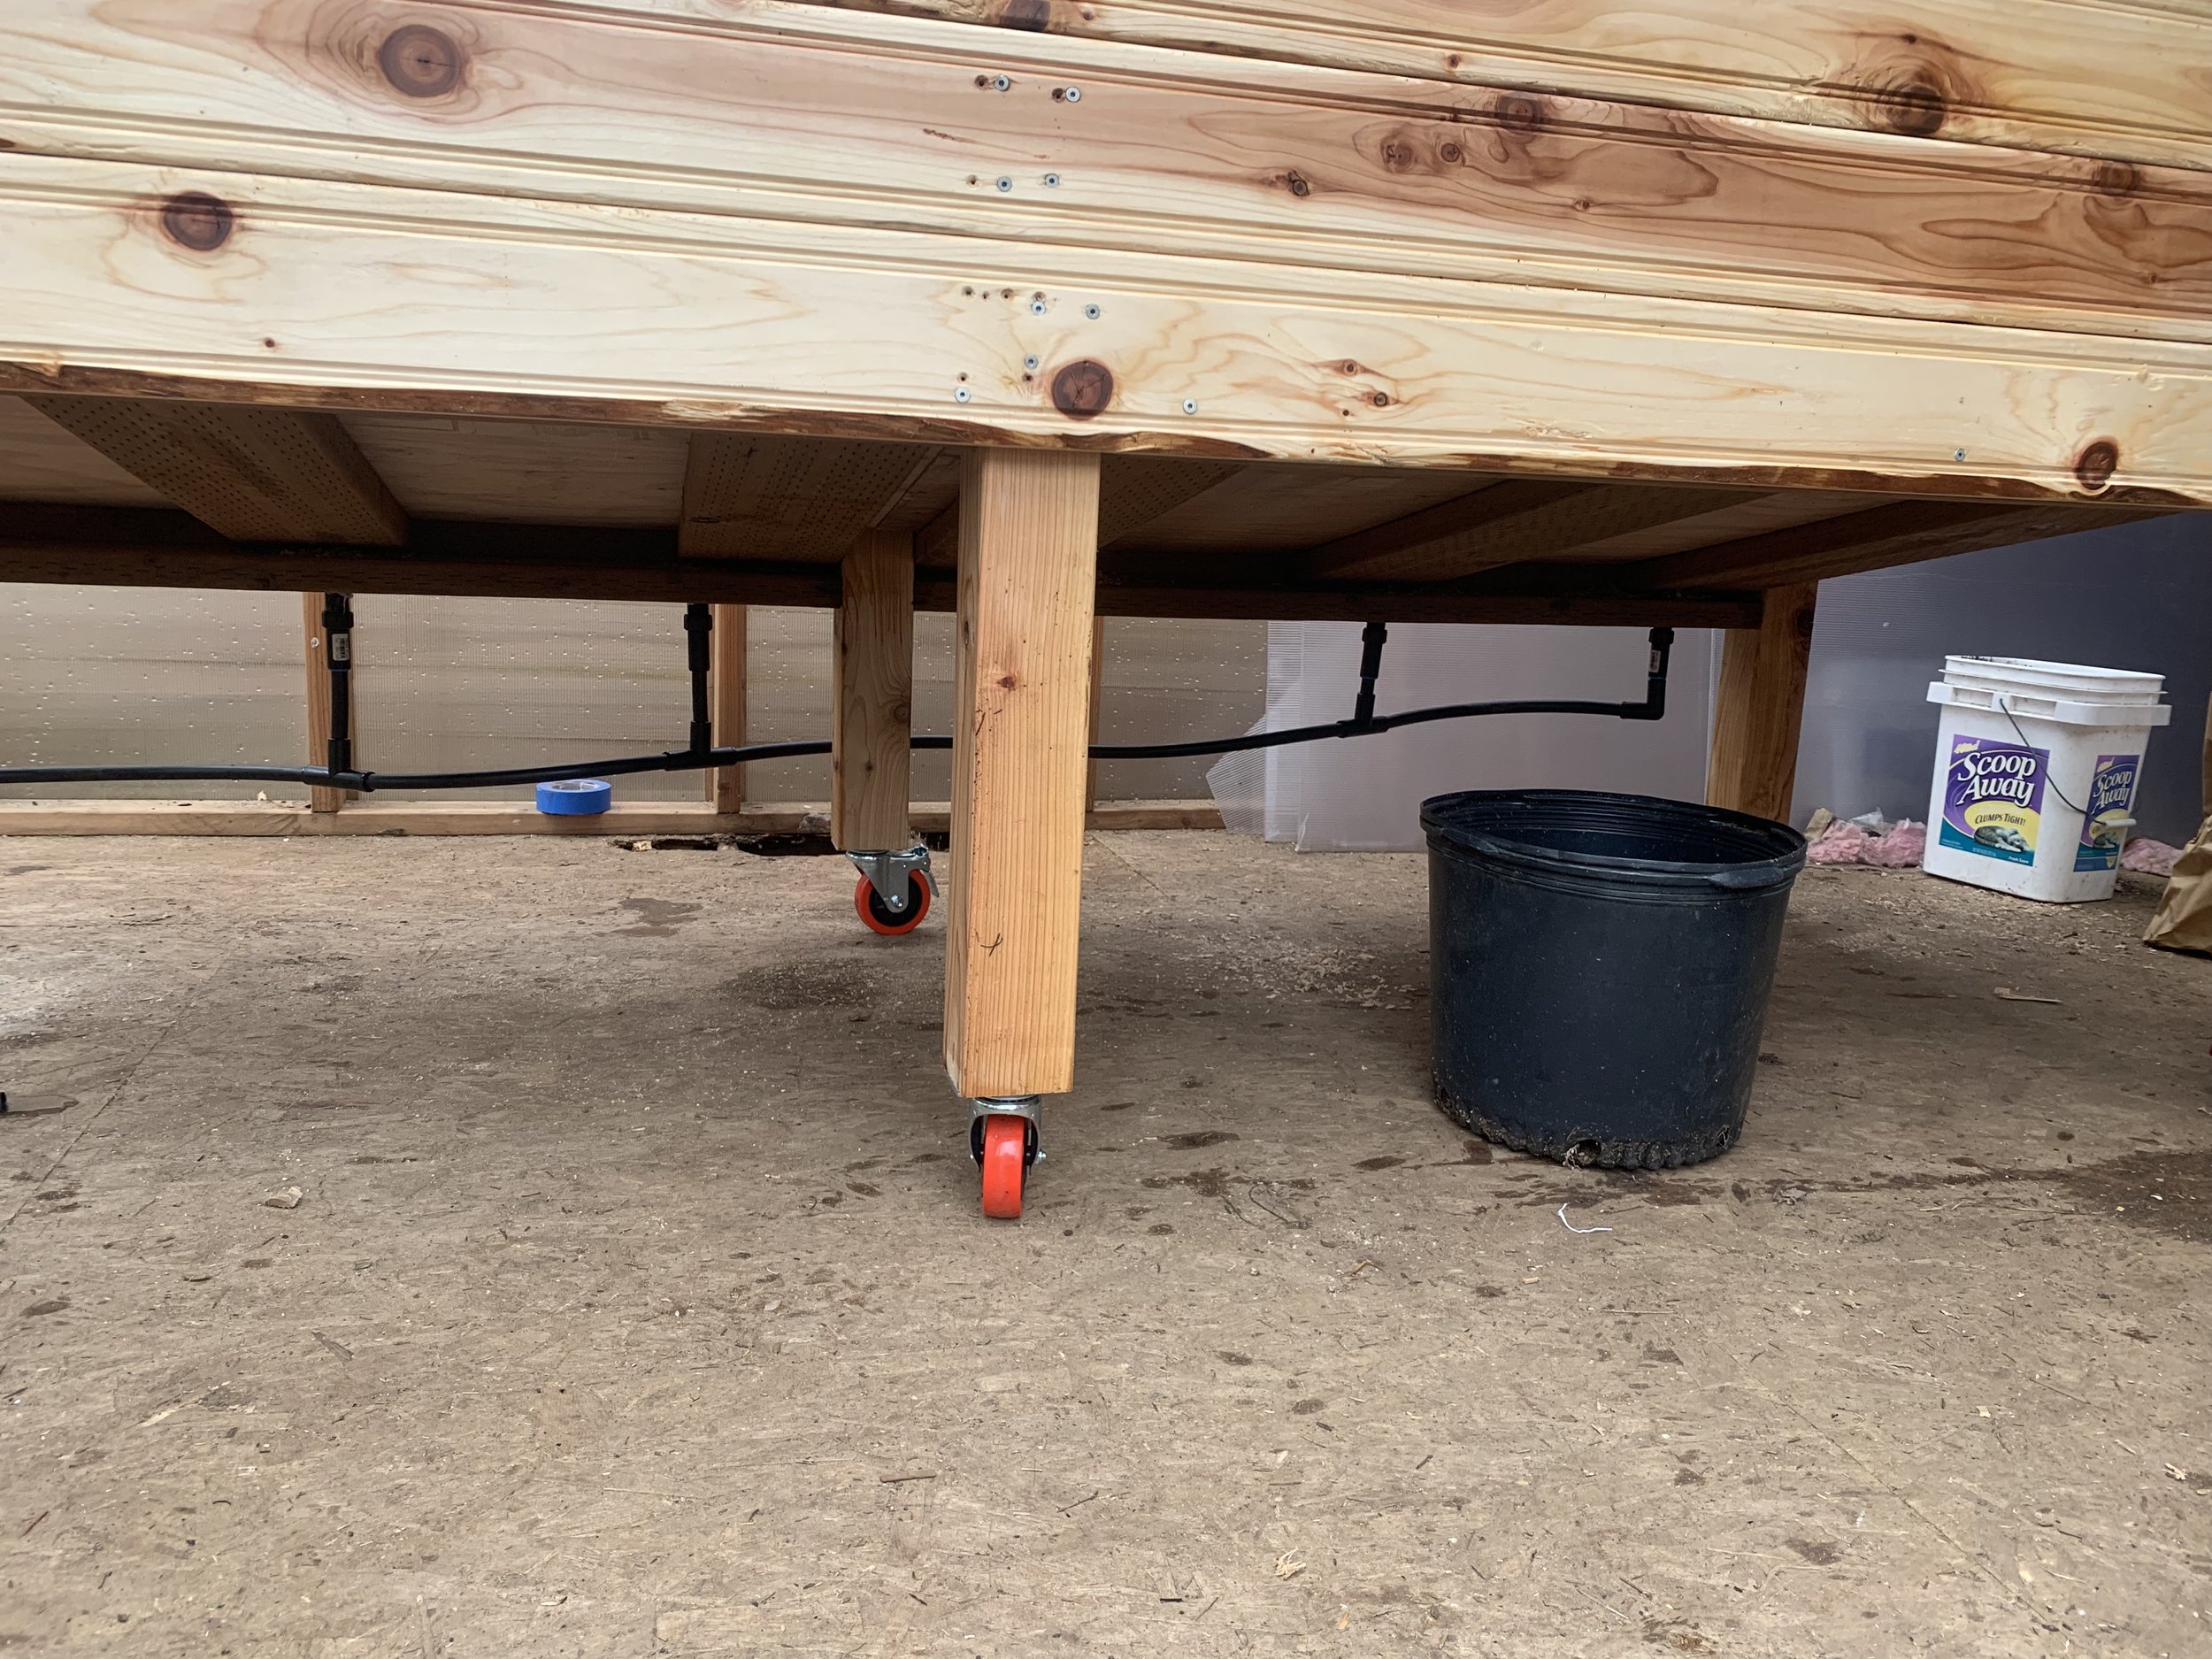
In order to meet these goals I built the bed with 6 posts so that each could have a wheel on it and no single wheel would be under too much load. I also built it with a sloped base and 6 drainage holes in the lower end, and for all the wood visible from the front I used cedar.
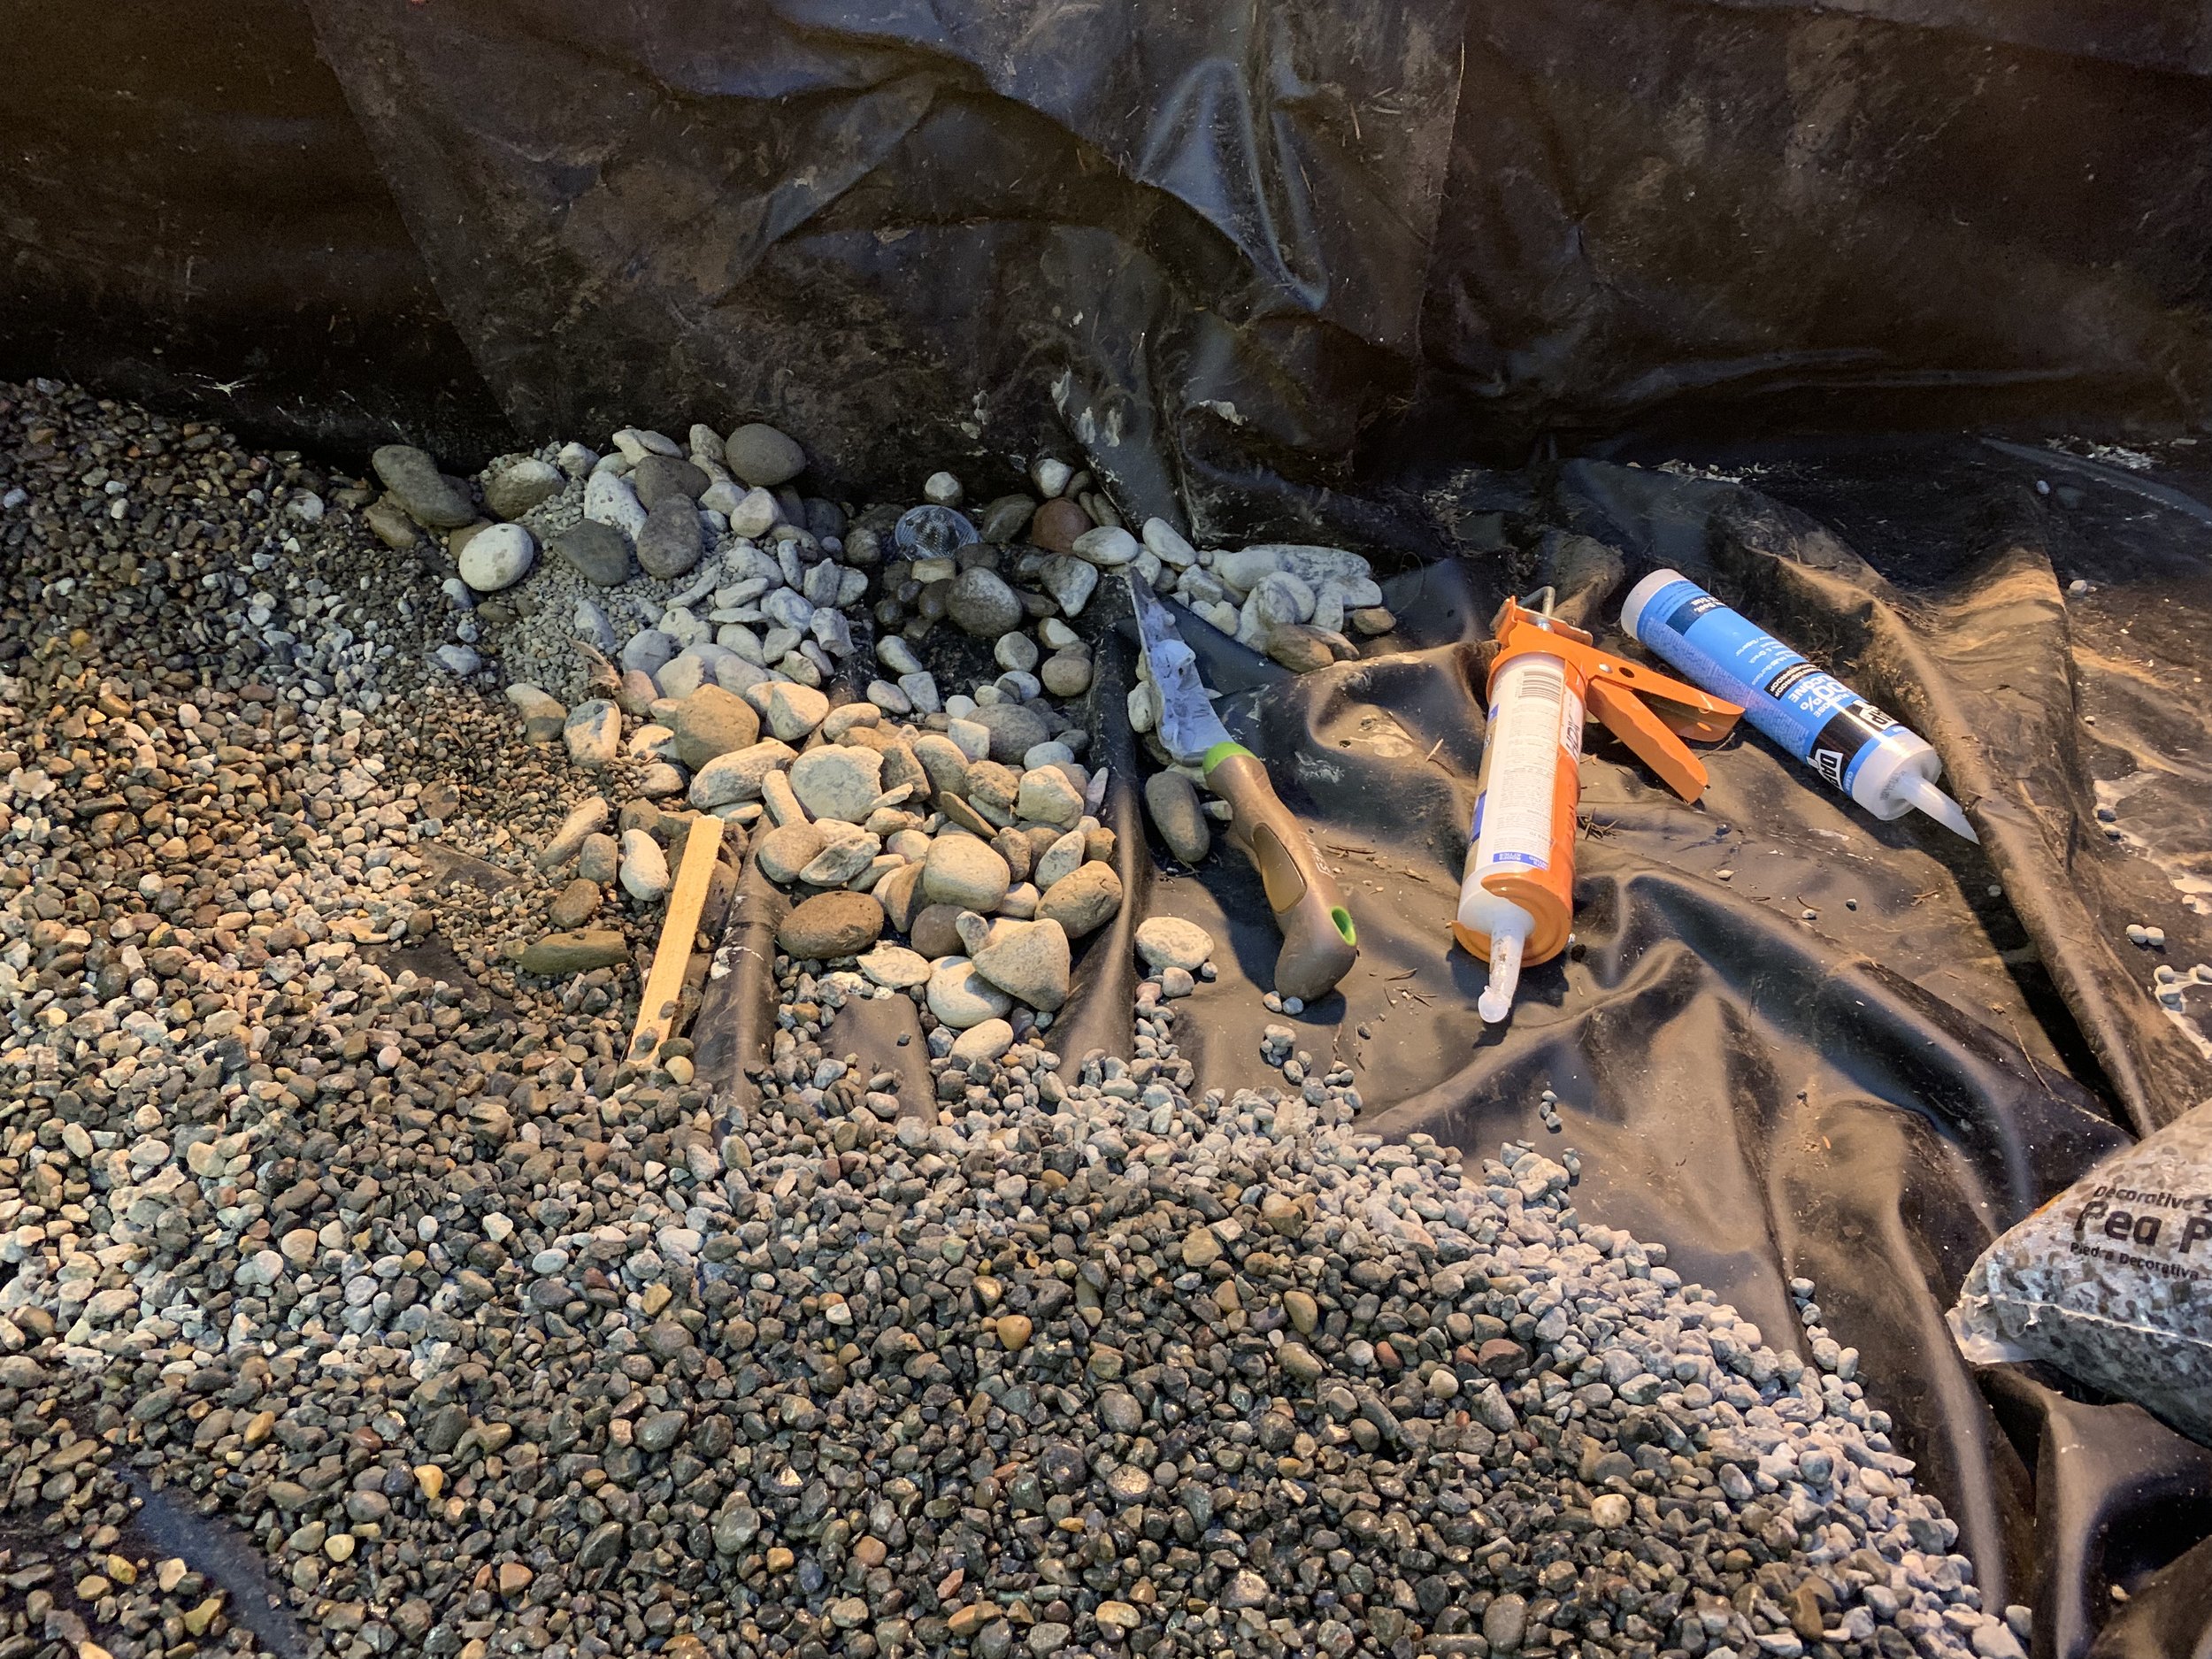
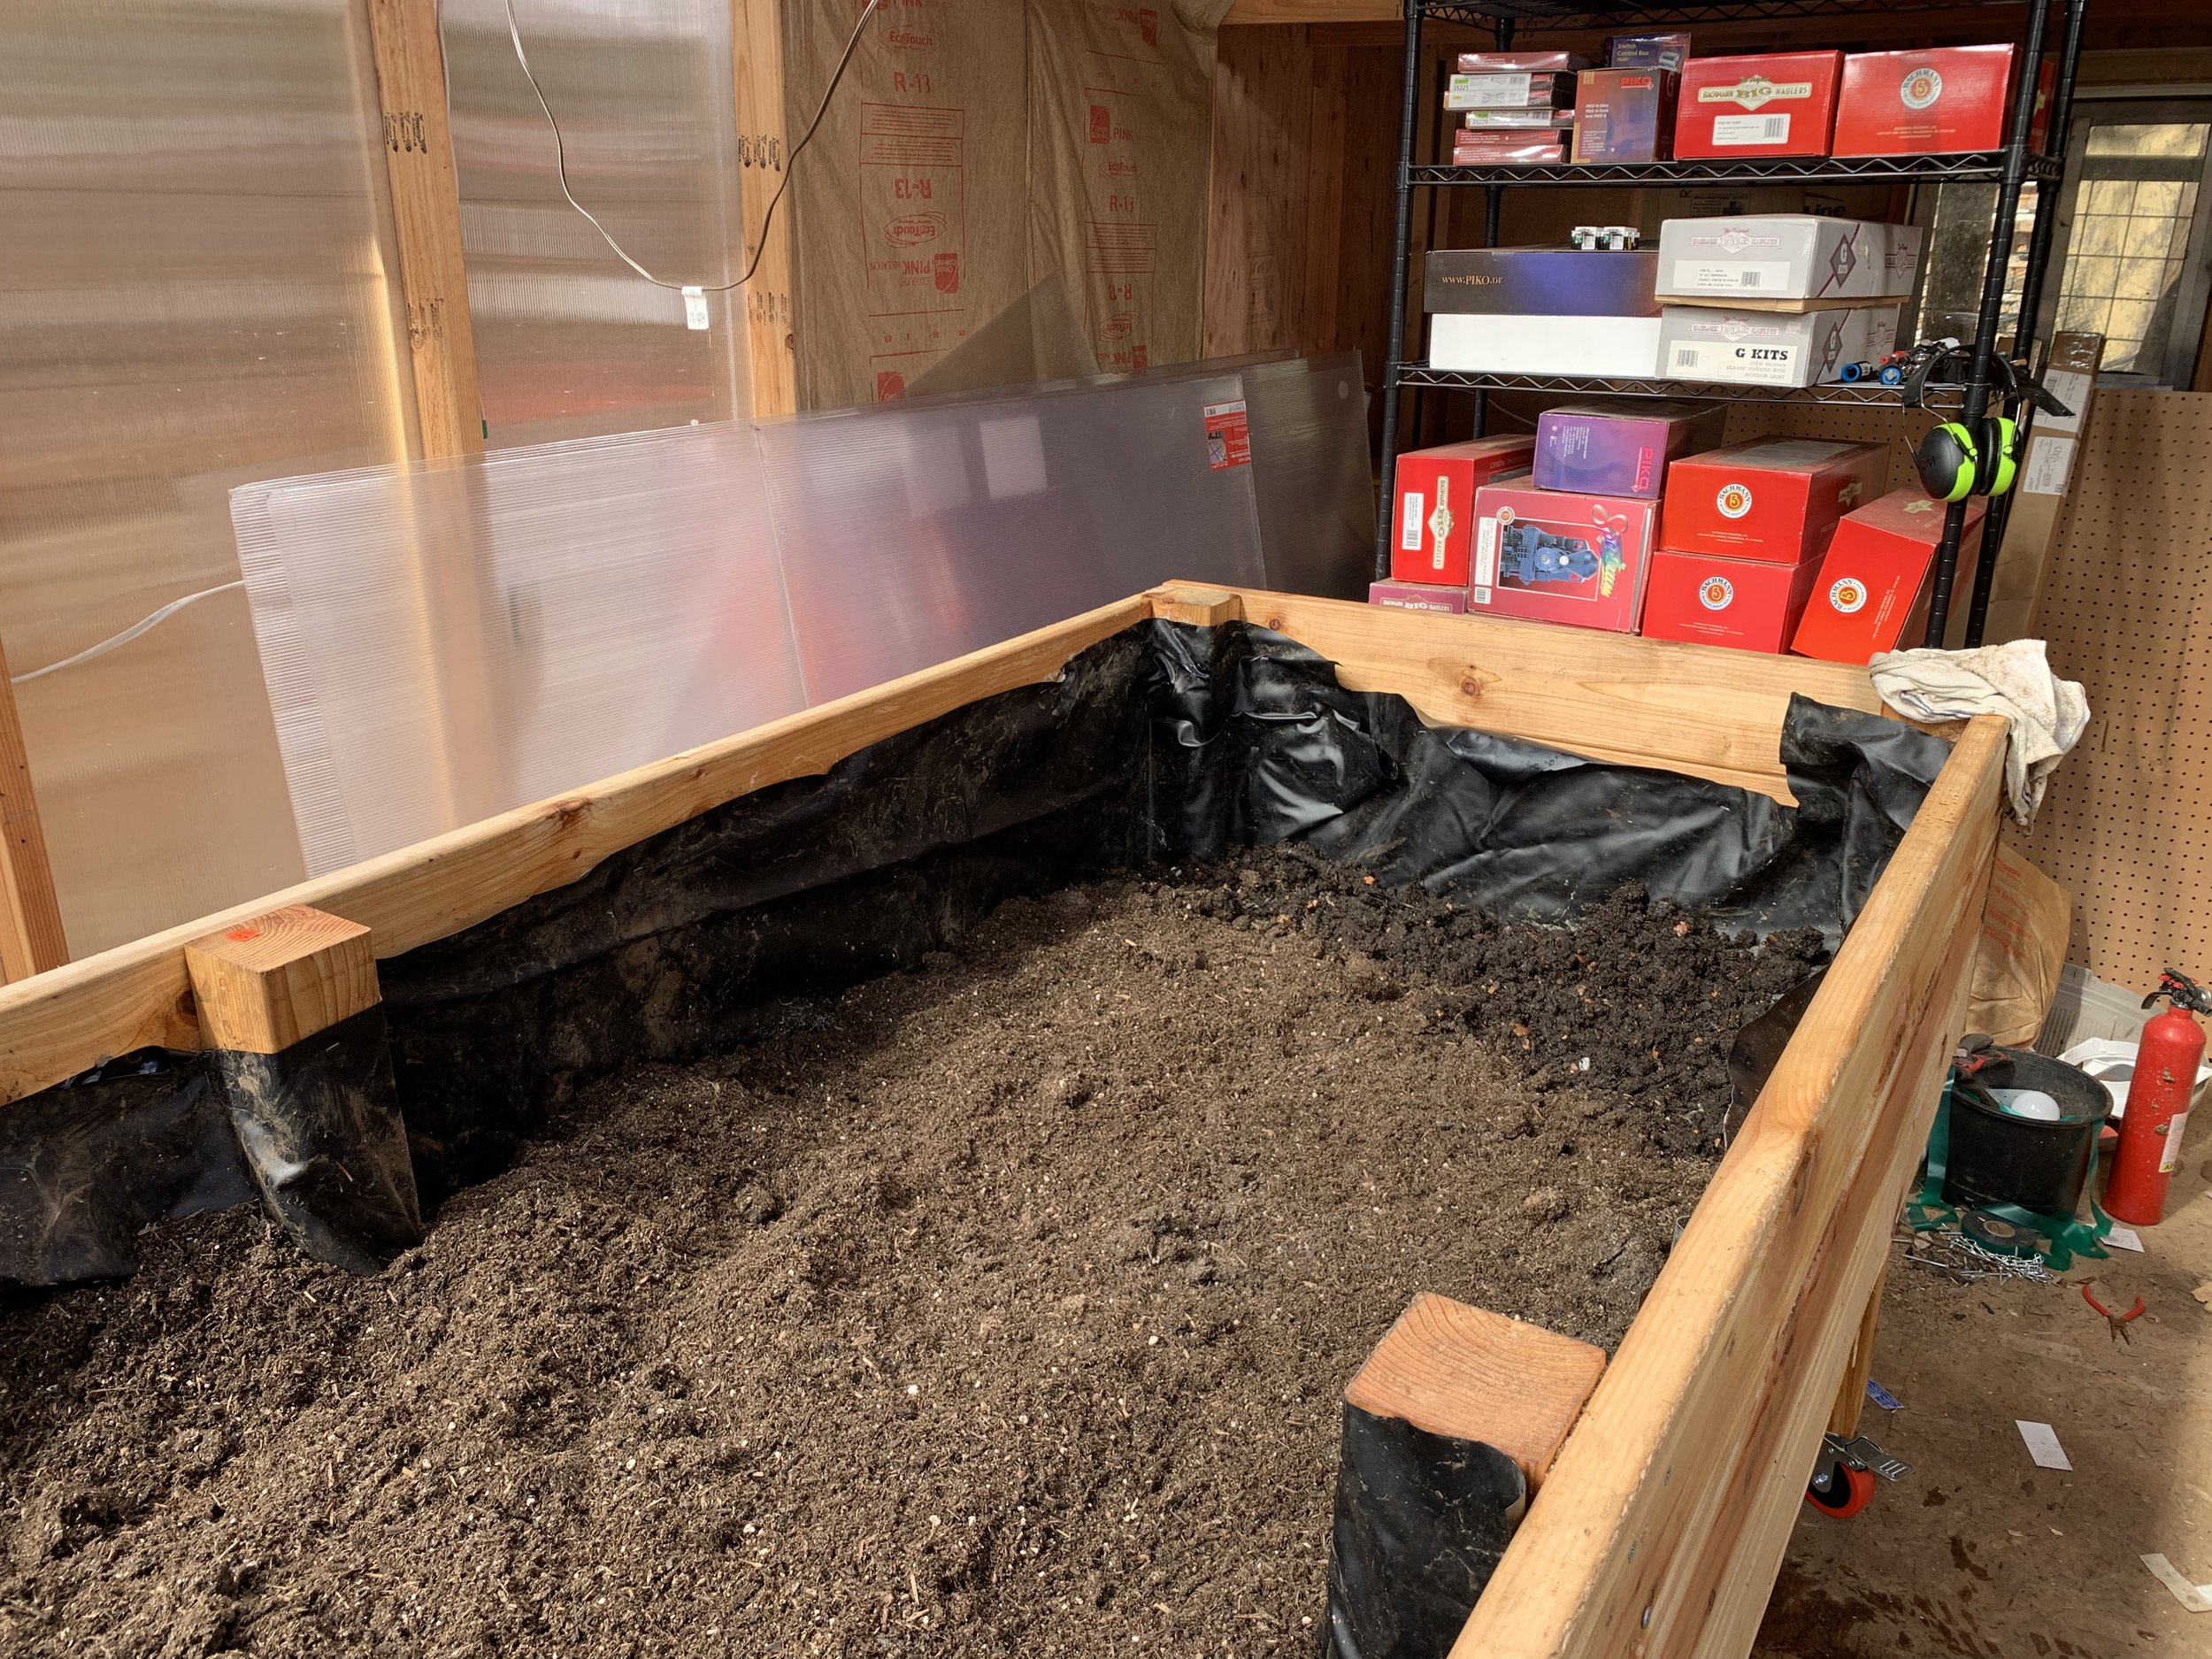
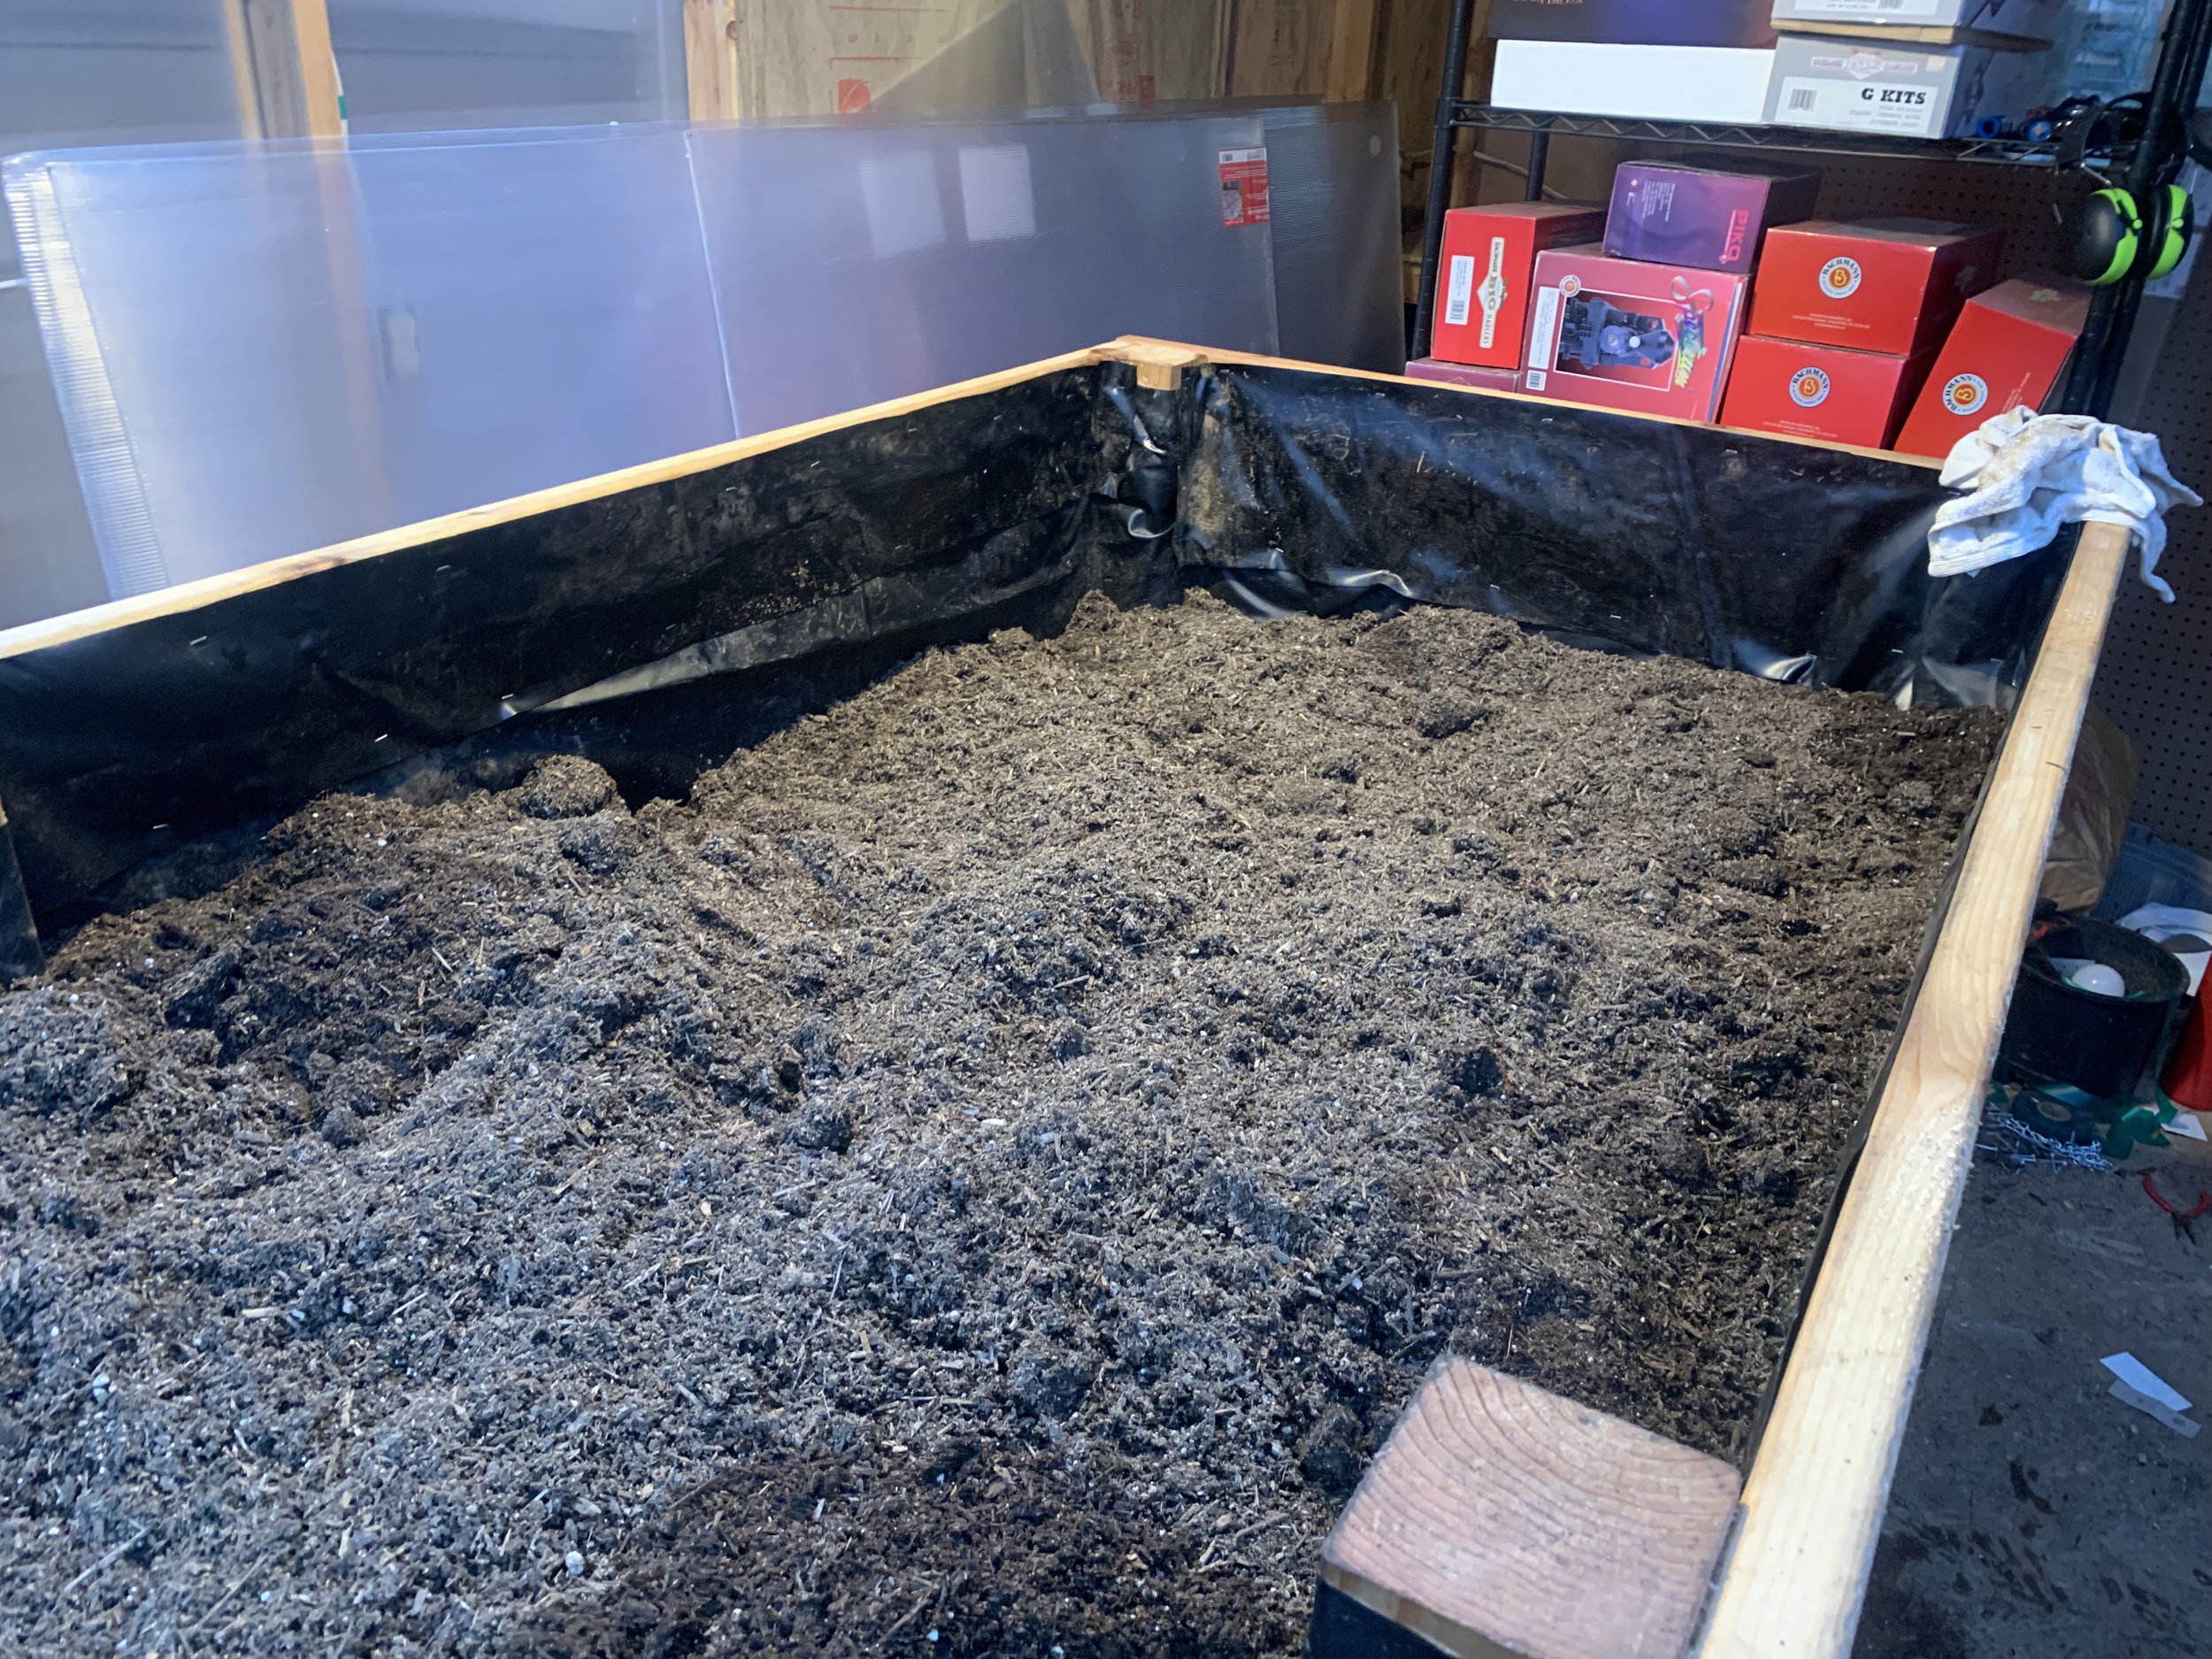
The bed was then filled with river rocks, pea gravel, homemade compost, and then raised bed soil.
